The "Wrap Dress" is an iconic classic that nearly every woman has had in her wardrobe ever since Diane Von Furstenberg first created it in the 1970s. Anyways, I don't wear a lot of them, but I was given this dress from a friend, and I love it, but I haven't ever worn it, because it had a little problem. You can see in this picture here, it's not a true wrap dress--especially from the front. It just looks like a "fit'n'flare" dress.
The "wrap" part is in the back. Basically "wrap" just means that there are two pieces to the front (or in this case, back) bodice that, instead of being connected with buttons, zippers, or other closure, are simply crossed one over the other. However, depending on how often a dress is worn or how it is cut, a "faux" wrap dress like this one can easily have a fatal flaw....
Here you can see what I'm talking about. Now, if this were a true wrap dress, this gaping could be alleviated by simply pulling the crossed part over a tad more and tying the dress a bit tighter. However, when the "wrap" is stationary and sewn in place, you are at the mercy of the cut of the garment and this gaping tends to happen. I noticed this in the mirror any time I tried it on. Any time I rolled my shoulders back and down in order to sit up straight, this gaping would happen. When I hunched over, it went away....I wasn't going to wear this pretty dress and hunch over! So...something needed to be done.
Another view of the gaping.
Don't worry. There is an easy fix!
All you need is either elastic thread or stretchy beading cord like this one:
I simply threaded enough beading cord to go from the waistline to the shoulder of the dress.
I started at the waistband and found the seam that ran up across the back to the shoulder.
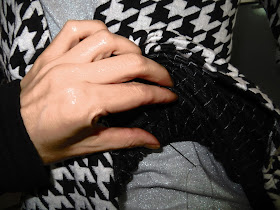
Here you can see from the right side of the dress what I'm talking about. See what my fingers are pinching? That's the needle that I'm feeding up from the waistband.
Now look where the cord is coming out. That is the seam I'm talking about. I just kept fishing the needle up through that seam to the shoulder. I did have to wear a thimble to push the needle. I also had to wear two rubber finger covers to get a good grip on the needle as I fed it up the seam.
And here I've fed it all the way up the seam to the shoulder seam. I pulled the elastic just a little tighter than the dress needed to lie flat because elastic always stretches a little more than you think it will.
I tied the cord off into the shoulder seam.
I did that same thing to the seam on the other crossed side.
And now I've put the "Before" picture on the left and the "After" picture on the right so you can see the difference! All fixed!
The End!


No comments:
Post a Comment