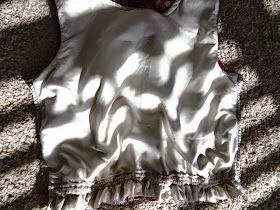
Remember when I made this Dolce and Gabbana inspired red lace dress? Well, ever since then, I try to be on the lookout for lace dresses. I got the one below from Goodwill for a dollar!! (Can you believe it???) It's obviously too big, so this blog is about how to do simple alterations to a dress with a gathered skirt.
First step is getting rid of those horrid armhole ruffles! They were actually sewn right in between the top layer and interfacing, so I simply cut them off, cutting really closely to the seam without snipping the important layers.
As you can tell from the picture above, the dress is just too wide for me, and the skirt is a tad long, making the dress look frumpy.
There are several ways to go about altering a dress like this one. You could cut it apart and dart it and reattach the skirt. You could sew a seam from the arm hole to the bottom hem on both sides. I chose the method below because this dress has two layers to every part (lace over top a layer of white).
The first step in alteration was to sew a basting stitch about two fingers down from the waistband onto the skirt. This was primarily to keep the two layers together, but would also help me re-gather the skirt later when I reattached it.
A close-up.
In case it was too hard to tell from the pictures above, you can see the line I stitched onto the skirt here. (I'm pointing at it.)
The next thing I did was to cut right in between the waistband and the basting line I just stitched.
Here it is completely cut apart. See how important it was to baste the skirt before cutting? It stayed together in one piece this way.
Next, I sewed seams on either side of the bodice from the armpit to the waistband. I would have actually darted the bodice, except there is a little bit of elastic in the waistband and darting it would have made the waistband pucker weirdly.
Then, I trimmed the sides and overcasted the side seams.
Then, I grabbed the loose ends of the threads I used to sew the basting line and pulled at them and worked the fabric around until the skirt waist was the same size as the bodice waist.
Then, I pinned the bodice to the skirt, right sides together, and flattened the skirt back as much as possible to add a second row of pins. This second row was to help me as I sewed to keep the skirt gathers out of the way of the machine needle as skirt gathers like to pucker and jam in sewing machines.
This is after sewing and then overcasting the skirt to the bodice.
Then, I trimmed the excess fabric away from the waistband.
I look kind of gross here. It was the end of the day and I didn't feel like reapplying makeup!
It fits better now!
The End


No comments:
Post a Comment