Thursday, November 16, 2017

Sunday School Craft: Noah's Ark Easy Finger Puppets


Yet ANOTHER Noah's ark craft!

You need: Cardstock, crayons, scissors, and hole punch (optional).


First, print out the templates at the end. I found them on Google, but I have doubled each animal (two-by-two, you know) and sized them so that they will fit little fingers perfectly. Just expand each template into a landscape mode.


After you print them out, you can cut them out like I have below (or you can cut them out more precisely, if you like. I was just in a hurry.)


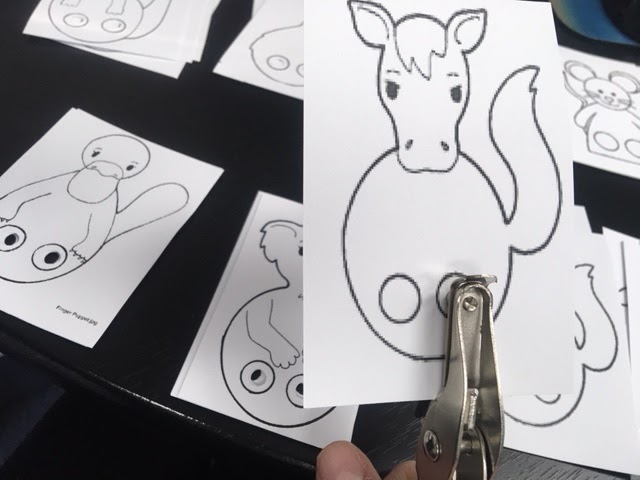
Then, take scissors and cut out the holes. It's a lot easier to do this if you use a hole punch first.


Then combine the matches. You can either give each child in your Sunday school one or two pairs of animals, (or. . .if you are homeschooling, you can give them all to your kid!) If they are old enough, your kids can do all this cutting stuff, otherwise, just let them color. At the end of class, you could let the kids line up and walk their animals two-by-two into an "ark." Be creative!


Templates:


The End!


Travel Downsizing: Deodorant

Have you ever noticed how your travel-sized deodorant always runs out halfway through your trip? Have you also noticed how travel-sized deodorant costs nearly as much as a regularly-sized one? Do you hate paying for checked bags and would like a really easy tip on down-sizing so that you can be one step closer to your goal of traveling with only a carry on and personal item? 
(FYI here is a post on how to pack for cold weather in only a carry on.) 

Here is a very quick "hack" to help those of you cheapskates, like me!

You need: An empty travel-sized deodorant container and a full regularly-sized one.


So, first open both containers.


Then, start twisting the bigger container so that the product starts to rise.


With some of the product coming out of the bigger container, hold the product up against the opening of the travel-sized container. This is to make sure that the product will fit. (You may want to take your empty travel container to the drugstore and check before you buy.) As long as they keep making regularly-sized deodorant that is small enough to fit inside a travel-sized container, you only ever need to buy the travel-sized container once. You can then keep reusing it like this every time your product runs out.


Remove the product from the bigger container by continuing to twist it up until it pops out.


Then, place the product into the smaller container and start twisting it down.


(You may need to press the top of the product with your thumb to get the threads to catch and pull the product down.)


Sometimes, the product is still sticking out the top, but that's okay. As long as it is securely screwed into the container, it's usable.


Don't worry if the lid doesn't go down all the way. It will after a couple of uses.


Anyways, that should save you a little space!

The End!


Wednesday, November 1, 2017

Refashioning: How to Make Sequin Leg Warmers from Skirts

I like to read fashion magazines to get ideas when I'm bored of my clothes. I must say I haven't been too inspired by anything I've seen lately, except for what you see below: sequin socks!


I mean, they are just the weirdest thing, aren't they? Who would even think to make them? But they look so cute and unusual. . .so my mind started spinning.

I like the look of them, but. . .I wasn't too thrilled with the sock idea. I mean, socks can only be worn once and then they need to be washed, so I had an alternative idea that would still keep the sequins around the ankles, but not be so scratchy around the foot: leg warmers!


I found this mini skirt on the dollar rack at Goodwill.


And this velveteen skirt as well.


First, I measured around my calf and I cut the skirt you see below to that measurement plus one inch (for seam allowance). I also cut it as tall as I could get it with the fabric I had. Cutting through the skirt like this gave me two panels.


I used those same measurements to cut out two panels of velveteen.


Since the bottom edge of the skirts were both finished, I decided to use that as the bottom of the leg warmers (the pieces are upside-down in this picture). I pinned the adjacent edges of one piece of sequin with one piece of velveteen with right sides together.


I sewed them with the sequins on bottom. (Note: velveteen is tricky because it slides around, so. . .watch out for that!)


So once those seams were created, I unfolded both pieces and pinned the long edges with right sides together.


After sewing those seams, I turned each tube inside out.


The finished leg warmer. This project took about fifteen minutes.


And! They are reversible!


The End!