Showing posts with label Boy. Show all posts

Wednesday, February 21, 2018

Sunday School Craft - David's Five Stones (with verse tag)

This is like. . .my third David vs. Goliath craft (actually. . .maybe my fourth). Anyways, it's because the same little kids are still in the class when I started making these and I don't want them to make the same craft twice! (We keep teaching kids from 2-4 the same select stories from the whole Bible in order, over and over, until they get to the next level. In case you were wondering!)

Today's craft: David's Five Stones


You will need: brown fabric (I used a roll of wreath burlap), jute (or regular string or yarn), stones (make sure your kids are at least three years old and won't put them in their mouths), scissors, cardstock, and single hole punch.


First, cut out your fabric (or wreath burlap) into squares. (You can do circles, but they take longer).


Print out the template at the end and cut the tags apart.


Punch the top corner of each tag.


Cut the string into however many pieces.


Let the kids select five stones and put them in the middle of each square.


Pull up the corners around the rocks.
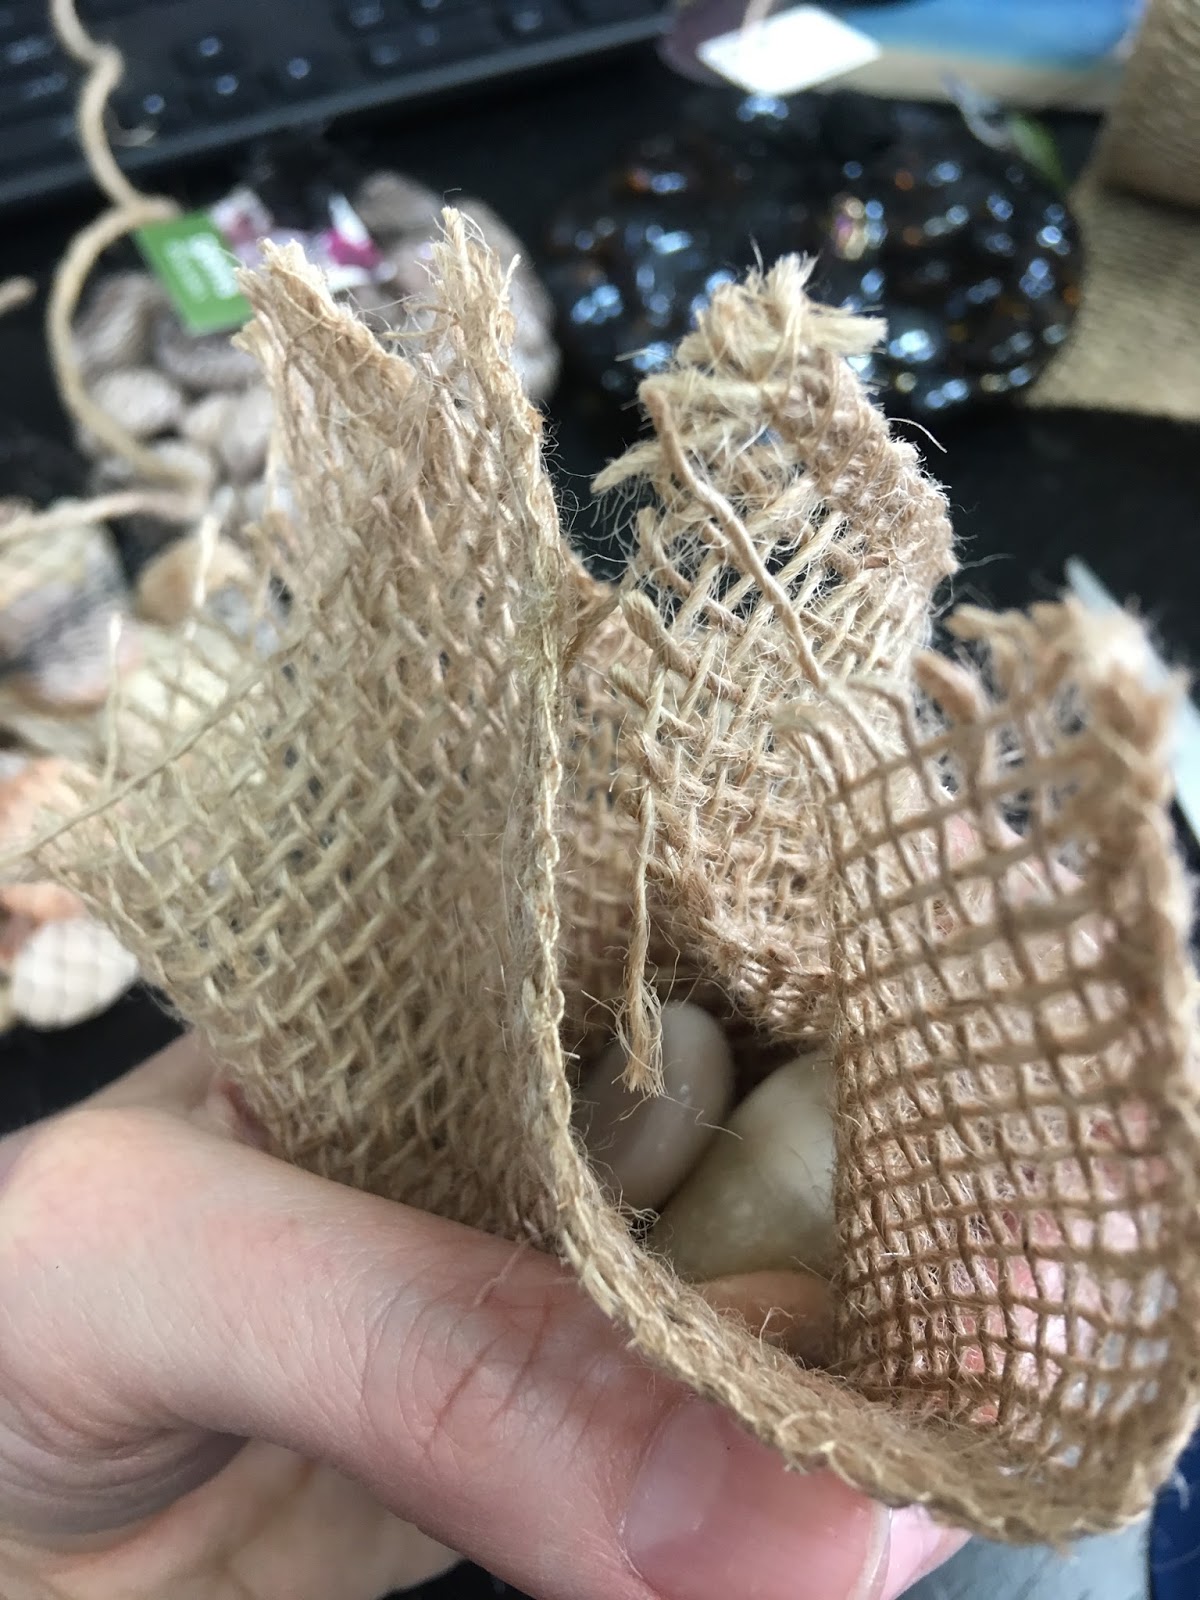


Put a tag on a piece of string.


Tie the string around the little square of fabric! (Those stones are for photo aesthetics. . .There are five others inside the fabric! . . .Obviously!)


Template:


The End!


Tuesday, June 27, 2017

Sunday School Craft - Samuel Hears God. . .I Can Too!

Today's craft is about Samuel listening to God, but I wanted to make it personal for the kids.

Our little kids have already made those Pinterest "Listening Ears" headbands for this story about a year ago, so I didn't want to repeat it.

You will need: cardstock, scissors, glue, and crayons.


So, I have the templates attached at the end, but all you need to do is to print out however many heads you need, then divide that number by four and print out the ears. I got the clip art from Googling, but I added the verse and the words at the bottom.

I situated the ears so that you could use a paper cutter and make the least amount of cuts if you don't have a lot of time. But if you kids can handle scissors, just let them cut them out themselves.


Then, have them draw their own faces. (I accidentally wrote the directions for the teachers on my example before taking pictures. Sorry!)


Then, glue the ears on and have them write their names in the blanks.


Templates:


The End!


Monday, January 6, 2014

Make A Pillow/ Blanket/ Bag Playset for a Baby Boy....and a Headband for Mom

So. . .I bet you thought I was lazy and didn't do anything blog-worthy over the holiday! Well, here's one of the things I did.

About a week before Christmas I came across this piece of really cool Michael Keaton Era Batman fabric at a thrift store:


As some of you may know, I am the proud owner of a new nephew, so I knew I needed to make something for him out of this. The piece of material was about 60"x45". (I'm not even kidding when I say that the man behind me in line at the thrift store, who looked like Santa before his hair turned white, gave me the money to buy it! It was destiny!)

The problem is that there are very few cool sewing projects to make for young boys. I Googled and Pinterested for about an hour and then just gave up and did what I had in my head to begin with. This project took about an hour from start to finish. I cut the top 12 or so inches off the top and turned the cut portion into two pillows (filling courtesy of an extra bed pillow we had lying around). Then I folded the remaining 30ish by 60ish piece of fabric in half and made a blanket. I left two holes in the sides and inserted parachord around the perimeter of the blanket and that way it could be both a blanket with pillows:


Or gathered up it could be a bag with pillows in it for easy transportation:


I like this project because it's really gender neutral and can be used by any child for years and years, not just the cutesy newborn phase. (Is it wrong that I can forsee him tying this to a stick and pretending to be a hobo?)


I had a few inches left, so I made my sister-in-law, a super-heroine in her own right, a Catwoman headband. (Sorry, I wasn't wearing makeup, so...the top of my head is all you get!)


The End!