I found these adorable booties on Pinterest and decided they were weird, yet sleek enough for a design to figure out. I liked that they were booties and not just shoes.

Okay, so that was a lot of pictures just now, and you get the idea on how to make baby booties really well from those pictures, but. . .adult shoes are a little more detailed.
First, I had to make a pattern. I used a pair of suede "desert boots" that I bought in Rome.

I traced the sole first.

Then, I wrapped the paper around the shoe and came up with this shape for the outer part.

This is what it looks like all wrapped up. I marked the halves of the outer pattern "Inside" and "Outside" so I wouldn't get confused about which side was which.

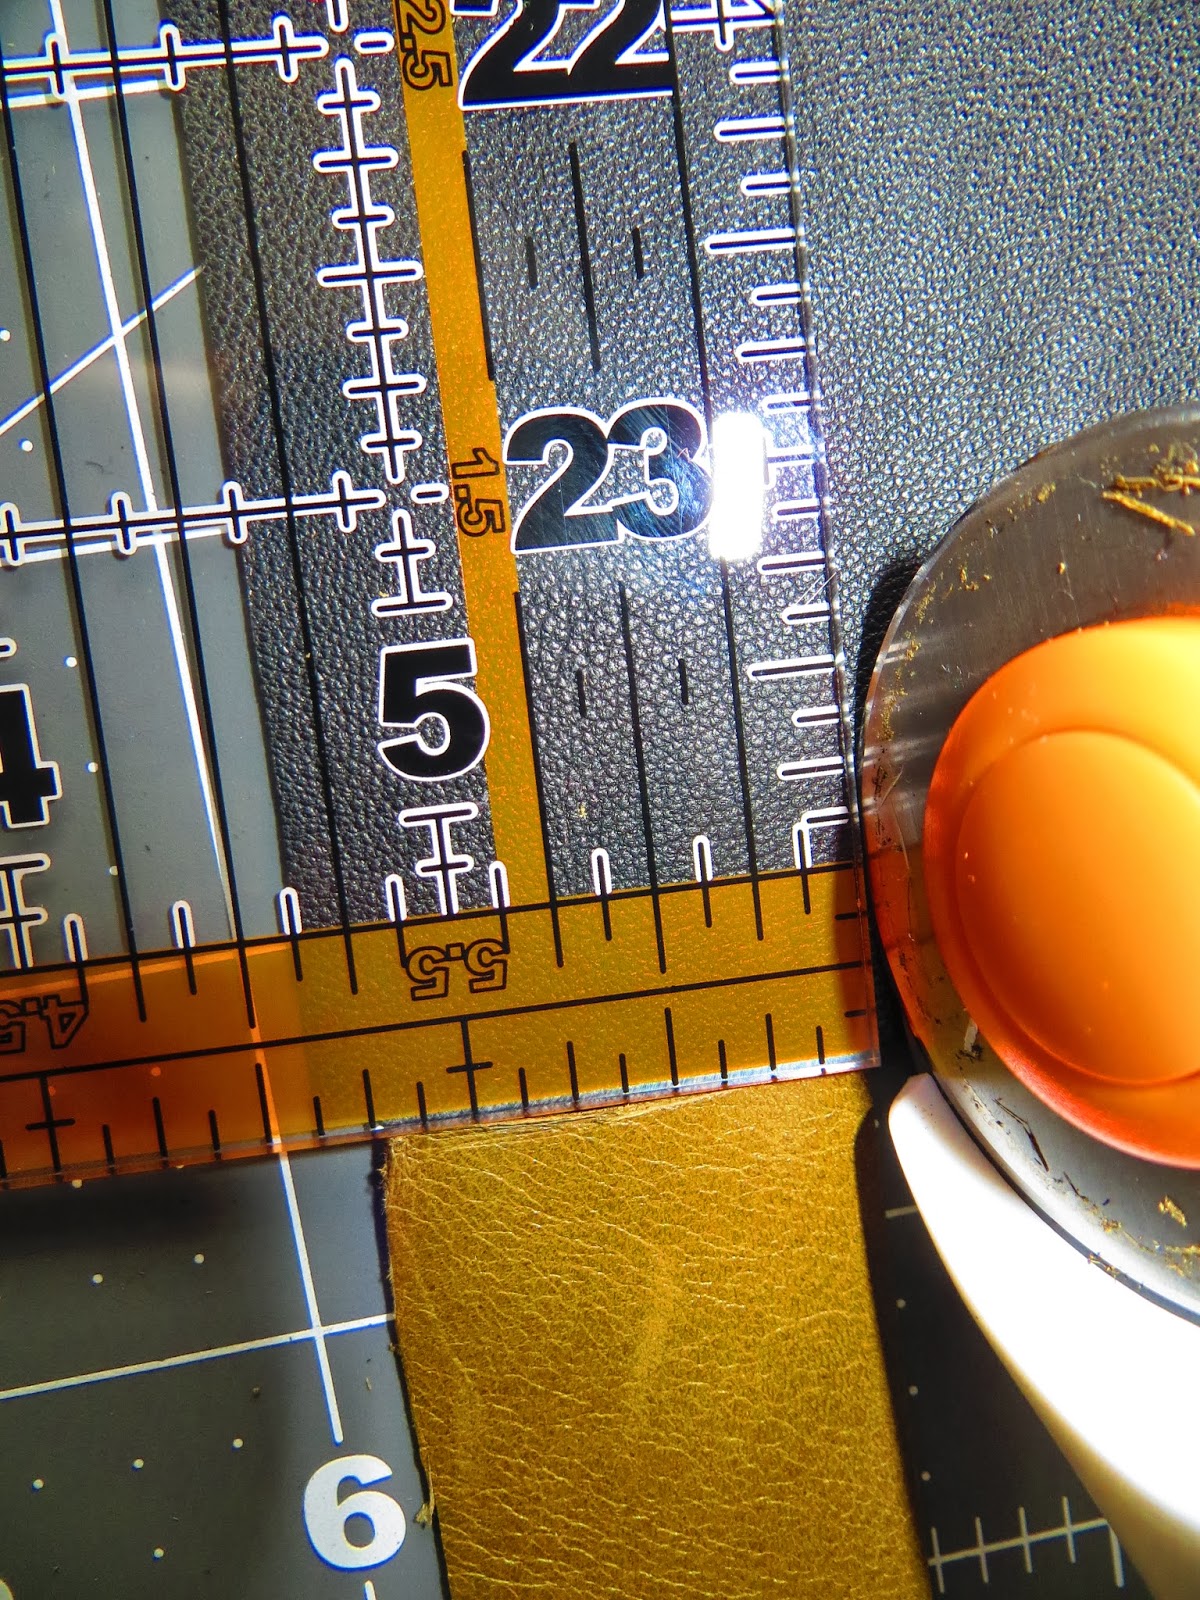
Then, I traced around the sole pattern, but added a little bit extra for seam allowance--about 1/4 of an inch.

Okay, skipping ahead a bit. I needed some sturdy fabric for the inner lining which is the corduroy plaid you see below. However, just leather and lining wasn't stiff enough, so I actually cut out more pieces of a stiff cream colored fabric to go between the lining and the outer parts. Also, see that orange? That is plastic canvas, and I cut out some sole parts because I didn't want my shoes to flop off my feet. You really take for granted all the construction and inner technology of the shoes you wear.
Okay, one last comment about all these pieces. This part--cutting and patterning--took about 80% of the total time (and this project took ALL DAY), because I had to keep trimming and trimming everything down until I was happy with it. Even though I used shoes that fit me as a pattern, there were still parts of my pattern that needed tweaking, and that took FOR FLIPPING EVER!!! Now that I have a usable pattern, though, I could duplicate it fairly easily...but I would NEVER make these to sell because there is way too much tailor work involved.

Okay, so to keep everything together as much as possible, I used Elmer's spray adhesive to stick all the pieces together. It has a very temporary hold for fabrics like these, but that was okay because I just needed the pieces to keep from shifting too much as I sewed.

Here, I have sewn the heel portions of the outer pieces. You can see the fronts and the backs.

All right. Here is a step you might not think of, but it makes all the difference in the world if you want your shoes to stay on your feet. You have to make some inner heel reinforcements. I made mine out of plastic canvas. I stitched up those slits to give the pieces some roundedness for the back of the heels.

Here you can see the stitched up reinforcements sewn into the red lining

Then, I sewed the linings to the outer parts around the top seams only.

To make sure the top seams stayed flat, I hammered them. (This is the part that made me feel like a for real cobbler.) I also spray adhered the linings to the outer parts so that they wouldn't shift when I sewed them to the soles.

Then, I spray adhered the soles together. (Notice that the plastic canvas is slightly smaller than the leather and lining. This is for ease of turning right side out. If you like having your seam on the outside, you don't need to worry about making your plastic canvas smaller.)

Okay, you are not supposed to pin leather because pins poke holes and perforate the leather, which weakens it. However. . .I did, and. . .oh well. They are fine and pinning them worked quite well. So there. You can start to imagine what the shoes will look like here.

Okay, if you like the seam on the outside (same as the baby booties), then you are done at this point. I am not a fan of outer seams, though, so I turned mine right side out. You are also supposed to hand sew leather, but. . .I used my machine. I have a Husqvarna Viking and, while it's not industrial or anything, it's awesome. If you have a Brother or Singer, you are going to break your machine. Sorry.

Here is an almost finished shoe.


I am actually super proud of how symmetrical they turned out. Almost a perfect mirror image!

Okay, so if you just want to make slippers, you are done. However, I wanted actual shoes, so I traced around the bottoms of both of the shoes and cut soles out of this "anti-skid mat" I had bought off eBay. It's only 1/8 of an inch thick, but it's pretty dense rubber.


All right. So at this point, I went outside because I was using cement glue and it stinks to high heaven. I should have used a face mask, but I just wanted to finish them, so I did this step as fast as possible. Follow the directions on the cement bottle for yours. My bottle said to paint the glue onto all surfaces and then wait 15 minutes before adhering them.

I wanted to make heels, so I did. I attached them the same way.


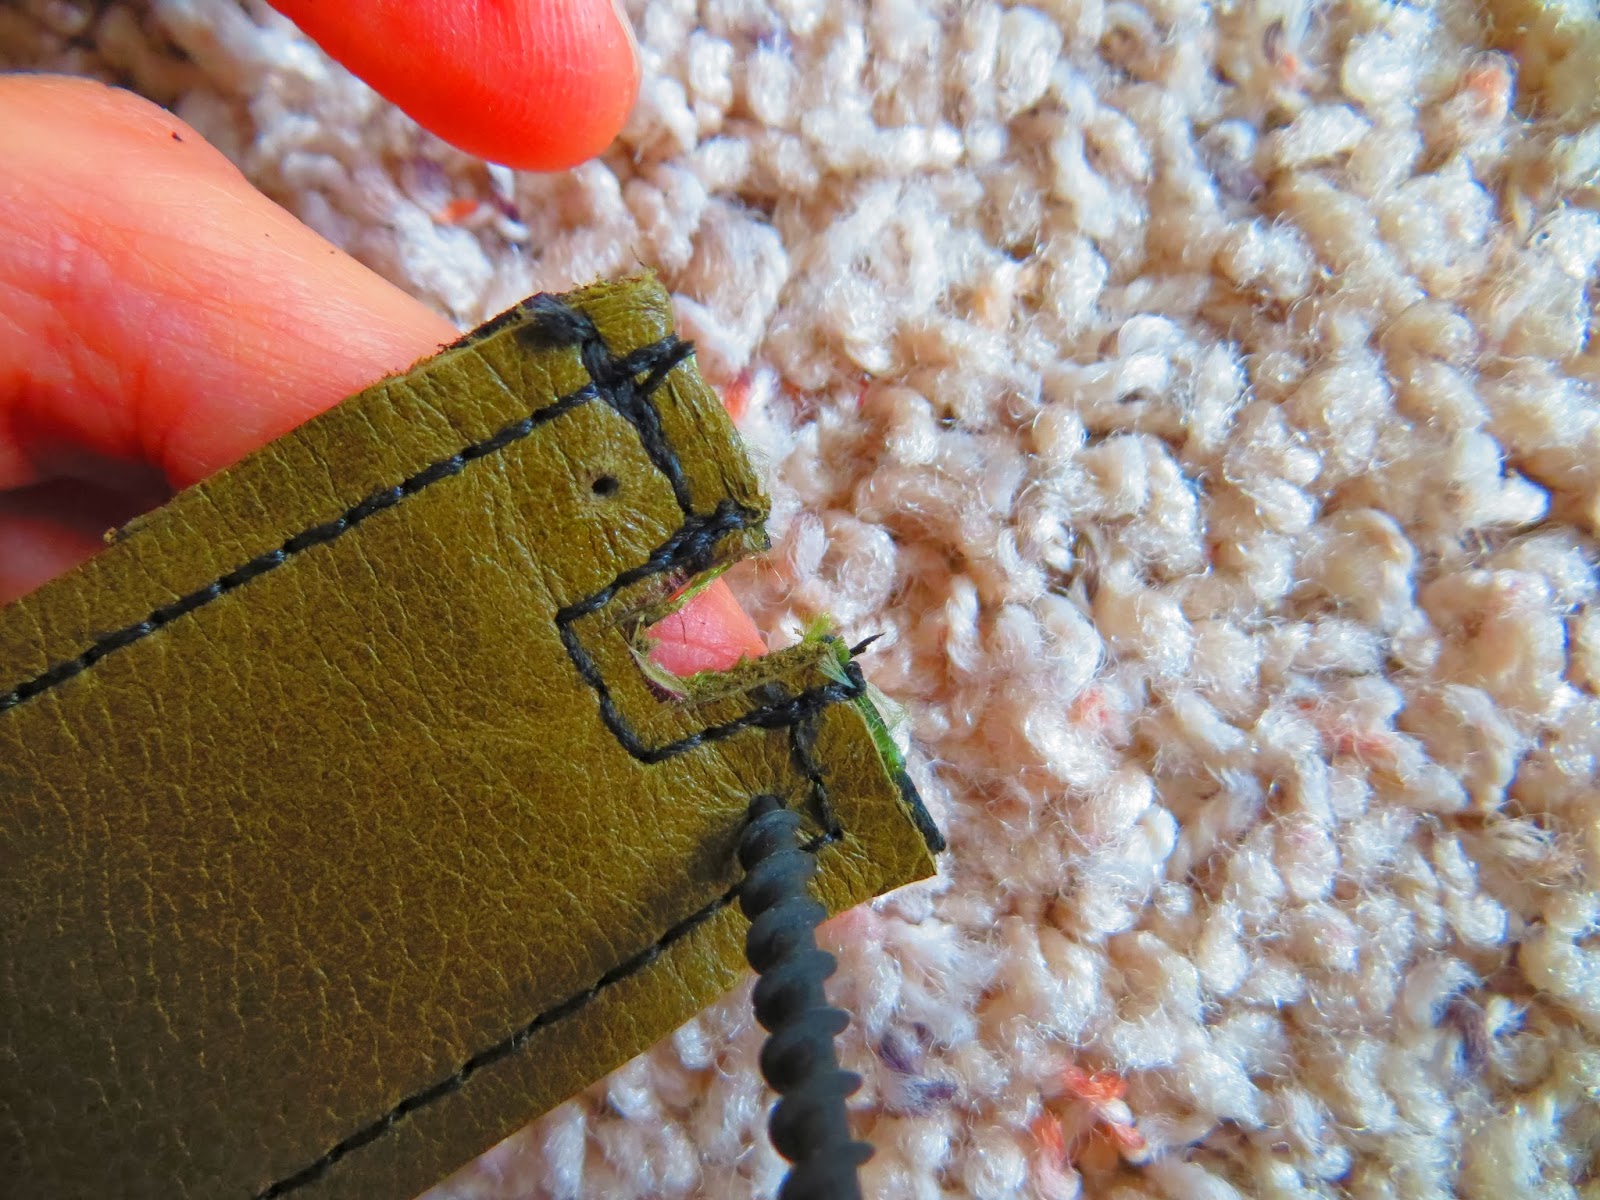
After I waited about 24 hours, I cut off the excess rubber soles and then added a plaid skirt pin to both of them. I might take them off some day, but I kinda like this 90s look right now, so. . .


Not bad for my first shoes ever!

The End!