Showing posts with label remaking. Show all posts

Friday, February 26, 2016

Refashioning: Making Clothing More Functional - Dress into a Skirt (Method 3)

I have done two "Dresses into Skirts" blogs using two different methods. (You can find them here and a NO SEW method here.) Today, I am going to show you a third method. 

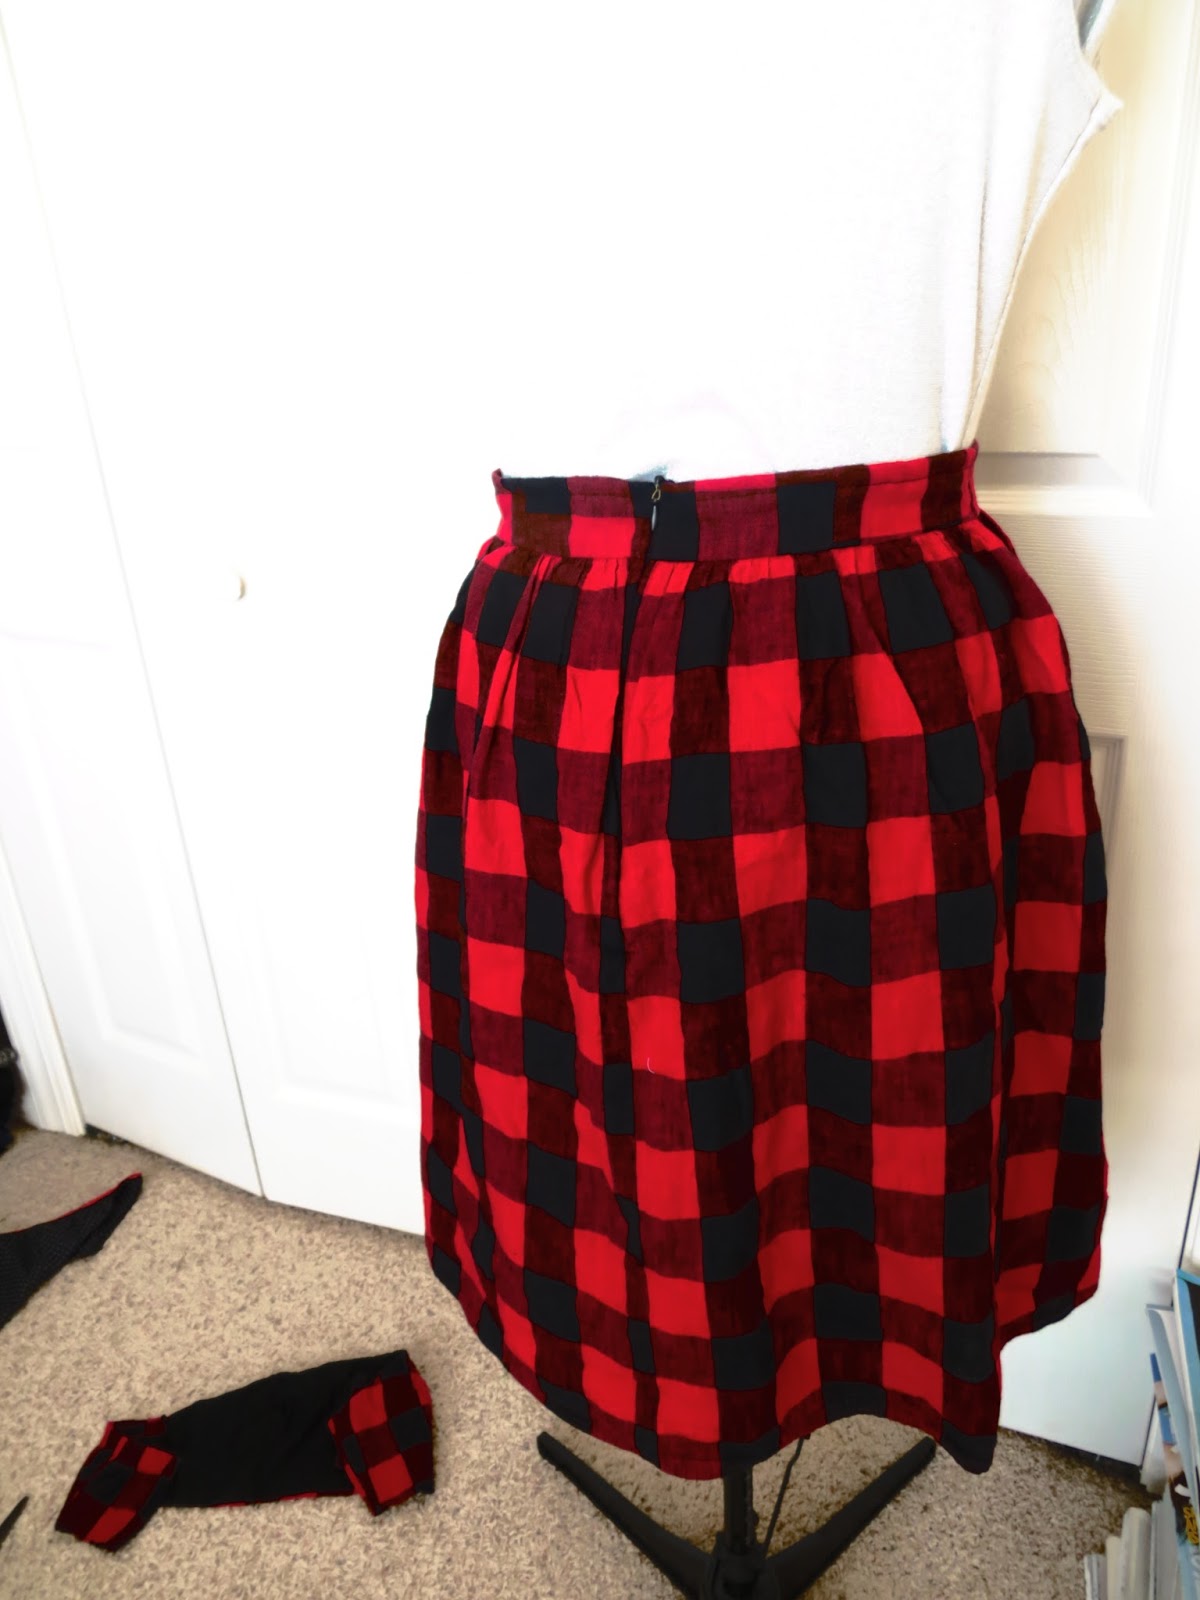
I did it with the sleeveless dress below. This dress makes me think of the Portlandia sketch, "Put a Bird on It!"


Okay, so up close we can see a waste band that is similar to the "No Sew" waistband from my prior blog post, with one significant difference. The "finished" portion, instead of being at the top of the waistband, is actually at the bottom of the waist band. That means if we want a finished edge, we will have to cut off the skirt portion and wear the bodice as a top. Well, the bodice is the part that I'm not thrilled about, so this post is about how to make a dress with this particular waistband situation into a skirt.


I got out my trusty pinking shears and cut above the waistband and into the bodice about 2 inches or so. I wasn't careful, because this part doesn't matter. I just needed to remove most of the bodice.


So then, what I did was to fold the 2" portion to the inside. This is looking at it from the front. . .


. . .and this is looking at it from the back.


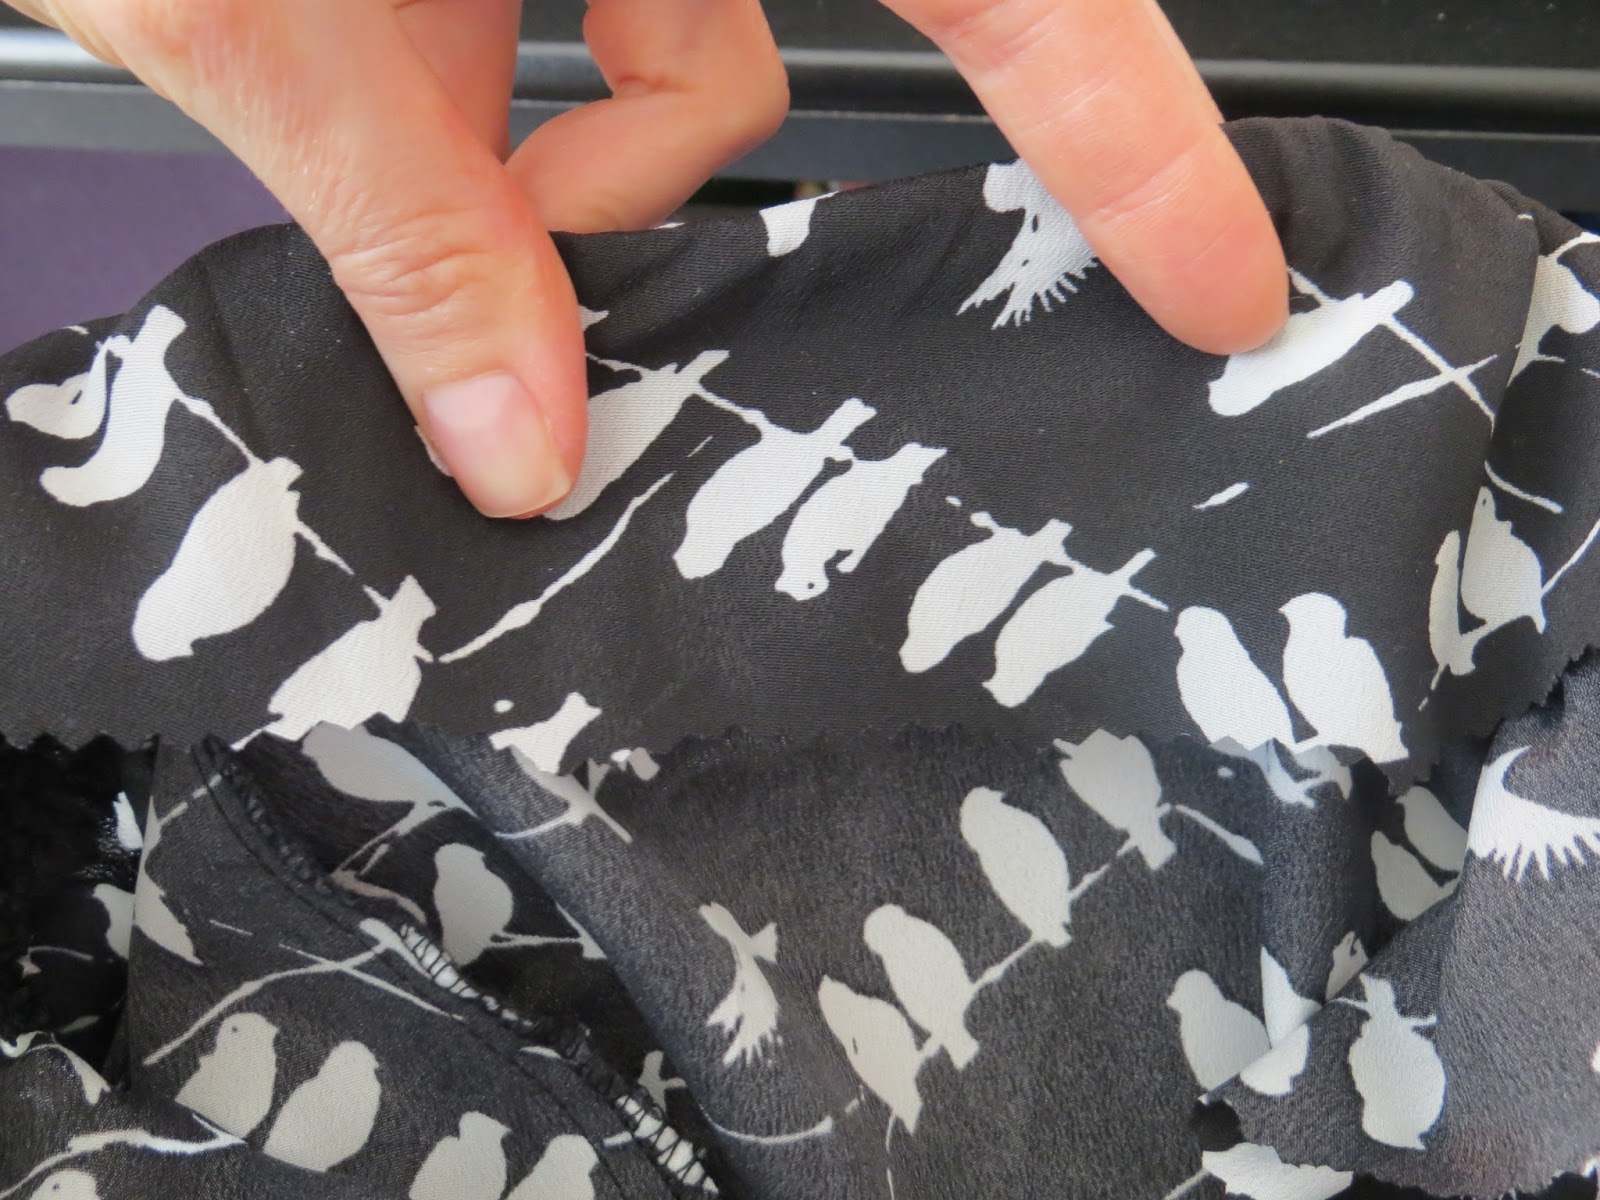
With the 2" seam folded to the back, I tacked the waistband down with the needle sticking into the fabric. I used a straight stitch.


Then, I gently pulled the elastic flat and continued stitching in the ditch just under the elastic.


When, I was done, my stitches were almost invisible. . .to the untrained eye. . .


I didn't bother trimming the excess off, but you can if you want. I suggest using pinking shears so you don't have to worry about the fabric fraying.


The End!


Sunday, February 14, 2016

Refashioning: Turning an Old Lady Shirt Backwards. . .Literally!

I frequent my Goodwill on the weekends because all tags of a predetermined color are only a dollar! Honestly, most of the clothes you see in this blog. . .and on my person. . .come from this rack. Anyways, I'm always on the lookout for my "Type 4" colors, and my green in particular because it's my favorite. When I find it, I usually just buy it--even if the item is gross--because I love this color, and I know I can turn it into something else. I hope. . .as always, that this post gives you some ideas!

Here is an old lady shirt I found the other day. 


It's that really weird crinkly, yet stretchy, polyester fabric. It's usually really horrid, but on this particular shirt, the color really shines--almost sparkles. I can't stop looking at it. These pictures don't do it justice. (My camera has a hard time with greens, unfortunately.) Just picture the boldest green you have ever seen, and. . .that's it!


The first step was to cut the shoulder pads out!

Then, I cut the collar off.


Then, the sleeves.


Next, I pinned and sewed up the button placket. 


This used to be the front, but I wanted the buttons in the back, so I pinned it to the back of my dress form and used the form as my pattern. (This is actually a technic of pattern making called "draping" because you drape and pin the fabric onto a form and then cut away everything that doesn't lie flat. I don't do it very often, but I probably should. It worked really well.)


I also draped the front (which used to be the back).


Next, I worked on the sleeves. For this, I did my usual cheating method of cutting around sleeves of a shirt I already knew fit me well.


I sewed up the sides of the sleeves.


Then, I pinned the two bodice pieces together and sewed them.


I added elastic to the tops of the shoulders as reinforcement. This fabric is super stretchy and I didn't want the shoulders to stretch out. I've noticed this method on factory-made shirts I own. Turn your garments inside out sometimes! You can learn a lot!


I pinned , then sewed, the sleeves to the bodice.


Then, I sewed some black stretchy fabric to the neckline, but. . .I guess I forgot to take a picture. (I get ahead of myself sometimes and forget that blog posts need pictures. . .Tons of my projects never even make it on here because I forget to take pictures. . .Oops.)


Okay, so. . .It kinda looks like Star Trek, but. . .I love Star Trek (especially Mr. Spock, may he rest in peace), so I'm okay with that!


I added a leather Peter Pan collar necklace that I made (example of a project I never photographed), and wore it with a jumper so I wouldn't look like a Starship Trooper.


The End!


Wednesday, February 3, 2016

Refashioning: Making Clothing More Functional - Sleeveless Dresses into Skirts

Here is a little series I am doing in the "Refashioning" vein, but specifically geared towards changing "okay" clothing into more functional pieces (vs. hideous pieces into less hideous). I hope these entries give you some ideas!

Today's post is about how to turn sleeveless dresses into skirts. It really is as easy as cutting off the bodice and hemming the waist, but for those visual learners, scroll through the pictures!


A note before cutting, you will notice I laid the dress down with the front of the dress facing the floor. Now look at the picture below. I am lifting up the back bottom hem. I pulled it down below the front about half an inch or so. This is to allow for "butt lift." This is for those babies, who like me,..."got back."


So...really important. If your dress has a zipper and you want to keep it, make sure to zip it down just past the waist. Otherwise you will chop it off when you start cutting!


To hem the waist band, just fold it down twice about 1/4-1/2inch and pin it. Then sew.


Zip the zipper up to the top before you start stitching, this helps you keep both sides even.


That's it! Here's my finished skirt with one of my favorite T-shirts!


Here's another sleeveless dress I turned into a skirt.


Don't forget the zipper!!


I probably would never have worn these dresses as dresses because they were too high maintenance, but as skirts, they will get much more mileage!

The End!!