Wednesday, December 3, 2014

DIY Non-Chemical All Natural Deodorant (+ Bonus - DIY Perfume!)

Who knows what they put in deodorant these days.  It's not worth the health risk, and personally, I'm not all that impressed with the job store bought versions do.  On the other hand, most DIY facsimiles fall way short on actually working. (Who wants to smell like a dirty hippie?) This is my tried and true method. (And, listen up, I'm a sweat factory.) It kills germs, doesn't leave residue, makes you smell nice, won't kill you, and is really easy/cheap. Once you make it, you will also have some really nice perfume as a bonus.

You need four things:
1. A salt rock. (Found in organic stores and on ebay. They last forever. I've had mine for over ten years.)
2. 100 proof vodka. (Cheapest you can find.)
3. Essential oil of your choosing.
4. A dropper bottle.

Directions for making perfume:

Add however much vodka to the dropper bottle that you want. Then add drops of essential oil till you acheive the desired smell potency (I do about 30). Shake. The longer you let it cure, the longer lasting the scent will be.

Two step deodorant method:

1. Add water to the salt rock and rub it into your arm pits.
2. While your pits are drying a bit, add several drops of your perfume to the salt rock and rub that into each arm pit.

What I like about this is that I don't feel cakey, I don't leave residue, and I can smell however I want (and don't have to worry about my deodorant clashing with my perfume). It lasts even longer than store bought crap.

Notes for those with misgivings about vodka:

- You can use rubbing alcohol, but it burns.

- Realize that the finest perfumes use a distilled clear alcohol like vodka. Cheap ones use rubbing alcohol. Vodka retains the scent longer.

-You could also just spritz your favorite body spray or perfume into the salt rock, but vodka kills germs, so you get dual action with vodka. (Unless you use a high quality perfume, in which case it already has distilled alcohol in it.)

Go thou and do likewise.

The End

Saturday, November 22, 2014

3 Minute Quiche

This may be appalling to some, but just because you are in a hurry doesn't mean you can't have classy quiche.

Ingredients and Utensils:

1. 1 egg
2. Shredded cheese of your choice
3. Spinach (optional)
4. Mug
5. Fork
6. Microwave

Directions:

Put ripped spinach, cheese, and egg into a mug, and beat it all for about 30 seconds. Put immediately into the microwave on high for 2 minutes. The End.

Thursday, November 20, 2014

Pumpkin Pie that WON'T Kill You...in 20 minutes!

We all know that a high mortality rate from over-indulgence is a uniquely Western problem. (Wow. Turning 35 has made me really preachy...) Anyways, here is how to make a pumpkin pie that not only tastes good, but helps grow and maintain healthy stomach flora with good bacteria.

I know some people hate chatty blogs, so I've bolded what you really need to know.

CRUST

Ingredients: 1/2 apple sauce, 1/2 cup ground flaxseed, 1/2 rolled oats, 1/2 chopped nuts, 2T sunflower oil, 2T coconut flakes. (If you hate coconut, don't add the flakes.)

Directions: Preheat the oven to 350. Mix all the ingredients together. (I do my mixing in the pie pan itself to save washing an extra bowl.) Spread the mixture throughout the pan. Bake for 12 minutes.


As you can see from the picture above, I added my coconut flakes on top of everything else.


PIE FILLING

Ingredients: 1 can of pure pumpkin, 1t cinnamon, 1/2t nutmeg, 1/2t ginger, 1/2t allspice, 1/2t cardamom, 1c vanilla yogurt, 2T gelatin dissolved in 2T of hot water. 

Directions: While your crust is baking, mix everything but the gelatin together. (I do my mixing in the yogurt tub itself so I don't have to wash another bowl.) Dissolve the gelatin separately in between stirs of your filling mixture. Once the gelatin has cooled a little, add it to the rest of the filling. (You don't want it too hot, or it will kill the good bacteria in the yogurt.) Put the filling in the refrigerator for a few minutes until your crust has finished baking and has cooled. 

P.S. I don't add sugar because there is plenty in the vanilla yogurt. If you are a sugar fiend, then...*sigh*...I guess add some. Just remember, the point of this exercise is to make something healthy.

While you are waiting for all the cooling to finish, let me explain why I'm using gelatin. I realize that gelatin is an animal product (well, so is the yogurt if we want to get technical), but I needed something that was a good thickening agent and I didn't want to add eggs because I'm not cooking the filling. If you don't want to add gelatin, then use a vegetable thickener or just freeze the thing and eat it like an ice cream pie. I don't freeze mine because, again, don't want to hurt the good bacteria in the yogurt.

Also, if eating uncooked pumpkin out of a can makes you nervous, then I guess you can buy yourself a pumpkin and puree it the old fashioned way. I'm just using what I have on-hand because I'm too lazy to leave the house.

Here is the baked crust. It actually holds together quite well.


Once the crust has cooled down from hot to slightly warm, go ahead and add the filling. It may have congealed into lumps in the few minutes that you've been waiting, so just run it through a blender before you pour and you'll be fine. Once you've poured it, spread it throughout the crust. Put promptly into the refrigerator. 

(It may or may not set depending on how much gelatin you use or your altitude or if the baking gods are smiling, so if it doesn't, go ahead and put it in the freezer and serve it like an ice cream pie.)


The End!


Friday, September 12, 2014

Southern Pecan Cornbread waffles with bacon and cheese

This recipe was inspired by an obnoxious IHOP commercial. Apparently IHOP offers a bunch of new flavors of waffle. (That's all the information I get before I hit the mute button.) Anyways, one of them involves bacon and cheese. I took this as a personal challenge.


Ingredients:

1. 1 cup of buttermilk pancake mix.
2. 1 cup cornmeal
3. 1/2 cup milk
4. 1/2 cup water
5. Handful of real bacon bits (or you can fry and crumble your own if you wanna get fancy.)
6. Handful of chopped dates
7. Handful of chopped pecans
8. Handful of shredded asiago cheese.


Mix all the ingredients while your waffle iron is heating up. Spray the iron with olive oil each time to get a nice brown and crispy outside.


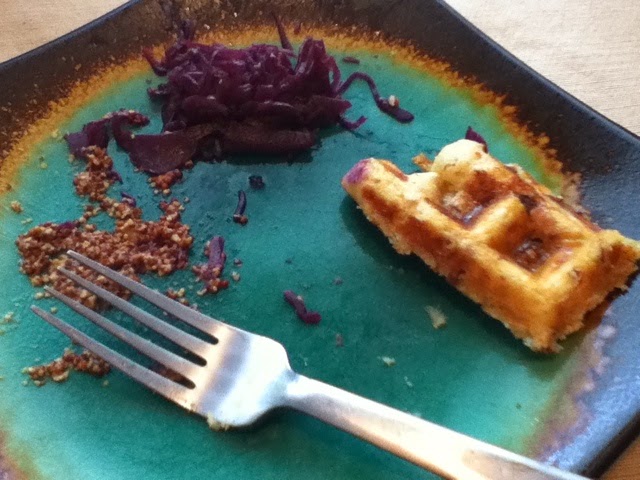
They are really good with maple syrup, but you can try some other toppings. Some of my favorites are: whole grain mustard, sriracha sauce, red cabbage, ketchup, and jam.

Take that, IHOP!


The End!


Tuesday, June 3, 2014

3 Yards of Jersey Fabric Becomes Yoga Pants and a Maxi Dress!

I am a Type 4 with a secondary 1. My least present type is Type 3; however, it does show up in two ways: shopping savvy, and practical efficiency. This blog post is an example of that efficiency. I decided to post it in case it helps someone else think through their sewing planning.


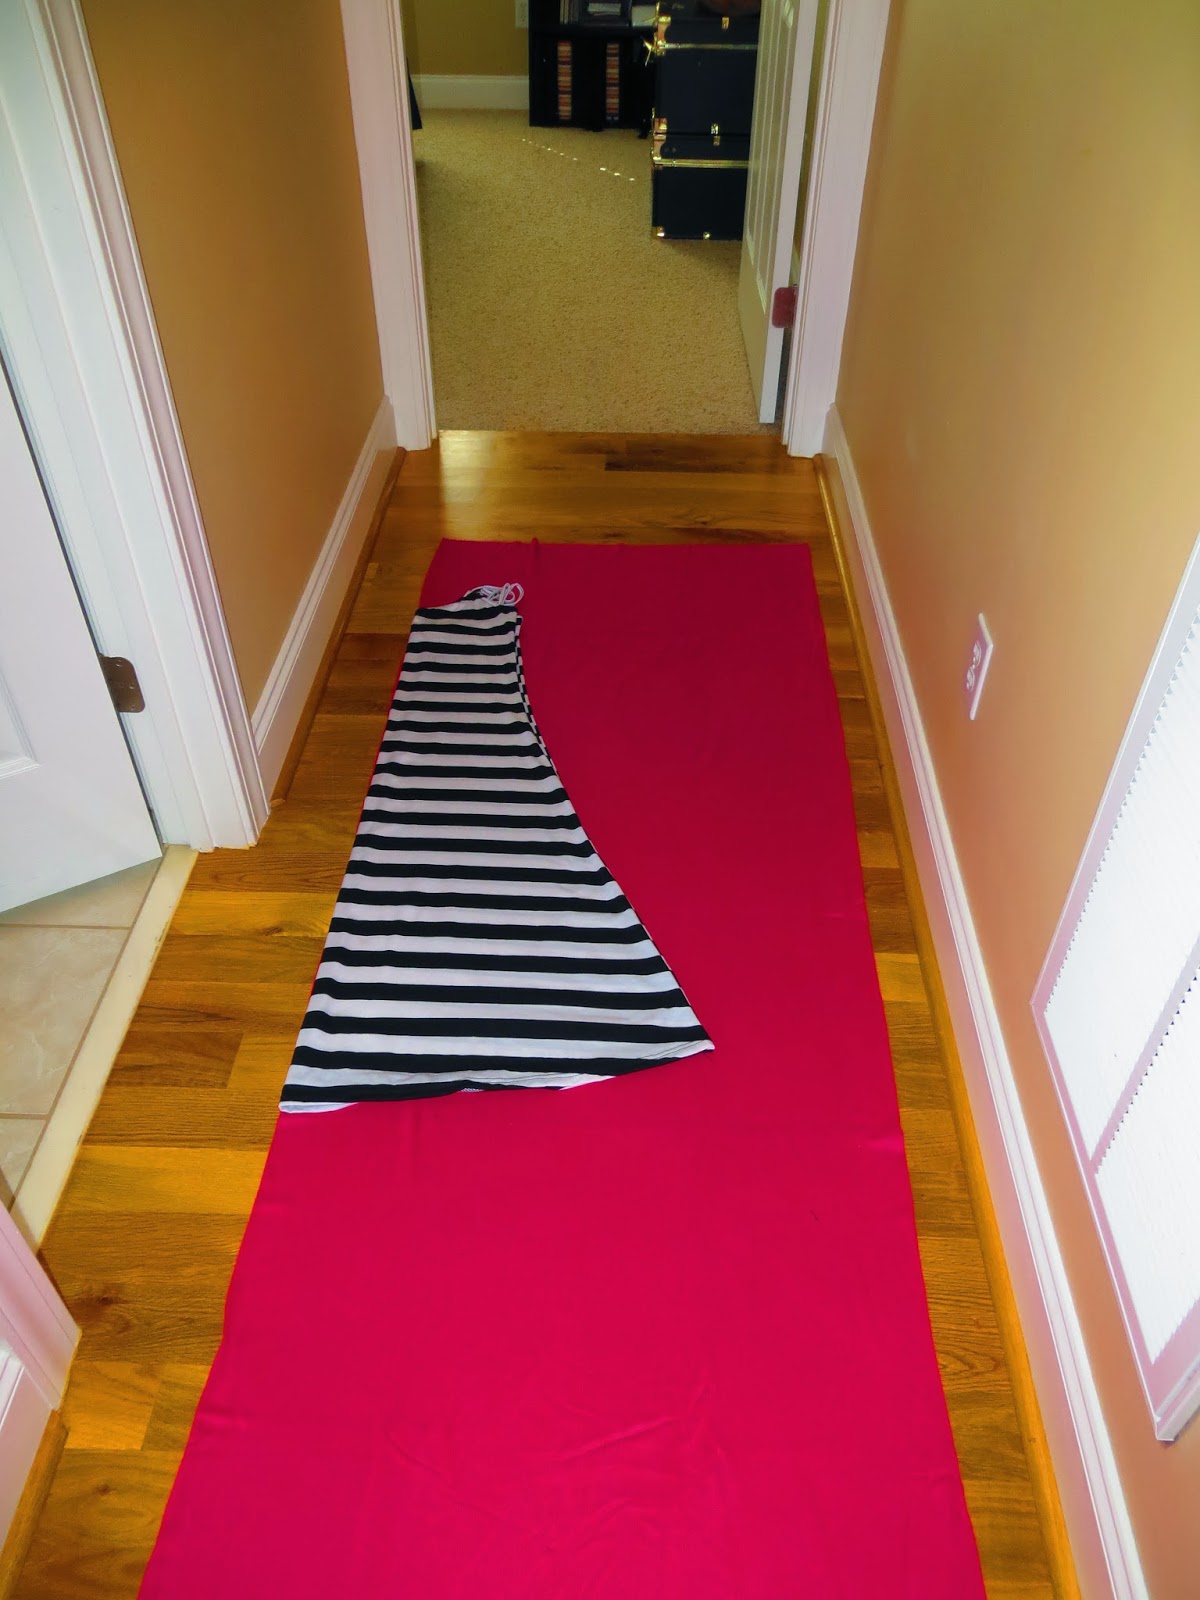
The first thing I made was a maxi dress. I laid down a maxi dress from my closet and cut around it. An advantage to doing this is that you don't have to pin anything. Fabric is much heavier and more flexible than paper patterns that need to be pinned. If you notice the empty fabric right next to the dress is the same sort of triangle shape, so I flipped the maxi dress over and laid it down going the other way. I was really lucky with this fabric because it's a giant tube, so both sides of the fabric are a fold. This means I didn't have to sew a seam up the back of the dress. A back seam isn't the end of the world, so if that's what you have to work with, do it. I made the straps out of scraps.


Then with the bottom half, I folded it in half vertically and laid some yoga pants on it. I cut around those as well. I made the top waist band out of extra scraps.
**NOTE** If you do this, make sure to unfold both pieces and cut the waist hem lower in the front on both legs. This keep the waist higher in the back to allow for your butt, and keeps the pants comfortable in the crotch when sitting.


Here is the dress. 56" long.


And here are the pants. 37" inches long.


The End!


Friday, May 23, 2014

Refashioning: Transforming an Old Lady Jacket

I bought this old lady jacket at the thrift store yesterday. I really hate the style, but I really love the size of the houndstooth.


Look how baggy it is!


I love the fit of this Banana Republic jacket, but I hate the color.


So I laid the first jacket on the floor.


And laid the BR jacket on top.


Then, I just cut around it. I also cut the ends of the sleeves to make short sleeves.


When I take away the extra, you can start to see how the new jacket will look. Then, I just sewed on the sleeves and sewed the sides up!


Done!


The End!


Thursday, May 22, 2014

Two Skater Dresses

It has come to my attention that a former student of mine enjoys reading these posts, so. . .a shout out to you, Lindsey! I miss you! A little bird told me your freshman year went well. . .(That little bird is your mother. I literally almost ran into her at Walmart. Literally.)

Speaking of Walmart, I found this neon yellow sporty jersey fabric at Walmart for $1.50 a yard and so I bought four yards. 


I had no idea what to do with it, so I thought I would start with a skater dress. I did my "lay another dress on top and cut around it" pattern system that I've been using lately.       It's really easy, Guys. Way easier than paper patterns that you have to pin. You should try it.


Maybe this picture will show you how easy it is. You just have to make sure you cut a seam allowance around whatever you cut. You can see here that I extended the torso down a few inches from the original dress. That's because I don't like when waists are just a tiny bit too high.


The piece I cut up there was the back piece with a higher collar. Here is how I cut the front. I used the cut piece as my pattern.


Then, I just cut around it.


But I stopped at the collar.


Then I replaced the original dress on top the piece I was cutting just now.


I tucked the back collar part in. . .


and cut around the front collar. 


To cut the skirt part, I just folded the bodice half of the dress in and laid the skirt part on top of my yellow fabric like this.


Then, I cut around it. You can play with these measurements, you know. For instance, I made the skirt 1/2 an inch longer.


When it came to sewing, I had to choose which side of the fabric I wanted to be the good side. This is athletic fabric, so usually this is the side that shows:


But that was a little too much texture for me and found that the back side was actually more solid.


Skipping ahead. I sewed the dress together but when it came to hemming, I hemmed the front middle bottom hem up 1/2" more than the hem I did the rest of the way around. This allowed for "butt lift." If you don't know what I'm talking about, skip it. I just hate when dress hems hang just a tiny bit higher in the back. Drives me nuts.


Here is a closer picture to show what I'm talking about. I trimmed that edge after taking this picture, just so you know.


The end! All in all this dress only took 1-2 hours. I wasn't really paying attention.


Okay, I know this hem is kinda tacky. Usually, you are supposed to double fold before you hem, do a lining, or use bias tape, but I didn't do any of that for two reasons: (1) If I double folded the collar and sleeves which are curved, then they would have bunched up funny. (2) The only reason to double fold, lining, or bias tape is because you are afraid of the fabric fraying. Since this fabric doesn't fray, I didn't worry about it. You can't tell from the outside and that's the only side that matters. Back in the day when women only had like five dresses, it mattered. Nowadays when most women have tens if not hundreds of dresses, there is no reason to make them last through an apocalypse.


Okay, that dress went so fast that I decided to make another dress with fabric I already had. Before I sewed the yellow dress together, I traced the pieces onto paper. Then I drew a raglan line from the collar bone to the arm pit and cut the pattern along that line. That's what I used to make this raglan skater dress:


I saw a dress on eBay where the raglan line didn't end directly at the armpit, but rather ended just below it. I thought that was unusual, so I did the same thing.


I made a waist band on this one.


I was going to use just the pink chiffon for the shoulders, but it was a tad flimsy, so I backed it with the navy jersey as you can see here:


Also, to reinforce the waistband, I grabbed a strip of scrap jersey out of my scrap box. This is why you should save scraps.


The End!