If you haven't heard, the latest style is to carry a purse with a guitar strap. It was actually a Fall trend, but it seems to be carrying over into Spring/Summer.

Different designers had their models carrying these bags on various runways.

Even though it's a designer sort of thing, the look really harkens back to art and crafts and DIY, so I guess this post has come full circle! I'm going to show you how to make a strap for your current purse, so you don't need to spend a lot of money for this trend (that will probably last all of five minutes)!

You may remember a few years ago when I dyed this Coach purse silver. (If not, click here for a refresher.) I like it. It's still in good condition, and I don't feel like buying a new purse right now. The first step to this project was unbuckling and removing the current strap.

After that, I just used a belt I liked and an old crappy purse, that I hated, that had detachable straps. If you don't have either one, that's why God made thift stores! Buying an old belt or an old crappy purse costs far less than buying the them from a craft store.


I also used an old thrifted black leather jacket, because I wanted to add some substance to the belt. You don't have to do this. (The following directions are for adding leather to the belt, so if you aren't adding leather, you can just attach the hardware to either end of the belt and you're done!)
But if you would like to add leather, read on.

First, I took the hardware off the belt.

Then, I ironed both ends flat.

Then, I ironed both ends into points.

Then, I cut a panel out of the back of the leather jacket.

Then, I cut this panel into two pieces.

Then, I sewed two of the short ends of the leather together--right sides together--to make one long piece.

Then, I folded the belt in half and marked the halfway point with a pin.


Then, I placed the pin on top of the seam I'd made in the leather.


Starting at the pin/seam point, I sewed down the middle of the belt.

The trick when you are sewing leather on a standard machine is to hold both layers as tightly as possible and guide the whole thing through with both hands. Otherwise, the stitches get really tight and the whole project looks bunchy.

I sewed all the way down to the base of the point I'd ironed on the end of the belt.
Then, I did the same thing on the other end, starting from the pin/seam point and sewing down the base of the other point.

After the middle was stitched in place, I sewed along the sides of the belt, starting and ending at the edge of the belt's points.


Then, I cut two of the purse strap clasps off the old purse.

Then, I bent one of the belt points around the base of the clasp and hand-stitched it in place.

This is what it looked like from the other side of the belt point.

After securing the clasp to the belt, I began hand-stitching through the belt and the leather to secure the layers together.

I found these rubber finger tips really helped.

After that, I cut a strip from the edge of the leather up to the belt.

Then, I flipped this strip through the loop of the base of the clasp.

At this point, if you can add a grommet, this project would probably look a lot nicer. I don't have a grommet, so I just stitched through the leather and belt. The trick is to stitch as close to the clasp as possible so that the belt/leather is nice and tight against the metal.

Once that was done, I cut the point free from the leather. . .

And tied the thread off and cut it.

Then I cut the belt free from the leather.

So, why didn't I cut the leather to fit the belt in the first step? Because, leather stretches and shifts during sewing and I wanted the leather to be as flush to the belt as possible. Doing this project by cutting the leather at the end, saves a lot of headache at the beginning and middle!

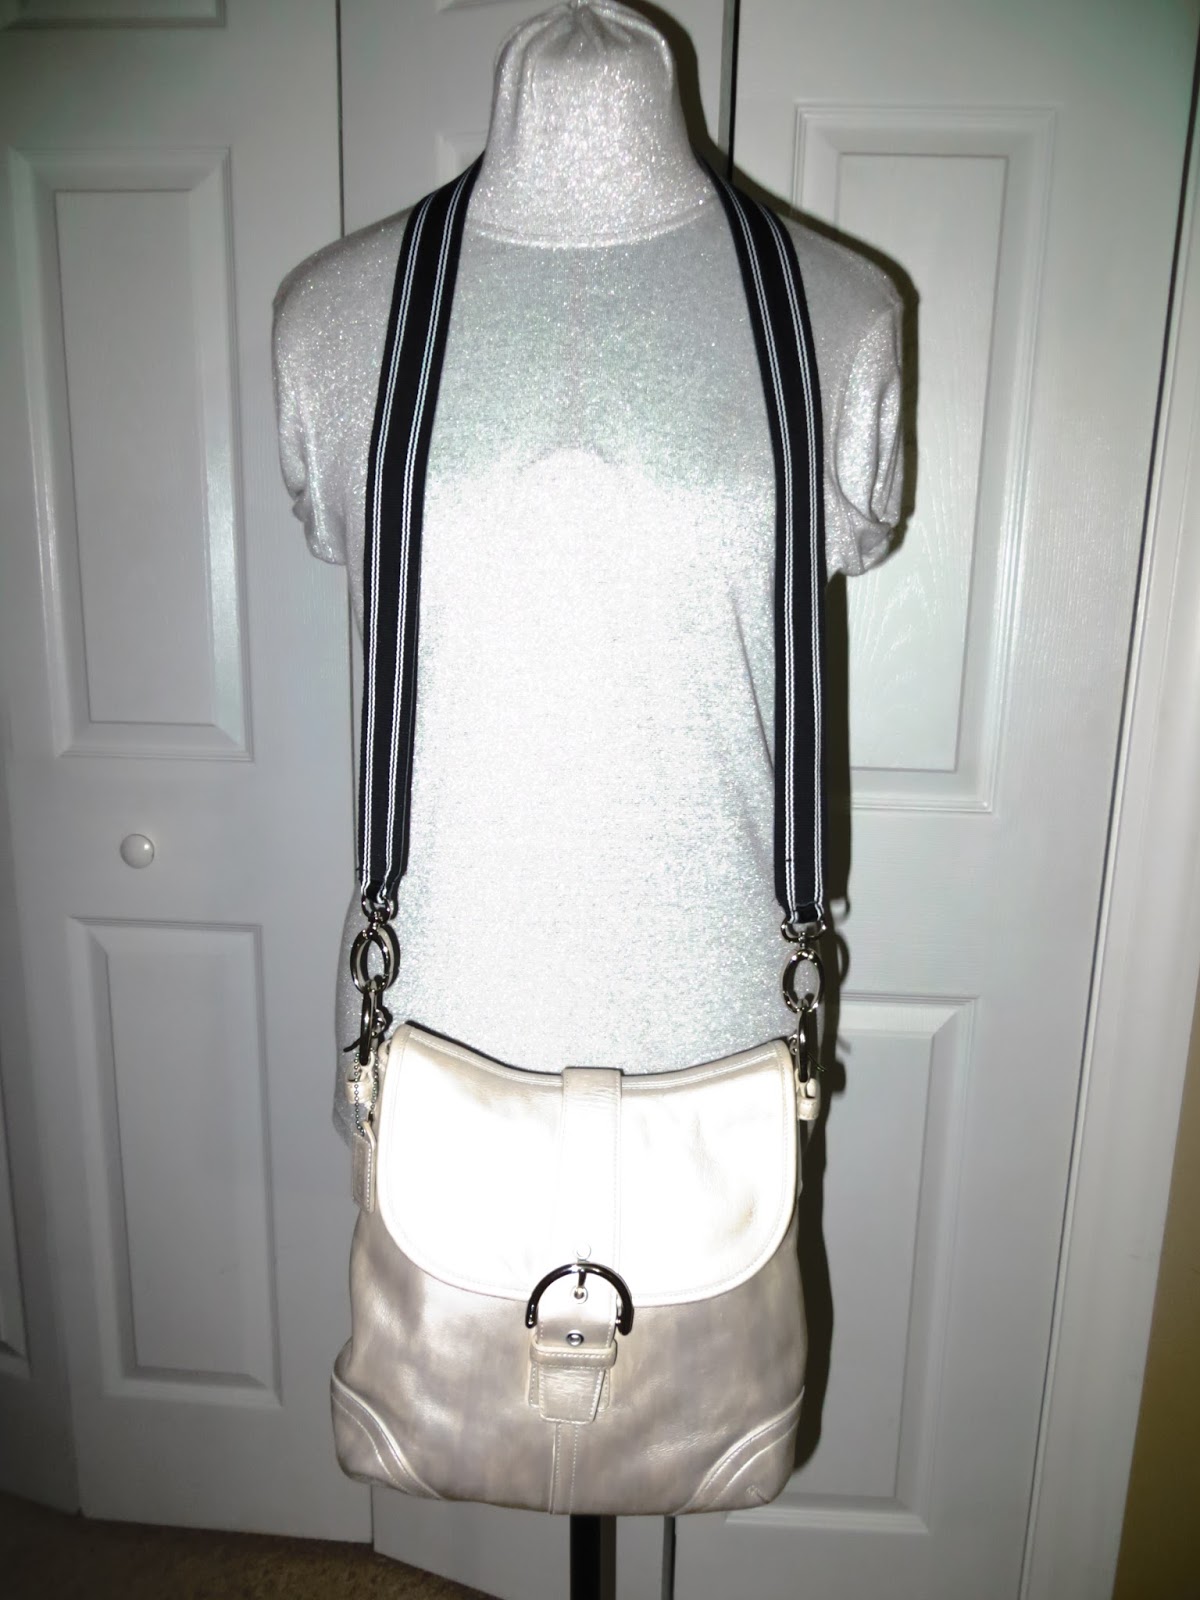
The finished strap:

This is how to wear it cross-body. The nice thing about guitar straps is that they are thicker and distribute weight more comfortably than thinner straps.

Another advantage to the guitar strap is that you can flip it over to the other side for a different look.

If the strap is too long for you, here are two ways to wear the strap shorter.
First, put a knot in the side:

Or feed the strap through a side loop of the purse and, with the strap now folded in half, clasp both clasps on the same side.

The End!


