It's coming on "Back to School" time and my church is doing a drive for school supplies for kids in our area. My pastor's wife asked me to make a donation box based on one she saw on Pinterest:
So, the main trick to this project was finding a box that had a stiff, high back.
I found this empty pool noodle box at my local Dollar Tree and they let me have it.
Dollar tree had table cloths in yellow, but it wasn't bold enough, so I found this bold yellow table cloth and multi-colored tissue paper at Wal-Mart.
If you want to make one, you will need the big box, table cloth, and tissue paper, but you also need scissors, tape, black Sharpie, green paper, green Sharpie, bulletin board border (optional), and a yard stick.
With the yard stick, I measured how high I wanted the front and sides of the box to be. . .
. . .and then I drew a line around the sides and front.
Then, I cut around that line and cut all the excess off.
Once all that part was off, only the back was up high (which is how I wanted it for the "crayons"). To make the "crayons" I measured the width of the back part (22") and divided by 4 (5.5").
Then, I measured and drew lines to make the tops of the crayons.
Here is a trick for how to cut cardboard without mangling it: As you cut, fold down the part you are cutting away. That way the part you leave will stay straight and unbent.
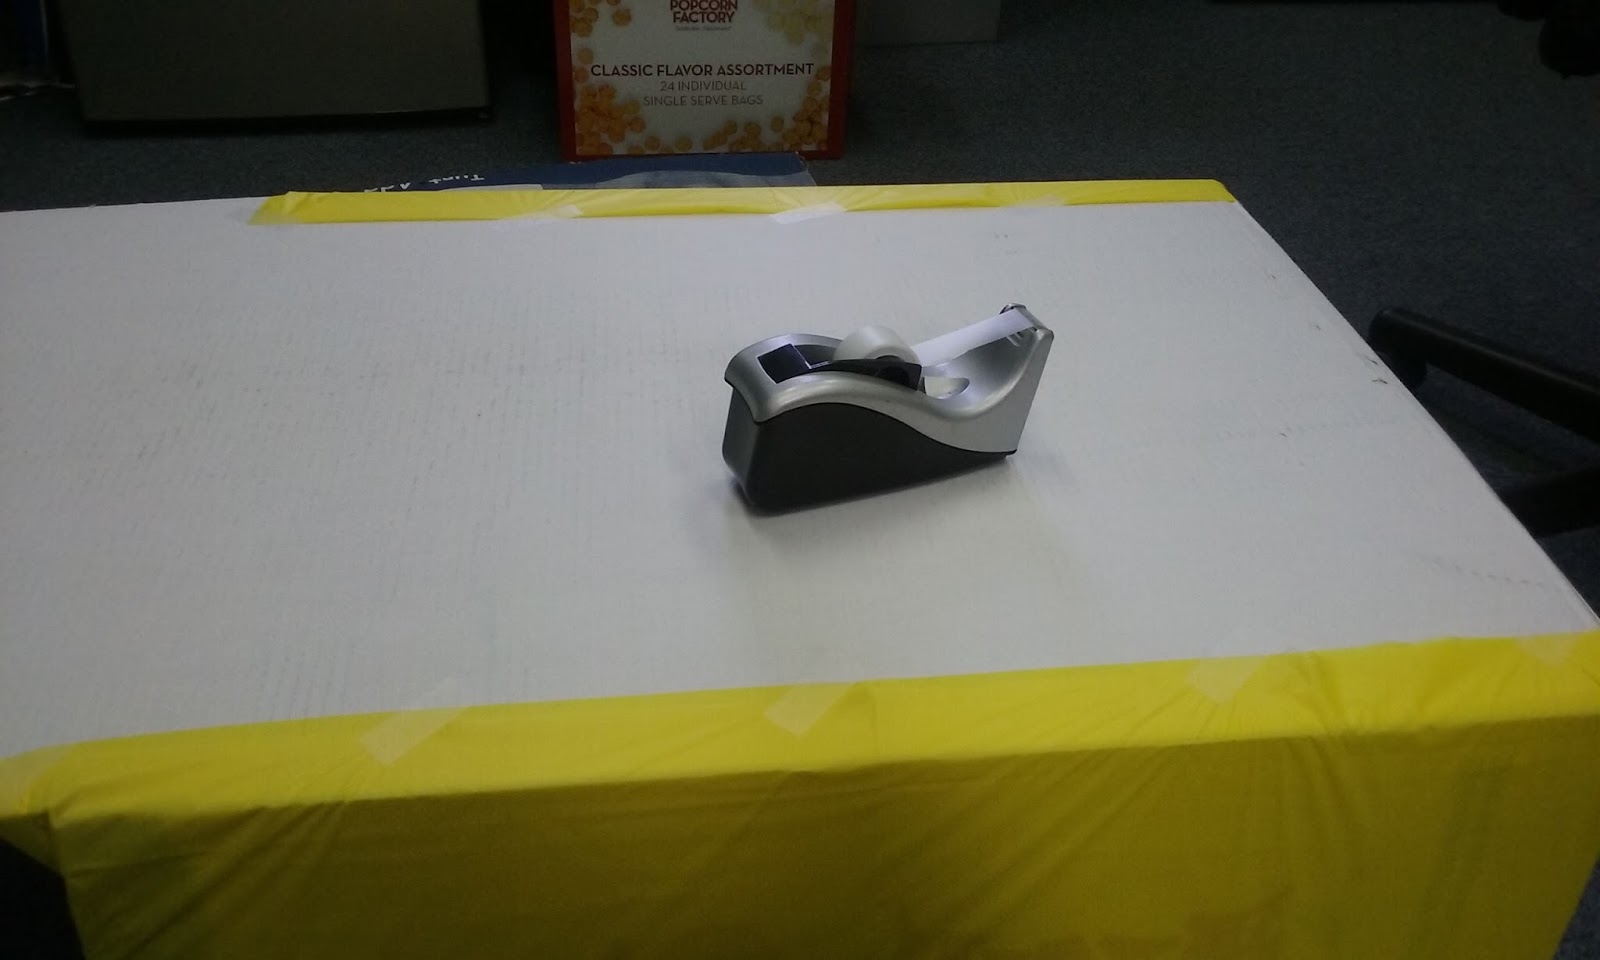
Skipping ahead, versus painting this whole project (which would take a long time), I just folded the table cloth over four times and taped the excess edges around the front and sides.
Bottom:
Top:
Back:
Okay, so remember how the "crayons" were to be 5.5" inches wide? This is how I made my crayons (again, versus painting them...so much faster). I marked 5.5" on each piece of tissue paper, and I just folded it into long 5.5" rectangles.
Then, I hung them off the tops of the cardboard and taped the tops to the back.
And then I put rolled taped under the length parts.
This looks sort of messy, so I took a piece of yellow tissue paper. . .
. . .and taped it over the messy part on the inside.
To make the "ric-rac" design on the crayons, I took some bulletin board border (that I will use in my next post) from Dollar Tree and traced it.
Then, I just colored it in.
Instead of cutting out letters, I printed out this graphic that I modified from Google searching.
To make the iconic green corners, I took some green cardstock that we had on hand (but you can just use construction paper or paint). I traced a corner onto the paper.
Using that triangle as a guide, I cut out four.
I taped two to each corner.
Then, using a green Sharpie, I drew three lines above each green corner.
So here it is finished...kinda. If you zoom in, you can see that the sign covers three pages and looks kind of messy. The graphic didn't print out very well to piece together.
Fortunately, our office has a big plotter printer, so Shannon, my pastor's wife, printed it out again as one big piece.
The End!