Showing posts with label pear-shaped. Show all posts

Friday, August 19, 2016

Refashioning: Oversized Shirt into Separates - Shirt and Skirt (V Shaped Body Type to Pear Shaped Fix)

I got this shirt in Thailand for around $1.60. I just liked the cartoon print of it and knew I could do something with it.

Actually, at this point, I've already taken in the back neckline to bring the shoulders closer together. It used to be a huge scoop neckline. Also, the sleeves were way too big for my arms. Obviously, it was made for someone who had much broader shoulder and thicker arms--maybe a ladyboy? Who knows. Anyways, this sistah is pear shaped, so. . .I thought if I took in the neckline and sleeves, the problem would be fixed, but as you can see, I'm still not gonna wear it!


Another problem is that this shirt was just so far over the top, and what I call "Miami Chic" meaning "cheap and tacky." I feel like I should be wearing a ton of gold chains and hoop earrings with stilettos, and. . .that ain't my style.


Here you can see how I took in the back neckline.


All right, so if I was going to save this shirt, I was going to need to spread the love a little bit. So I cut it in half.


Using some black jersey, I cut out a three inch waist band for the top of the bottom of the shirt. 
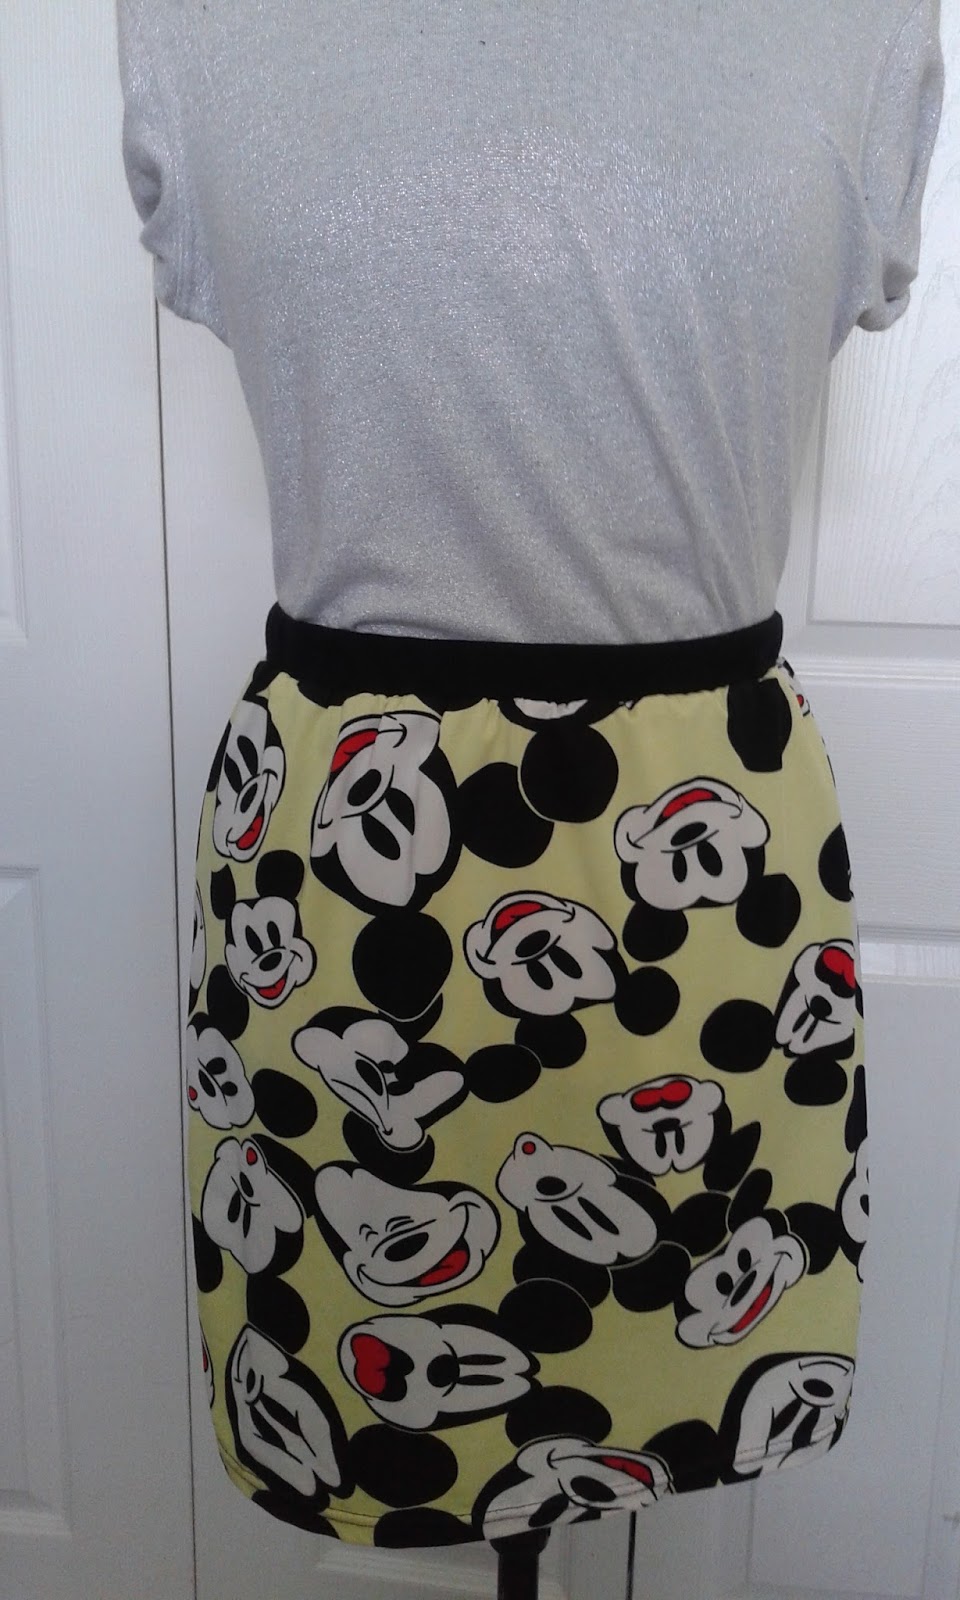
It was about to become a skirt.


Then I cut out a 9 inch band of jersey to put on the bottom of the top of the shirt.


Here is the skirt band.


I finally found a bodkin! So...here I am using my bodkin to thread some elastic through the waistband.


Then, I stitched the elastic together and sewed the rest of the waistband seam to close the hole.


Skirt.


Here is the band going on the bottom of the top of the shirt.


Finished.

Okay, so...yes, there is still a lot going on, but at least now I can wear the pieces separately and not look as gross. Even just adding the wide black waist section breaks up the craziness a bit, if I wanted to wear them together. Adding the waistbands has now added shape to an otherwise shapeless garment. I may actually get rid of this entire outfit soon, but I wanted at least to show you how you could salvage and elevate some of those oversized T-shirts you may currently be wearing as pajamas!


The End!


Monday, June 3, 2013

TCWC: The Modified Church T-Shirt Dress!

Shannon, my pastor's wife, let me get the same shirt I just posted in a 3XL so I could make a dress out of it! Here's the thing, though. There are tons of "Make a Dress out of a T-Shirt" tutorials out there, and you know what? Most of those shirts are too slutty to actually wear. Being that this is a church T-Shirt, and the fact that I never end up wearing shirts I can't wear a bra with anyway, it took me a little longer to figure out how to do this one. Normally, I just cut the top and sleeves off so I'm left with a big tubular rectangle and then cut the sleeves into straps for a tank dress, but that still wasn't going to work. I wanted to be able to wear this to church for worship team and/or wear to work, which means covered shoulders. I guess I could wear a sweater over a tank dress, but during summer months, that gets really annoying. So I would need to make a dress that had sleeves and wasn't super short. Plus, I liked the challenge!


Here is the shirt just before I started cutting. (Actually, I already started cutting. If you look around the collar you can see slits.) I got this idea from this blog on Pinterest. If you cut slits about 2" long and 3/4" wide, you can "braid" them. Basically, you loop each loop inside each other till you get the look below.


See the collar? I kinda started freaking out at this point because the shirt didn't look cooler. It looked even frumpier than before! Obviously, something else had to be done. . .


So then, I proceeded to fold the shirt in half, smooth the wrinkles down, and then cut the sleeves off, cut into the shirt to make new sleeves, tapered in to make a waist, and tapered out to make hips. 


I also cut slits around the bottom to "braid" along the bottom as well. I could easily have stopped there, but there were still two problems: (1) It was long enough for a tunic shirt, but not really a dress. (2) Also, my arms are annoyingly skinnier than the rest of my body and flowy sleeves do nothing good for me. If you have bigger arms, this look would be flattering on you; however, I end up looking like a turtle.


I added length by taking out the seams in the original sleeves, sewing them together, and then adding them to the bottom of the skirt. (Again, if you have bigger arms and/or are apple-shaped, you should stop here. This look will emphasize your skinny legs, flatter your arms, and hide your tummy.)


To give the dress a better pear-shape for my body type, I did the same slit-braiding around the arms and took the waist in a little more.


Here is a close-up of the braiding on the sleeves.


Here is another picture of the finished product. I wore it this way to church last Sunday, but I wore it without a belt and with capri leggings to work earlier in the week. I will definitely wear this on the plane during my missions trip this summer because It's super comfortable and worry-free (aka: I don't have to suck in all the time!) I also like the style of it. It's kinda "new" looking in the design.


Here's a little tip about braiding. If you want a more "gathered" look, cut the slits straight up and down like I did on the top. If you want a less "gathered" look, cut the slits like arrow points like I did in the bottom row. 


If you notice, the top material is more puckered and ruffle-y. The bottom material is flatter.


\

Here is another picture in case it helps to see the difference.


The End!