Showing posts with label silver. Show all posts

Wednesday, November 1, 2017

Refashioning: How to Make Sequin Leg Warmers from Skirts

I like to read fashion magazines to get ideas when I'm bored of my clothes. I must say I haven't been too inspired by anything I've seen lately, except for what you see below: sequin socks!


I mean, they are just the weirdest thing, aren't they? Who would even think to make them? But they look so cute and unusual. . .so my mind started spinning.

I like the look of them, but. . .I wasn't too thrilled with the sock idea. I mean, socks can only be worn once and then they need to be washed, so I had an alternative idea that would still keep the sequins around the ankles, but not be so scratchy around the foot: leg warmers!


I found this mini skirt on the dollar rack at Goodwill.


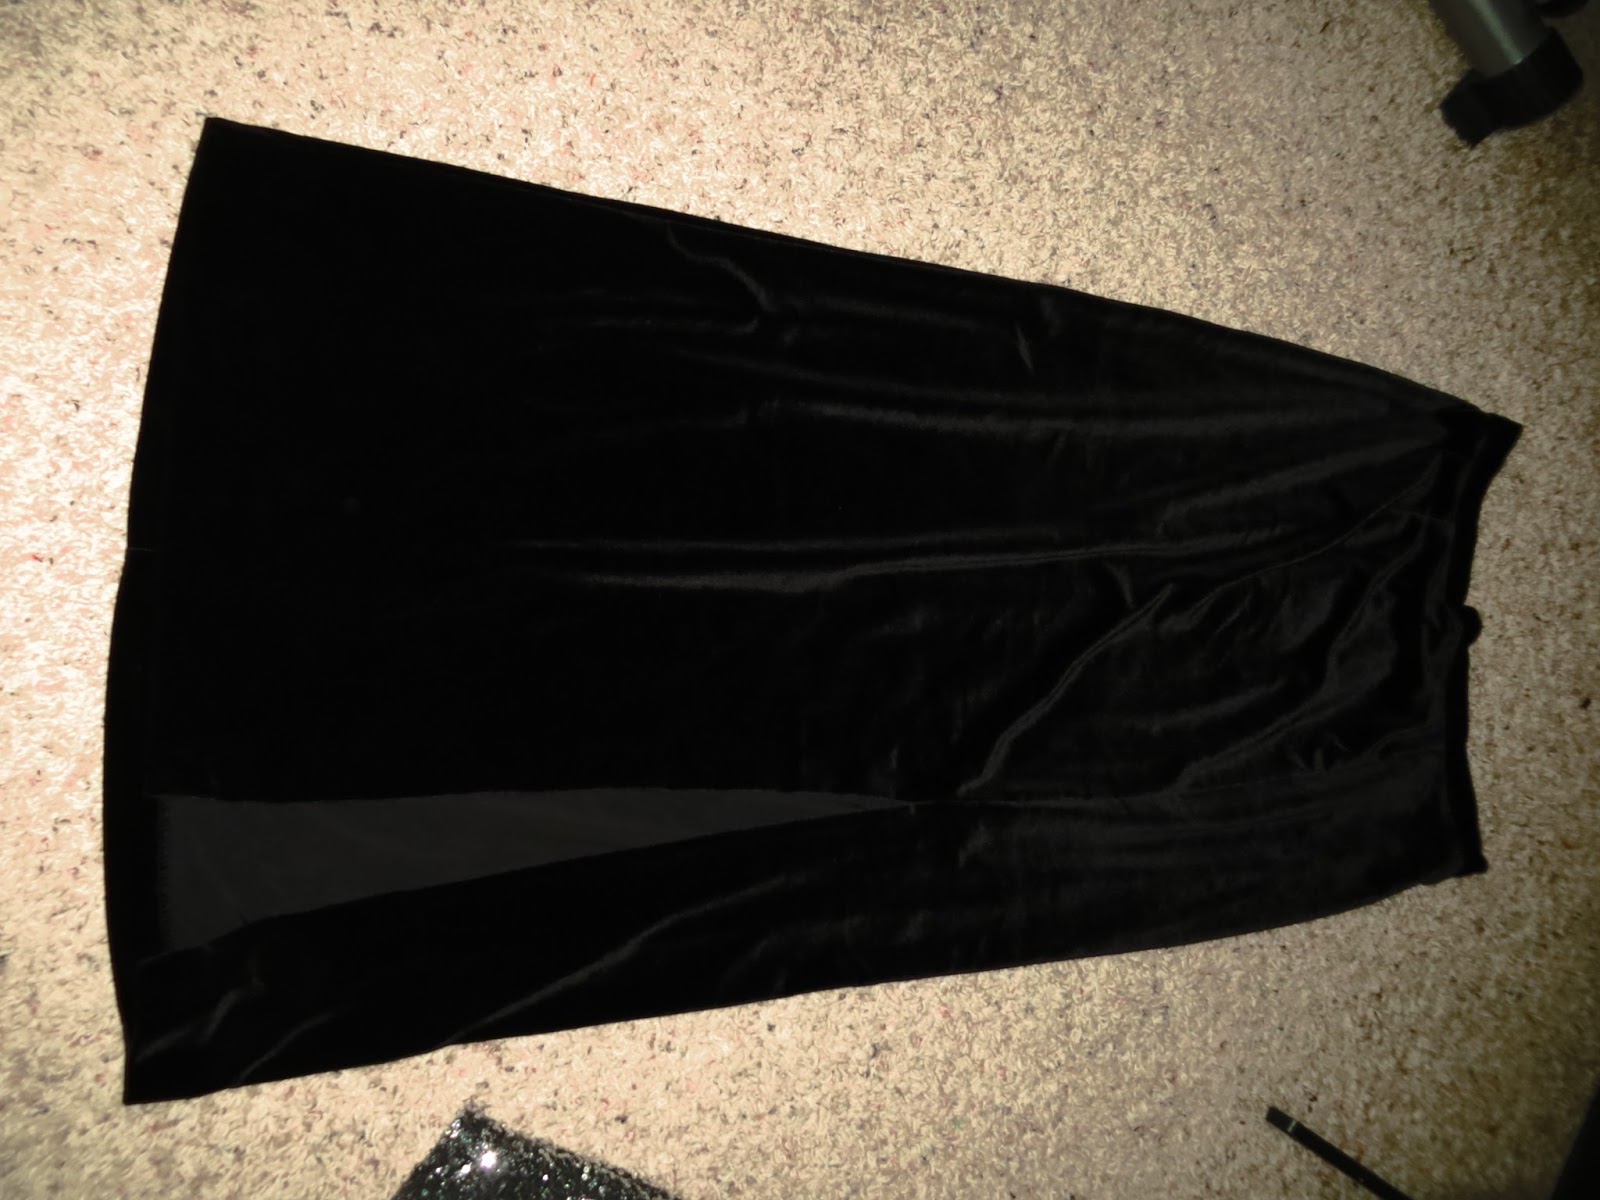
And this velveteen skirt as well.


First, I measured around my calf and I cut the skirt you see below to that measurement plus one inch (for seam allowance). I also cut it as tall as I could get it with the fabric I had. Cutting through the skirt like this gave me two panels.


I used those same measurements to cut out two panels of velveteen.


Since the bottom edge of the skirts were both finished, I decided to use that as the bottom of the leg warmers (the pieces are upside-down in this picture). I pinned the adjacent edges of one piece of sequin with one piece of velveteen with right sides together.


I sewed them with the sequins on bottom. (Note: velveteen is tricky because it slides around, so. . .watch out for that!)


So once those seams were created, I unfolded both pieces and pinned the long edges with right sides together.


After sewing those seams, I turned each tube inside out.


The finished leg warmer. This project took about fifteen minutes.


And! They are reversible!


The End!


Saturday, July 25, 2015

Colorblocking - When Shirts are Too Small

When I was in Korea, I used to go shopping in the underground with my friend Holly. She was always on the look out for a black dress with one big peacock feather across the front of it. When I found this sequined shirt on the dollar rack at Goodwill, I bought it because it reminded me of her, even though it's about forty sizes too small. Okay, so I can manage to squeeze it on, but. . .it ain't pretty!


I keep just about all my salvageable scraps from other projects, and below are some sleeves that I cut off another dress in order to make it sleeveless. I decided these would help me to fix my shirt by the method of color blocking. I thought about using another color, but because the peacock feather is such a feature, I decided a monotone blocking would be best.


I laid them on top. You can start to see how I would use them to fill out the sides of my shirt.


I put them behind the shirt to give you a better idea.


First, I cut the side seams almost all the way to the armpits.


Then, I cut the sleeves till they were the right size to sew into the sides of the shirt.


I pinned them all together and sewed them up.


This is the finished shirt.


Well, really this is the finished shirt. I tried on the one above and the hips were way too roomy, so I took them in about an inch.


It's a little dark, but you get the idea. Never let size be an obstacle to buying a shirt you like! You can always color block it!


The End!


Wednesday, May 13, 2015

How to Fix an Ink Stain on Your Coach Purse....or...Dying a Coach Purse

I bought this beige Coach purse at a yard sale. It had lots of ink stains on it. "No problem!" I thought.
...Yeah...It ended up being a problem.
I searched the internet for ways to remove leather stains. I tried soap. Nothing. Rubbing alcohol. Nothing. Vinegar. Nothing.
So then I got into the harder stuff--and like drugs--the deeper I got, the more of a mess I was in. I tried nail polish remover...and...bleach! (WHAT??) So now I had an ink stained purse...that had all the shiny factory protective coating removed. Great.
Then I got the bright idea to buy Guardsman Leather Ink Stain Remover sticks. It's in the name, right? How could I go wrong? Yeah. After using them, I now had a waxy, sticky...yet infuriatingly STILL ink stained, protective coating-less mess.
I was going to give up, and it was making me mad, because it was a really nice purse. No holes or tears. I was mad because I had spent money. I was mad because I couldn't fix it. I was mad because the stuff that was supposed to fix it, didn't--plus costing more money! I was mostly mad because I thought I could make the purse better and had only made things even worse. Not acceptable!
Then I remembered that I still had half a jar of silver leather paint from the previous project that nearly gave me a heart attack: dying a pair of Chanel shoes.
I literally had nothing to lose, so I spent the next two or three hours painting my beige purse silver...and now it looks almost new. Yay for having a new warm weather purse! I am actually glad it's silver, because I don't like beige anyway! So there, Universe!
(The pictures are of this process, and I'm writing this from my phone, so it won't let me narrate them. You will just have to use your imagination.)
The End!

Monday, March 16, 2015

Dyeing Chanel Leather Shoes...or...How to Give Yourself a Mild Heart Attack, Followed by Lots of Happiness

I don't know if you can tell from my former posts, but I love Chanel. However, since I am not independently wealthy, I like to shop for Chanel on eBay. That is where the shoes below came from. I actually only bought them because they came with two Chanel bags and I wanted to use the bags to protect another pair of Chanel shoes I bought off eBay. Weirdly, it was cheaper to buy the shoes with two bags than to buy the bags themselves off eBay! Anyways, they just happened to be my PERFECT size. . .but not my colors. Enter, Tarrago shoe dye.


I did some research and came across this shoe dye from a company called Tarrago. Since my other Chanel shoes are black, I didn't want to buy black dye. Also, I couldn't commit to a pure color. I wanted green, but shoe dye in general doesn't seem to come in the bold kelly green I'm looking for. Also, the pointedness of the shoes really calls for a more neutral shade. For instance, if I turned them red, they might look a tinge "hooker-y." So, I decided on metallic silver.


All my supplies: The dye kit, the shoes, and some green scouring pads.


The directions and online tutorials said to rub your scouring pads together before using to take the abrasiveness down. I soon learned that Chanel shoes NEED as much abrasiveness as you could get from a scouring pad. If you could find a scouring pad that was just this side of steel wool, that might be a good idea.


I didn't know how strong the primer would be, and I didn't want the logos on the heels of the shoes coming off, so I put a piece of tape backwards over them.


Then, I taped all over the heel where I didn't want primer or dye. I used my fingernail to really tuck the tape into the crannies so the dye job would look somewhat professional.


I found it was easier to use masking tape that had been split when taping around curved areas.


I also taped the sole.


Then, I put a little primer onto a scouring pad and started rubbing. . .and rubbing. . .and rubbing. , .and I really strongly felt that I was getting nowhere. I even tried to use a little nail polish remover and the shoes looked just as shiny and sealed as the day I'm assuming they were new. I'm so serious when I say this: This part of the process took well over an hour. This is the part where I'm between, "Um. . .What have I done?" and, "Have I even done anything?" followed by, "Will the dye even take?" and then, "Will I actually have to throw these gorgeous shoes away?" 
and finally, "I may literally hate myself."


You can barely tell, but the shoe on the left is the one I scoured for over an hour. The one on the right hadn't even been touched yet. In the tutorials, the scoured shoe is like...all dull and messy and ready for dying, so you can maybe see why I was having a silent panic attack.


After a few hours of scouring so much my back was starting to hurt, and really getting nowhere with as much dulling as I had heard needed to be done, I decided, "Fine! I'm just going to start painting! I'm sick of scouring and I don't even care anymore!!!"


This is after two layers. It's best to dry the shoes with a hair dryer in between coats of dye.


The directions said to take the included paintbrush and add some paint to the included sponge and apply the paint using the sponge with little circles. The little circles started to create little bubbles in the paint that started drying like little dots, so I nixed the sponge and just used the paintbrush the whole time so the layers would be smooth.


The shoe on the bottom has three layers and the top shoe has four layers. I stopped after four, even though the directions said you could do up to five. I just didn't want it to cake, and I also didn't want it to crack when it dried fully. 


The directions said the shoes would be dry after 5 hours and fully dry after 12. I waited 24 hours.


The finished shoes.


Happiness!


The End!