Showing posts with label combine. Show all posts

Wednesday, June 14, 2017

Refashioning: Moschino Inspired - Easy DIY Designer Dress Merger

I am a long-time fan of the Italian luxury fashion house, Moschino. I love it because of the fanciful ideas, graphic prints, and bold colors.

Here is a dress from the Spring/Summer 2017 Ready-to-Wear "Love Moschino" line.
It retails for $495.

It doesn't matter if you agree with that price or not. It just is.

So. . .let's see if we can make one for $2.00!

(This one is super easy.)


Here is a Donna Ricco black dress I found on the Goodwill dollar rack.


And here is an Aeropostale cropped blouse I found also on the Goodwill dollar rack.


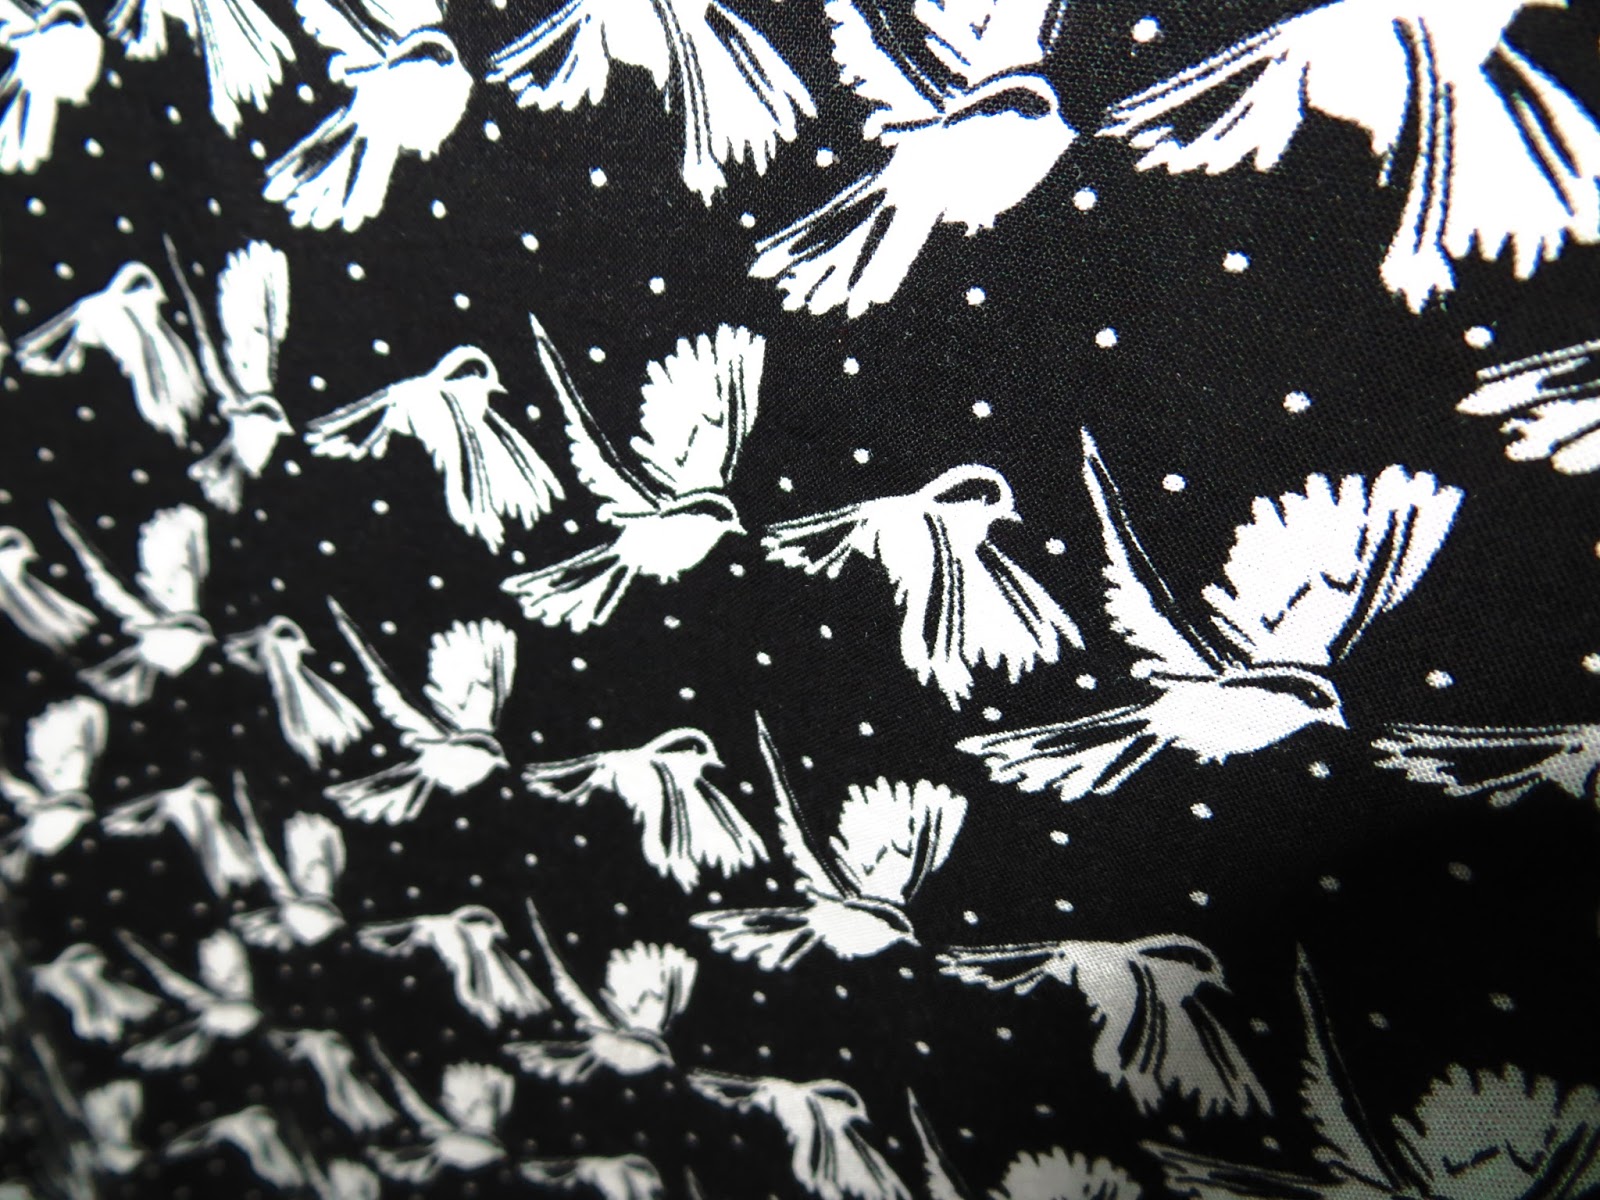
Look how cute the print is! It's little birds!


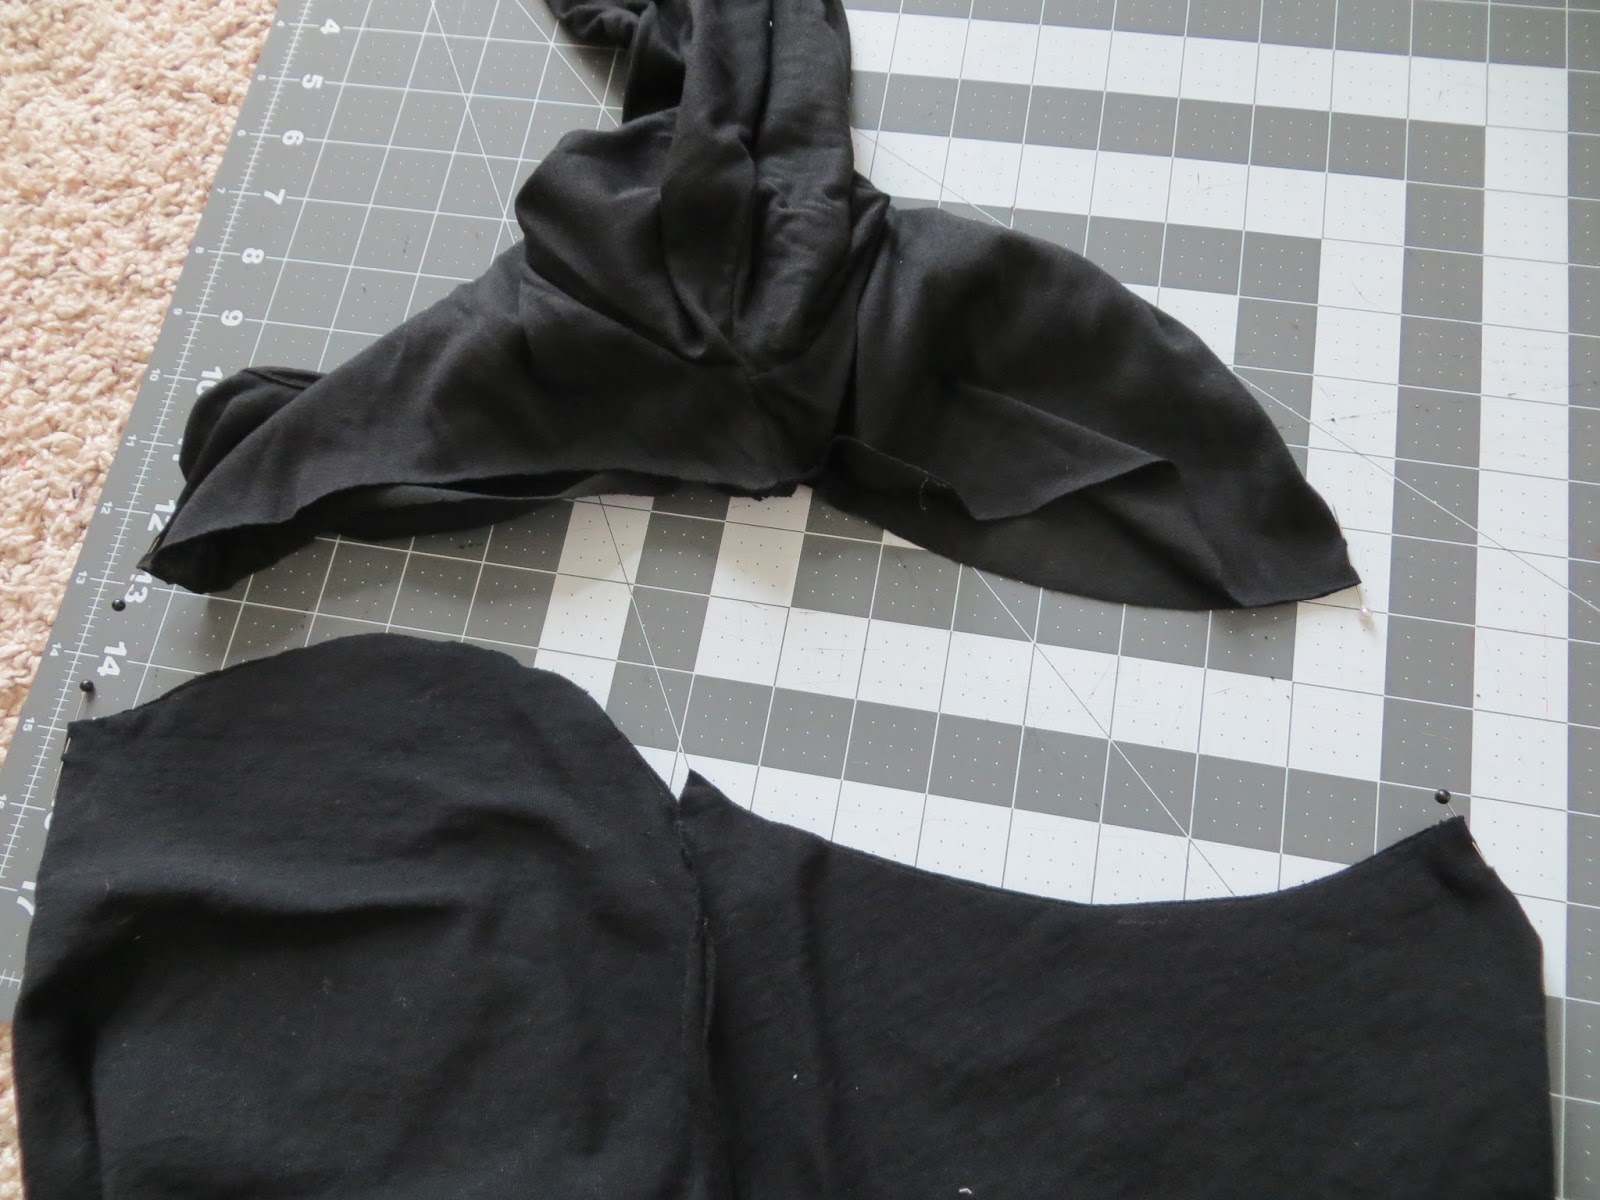
First, I cut out the shoulder pads.


Then, I cut off the sleeves.


When you cut the shoulder pads out of a dress or shirt, this is what happens at the shoulders. See this gap?


So, I pinned the shoulders appropriately, and sewed them down.


Then, I cut the sleeves off the other shirt. (Hint, it helps if you pin the right sleeve. This helps you to tell the two apart when you reattach them to the other garment.)


Then, I simply sewed the sleeve to the dress. No-brainer.


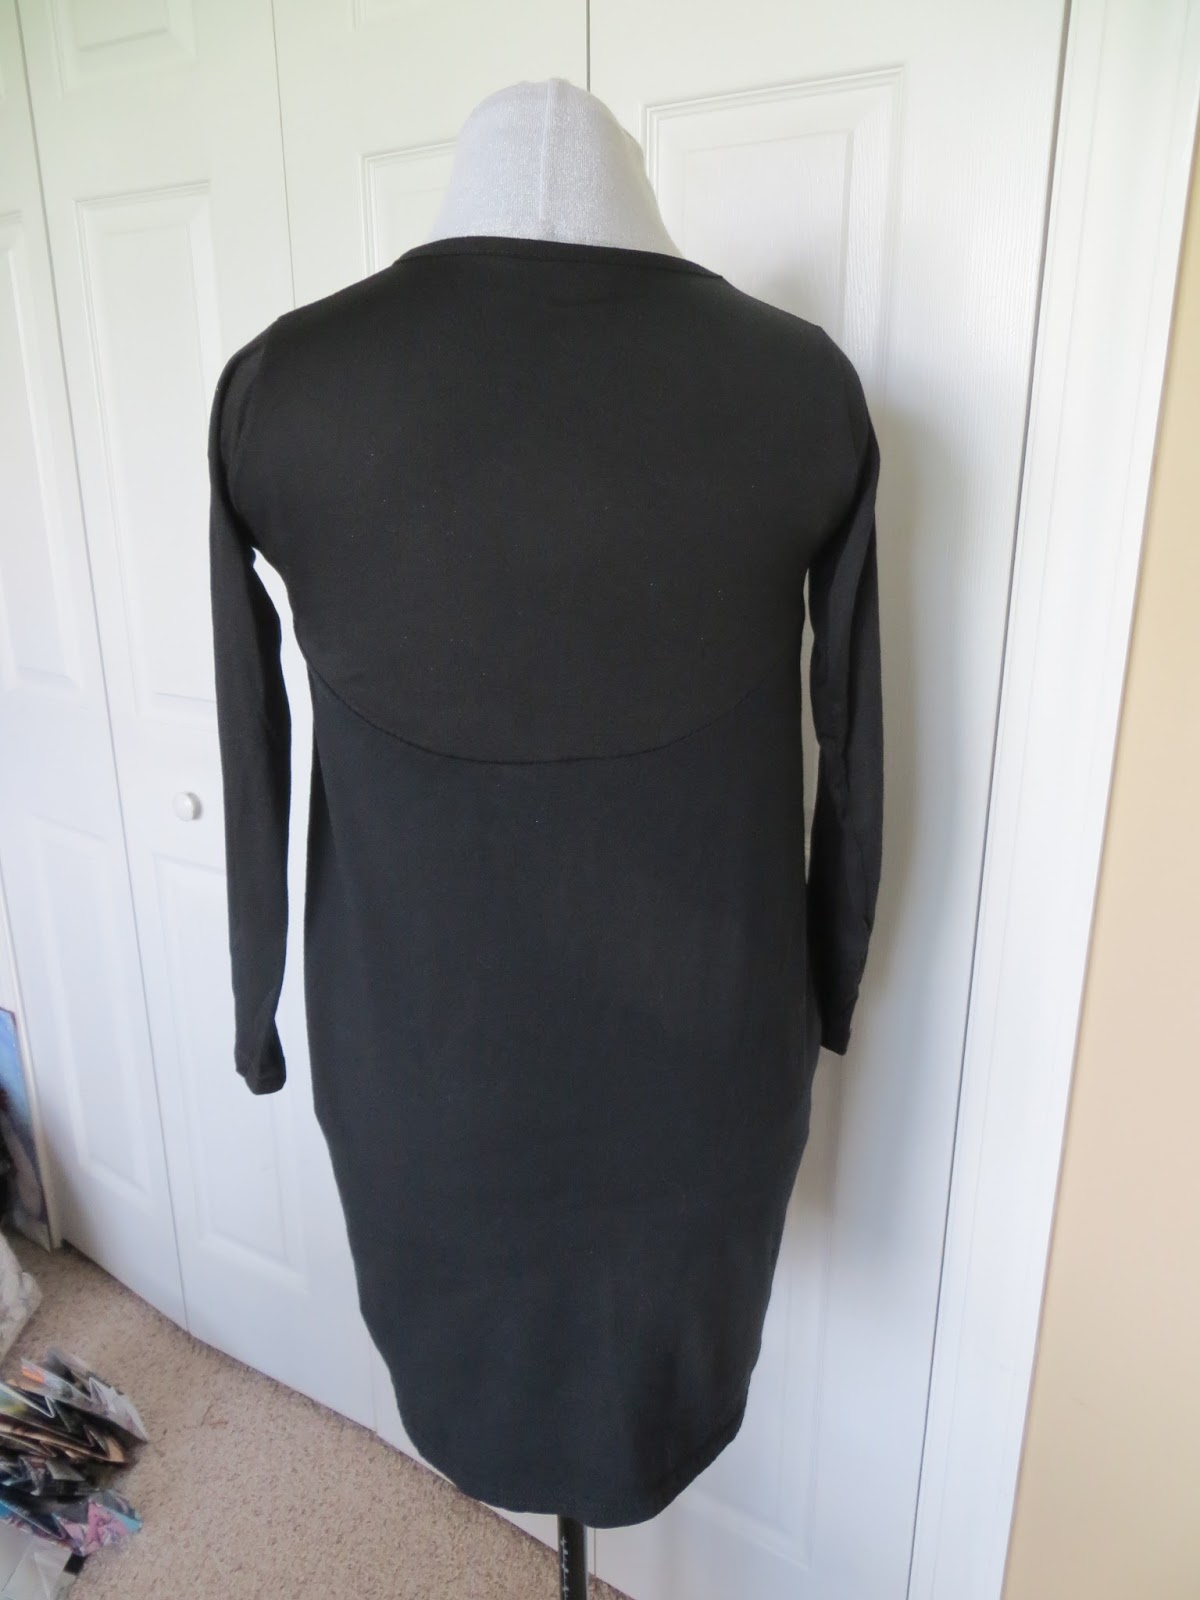
So, here is my Moschino inspired dress for $2.00!


(Another plus: combining the two freed up a hanger. This is important in my world, where I never seem to have enough hangers...)


The End!


Sunday, September 20, 2015

Refashioning: Three "Meh" Shirts into Two, "Yes, I Will Actually Wear Those" Shirts

Here is a quickie I did in about 15 minutes a few weeks ago.

First of all, the three shirts in question. The one below used to be a big kid's mini dress. I was going to wear it as a tunic, but then realized that that was not going to work. I cut the bottom off as you can see in the picture. (The bottom inches I used to make a headband. . .All the parts of the buffalo, right?)


This second shirt actually became part of the other two shirts. It fits me in the shoulders, but it's too short in the torso. . .amazingly enough.


The third shirt is one that you might just not consider even buying (even if it was on the dollar rack at Goodwill) because it's SUPER REDNECK! But. . .I saw its potential to be a statement piece.


So, I cut the bottom hem off the black shirt.


I folded that black bottom hem over and made it into the bottom hem of the houndstooth shirt.

So that one's done. The next one took a little longer.


So for the redneck shirt, I cut around the eagles in sort of a "sweetheart" neckline sort of way. 


So, here you can kinda see my vision for this shirt/dress. Maybe I just gave away the punch line. Oops.


So the next order of bidness was to fold the black shirt in half and cut a scoopy sort of section through the whole thing. Just so's you know, this will be the back seam line.


The next thing I did was to lay the eagle shirt on top of the opened up black shirt and cut the same "sweetheart" shape out of the front of the black shirt. (Notice how the bottom of the back of the black shirt is still "scoopy.")


This is kinda hard to see, but I pinned the armpits of the eagle shirt (which is inside out in the picture). I sewed up from the sides to the armpits because the eagle shirt was bigger than the black shirt.


Also, hard to see. I'm pointing at the side seams I'd just created to show you what I did.


Okay, so remember how the eagle shirt still had "sweetheart" necklines on both the front and back? So, in the picture below, I laid the black shirt on top of the back of the eagle shirt and cut out a "scoopy" seam line for the back.


See?


Okay, so. . .Here you can kinda see where I will join the black shirt and the eagle shirt.


I pinned them both together and sewed them together.


Voila!


Notice how the seams are "sweetheart" in the front and "scoopy" in the back. Hopefully, seeing the finished project makes my confusing directions clearer.


The End!