Showing posts with label raglan. Show all posts

Saturday, January 10, 2015

Make a Raglan Sleeve Out of Any Two-Piece Shirt Pattern

Now that the holidays are over, and I'm not directing and writing Christmas plays, I have been getting back into sewing. Actually, I was still sewing during that time, I was just too lazy to post anything. Sorry. Maybe one day I will post the things I did during that phase of my life.

Here is a project I did just yesterday.

If you like raglan sleeves, here is an easy way to turn any two piece shirt pattern into a raglan pattern without cutting your pattern apart.

As you can see below, this is what I'm talking about when I say a "two-piece shirt pattern." In other words, a two-piece shirt pattern is one where the bodice and the sleeves are all one piece, so the whole pattern is two pieces: one for the front and one for the back. (Usually the sleeves are a separate piece.) The pattern below is actually a one-piece shirt pattern as the front and back have been combined as you can see from the slit at the neckline.


Okay, to make a raglan sleeve, all you do is make a diagonal fold from the neckline to the arm pit. You then simply cut out both sides of the fold from different fabric, sew them together, and you're done. I chose red for my bodice. (I don't use pins. I just hold the paper down with one hand and rotary cut the fabric with the other. God bless rotary cutters.)
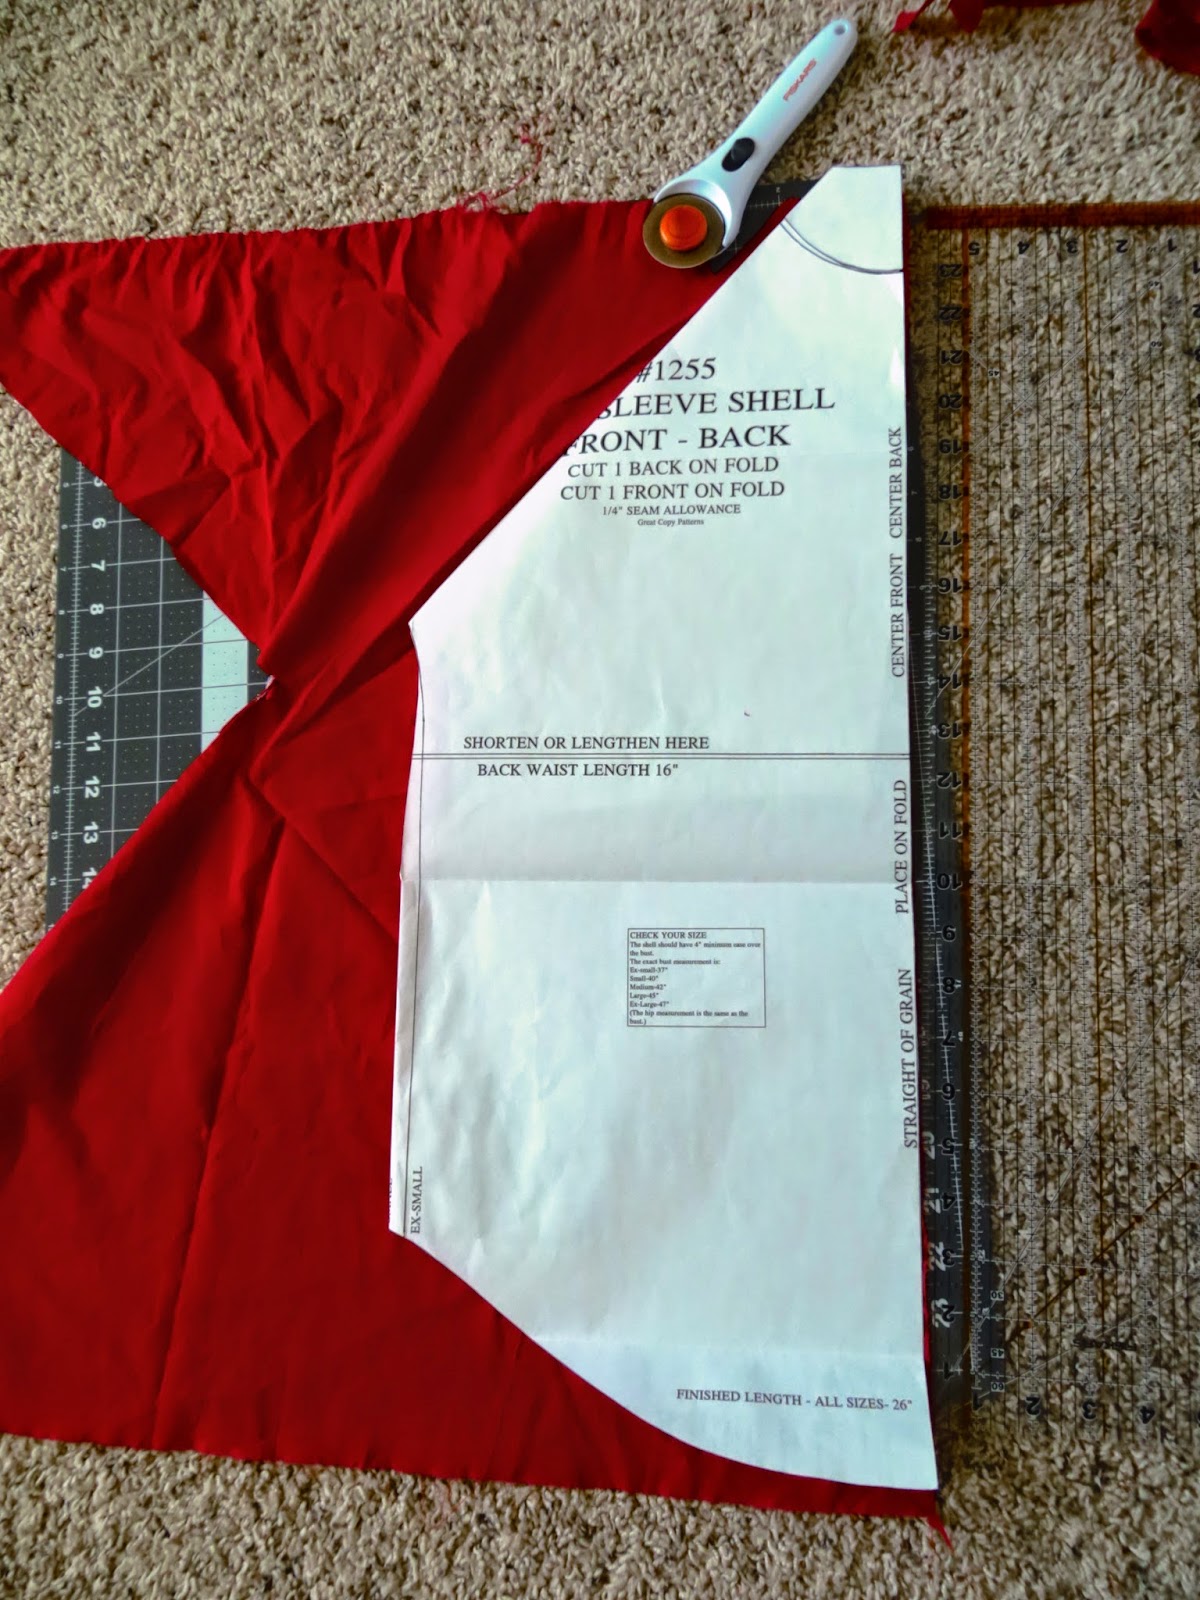


Then, I chose black for the sleeves. I folded black fabric over and made that fold to be the top of the sleeves (where I'm pointing). I held the folded sleeve pattern in place with one hand as I rotary cut around it with the other.


Here is another view:
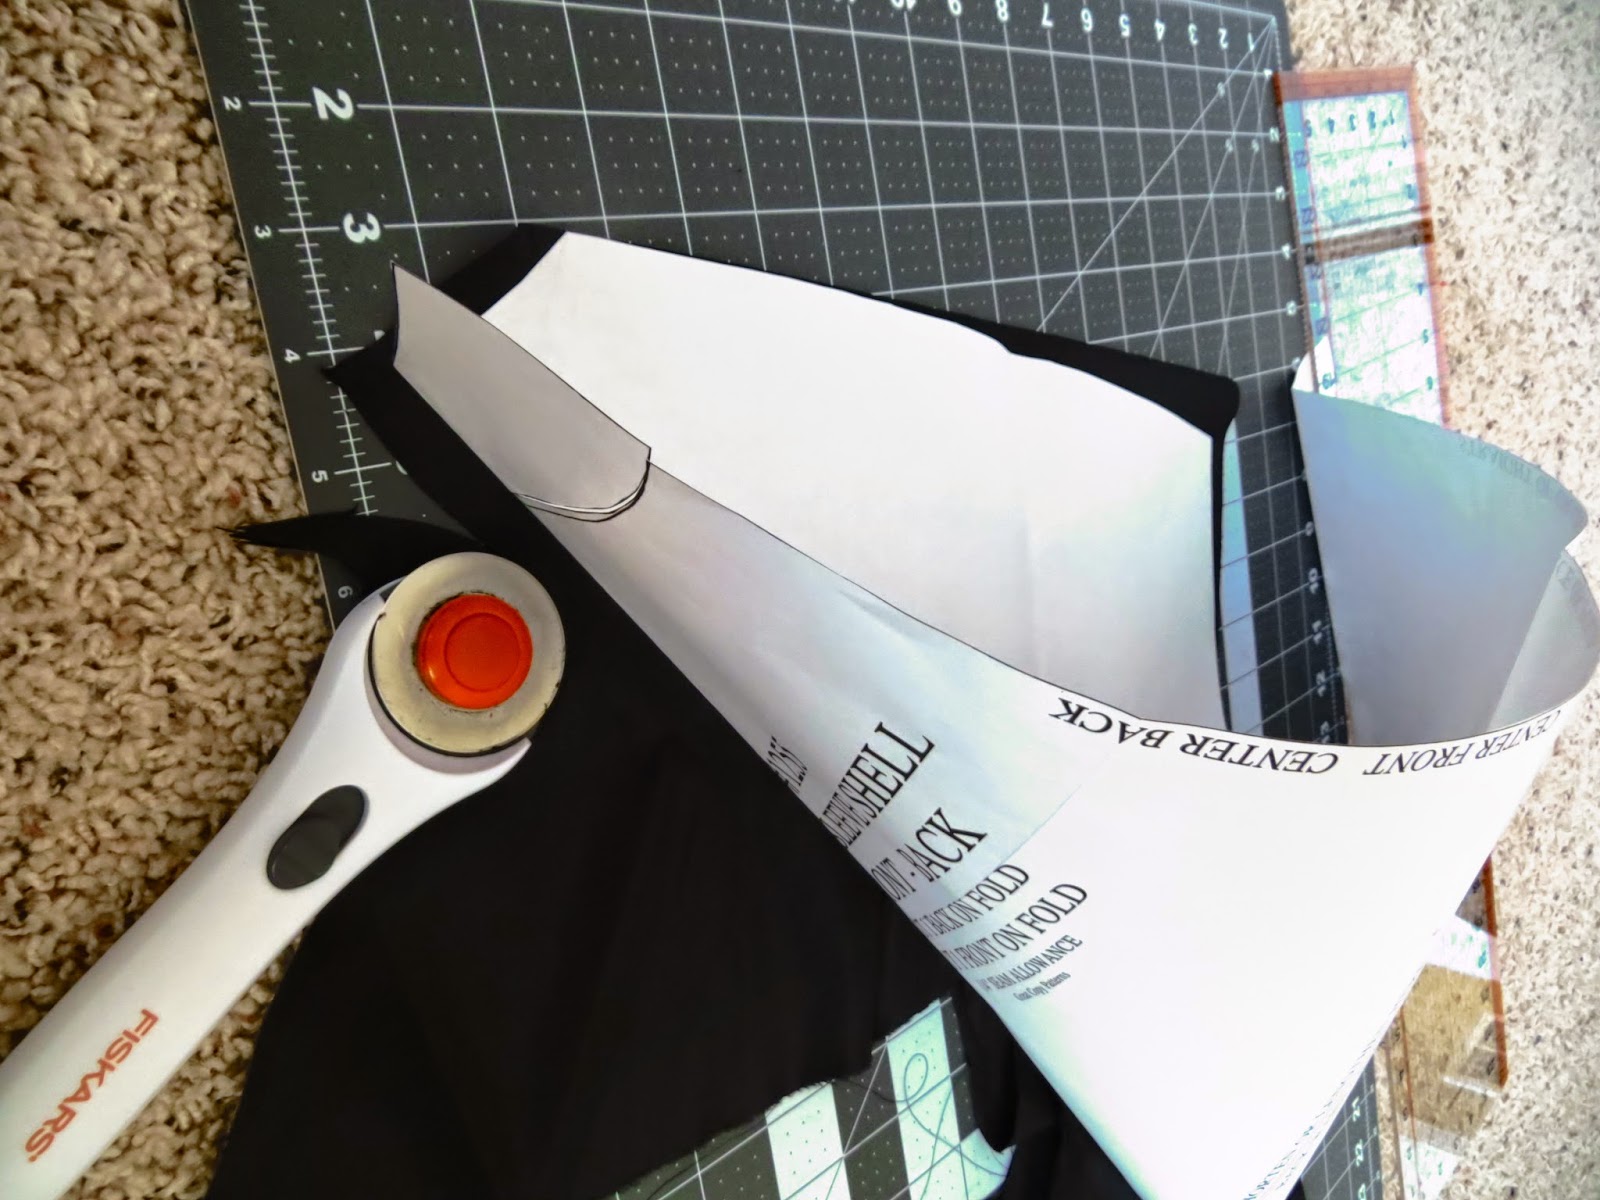


And another view:


(**One note about this. After you cut out your sleeves, unfold the fabric, lay the sleeves on top of each other, and cut a line from the back neckline to the front neckline. Use the paper pattern as your guide for this. The reason you should do this is because the front neckline is lower than the back, and if you don't make this cut, your red and black fabric won't match up in the front.)


Here are some pictures of the finished shirt. (I had kind of a nineties red and black baseball shirt sort of thing going, hence the make-shift black choker.) This over-sized shirt will go well with skinny jeans and tall boots.


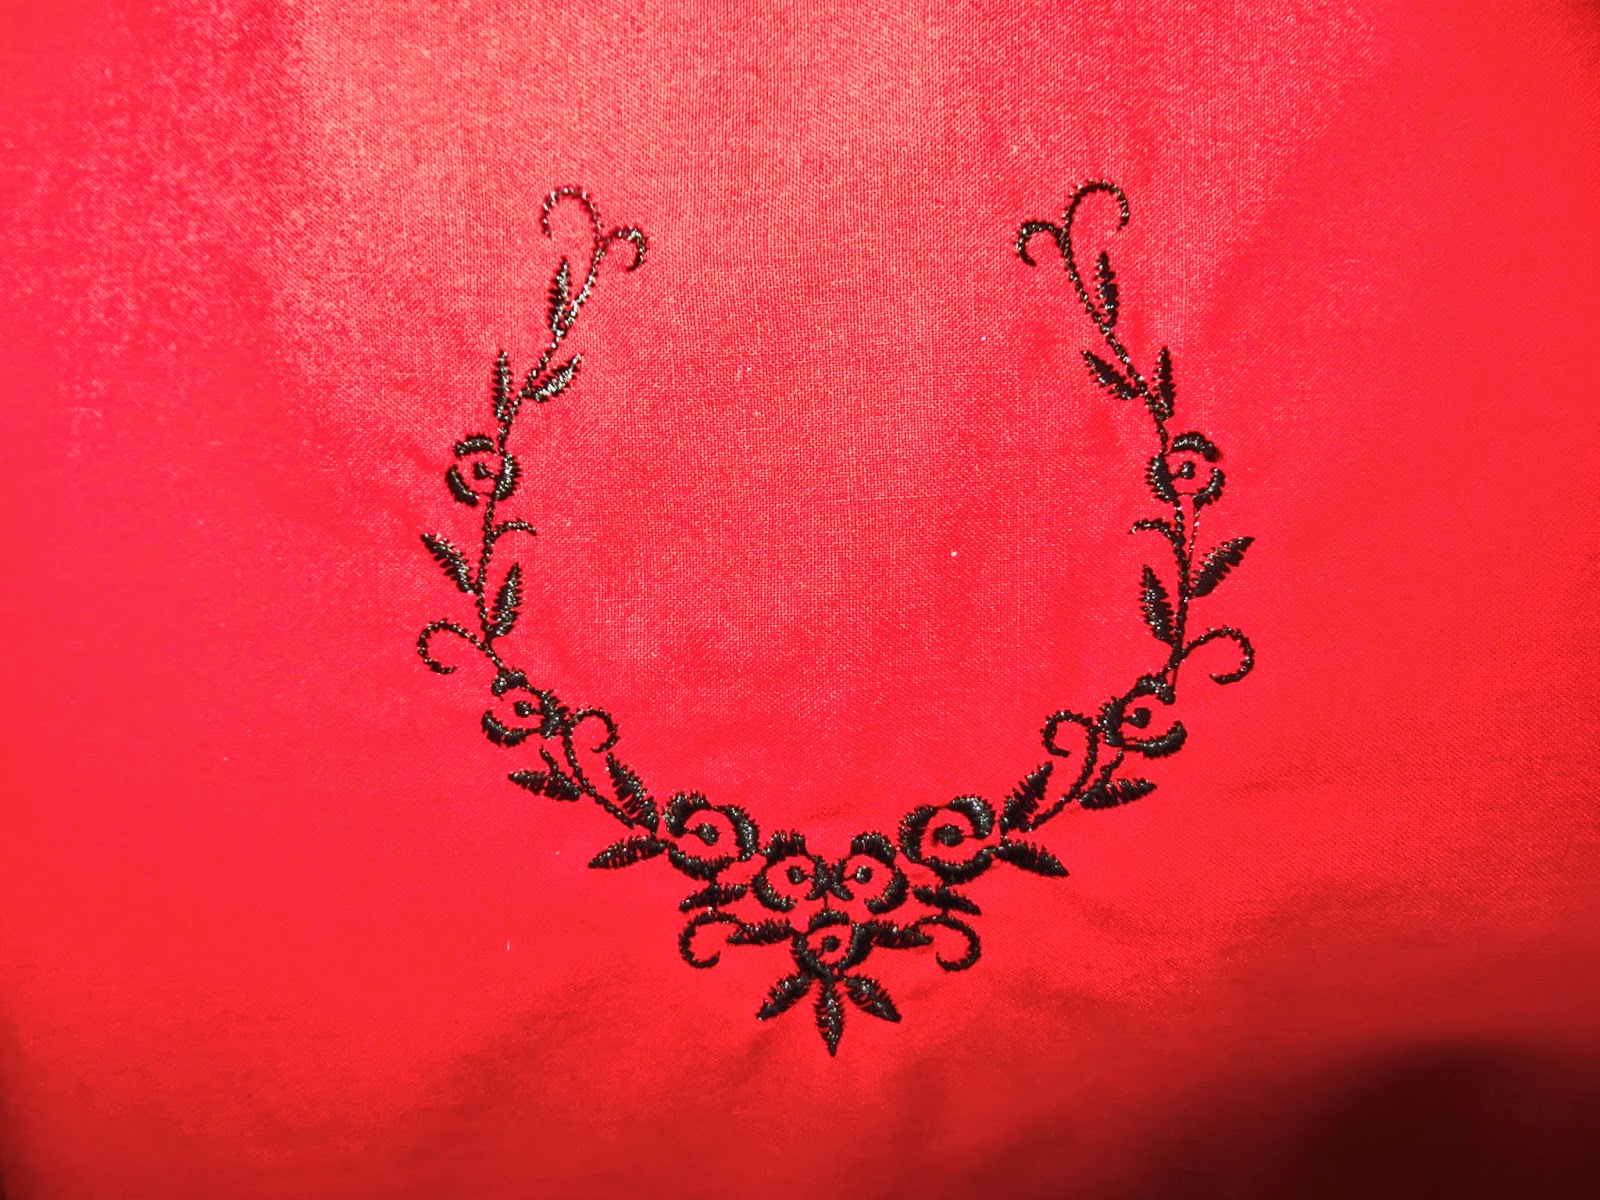
I had some fun with my embroidery machine that my husband bought me two Christmases ago, and I hadn't used until just a few days ago because he was threatening never to buy me any Christmas presents ever again if I never used this one, and I was also feeling tremendously guilty. Just kidding. He didn't really threaten that. I got a bottle of Chanel perfume this year, so all was not lost. :) But I did feel tremendously guilty. . .because it was expensive. . .But I just couldn't think of any good embroidery projects all year, was my problem. Also, I was scared of breaking it by using the wrong stabilizer or like. . .What if I ended up screwing up a project because I put the design on crooked? Stabilizer and embroidery thread ain't cheap, and I didn't want to ruin any of my clothes. Or like. . .what if I messed up the calibration of my machine the first time I used it because I didn't read all the directions? These are the thoughts that went through my head for over a year. Admittedly, that was unbelievably paranoid of me, but still. . .

Anyways, sometimes it takes me awhile before I use things. It took me two months before I opened and started using my new computer that I bought with my own money. I mean...don't take it personally, People, if it takes me awhile to wear/use anything you give me. Also, don't let that stop you from giving me presents, because. . .I like presents. I really do. . .Actually, I love them. . .Anyways, enough of this. . .

Isn't it pretty?


The End!


Thursday, May 22, 2014

Two Skater Dresses

It has come to my attention that a former student of mine enjoys reading these posts, so. . .a shout out to you, Lindsey! I miss you! A little bird told me your freshman year went well. . .(That little bird is your mother. I literally almost ran into her at Walmart. Literally.)

Speaking of Walmart, I found this neon yellow sporty jersey fabric at Walmart for $1.50 a yard and so I bought four yards. 


I had no idea what to do with it, so I thought I would start with a skater dress. I did my "lay another dress on top and cut around it" pattern system that I've been using lately.       It's really easy, Guys. Way easier than paper patterns that you have to pin. You should try it.


Maybe this picture will show you how easy it is. You just have to make sure you cut a seam allowance around whatever you cut. You can see here that I extended the torso down a few inches from the original dress. That's because I don't like when waists are just a tiny bit too high.


The piece I cut up there was the back piece with a higher collar. Here is how I cut the front. I used the cut piece as my pattern.


Then, I just cut around it.


But I stopped at the collar.


Then I replaced the original dress on top the piece I was cutting just now.


I tucked the back collar part in. . .


and cut around the front collar. 


To cut the skirt part, I just folded the bodice half of the dress in and laid the skirt part on top of my yellow fabric like this.


Then, I cut around it. You can play with these measurements, you know. For instance, I made the skirt 1/2 an inch longer.


When it came to sewing, I had to choose which side of the fabric I wanted to be the good side. This is athletic fabric, so usually this is the side that shows:


But that was a little too much texture for me and found that the back side was actually more solid.


Skipping ahead. I sewed the dress together but when it came to hemming, I hemmed the front middle bottom hem up 1/2" more than the hem I did the rest of the way around. This allowed for "butt lift." If you don't know what I'm talking about, skip it. I just hate when dress hems hang just a tiny bit higher in the back. Drives me nuts.


Here is a closer picture to show what I'm talking about. I trimmed that edge after taking this picture, just so you know.


The end! All in all this dress only took 1-2 hours. I wasn't really paying attention.


Okay, I know this hem is kinda tacky. Usually, you are supposed to double fold before you hem, do a lining, or use bias tape, but I didn't do any of that for two reasons: (1) If I double folded the collar and sleeves which are curved, then they would have bunched up funny. (2) The only reason to double fold, lining, or bias tape is because you are afraid of the fabric fraying. Since this fabric doesn't fray, I didn't worry about it. You can't tell from the outside and that's the only side that matters. Back in the day when women only had like five dresses, it mattered. Nowadays when most women have tens if not hundreds of dresses, there is no reason to make them last through an apocalypse.


Okay, that dress went so fast that I decided to make another dress with fabric I already had. Before I sewed the yellow dress together, I traced the pieces onto paper. Then I drew a raglan line from the collar bone to the arm pit and cut the pattern along that line. That's what I used to make this raglan skater dress:


I saw a dress on eBay where the raglan line didn't end directly at the armpit, but rather ended just below it. I thought that was unusual, so I did the same thing.


I made a waist band on this one.


I was going to use just the pink chiffon for the shoulders, but it was a tad flimsy, so I backed it with the navy jersey as you can see here:


Also, to reinforce the waistband, I grabbed a strip of scrap jersey out of my scrap box. This is why you should save scraps.


The End!


Friday, February 14, 2014

Christopher Kane Spring 2014 Inspired: Modification: Raglan Floral Shirt from a 70s Shirt and a Mini Dress

Sometimes you find something so gross and tacky at the thrift store that you can't not buy it. Case and point: The butterfly collared floral wonder below. I just couldn't pass it up. That's not just a painted or stamped floral pattern. Rather, it's a compiled photograph of flowers! How cool is that? Also, the shirt itself was handmade, which means not only was someone stylin' like it's 1979, but also she was doing it ON PURPOSE. 

I just felt I needed to buy it, if for no other reason than respect.


A year or so ago, I bought this dress for $6 on eBay. It's actually really well-made and lined. It has this neat little cape-let and epaulet details, and even though it looks repulsive on my body, I just couldn't part with it because of the color.

Do you smell a modification coming together?


Remember that one shoulder cut-out shirt I made here? Well, this new shirt is also an homage to that Christopher Kane Spring 2014 show with the florals and the nudes and the pinks. Skipping ahead a few hours:


I kept the "V" of the neckline as a keyhole detail as you can see above, but did away with the collar. It was a little too groovy for my scrawny neck.


I used some of the lining of the dress as the cuff of the sleeves because it was the same color only shinier. Just a little detail.


The End!