Showing posts with label type four. Show all posts

Friday, May 23, 2014

Refashioning: Transforming an Old Lady Jacket

I bought this old lady jacket at the thrift store yesterday. I really hate the style, but I really love the size of the houndstooth.


Look how baggy it is!


I love the fit of this Banana Republic jacket, but I hate the color.


So I laid the first jacket on the floor.


And laid the BR jacket on top.


Then, I just cut around it. I also cut the ends of the sleeves to make short sleeves.


When I take away the extra, you can start to see how the new jacket will look. Then, I just sewed on the sleeves and sewed the sides up!


Done!


The End!


Friday, May 16, 2014

Make a Dress from a Scarf (No pattern needed!)

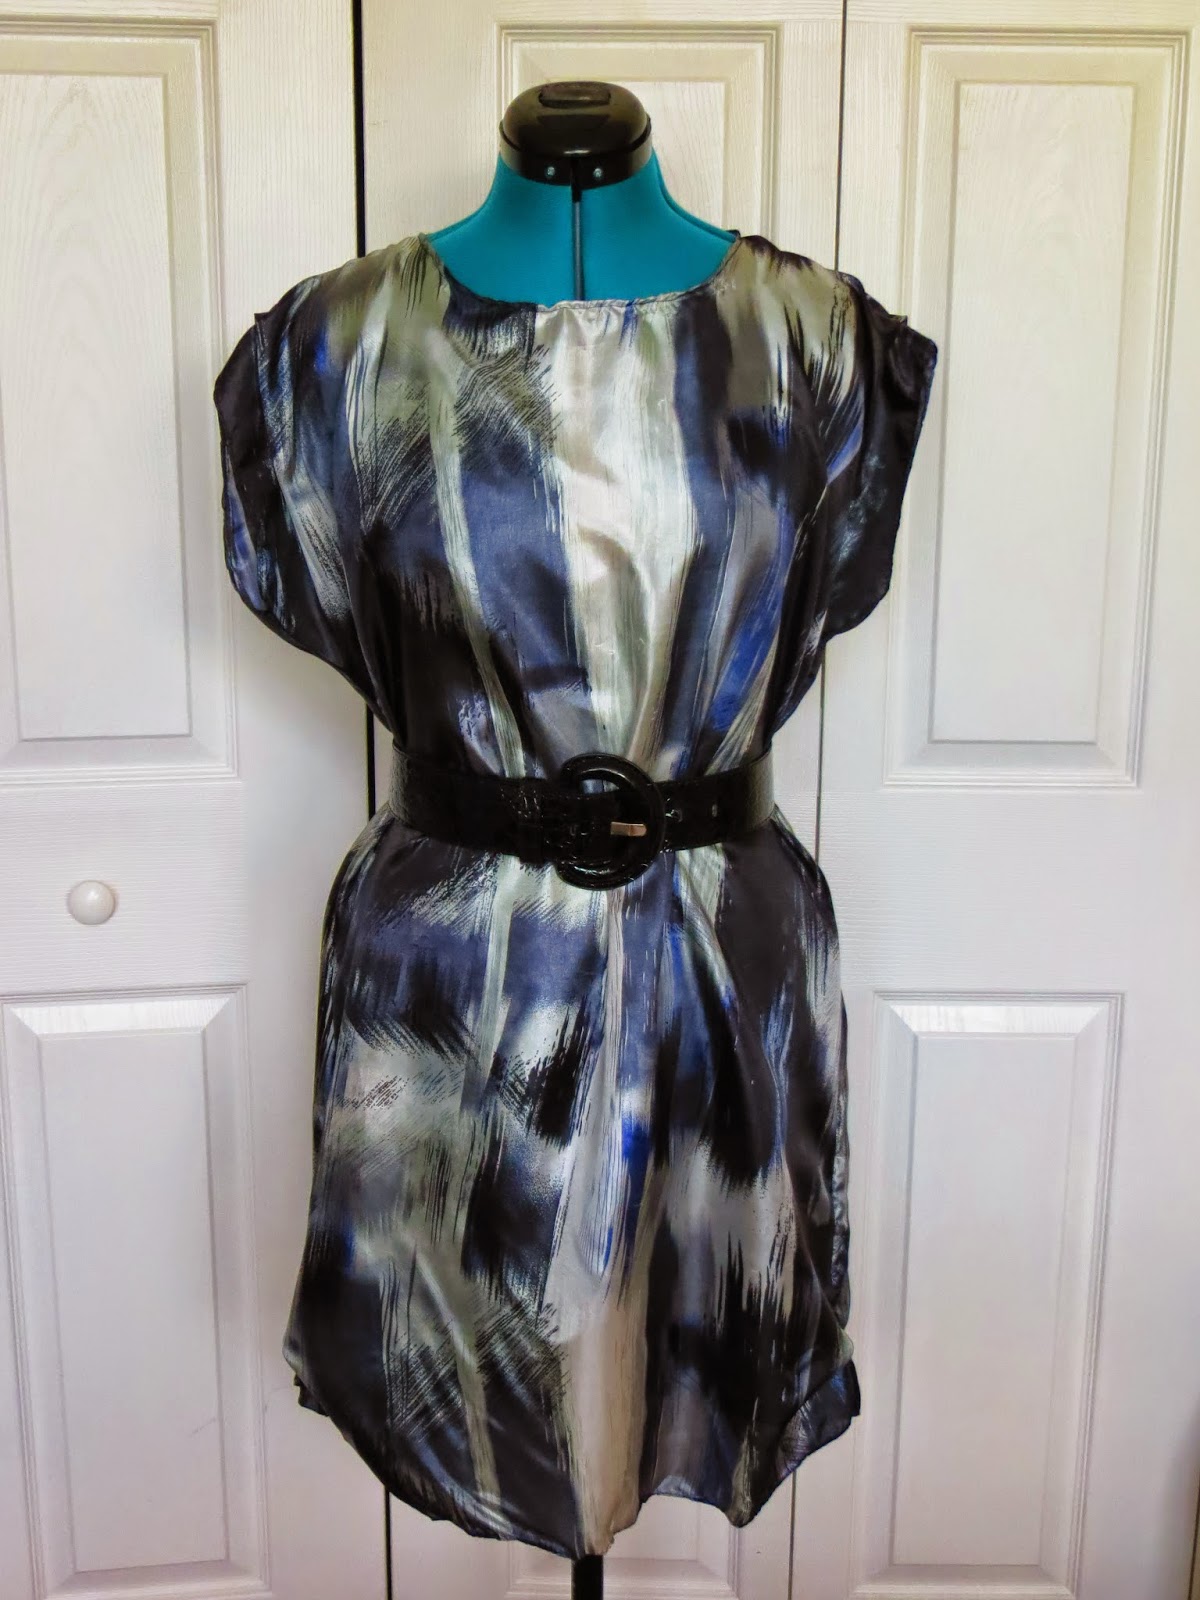
My Type 2 friend, Abby, gave me this scarf one day because it was too Type 4 for her (high shine silver and black). I loved it, but couldn't figure out why I wasn't drawn to wearing it. It was perfect colors and sheen. Then, I realized it just had too much animation due to being so wrinkled.


So I simply ironed it out:


Then, I realized it was a very sizable piece of fabric, so I decided to make it into a dress!

You can do this too, if you find a scarf that is at least as wide as you are and a shirt that fits you.  Fold the fabric in half horizontally and then half again vertically and smooth out any wrinkles. (If your scarfs are all too narrow longways, consider folding the scarf horizontally twice rather than vertically and making a shirt instead of a dress!) Make sure that all your folds meet flush in the middle. Then, lay your shirt on top and cut around it (extending the cut at the bottom for a dress). Separate the two pieces, and cut the front piece a little lower at the neck. 


Then sew the two pieces together and hem!


Initially, it looked a little too feed-sacky for me, so I did little pleats at the shoulders and at the bottom hem:


The End!

Friday, April 18, 2014

Refashioning: Shortening a Dress

Okay, Kiddies, so here is another way to alter your garments. This post is a continuation of an on-going process to revise my wardrobe so that 100% of it will look good on me every day. To learn about my journey to find this process, go here.

If you would like to join "Dressing Your Truth" at a discounted rate of $99 (rather than the normal $297) click here.


So, recently, I have joined a group of older ladies who go yard saling on Saturday mornings. It's fun and educational. If you are worried about not being able to spend money on revamping your wardrobe, I highly suggest yard saling. It's even cheaper than the thrift store and you can find much cooler stuff, because people are trying to make a buck off their yard sales, whereas thrift stores carry the clothes people throw out. Anyways, I found this super cute bright red dress at a church yard sale for $2.00. It is lightweight polyester. Notice how the bright red clashes with the colors in the mess of clothes behind it. That stack was part of my purging process (most of them being sold on eBay or given away). . .This dress was cute, but way too long--like mid-calf. Therefore, I cut off about 7 inches.


I had a friend ask me one time what the "surger stitch" was on a regular sewing machine. I don't know if it's called a "surger stitch" or not, but when I use that term, I mean the stitch on the left of the red dot below.


I used that stitch to keep the cut edge of the dress from fraying. (This is a faster alternative to double folding a hem which takes forever because you have to fold, press...fold, press. No thanks.)


Then, I folded the dress up on the wrong side measuring with two fingers and pinned it.


Then I hand-stitched an invisible hemming stitch in red thread. I could have done this much faster on the machine, but. . .I didn't.


As the last step, I pressed the hem just to make I flat, but you don't have to if the fabric lies flat. This whole process took about 10 minutes.


The End!