If anyone wonders when I have time to do all this sewing, I wanted to show you what my husband does during time off. He is either studying for his classes or he is out in the backyard clearing the woods in his little forest-y man-cave.

He's a cutie.

Anyways, even though he is cute, he is a ravenous beast when it comes to his belts. He has been using this belt for only two months! Stupid bonded leather!!

Well, I've been mulling this project over for awhile. After studying his current belt, I noticed that the buckle is attached to the leather by little screws.

This is actually a really cool belt as you can pull the buckle apart and switch it around. This way it can be worn with black or brown. The buckle is still in really good shape, so. . .I was going to use it!

I found a pair of ladies' black leather pants at Goodwill for $1.00, so I cut them apart.

I found this huge brown cowhide at another thrift store for $8.00!!! (That is a queen sized bed!)

One thing I was really nervous about was whether my Husqvarna Viking machine could sew through two layers of leather with heavy duty thread. Well, I think the sample piece below gives the answer! (If you are trying this at home, I would not advise trying it on a Singer or Brother machine, unless they are commercial machines. Husqvarnas are just really awesome, and I never even knew how awesome until today! I wish I were famous so I could advertise for them. . .) You could also sew it by hand, but. . .that would take forever.

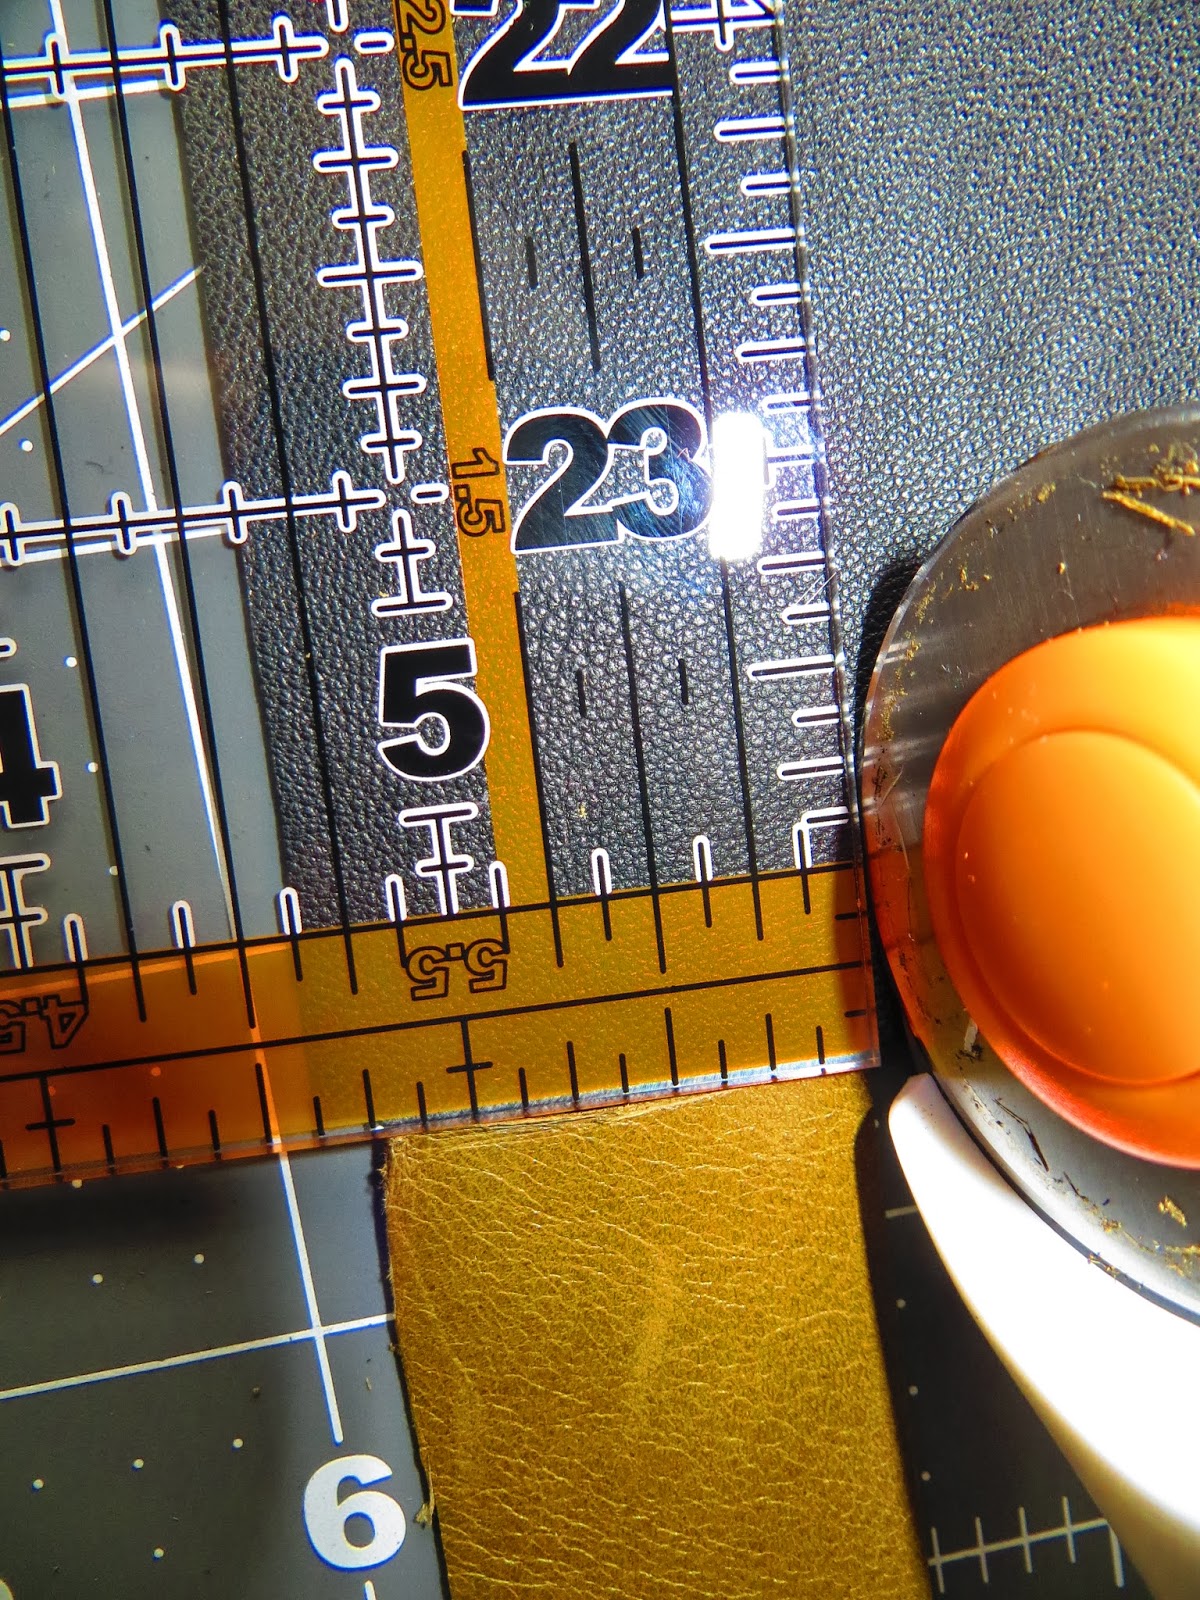
(I wanted to show my mother-in-law that I am making good use of her Christmas gifts.) If you don't have a ruler, mat, and rotary cutter set, you can just lay something with a flat edge on top, trace the straight edge with a pen and cut the leather with scissors.

After cutting that edge, I measured down about 1 1/4 inches and cut again.

I did the same to the black, except I measured the black about an 8th of an inch wider. I did this in case the two layers shifted during the sewing process. It would be far easier to trim the black than to have uneven seams.
Before stitching the two layers together, I put a length of ribbon between them. This was to help stabilize the leather and hopefully deter too much stretching.

I stitched it all together. You can see that the black is wider than the brown.

This is after I trimmed the black.

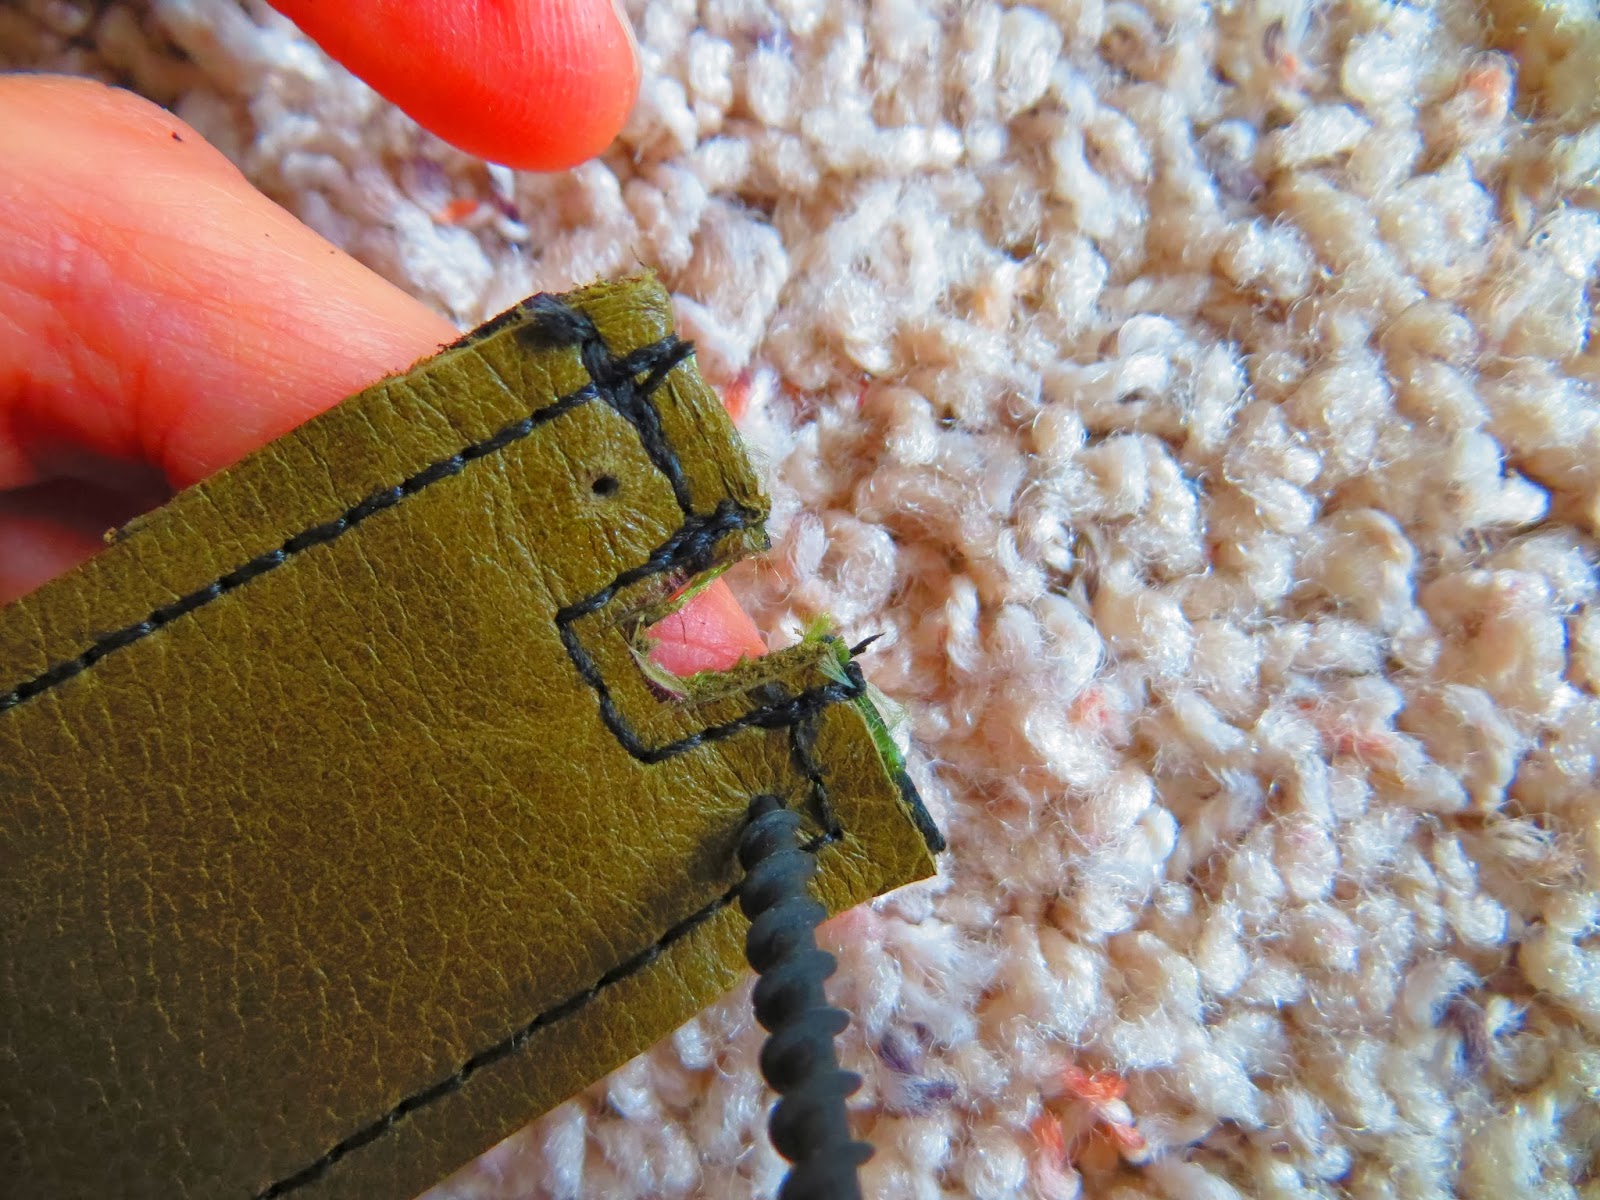
The next step was to unscrew the tiny screws in the buckle.

The notch in the leather is because there is a screw that runs in the middle so that the buckle can switch around. I hadn't anticipated this notch, but it was easy to fix.

I simply traced the notch and then stitched around it to reinforce it.

Next, I pushed the end of the leather into the buckle and traced two small dots where the screws would go.

With a screw, I sort of hand drilled through the first layer of leather.
Then, I shoved it back in and screwed the screws in place.

Laying both belts side by side. I figured out where the most used belt hole was on the old belt and marked the new belt with a screw point. Looking this up-close at the old belt makes me wonder....What part of it was bonded leather exactly?? Did they paint the leather on??...Seriously...

Then, I screwed back and forth into the hole with the same screw as before. I used a screw rather than a nail because a screw makes a cleaner hole. Also, if you want to do this, I suggest screwing on top of something like Styrofoam or something solid you don't mind damaging.

I then fed the screw through the other side back and forth.

This tool is actually for sanding out the holes in glass beads that can't fit onto a string.

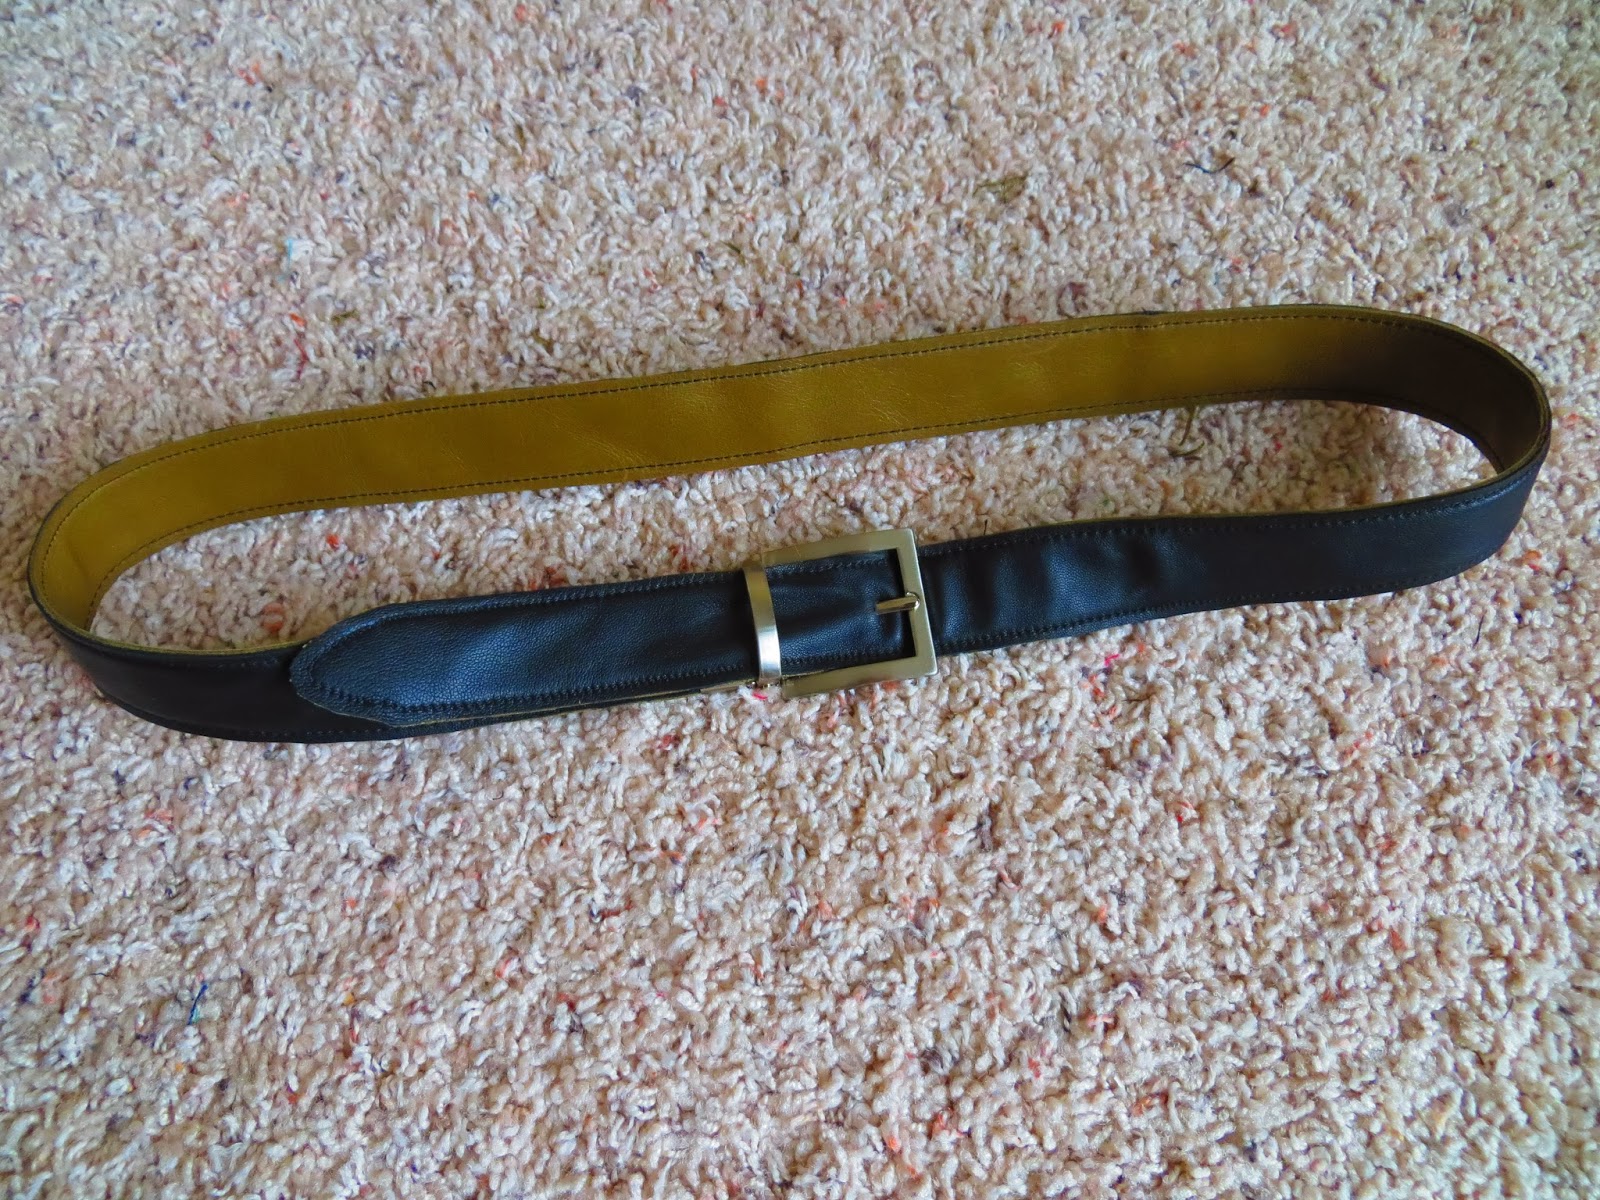
Ready! I'd say it's worth spending $9.00 on leather!

A brown belt.

A black belt.
A trash belt!

The End
No comments:
Post a Comment