Showing posts with label cheap. Show all posts

Tuesday, November 20, 2018

How to Make an Angel Tree on a Budget


Today, we are going to make an Angel Tree. 

If you don't know what an Angel Tree is...Basically, it's a tree at your church or place of business with ornaments that have a child's name and Christmas wish list on them. The point of it is to have people take an ornament, shop the items, and return them wrapped to be delivered to the children. It gives people the chance to bless others and become "angels" of God's blessing at the holidays.

Anyways, I had to make one for my church.

At first, I wanted to buy some angel decorations and then attach the list to each one. However, no one makes angel decorations anymore!!! Or else they are really expensive.

So, I perused the Dollar Tree and came up with an idea.

We had 12 children's lists, so I bought two boxes of these red and silver bells for $1 each.


A bag of this decorative shred is $1 as well.


Okay, I couldn't find ANY angel tree toppers, so I made this one out of red and white cardstock and taped it to a Dollar Tree star tree topper. You can look at the next two pictures here and figure out how to make your own.


Okay, here is how I made the angel lists themselves. First of all, get your kids' names (or initials), their ages, and their wish lists. Make one angel per child. (I did this in Publisher.) You can use my template at the end if you need it for the angels. Or just Google "angel clip art" to come up with your own template.

Then, print your angels on cardstock. I printed the boys on red and the girls on white.

Cut them out.


Okay: Really important step. Cut the heads out like this:


This is another view of the weirdly cut head.


Then, fold one side tab in. . .


. . .and then the other one in. . .


Then, slide the folded tabs into the bottom of one of the bells.


Once the tabs are neatly inside the bell, they will sort of unfold a little and that will lock the "head" in place.


Now to make the halo. Get your bag of decorative shred.


Get a little piece of tape like this.


Take a small piece of shred and make it into a loop. Put the tape where both of the ends of shred meet.


Then, just fold the tape around the shred.


Then, slip it onto the head of each angel like this.


Then, you can use the rest of the shred and extra bells to help decorate the tree. 

The whole project only cost a couple of dollars! (Minus the tree...which I didn't buy, so I have no idea.)


Template:


The End!


Monday, May 28, 2018

An EVEN EASIER Moto Jacket Fix!

So...still Memorial Day...still going through photos.

Found an EVEN EASIER moto jacket fix than my last post!

Here it is!

Problem: Lapels of collar sticking up with no way to lie flat.


Solution: sticky velcro! No sewing required!


I cut off two small squares of both sides of velcro. I peeled off the sticky backs. . .


Stuck the whole thing on the back of each lapel. . .


Peeled off the other side. . .


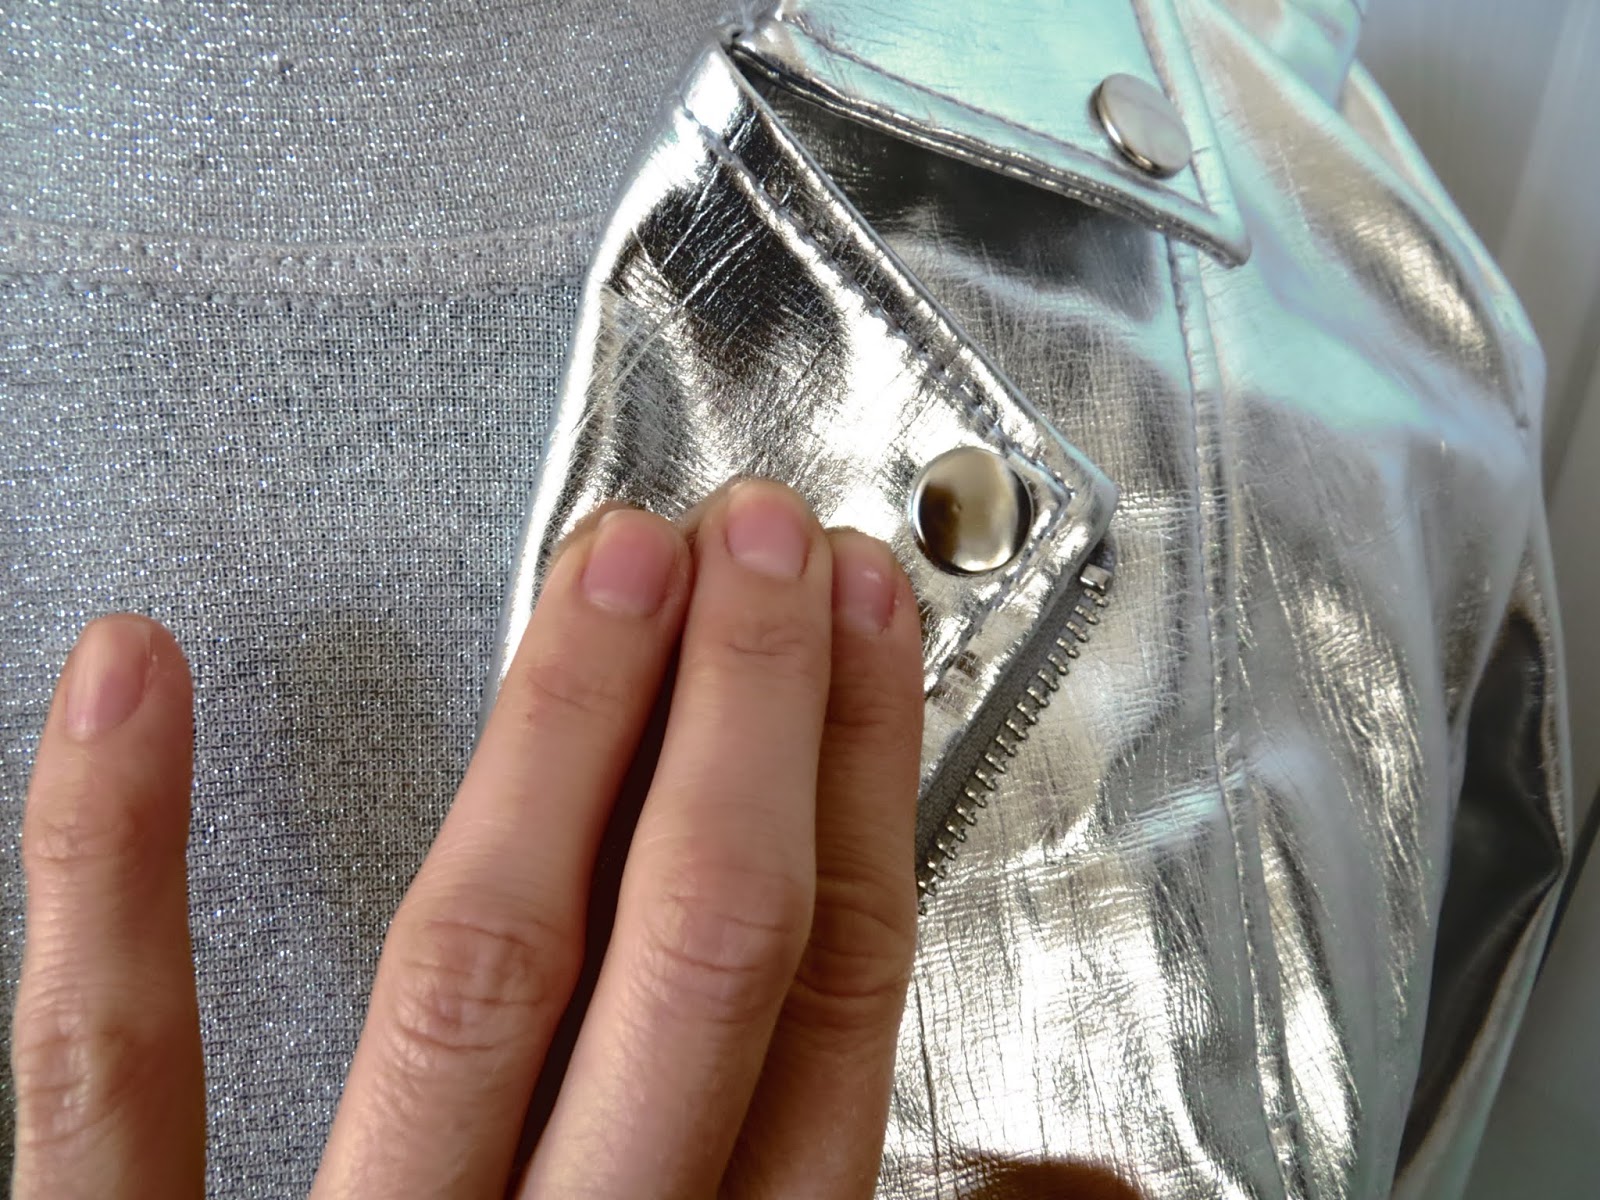
And stuck it down to the jacket.


This way the lapels stay down when you want them to. . .


And if you need them to go up, you will have these unsightly black squares, but. . .


You are probably going to wear it this way anyway!
(And if you need to zip the zipper up all the way, you can always go back to my other fix.)


(Obviously, I took these pictures back at Christmas!!!)


The End!


An Easy Way to Fix a Cheap Moto Jacket

It's Memorial Day. It's raining. My husband and I are finalizing plans for a trip to Scotland later this year, and so I am going through an old SD camera card. I came across some pictures of a blog post I never posted...so here it is!

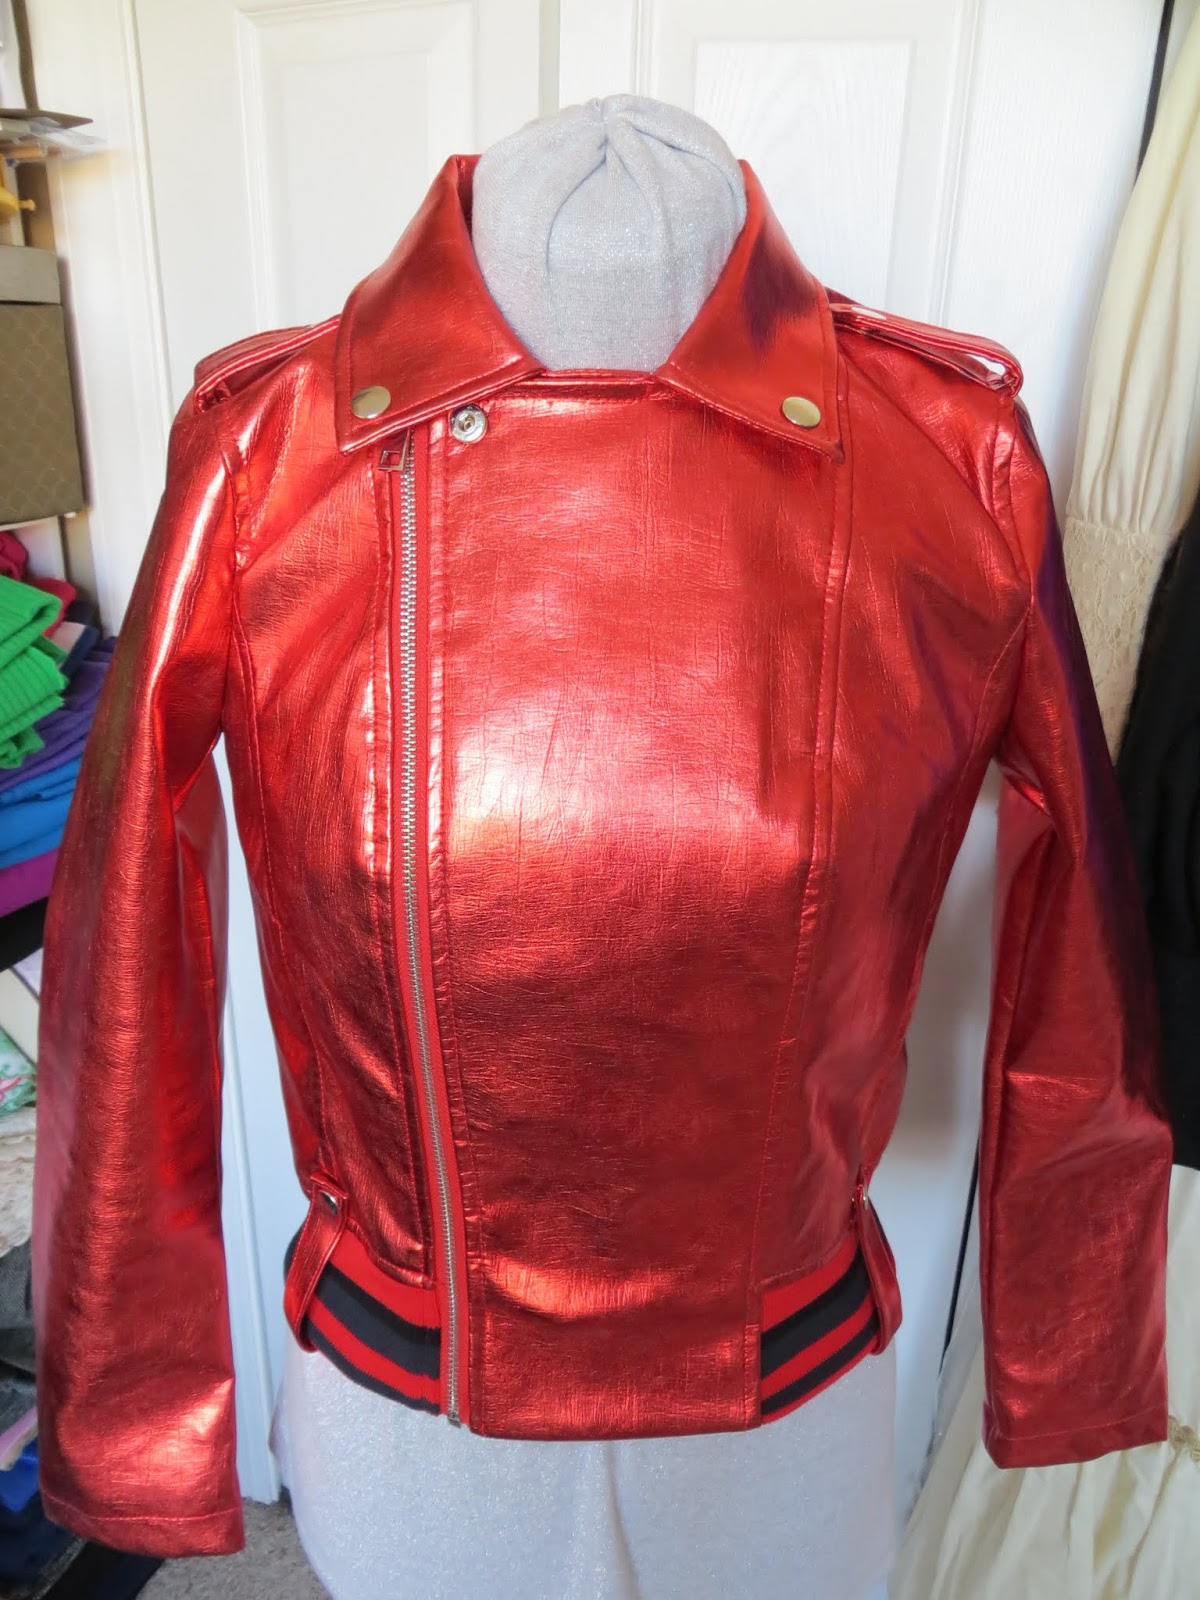
This may never happen to you, but it may give you an idea for something else. But basically, here was my predicament: I had bought the awesome metallic red moto jacket you see below. . .


It was really cool, except for one horrible flaw: When it wasn't zipped up (like the photo above) the lapels stuck out like this:


Here is a side view. See how the collar part sticks up? Most moto jackets snap down flat, but I guess the manufacturer didn't think that detail was important.


This is what I wanted the jacket collar to do. Lie down flat.


Okay, so here's what you can do in this situation--especially if you don't have a grommet/snap tool or at least don't have one big enough.

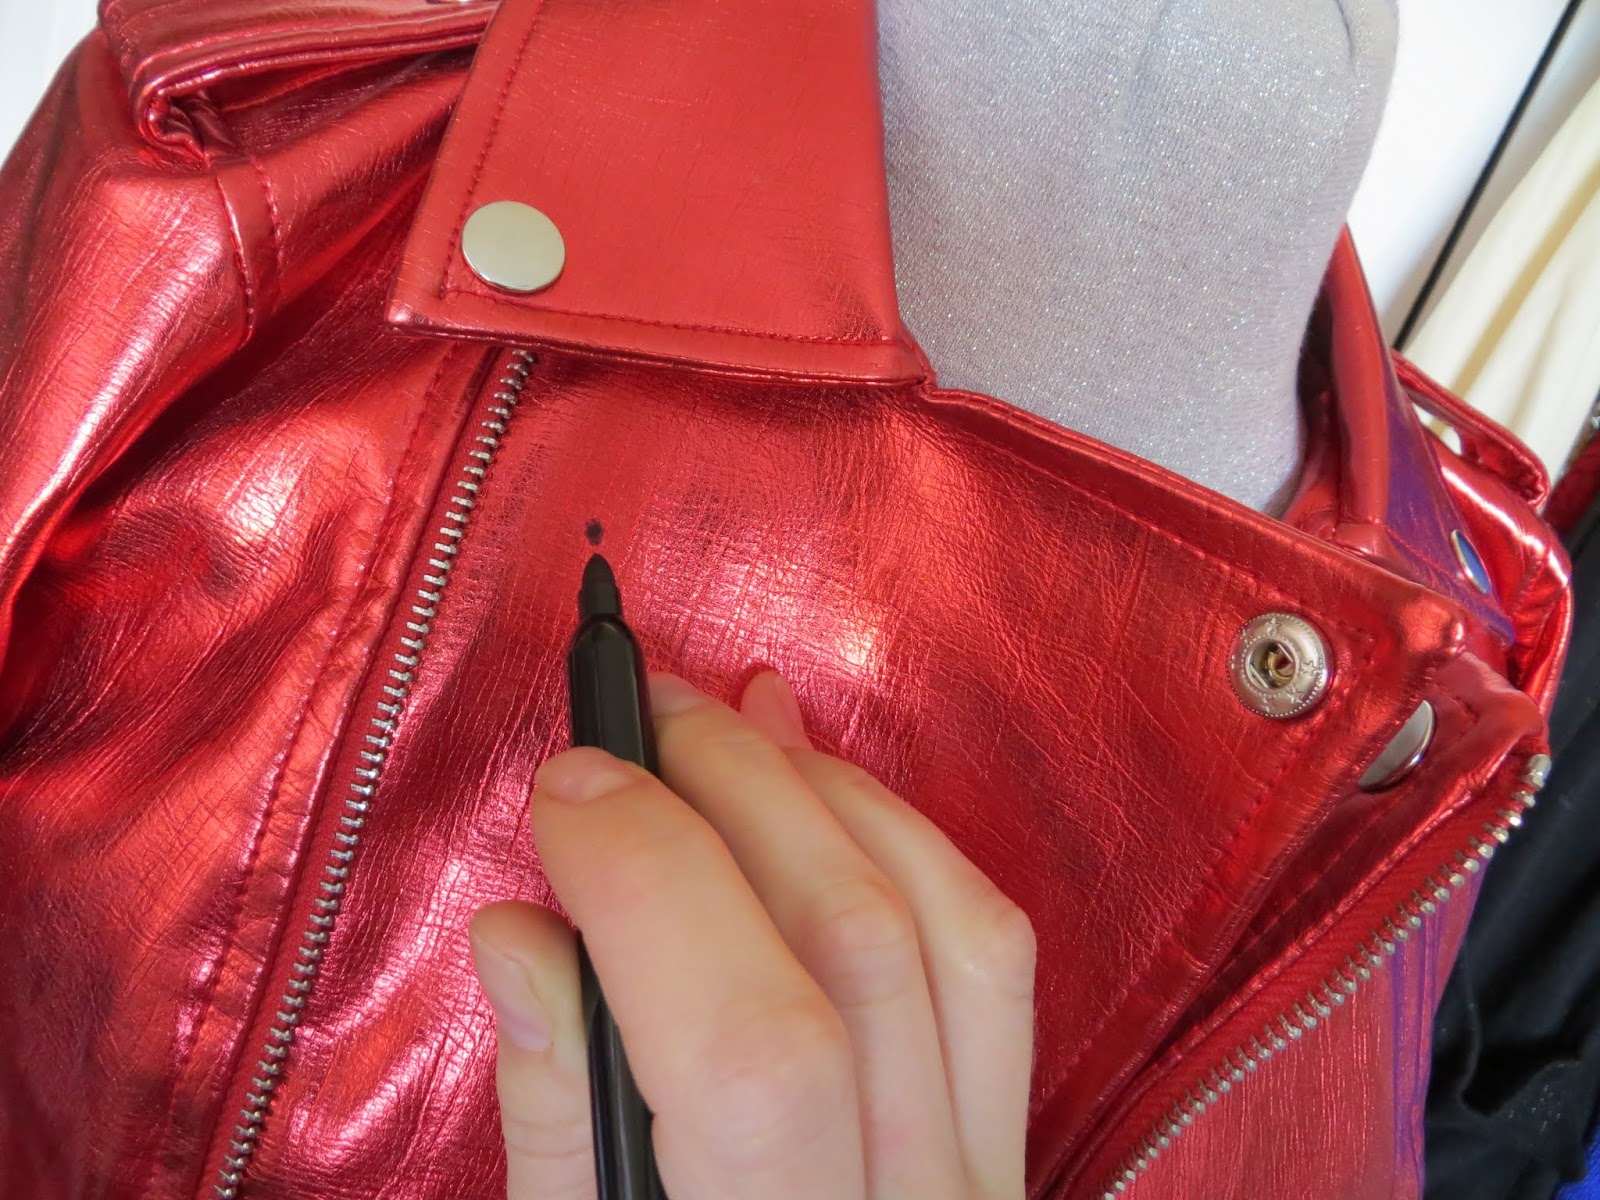
First, I made a mark where the male part of the snap should have been. I did this on both sides.


Then, I found another jacket at a thrift store that had snaps the same size.


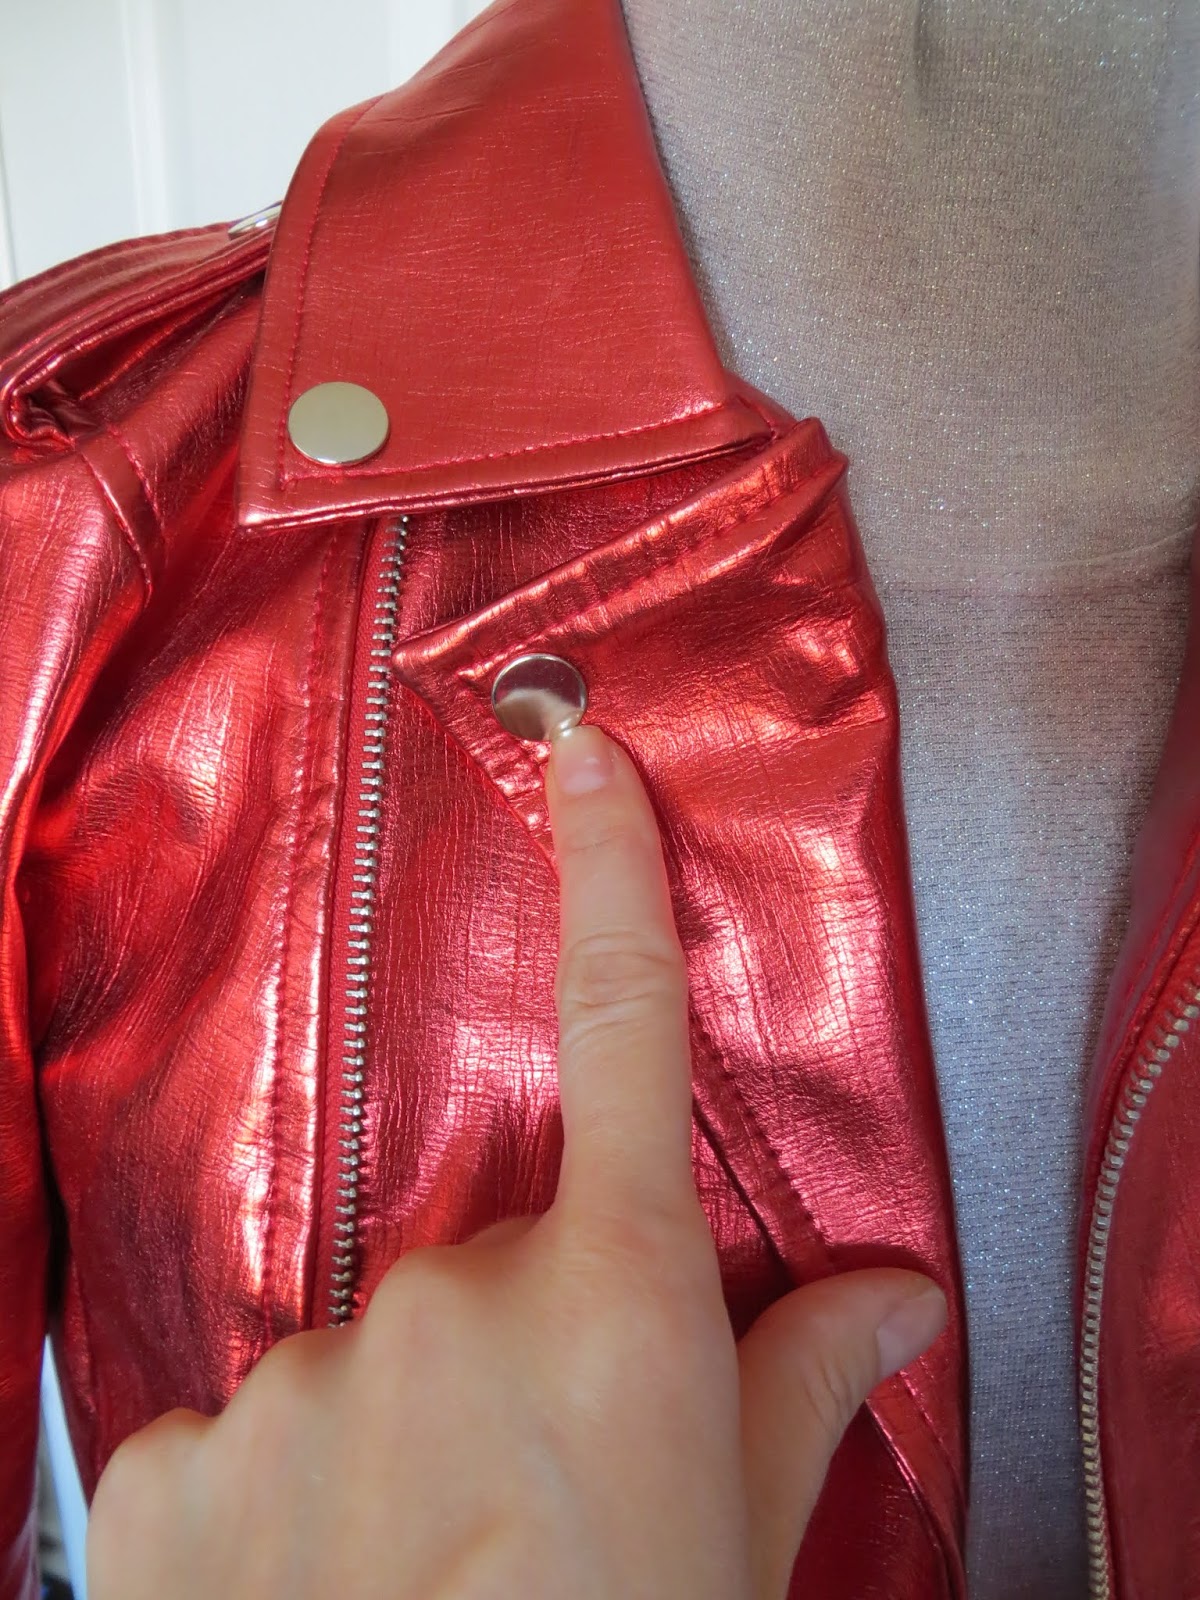
Perfect! Two male ends of snaps the same size as my red jacket!


I cut around each snap leaving a margin.


I didn't want the margin to be blue b/c that would conflict with the red jacket, so I "painted" them black with a Sharpie.


I glued each spot with super glue.


Then, I glued the back of each snap.


And pressed each male end into place.


I let them set for a second. Gluing them was not the fix. It was just to keep each piece in place.


With each snap in place, I took a threaded needle and then sewed them into place to assure they wouldn't come apart.


Now the jacket lies open like a normal moto jacket!


And if I want to zip the jacket all the way up, I just have to unsnap the lapels.


The End!