Showing posts with label eyes. Show all posts

Saturday, July 8, 2017

Refashioning: Comme de Garcons Inspired Shirt - How to Iron On Embroidered Patches (Small)

Okay, we all know I'm a fan of Moschino, right?
(The dress below is from Boutique Moschino and retails for $695.)


Well, I also really like the fantasy of the Japanese design house "Comme de Garcons." Their designs are just always out-of-the-box and graphic.


Anyways, the picture above is from a couture fashion show. They also have a cheaper casual line called "PLAY." The play line has this cute little heart with eyes on it as a logo.


It's a cheaper line, but the T-Shirts are still over $100.


Anyways....here is a project that literally anyone with an iron can do. (I realize that not everyone has an embroidery machine, so some of my embroidery posts are not helpful for the masses.)

I had this button-up blouse that I tried selling online, but no one ever bought it. I was only getting rid of it because I have a million black shirts. But I still really liked it, so I didn't want to just give it away.


It has these really interesting--almost epaulet-like--pleats on the shoulders.


I ordered these cute little heart iron-on patches off eBay. I think it was less than a $1 for both.


You may not have a dress form like I do, but if you want to do a project like this, all you need is yourself and a mirror. Hold the patches up and look at yourself until you get them in the right place...or whatever you consider to be the right place!


I liked them best like this.


Okay, so here's what you do. Everyone tells you to place the patch down right where you want it on the shirt (or whatever) and then hit it directly with the iron. I don't do this for several reasons. (1) You need to hold the iron on the patch for more than a few seconds to create a lasting bond. (2) A lot of times, when you iron the patch on from the top and hold the iron on too long, the iron messes the patch up (skid marks, melting, etc). Even if you hold the iron still. (3) A lot of times hitting the patch from the top messes up the surrounding fabric, and you get those funky waves that everyone hates. (4) Doing the majority of the ironing from the wrong side heats up the adhesive much better than ironing from the top of the patch down, because usually the clothing fabric is thinner than the patch....The problem with doing all the ironing from the wrong side is that you can never get the placement right.

So, here's how I do it.


First, I plug in my iron and hold the patch up to it (not touching) to get the adhesive sticky.


Then, I place the patch down where I want it.


Usually, that's all I have to do to get the patch in the right place, and I flip the clothing inside out, iron the back and I'm done.


However, these patches were a little tricky, so if you find yourself with some tricky patches, read on.

Since the patches weren't heating up, I decided to heat up the surface fabric instead.


That worked a little better. At least the patches were slightly adhering now.

Then, I VERY LIGHTLY touched each patch with the iron for barely a few seconds. I did this to make sure there was a good enough bond so I could turn the shirt inside out without the patches falling off.


Then, I ironed the heck out of the patches from the back!


Once you get the patches to stick, always let them cool a few seconds and fold the fabric away from each patch to make sure that it stuck well enough. Always remember to wash these items inside-out and hang them to dry. (Even if your patches say they can be tumble dried, they stay on better if you line dry them.)


There! Looks pretty Moschino-meets-Garcons to me!


The End!


Sunday, June 18, 2017

Refashioning: Moschino Inspired - Lips and Eyes Embroidered Dress with Gems

So, I've been on a Moschino kick recently. I love the graphic patterns with simple silhouettes.

I also really like me a good lipstick print.

Here is a Moschino dress with lips all over it:


I'm not really a fan of the cigarettes, though...


Here is a Love Moschino lip print dress: 


This one isn't Moschino, but I just really like the silhouette and the print:


Okay, remember this dress from my last post? Well, anyways...I was thinking about how the facial features, while seemingly random, have all been placed in the accurate places to create faces. I found this inspiring, and I have been itching to sit down at my embroidery machine to recreate this effect.


Okay, so here is my project. First, I found this Nanette Lepore blouse at Goodwill. It was at Goodwill because it has several gems missing from the shoulders.


You can see the missing spots here.


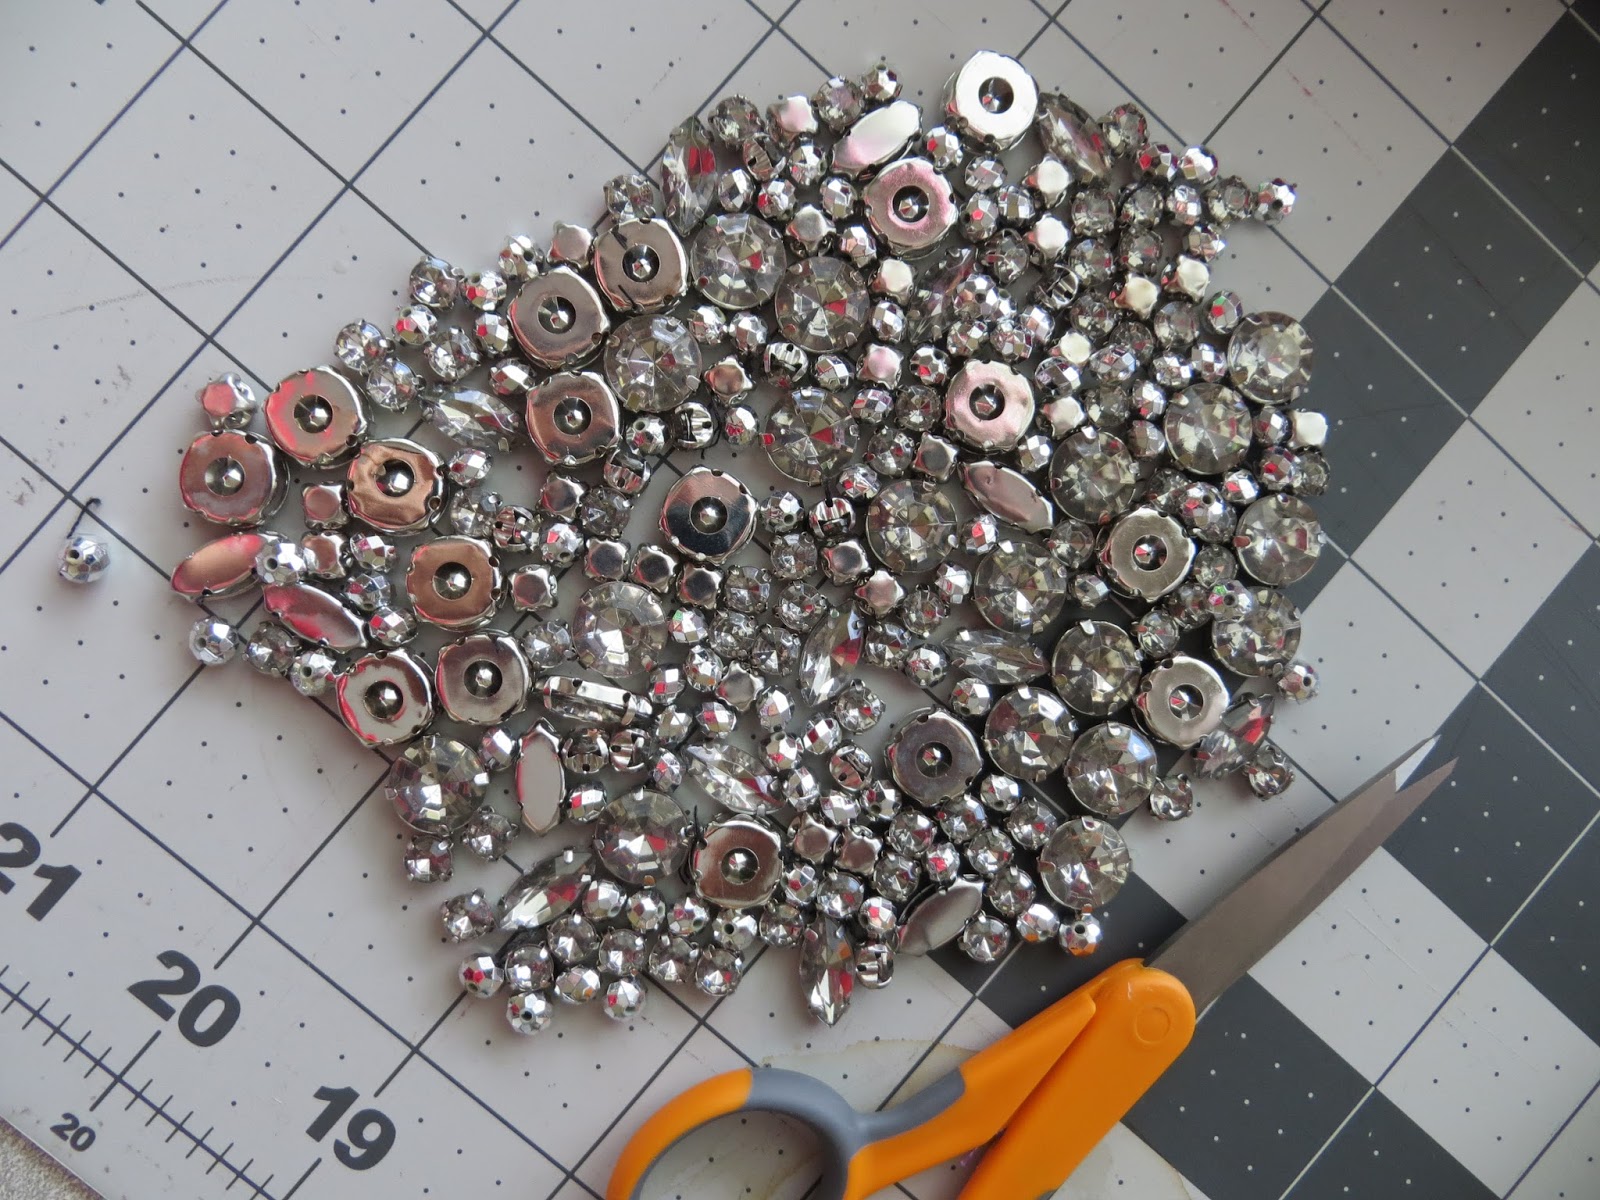
The gems were too good to pass up, so I paid my dollar for this shirt, took it home, and started cutting!


Scene two: Enter the fifty-billionth little black dress that I own. It's H&M and also from the Goodwill dollar rack. I have another fit'n'flare black dress that is similar to this one that I end up wearing instead; however...I didn't want to give this one up! It fits and I like how it looks on me, even though I never wear it....

Result: this dress would make an excellent canvas for my embroidery machine!

(Even if you don't have an embroidery machine, this post may give you some ideas on revamping clothes that you already own.)


I wasn't exactly sure how I wanted to situate the embroidery. I just knew I wanted it to pretty well cover the dress sort of like a print would. Therefore, I ironed as much stabilizer onto the wrong side of the dress as I could. By ironing the stabilizer all on at once, I could then "power through" and embroider to my heart's content without stopping. (I also didn't have to keep plugging and unplugging my iron and waste energy.)


I started with the front pocket on the bodice. It used to be a functional pocket, but...like I'm ever going to put anything in it! So, I didn't mind that I embroidered the pocket closed. 

Incidentally, all these embroidery designs were ones that I found for free online while Google searching.


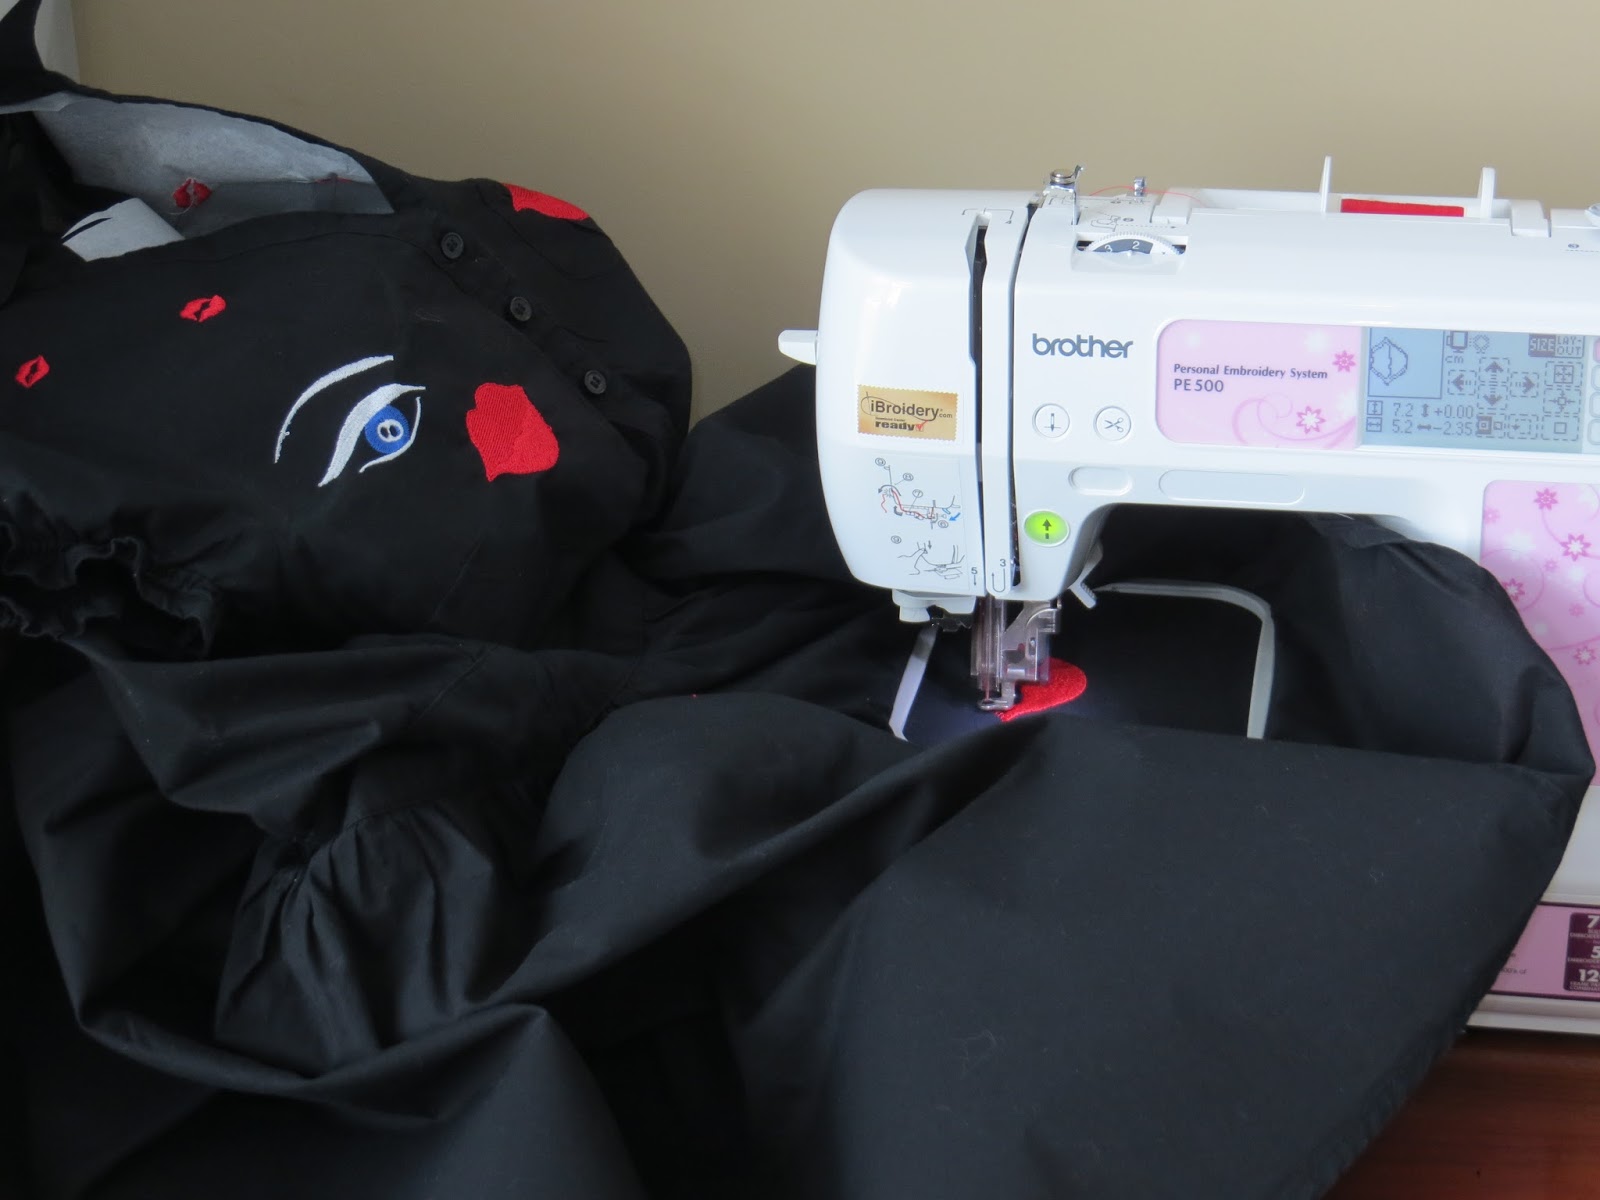
Then, I added some tiny lips and an eye (to mimic the "almost faces" of the Moschino dress above).


My embroidery machine at work.


So, the embroidery took hours. I had to individually stitch every one of the lips separately. The tiny lips were nice. Because they were so small, I could stitch three to five of them in one hooping, but I still had to plan them out one at a time. It took a LOT of work and a lot of babysitting. If you have an embroidery machine, you know what I mean. You would like to just set the design, push "Go," and walk away, but it's not as simple as that. The thread likes to randomly catch and break, and it even broke one of my needles! So annoying. Oh well, it's still super fun.


While the machine was embroidering, though, I did have enough time to cut all the gems off the first shirt I showed you.


Skipping way ahead, here is the finished dress! (Almost)


Here is my little "couture" part. I hooped each section in a handheld hoop and added gems to my designs, just for a little something extra....


(This one was a mistake! I could have died!!! I wasn't paying attention and accidentally stitched these bigs lips UPSIDE DOWN!!!! What was I thinking!? Anyways, pulling out all those hundreds of stitches wasn't happening, so instead I took this marquis shaped gem and sewed it on the bottom of the lips. You probably wouldn't have noticed if I hadn't told you.)


I didn't add any gems to the back for comfort reasons, but here are close ups of the embroidery on the back.


Here is the finished dress! Not bad for some Goodwill couture!


The End!


Thursday, October 27, 2016

Sunday School Craft - Jesus Heals the Blind Man Mask

My template originally came from one I found on Pinterest, but I tweaked it. Your Sunday School class will love this "Blind Man" mask! This one is really interactive and illustrative of the story, which you shall see if you continue reading. . .


You will need: cardstock, brad fasteners, scissors, an Exacto-Knife, and crayons.


If you scroll to the bottom you will see how I tweaked the original pattern. For the frowny "blind" face, I covered his eyes with the Bible verse that tells the story of Jesus healing the blind man. I also added a half circle shape, so you could know where to cut on his face to get the right shape.


Next, I cut out the happy face.


Then, with a pen, I poked through the hole in the frowny part. . .


and through the happy face. . .


Next, I cut the eyes of the happy face out with an Exacto-Knife. You should probably do this part ahead of time for the children in your class.


Then, I colored both parts.


Then, I stuck them together with a brad fastener. (Front)


(Back)


Two finished masks! You can attach popsicle sticks to the bottom if you want, but the reason I didn't was because the frowny part stays up better if you hold the mask on both sides.


This is the part that I find REALLY cool!

With these masks you can actually BE the blind man!

First, you can't see. . .


Then, you flip the blind part up and you can see! Talk about interactive learning!


UPDATE: For some reason, everyone is confused about the templates.....These are the templates below, People! You just right click on them, copy image, and then paste them into your favorite word processor or paint program and hit "print." Alternatively, you can right click on them, save the image to your desktop, open the image and select "print."

I have tried to comment as such, but for some reason Blogger won't let me comment on my own posts....no idea why. Anyways, there is no reason for everyone to be so confused.

Templates:


The End!