So, I've been on a Moschino kick recently. I love the graphic patterns with simple silhouettes.
I also really like me a good lipstick print.
Here is a Moschino dress with lips all over it:

I'm not really a fan of the cigarettes, though...
Here is a Love Moschino lip print dress:

This one isn't Moschino, but I just really like the silhouette and the print:

Okay, remember this dress from my last post? Well, anyways...I was thinking about how the facial features, while seemingly random, have all been placed in the accurate places to create faces. I found this inspiring, and I have been itching to sit down at my embroidery machine to recreate this effect.

Okay, so here is my project. First, I found this Nanette Lepore blouse at Goodwill. It was at Goodwill because it has several gems missing from the shoulders.

You can see the missing spots here.

The gems were too good to pass up, so I paid my dollar for this shirt, took it home, and started cutting!

Scene two: Enter the fifty-billionth little black dress that I own. It's H&M and also from the Goodwill dollar rack. I have another fit'n'flare black dress that is similar to this one that I end up wearing instead; however...I didn't want to give this one up! It fits and I like how it looks on me, even though I never wear it....
Result: this dress would make an excellent canvas for my embroidery machine!
(Even if you don't have an embroidery machine, this post may give you some ideas on revamping clothes that you already own.)

I wasn't exactly sure how I wanted to situate the embroidery. I just knew I wanted it to pretty well cover the dress sort of like a print would. Therefore, I ironed as much stabilizer onto the wrong side of the dress as I could. By ironing the stabilizer all on at once, I could then "power through" and embroider to my heart's content without stopping. (I also didn't have to keep plugging and unplugging my iron and waste energy.)

I started with the front pocket on the bodice. It used to be a functional pocket, but...like I'm ever going to put anything in it! So, I didn't mind that I embroidered the pocket closed.
Incidentally, all these embroidery designs were ones that I found for free online while Google searching.

Then, I added some tiny lips and an eye (to mimic the "almost faces" of the Moschino dress above).

My embroidery machine at work.
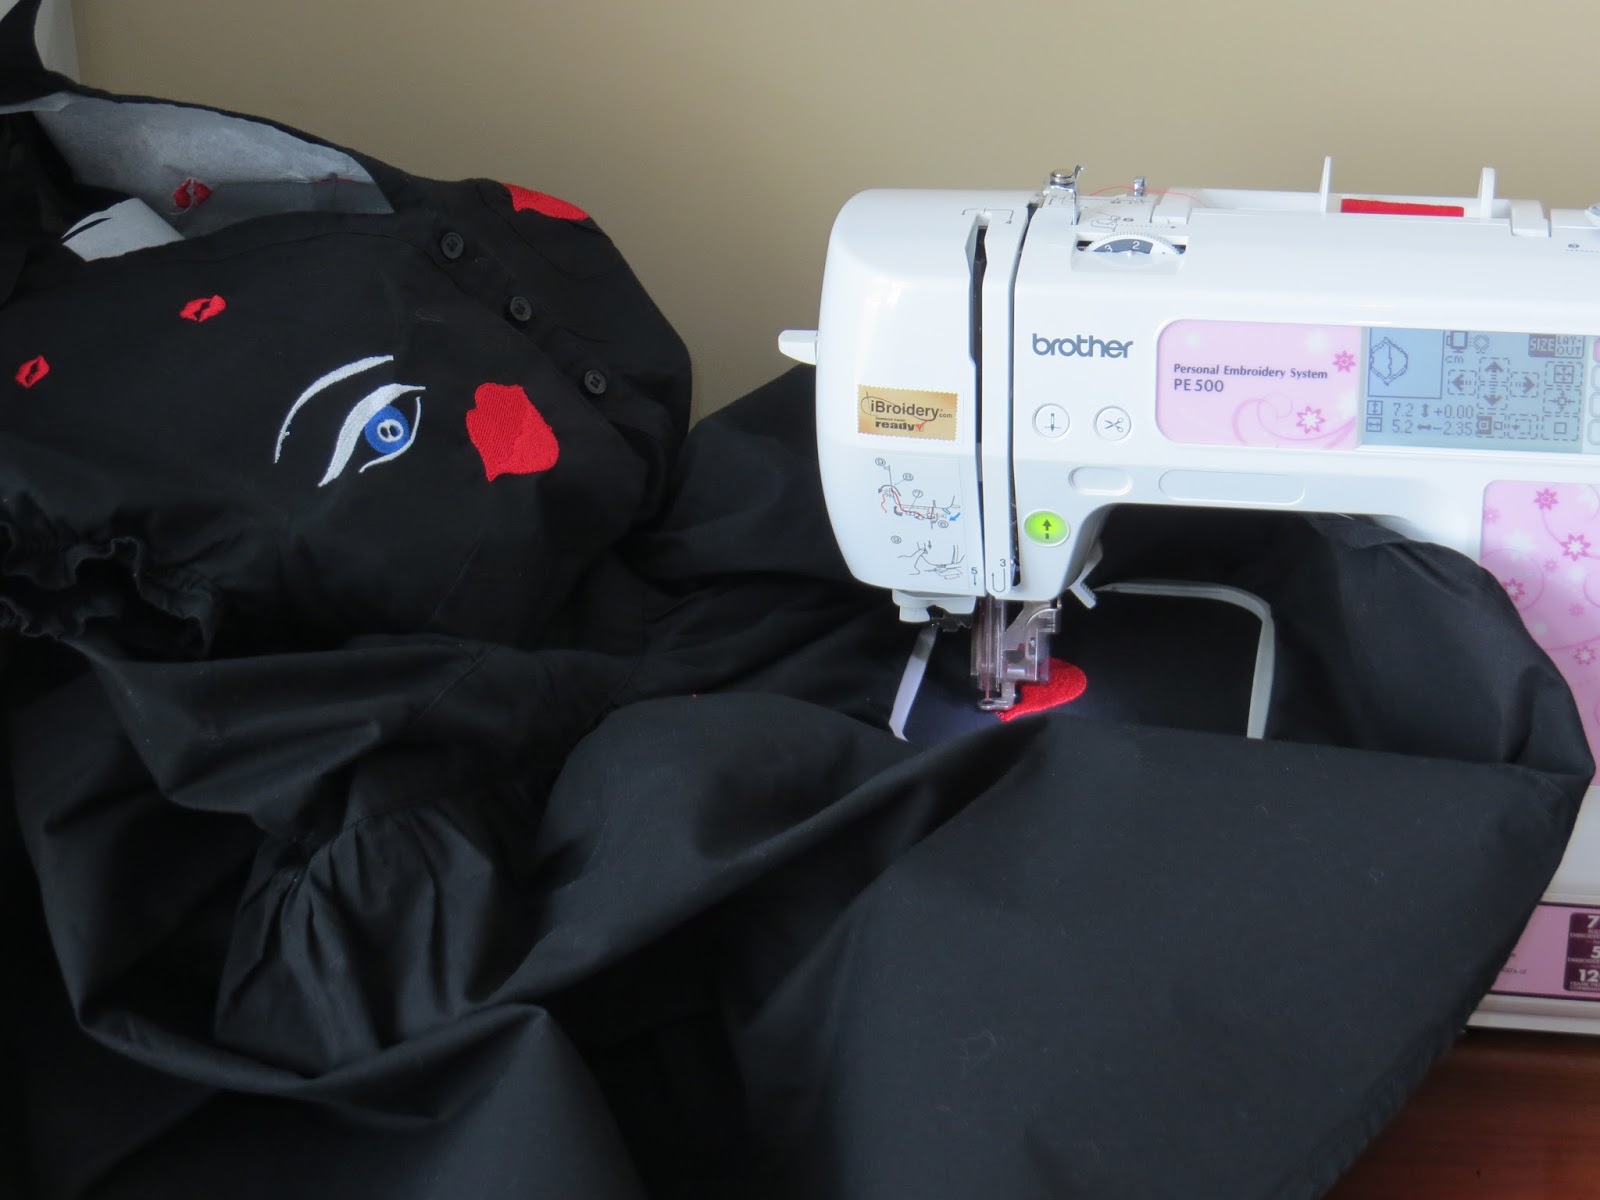
So, the embroidery took hours. I had to individually stitch every one of the lips separately. The tiny lips were nice. Because they were so small, I could stitch three to five of them in one hooping, but I still had to plan them out one at a time. It took a LOT of work and a lot of babysitting. If you have an embroidery machine, you know what I mean. You would like to just set the design, push "Go," and walk away, but it's not as simple as that. The thread likes to randomly catch and break, and it even broke one of my needles! So annoying. Oh well, it's still super fun.
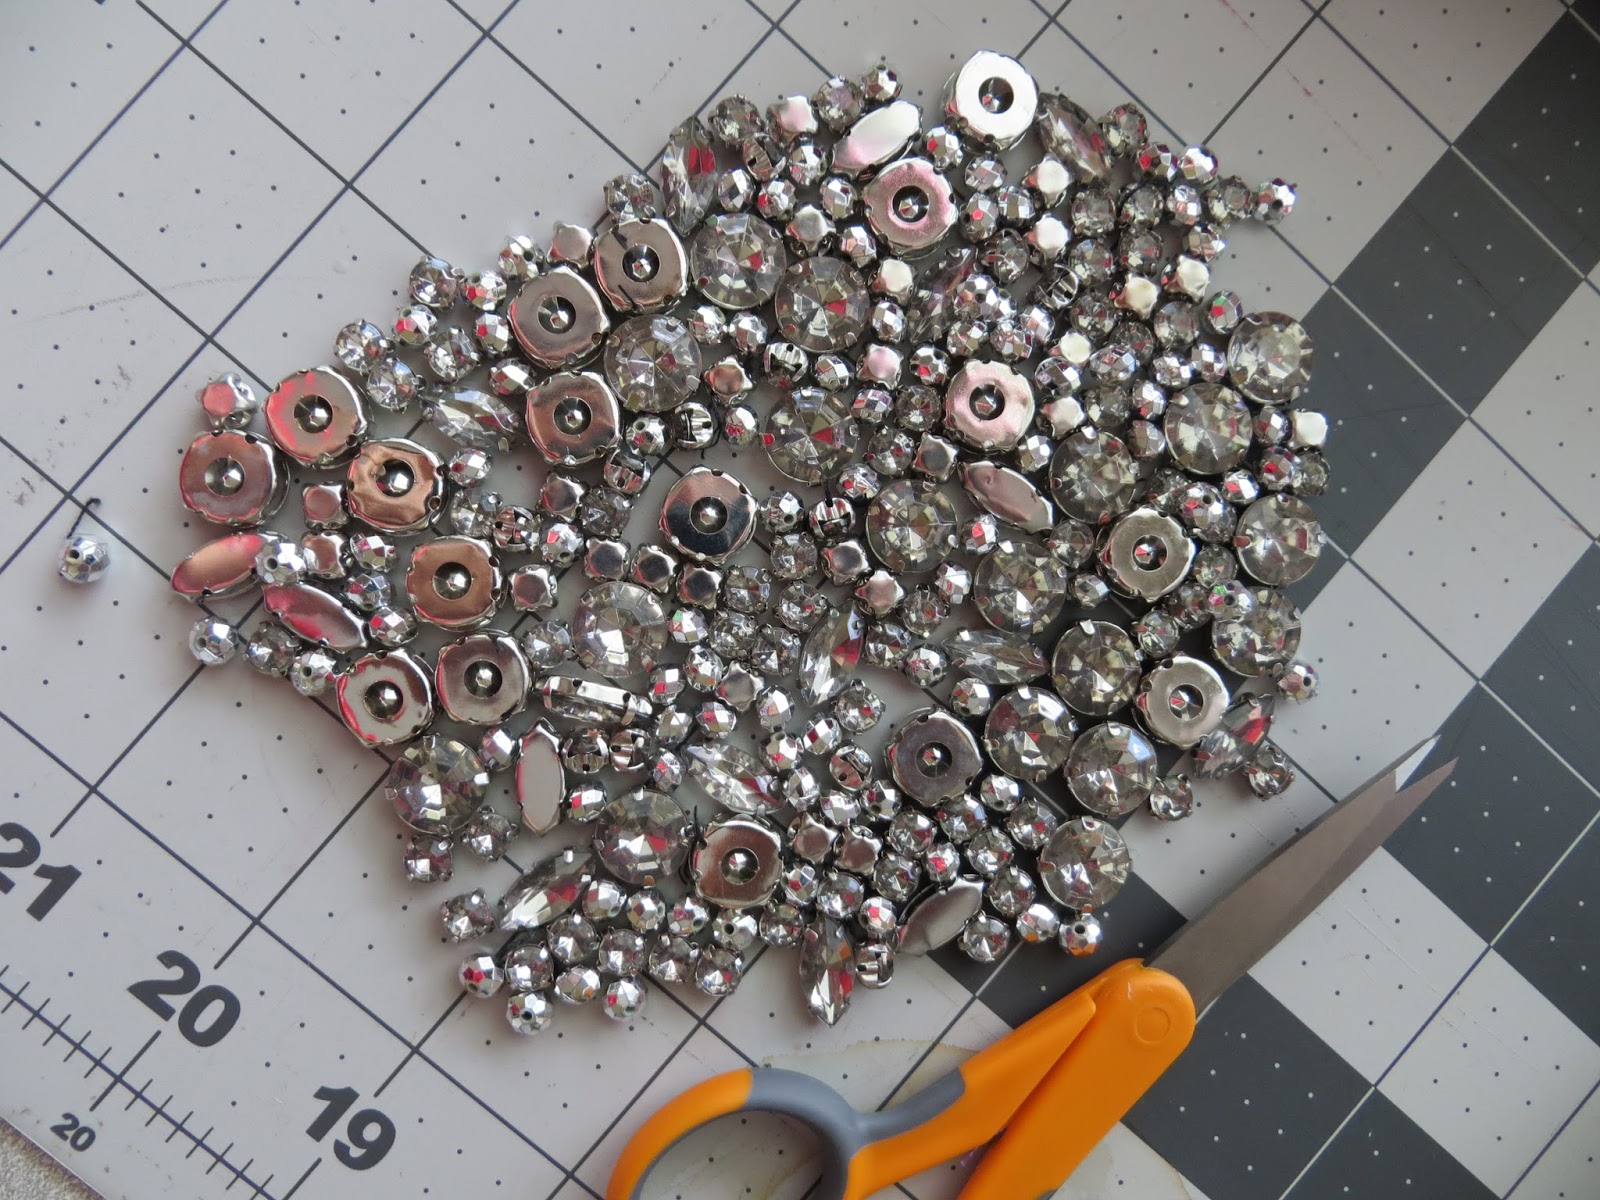
While the machine was embroidering, though, I did have enough time to cut all the gems off the first shirt I showed you.
Skipping way ahead, here is the finished dress! (Almost)


Here is my little "couture" part. I hooped each section in a handheld hoop and added gems to my designs, just for a little something extra....


(This one was a mistake! I could have died!!! I wasn't paying attention and accidentally stitched these bigs lips UPSIDE DOWN!!!! What was I thinking!? Anyways, pulling out all those hundreds of stitches wasn't happening, so instead I took this marquis shaped gem and sewed it on the bottom of the lips. You probably wouldn't have noticed if I hadn't told you.)


I didn't add any gems to the back for comfort reasons, but here are close ups of the embroidery on the back.


Here is the finished dress! Not bad for some Goodwill couture!


The End!
No comments:
Post a Comment