In my last post, I mentioned my love for Moschino.
I was on their website a few days ago and saved a bunch of pictures of dresses I liked that I found inspiring for projects.
Here is one of them. I think it is from Love Moschino, and I think it is sold out, because when I went back to look up the price, I couldn't find it anymore. Anyways, similar dresses sell around $500.
I like the embroidery on the bodice. It's unexpected on a gingham dress.

Here is another Moschino dress. It is from Boutique Moschino and retails for $650. This is what all the kids are wearing these days...Maybe not at those prices, but designer clothing these days is covered in embroidery and little graphic details like this one.

Anyways, I have had a Wizard of Oz project in my head for a while now, and after seeing the above dresses, I thought this would be a great time to get out my embroidery machine and make it!
I found this dress at Goodwill for a dollar.

So, I just started embroidering all the "Wizard of Oz"-like embroidery patterns I could find from the internet. I used only free designs, because (1) I'm cheap. (2) I like the challenge of finding pictures that are vaguely reminiscent of a theme and putting them together in a way that is unmistakably that theme--versus spending a lot of money on only patterns that are PRECISELY a specific theme. (In other words, I could have spent $100 on actual Wizard of Oz patterns, but. . .I don't like in-your-face/obvious stuff. To me, it looks cheap. To me, it's more poetic to use vague interpretations.) (3) I wanted to prove that you don't have to spend money to make something cool.
I have a Brother PE500. It is, I think, the cheapest embroidery machine you can buy (around $300). The hoop size is 4"x4", so this was another challenge: to find patterns that were small enough to fit into my hoop.

Okay, so not everyone has an embroidery machine. I realize that. So how are you to be inspired by a project you can't do? Well, I would like to inform you that with the advent of this embroidery craze, iron-on patches have become quite abundant on places like eBay and Amazon. Just search for "iron-on patches" and see what you come up with!
I did use an iron-on patch on this dress, because I couldn't find a free rainbow embroidery pattern at the time, so I bought an iron-on rainbow patch for $.75 on eBay.
To iron-on a patch: I suggest first taking the patch and holding it up to an iron that has just been turned on and is warming up. Get that iron-on side warm first. This will help you stick it on the right side of the garment more easily. Once you have it sorta stuck on and in place, hold onto the patch and garment while you turn the garment inside out. Then, iron on the wrong side. (Some people tell you to iron on the top of the patch--on the right side of the garment--and that is a bad idea because your iron can melt the sequins...and/or at least ruin them a little bit.)

Okay, so I could have stopped here if I had been going for the look of the first Moschino dress.

But....I wanted the random look of the second dress, so I embroidered all over my dress!

So, now I'm going to kind of geek-out and tell you why I did what I did. First of all, I chose a black and white gingham dress for this project because Dorothy wore a blue and white gingham dress in the movie. However, the movie started in black and white (or...actually sepia) and so this dress is alluding to both of those points: gingham and black and white. So the dress itself is like the "before" (black and white) part of the movie, and all the pictures on it are of the "after" (in color) part.
Now. I'll take you through all the pictures.
This one is pretty self-explanatory. It's the entire third line of that famous song! (I found the birds from a design of doves holding a string in their mouths. I just didn't embroider the string and I turned the birds blue. I also added the word "Somewhere. . ." above them.)

These are the ruby slippers, obviously. (They were just a random shoe design, but I made them red. I added the words "click click.")

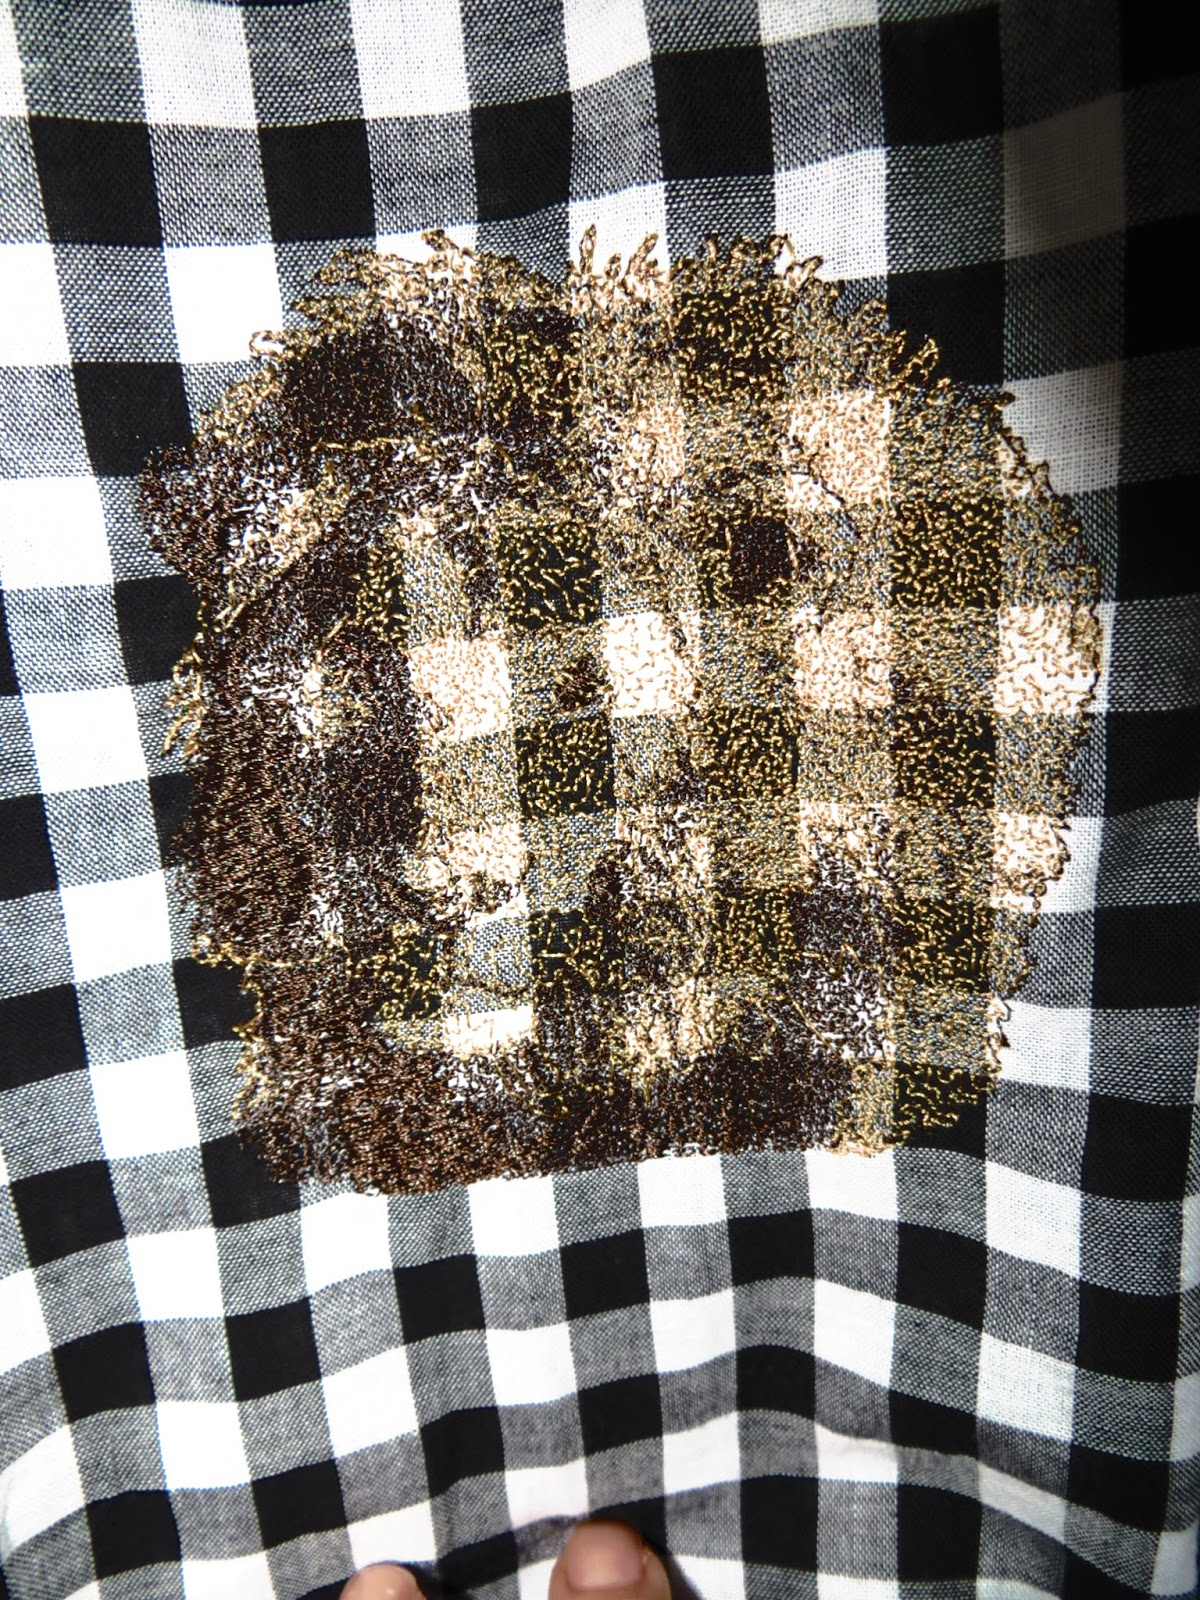
There are a lot of scarecrows out there on free embroidery sites. The trick is to find one that isn't super baby/cutesy looking. This was the best one I could find. I colored him the way he is in the movie.

This isn't the best lion in the world to use over gingham. (He looks A LOT better on plain white), but. . .you get the idea. Maybe later I will re-embroider him on white and then sew him on over this one...
I couldn't find a Cairn terrier. (Actually, I couldn't find one that I could pay for either, let alone for free!), so I used a Scottish terrier for Toto.

I couldn't find anything tin. I kept looking for a funnel or an oil can, but nothing ever came up on any of the sites. I could have bought an actual tin man pattern, but. . .as I said before, I didn't want to buy an actual Wizard of Oz pattern. Instead, I found this heart with a musical note on it and put the words, "If I only. . ." above it.

Here is my Glinda. It was really hard to find a fairy with a wand that was within 4" square. Anyways, I found this one, and put a big pink circle around her for her bubble.

This design was almost too good. It was actually the first design that I found that triggered me to start looking for other Wizard of Oz-like designs. Originally, this design was a city skyline and was all in black. I turned it green to make the Emerald City.

This was two different patterns: the poppy and the "Sweet Dreams" design. By themselves, they are just a flower and a saying used on baby clothes. Together, they allude to that scene where the Wicked Witch of the West poisons the poppies and makes Dorothy and her posse fall asleep.

Okay. . .I'm really proud of this last one.
I hate when dresses have a ton of embroidery on the front and nothing on the back, so I put this little wicked witch flying on her broomstick and writing "Surrender Dorothy. . ." in the sky.

However, there was a problem. Technically, I should have mirror-imaged the witch and had her flying out from the dots after "Dorothy," right? Yeah. That would have made sense. I actually didn't realize that logistical problem until I was done, so I fixed it by hand:

There! Now she has written the words and then swooped around to make her exit (which. . .is how it happened in the movie anyway! Ha!)
Here is the finished dress. It took several days.

This project cost me a dollar for the dress and $.75 for the patch. I got the thread a few Christmases ago, and the embroidery machine a few birthdays ago. Anyways, you could do something similar for a few dollars too. Like I said before, you can find iron-on patches all over the place.

The End!
No comments:
Post a Comment