Making T-Shirts into a quilt was really popular a few years ago. Everyone was making them and it was revolutionary. Well. . .I may be a day late and a dollar short, but I still had a bunch of T-Shirts that I wasn't wearing, yet didn't want to get rid of, so. . .whether it's in vogue or not, I still did this project! I did do it a tad differently than the norm, so read on to find out how.
I work for my church in the office. Sometimes, I have to make these booklets with plastic binding. Well, I accidentally messed up two of the bindings, so instead of throwing them away, I took them home, taped them together to make a square, and used them as my quilt pattern.
This is how I cut my shirts out: I laid the pattern on top of the emblem of each T-Shirt, and just cut around it--all the way through each shirt--through the front and back at once. This made two pieces per shirt.

I kept cutting until I had cut thirty shirts. I had sixty squares when I was done.

Instead of throwing away the back pieces of the shirts, I actually kept them with their corresponding fronts as I sewed all the pieces together. Why did I do this? Two reasons: (1) Not all shirts were the same stretchy-ness. Some of the shirts stretched a lot more than others. Keeping an extra layer with every piece sewn added some body and heft which gave the whole project more uniformity. In fact, I actually traded around the backing squares on some of the stretchiest T-Shirts. (2) the extra layer added an extra level of warmness. (It also made the finished blanket 25-30% heavier, so if you want a lighter-weight blanket, don't do this. However, if you skip this step, make sure all your T-Shirts have the same stretchy-ness.) You can see my layers in the picture below. I used a simple zig-zag stitch with a wideness of 3 and a closeness of 1.5. The reason I waited so long to do this project was because I was hoping to have had a serger by now. Oh well, I don't. Anyways, the zig-zag stitch worked just fine!

I sewed them in five columns of six squares. Then I sewed the six squares together. I didn't use pins because they were all the same size squares. However, I only sewed a few inches at a time and made sure that all my seams matched up as I went along. Slow and steady wins the race!

I chose this baby blue/green jersey for the backing, simply because that was the only jersey I had that was wide enough. If you do this, make sure you use a jersey backing cloth as well. It will look and feel really weird if you use a woven cloth, that doesn't stretch, behind T-Shirts that do stretch. If all you have is woven, then you will need to iron on some non-stretch interfacing behind each of your T-Shirt pieces before you sew them all together, or at least before you sew all the layers together.
Skipping ahead. I laid my backing cloth down first, then put my batting down, then laid the quilt top down over that. I trimmed the batting and then folded the backing cloth over the batting and connected it to the top layer with pins--pinning through all the layers at once. You can't really see it in this picture, but if you zoom in, you can see all the pins around the outside.

Once I sewed all around the quilt (and mitered the corners), I pinned through all the layers at the intersections of each T-Shirt piece. You can see what I'm talking about below. See how the pin goes through the corners of the white, yellow, green, and orange shirts? I then rolled it all up, and with the roll starting in my lap, I started feeding all these intersections through my machine, back tacking at just the intersections. This is a very necessary step because it keeps your batting (and everything really) in place. Little known fact: This is actually the act of quilting--when you sew through all the layers of a blanket to add warmth to a blanket, and to keep all the layers in place. (Some people think that quilting is when you sew a bunch of pieces together, but that is actually called "piecing" to make a quilt top.)

The finished quilt. Now I can keep all my sentimental T-Shirts that I never wear without them cluttering my drawers!

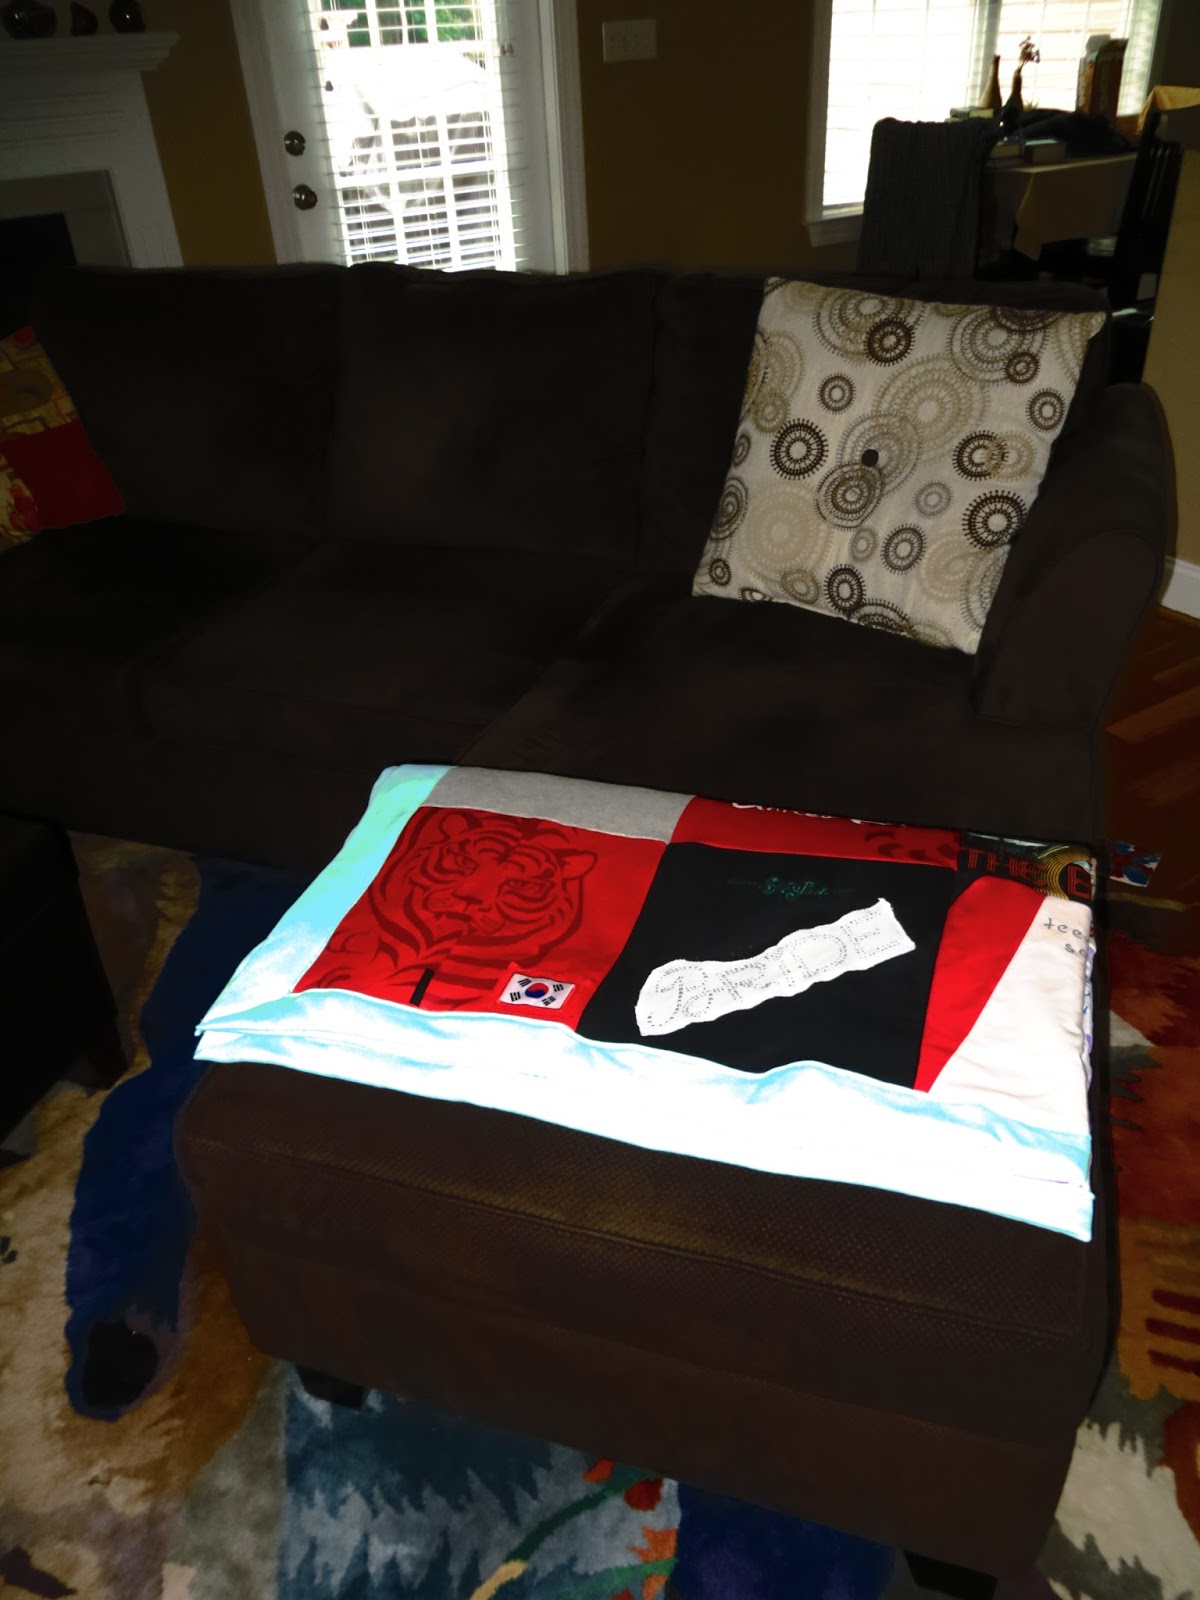
The finished quilt on my couch.
The End!
No comments:
Post a Comment