Showing posts with label give. Show all posts

Tuesday, November 20, 2018

How to Make an Angel Tree on a Budget


Today, we are going to make an Angel Tree. 

If you don't know what an Angel Tree is...Basically, it's a tree at your church or place of business with ornaments that have a child's name and Christmas wish list on them. The point of it is to have people take an ornament, shop the items, and return them wrapped to be delivered to the children. It gives people the chance to bless others and become "angels" of God's blessing at the holidays.

Anyways, I had to make one for my church.

At first, I wanted to buy some angel decorations and then attach the list to each one. However, no one makes angel decorations anymore!!! Or else they are really expensive.

So, I perused the Dollar Tree and came up with an idea.

We had 12 children's lists, so I bought two boxes of these red and silver bells for $1 each.


A bag of this decorative shred is $1 as well.


Okay, I couldn't find ANY angel tree toppers, so I made this one out of red and white cardstock and taped it to a Dollar Tree star tree topper. You can look at the next two pictures here and figure out how to make your own.


Okay, here is how I made the angel lists themselves. First of all, get your kids' names (or initials), their ages, and their wish lists. Make one angel per child. (I did this in Publisher.) You can use my template at the end if you need it for the angels. Or just Google "angel clip art" to come up with your own template.

Then, print your angels on cardstock. I printed the boys on red and the girls on white.

Cut them out.


Okay: Really important step. Cut the heads out like this:


This is another view of the weirdly cut head.


Then, fold one side tab in. . .


. . .and then the other one in. . .


Then, slide the folded tabs into the bottom of one of the bells.


Once the tabs are neatly inside the bell, they will sort of unfold a little and that will lock the "head" in place.


Now to make the halo. Get your bag of decorative shred.


Get a little piece of tape like this.


Take a small piece of shred and make it into a loop. Put the tape where both of the ends of shred meet.


Then, just fold the tape around the shred.


Then, slip it onto the head of each angel like this.


Then, you can use the rest of the shred and extra bells to help decorate the tree. 

The whole project only cost a couple of dollars! (Minus the tree...which I didn't buy, so I have no idea.)


Template:


The End!


Saturday, July 29, 2017

School Supplies Crayon Donation Box

It's coming on "Back to School" time and my church is doing a drive for school supplies for kids in our area. My pastor's wife asked me to make a donation box based on one she saw on Pinterest:


So, the main trick to this project was finding a box that had a stiff, high back.

I found this empty pool noodle box at my local Dollar Tree and they let me have it.


Dollar tree had table cloths in yellow, but it wasn't bold enough, so I found this bold yellow table cloth and multi-colored tissue paper at Wal-Mart.


If you want to make one, you will need the big box, table cloth, and tissue paper, but you also need scissors, tape, black Sharpie, green paper, green Sharpie, bulletin board border (optional), and a yard stick.


With the yard stick, I measured how high I wanted the front and sides of the box to be. . .


. . .and then I drew a line around the sides and front.


Then, I cut around that line and cut all the excess off.


Once all that part was off, only the back was up high (which is how I wanted it for the "crayons"). To make the "crayons" I measured the width of the back part (22") and divided by 4 (5.5").


Then, I measured and drew lines to make the tops of the crayons.


Here is a trick for how to cut cardboard without mangling it: As you cut, fold down the part you are cutting away. That way the part you leave will stay straight and unbent.


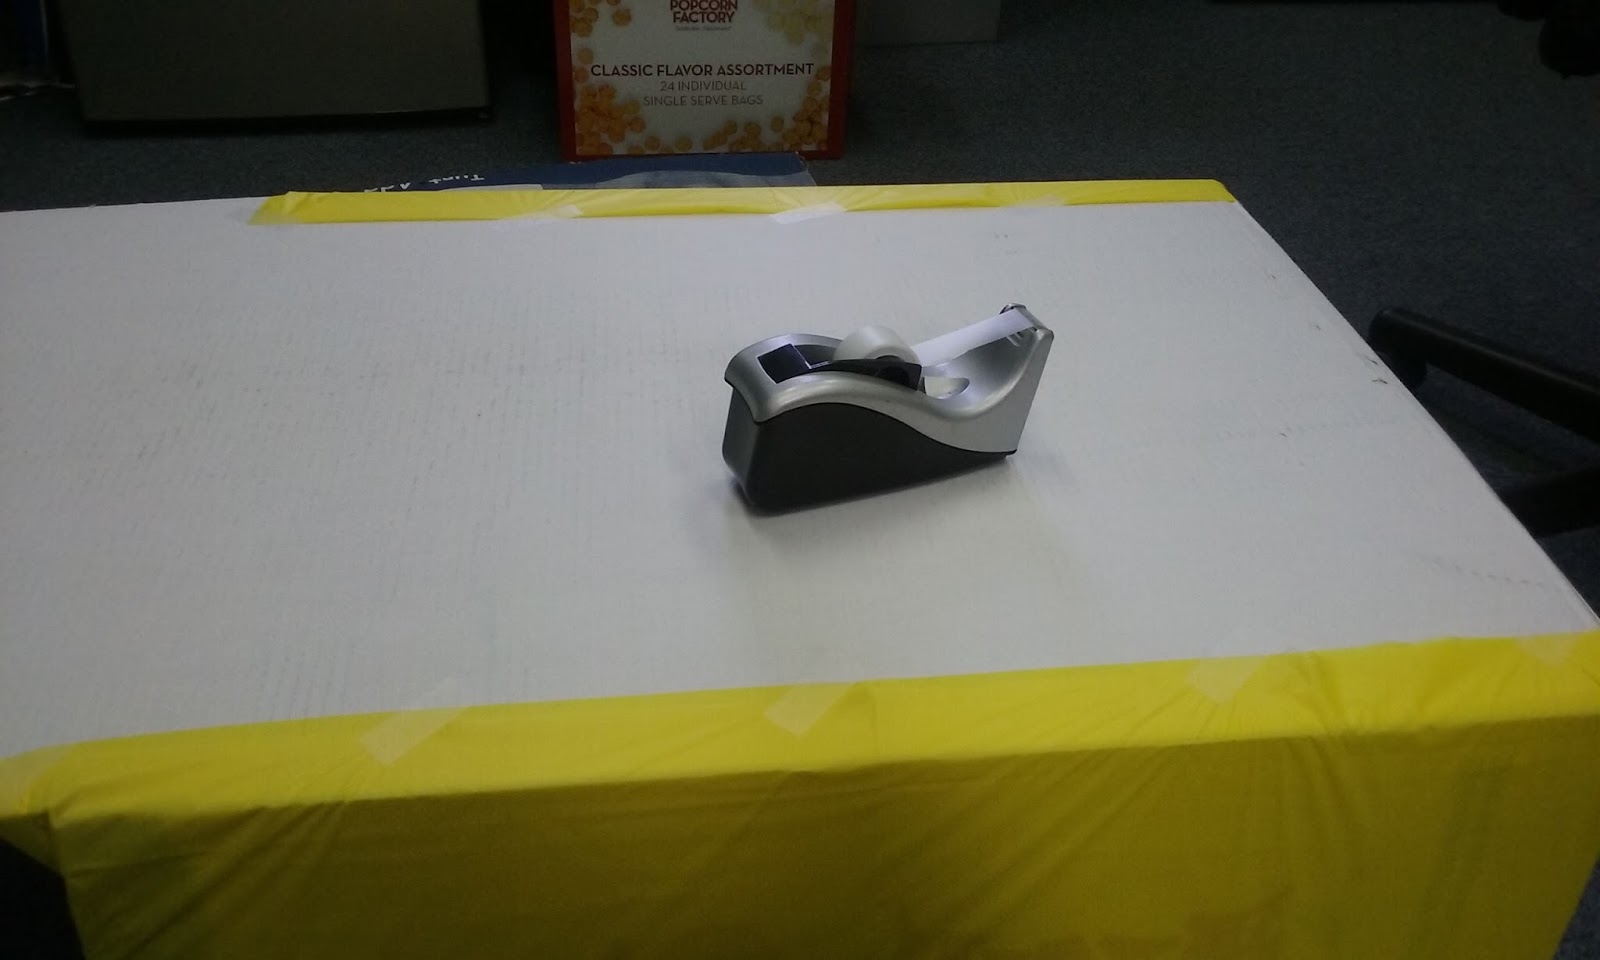
Skipping ahead, versus painting this whole project (which would take a long time), I just folded the table cloth over four times and taped the excess edges around the front and sides.

Bottom:


Top:


Back:


Okay, so remember how the "crayons" were to be 5.5" inches wide? This is how I made my crayons (again, versus painting them...so much faster). I marked 5.5" on each piece of tissue paper, and I just folded it into long 5.5" rectangles.


Then, I hung them off the tops of the cardboard and taped the tops to the back.


And then I put rolled taped under the length parts.


This looks sort of messy, so I took a piece of yellow tissue paper. . .


. . .and taped it over the messy part on the inside.


To make the "ric-rac" design on the crayons, I took some bulletin board border (that I will use in my next post) from Dollar Tree and traced it.


Then, I just colored it in.


Instead of cutting out letters, I printed out this graphic that I modified from Google searching. 


To make the iconic green corners, I took some green cardstock that we had on hand (but you can just use construction paper or paint). I traced a corner onto the paper.


Using that triangle as a guide, I cut out four.


I taped two to each corner.


Then, using a green Sharpie, I drew three lines above each green corner.


So here it is finished...kinda. If you zoom in, you can see that the sign covers three pages and looks kind of messy. The graphic didn't print out very well to piece together. 


Fortunately, our office has a big plotter printer, so Shannon, my pastor's wife, printed it out again as one big piece.  


The End!