Showing posts with label inexpensive. Show all posts

Tuesday, November 20, 2018

How to Make an Angel Tree on a Budget


Today, we are going to make an Angel Tree. 

If you don't know what an Angel Tree is...Basically, it's a tree at your church or place of business with ornaments that have a child's name and Christmas wish list on them. The point of it is to have people take an ornament, shop the items, and return them wrapped to be delivered to the children. It gives people the chance to bless others and become "angels" of God's blessing at the holidays.

Anyways, I had to make one for my church.

At first, I wanted to buy some angel decorations and then attach the list to each one. However, no one makes angel decorations anymore!!! Or else they are really expensive.

So, I perused the Dollar Tree and came up with an idea.

We had 12 children's lists, so I bought two boxes of these red and silver bells for $1 each.


A bag of this decorative shred is $1 as well.


Okay, I couldn't find ANY angel tree toppers, so I made this one out of red and white cardstock and taped it to a Dollar Tree star tree topper. You can look at the next two pictures here and figure out how to make your own.


Okay, here is how I made the angel lists themselves. First of all, get your kids' names (or initials), their ages, and their wish lists. Make one angel per child. (I did this in Publisher.) You can use my template at the end if you need it for the angels. Or just Google "angel clip art" to come up with your own template.

Then, print your angels on cardstock. I printed the boys on red and the girls on white.

Cut them out.


Okay: Really important step. Cut the heads out like this:


This is another view of the weirdly cut head.


Then, fold one side tab in. . .


. . .and then the other one in. . .


Then, slide the folded tabs into the bottom of one of the bells.


Once the tabs are neatly inside the bell, they will sort of unfold a little and that will lock the "head" in place.


Now to make the halo. Get your bag of decorative shred.


Get a little piece of tape like this.


Take a small piece of shred and make it into a loop. Put the tape where both of the ends of shred meet.


Then, just fold the tape around the shred.


Then, slip it onto the head of each angel like this.


Then, you can use the rest of the shred and extra bells to help decorate the tree. 

The whole project only cost a couple of dollars! (Minus the tree...which I didn't buy, so I have no idea.)


Template:


The End!


Monday, May 28, 2018

An Easy Way to Fix a Cheap Moto Jacket

It's Memorial Day. It's raining. My husband and I are finalizing plans for a trip to Scotland later this year, and so I am going through an old SD camera card. I came across some pictures of a blog post I never posted...so here it is!

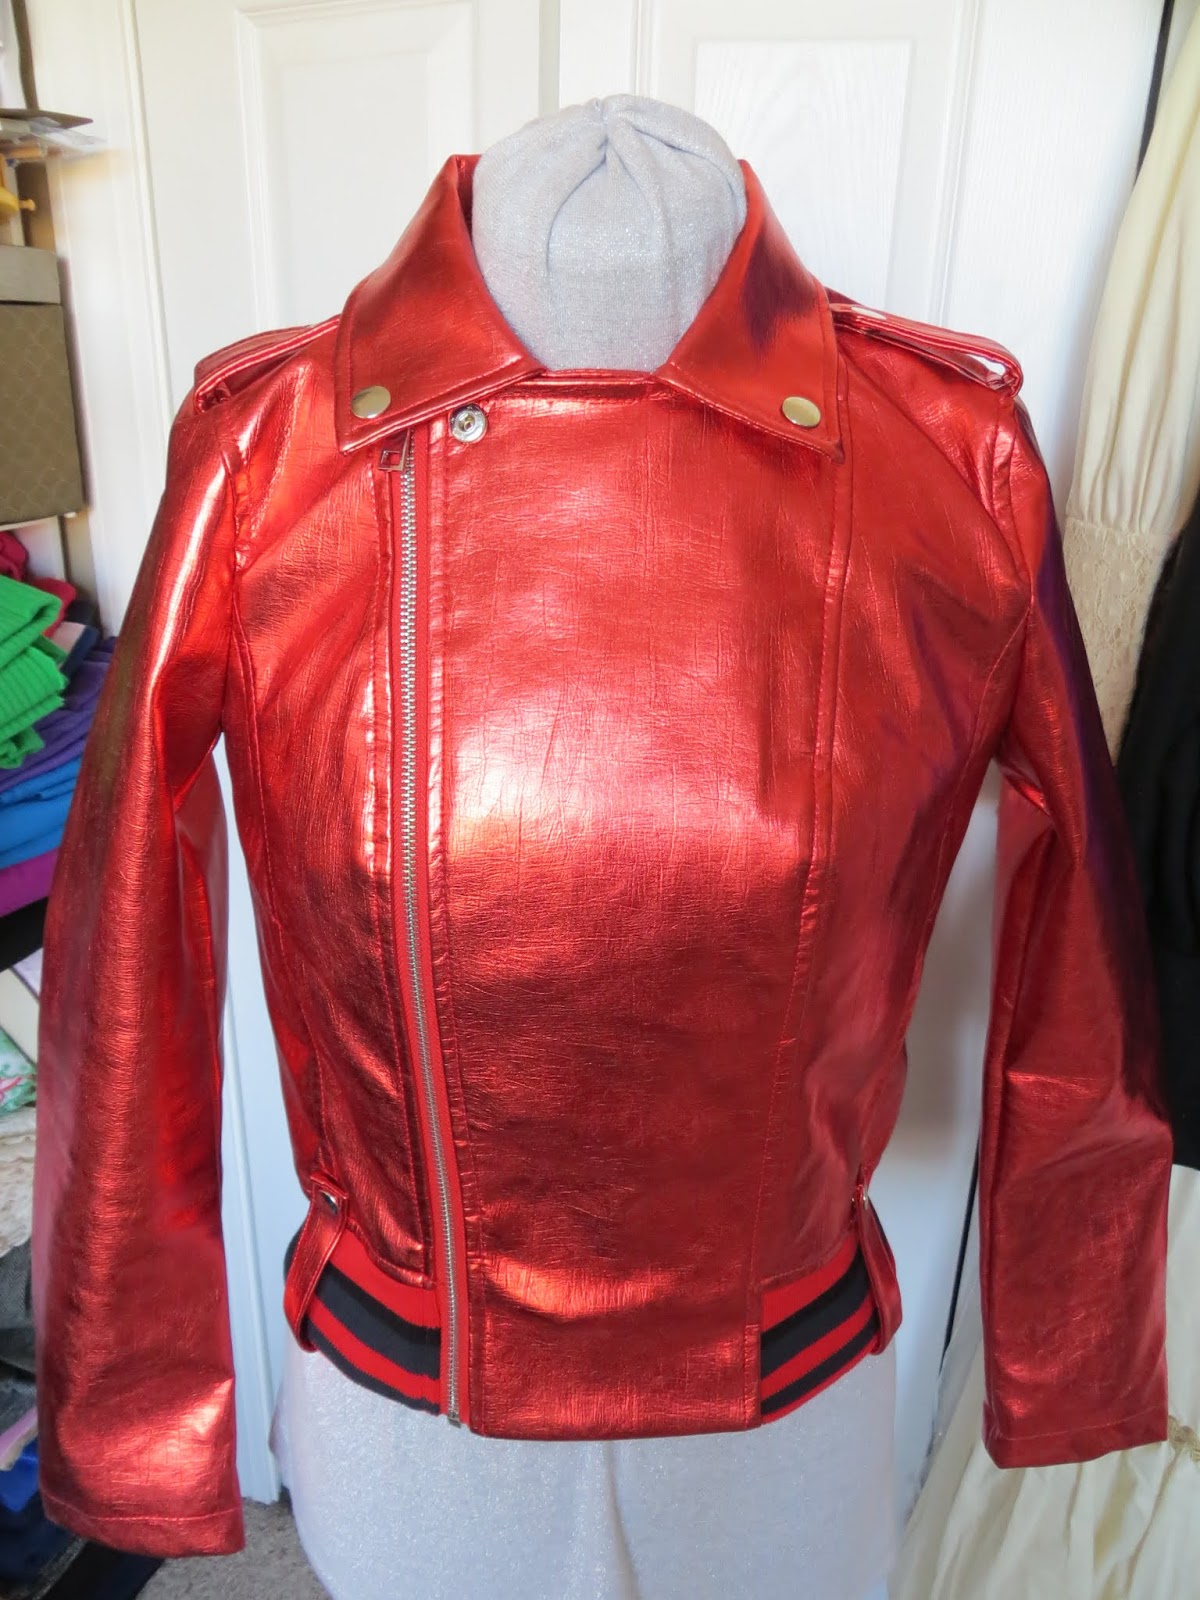
This may never happen to you, but it may give you an idea for something else. But basically, here was my predicament: I had bought the awesome metallic red moto jacket you see below. . .


It was really cool, except for one horrible flaw: When it wasn't zipped up (like the photo above) the lapels stuck out like this:


Here is a side view. See how the collar part sticks up? Most moto jackets snap down flat, but I guess the manufacturer didn't think that detail was important.


This is what I wanted the jacket collar to do. Lie down flat.


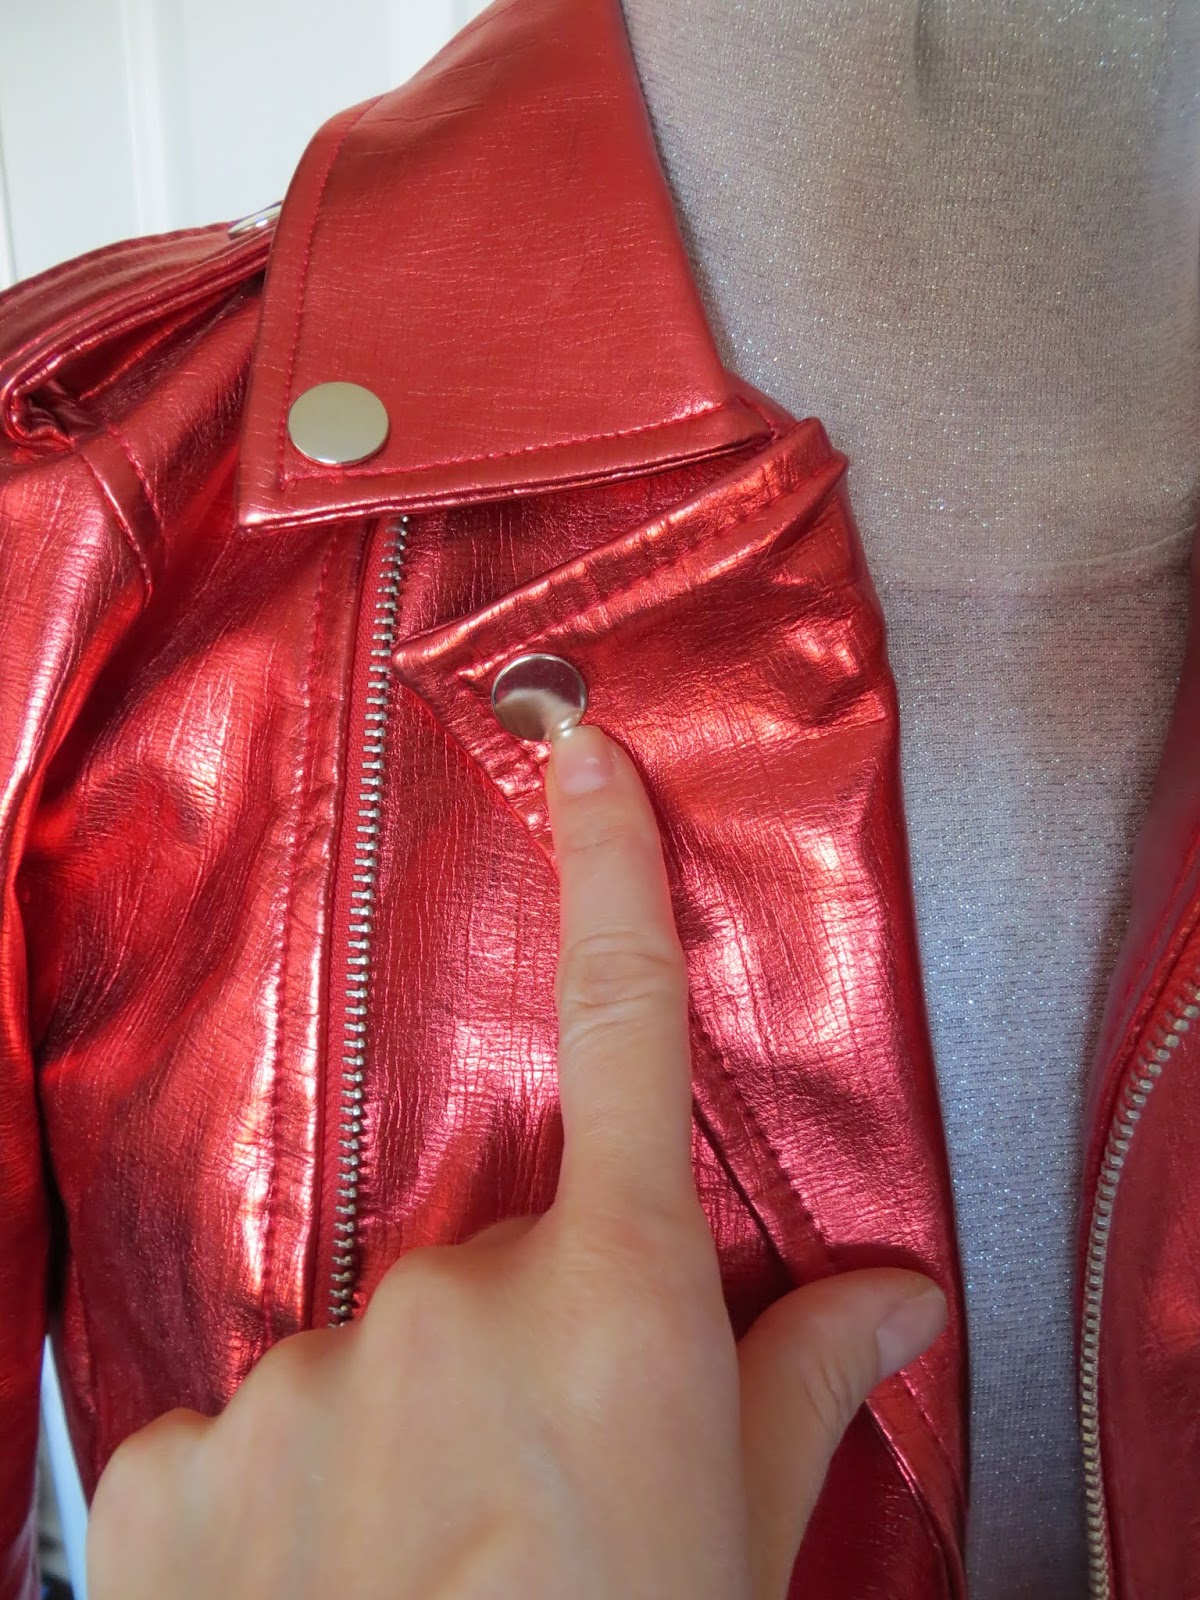
Okay, so here's what you can do in this situation--especially if you don't have a grommet/snap tool or at least don't have one big enough.

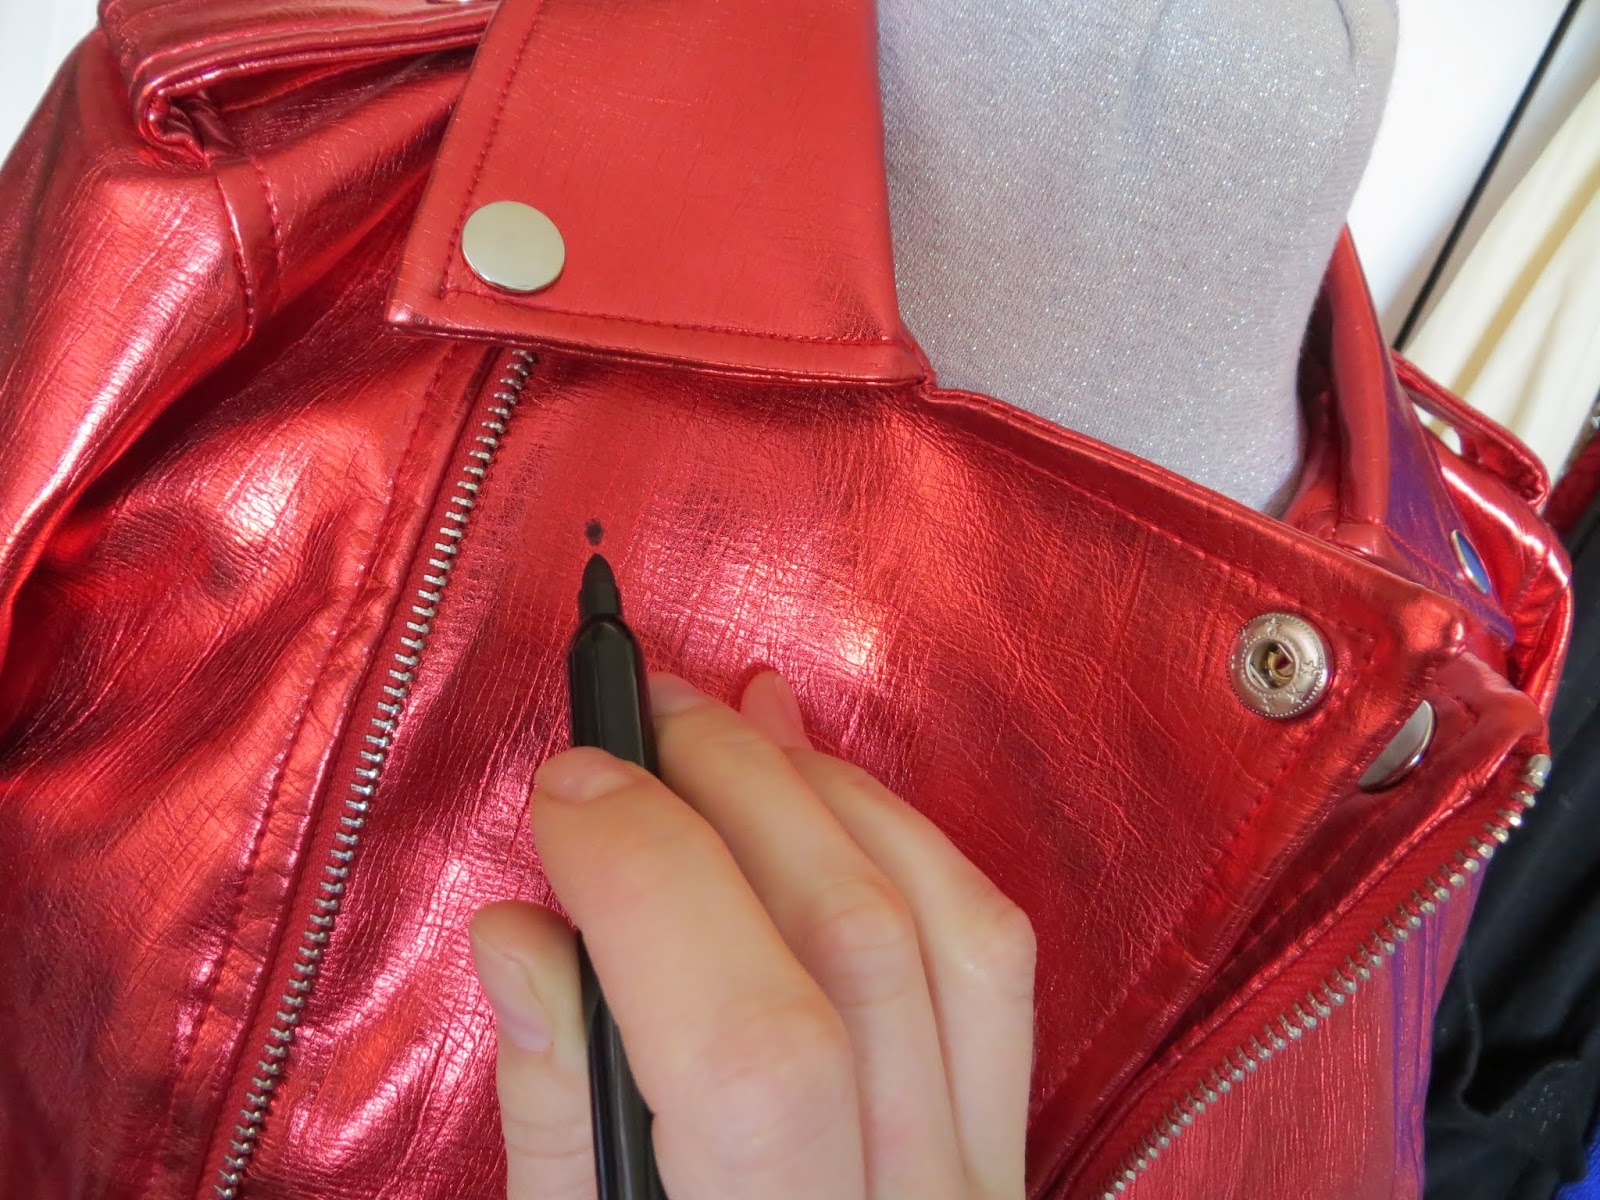
First, I made a mark where the male part of the snap should have been. I did this on both sides.


Then, I found another jacket at a thrift store that had snaps the same size.


Perfect! Two male ends of snaps the same size as my red jacket!


I cut around each snap leaving a margin.


I didn't want the margin to be blue b/c that would conflict with the red jacket, so I "painted" them black with a Sharpie.


I glued each spot with super glue.


Then, I glued the back of each snap.


And pressed each male end into place.


I let them set for a second. Gluing them was not the fix. It was just to keep each piece in place.


With each snap in place, I took a threaded needle and then sewed them into place to assure they wouldn't come apart.


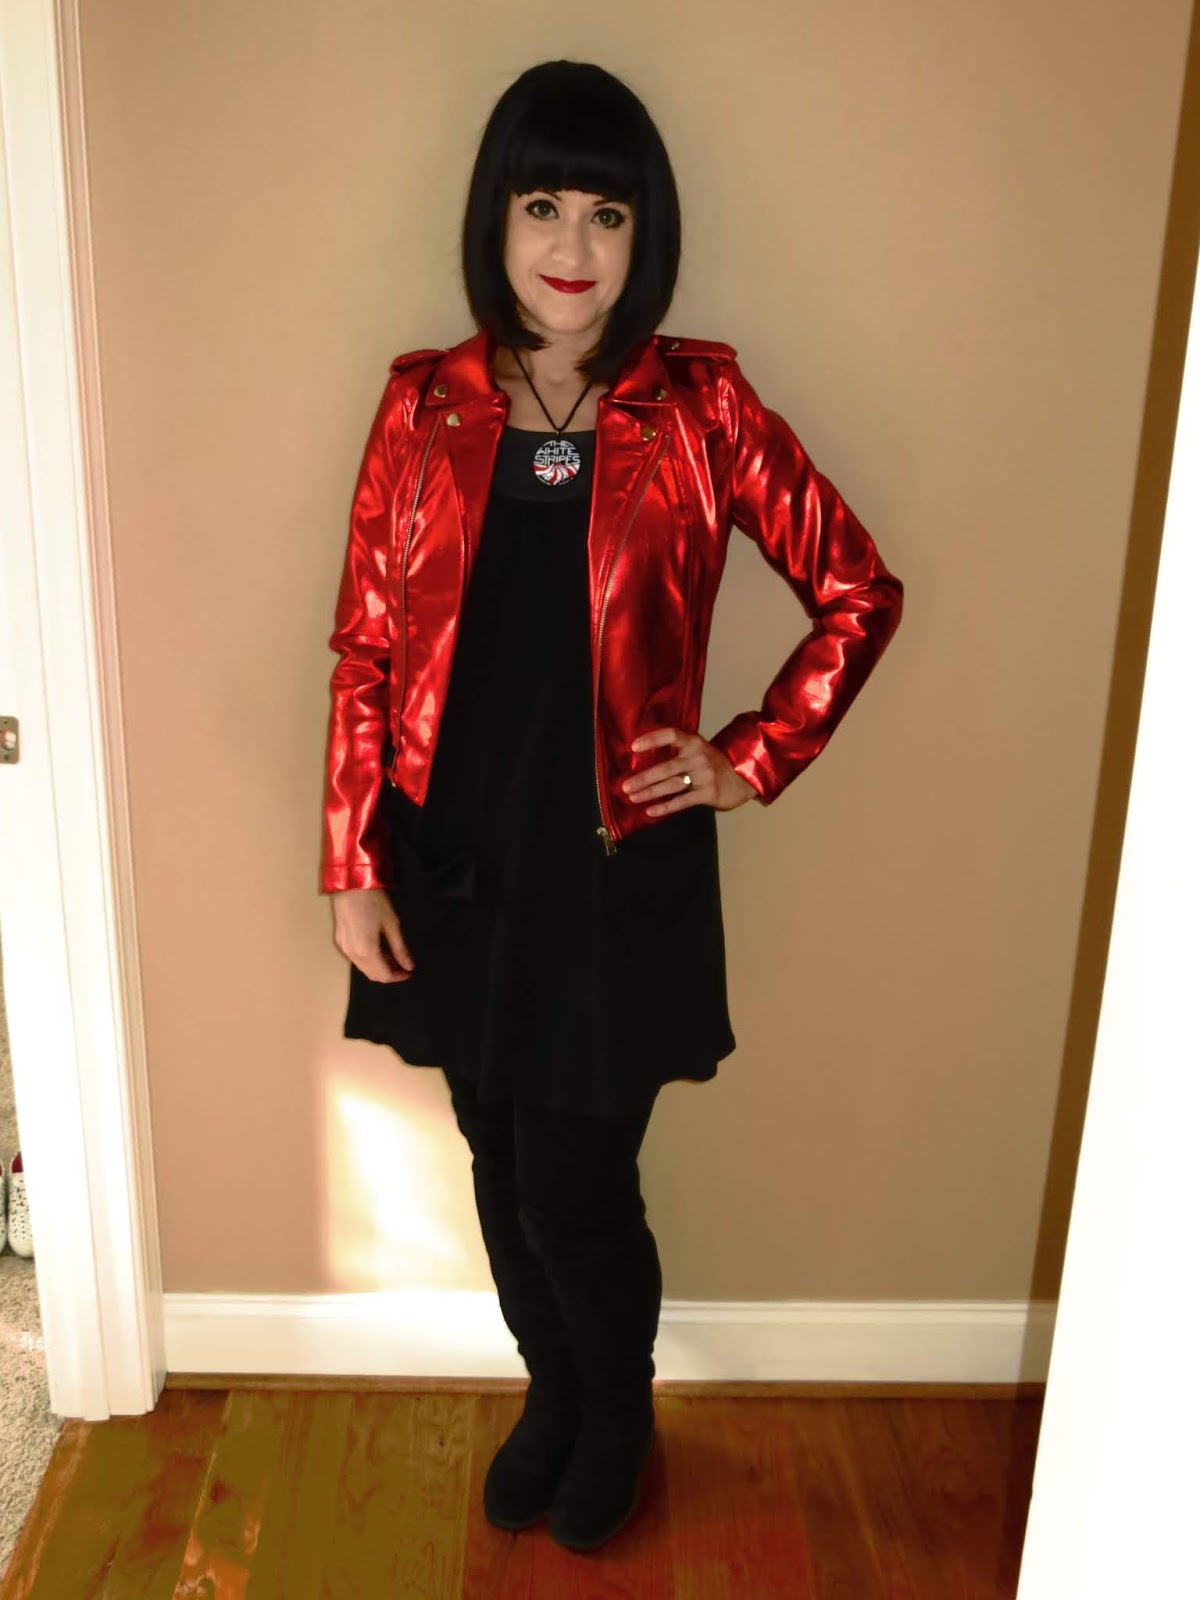
Now the jacket lies open like a normal moto jacket!


And if I want to zip the jacket all the way up, I just have to unsnap the lapels.


The End!


Sunday, April 20, 2014

Dressing Your Truth on the Cheap

This is a short one to show that "Dressing Your Truth" doesn't mean going out and spending tons of money on a new wardrobe. Once you know what you look best in, the items just seem to appear as if by magic and you end up spending less because you can go straight to the sale rack and find what you want on sale.

(Again, if you don't know what "Dressing Your Truth" means, refer to my former posts, or go here.)

All of the looks below cost less than $30 total (including jewelry and shoes). I highly recommend waking up early on Saturday and going to yard sales because the clothes are even cheaper than the thrift store and they usually tend to be nicer because people are trying to make a buck (whereas thrift stores carry what people throw out).


1. Gap leather jacket - $5.00 - yard sale
2. "Peace, Hope, Love" tank top - $2.00 - Rue21
3. Neon pink pants - $5.00 - Walmart
4. Silver shoes - $5.00 - Rue21
5. Cross necklace - $1.99 - 599fashion.com
TOTAL LOOK - $18.99


1. Striped sweater - $2.00 - Rue21
2. Black tank top - free - from a friend
3. Black pants - $5.00 - Walmart
4. Black ballerina flats - $10.00 - eBay
5. Bold stud earrings $1.99 - 599fashion.com
TOTAL LOOK - $18.99


1. Striped blazer - $9.42 - eBay
2. Silver tank top - $2.00 - Walmart
3. Red pants - $5.00 - Walmart
4. White leather and silver embellished flats - $2.50 - thrift store
5. Silver bib necklace - $1.99 - 599fashion.com
TOTAL LOOK - $20.91


1. Striped maxi dress - $11.50 - eBay
2. Purple cardigan - $6.00 - eBay
3. Silver shoes - $5.00 - Rue21
4. Chevron necklace - $1.99 - 599fashion.com
5. Silver bracelet - $1.99 - 599fashion.com
TOTAL LOOK - $26.48


1. Black T shirt - $2.00 - Walmart
2. Red skinny pants - $5.00 - Walmart
3. Clark's Artisan Diamond Cameo booties - $5.00 - yard sale
4. Chevron necklace - $1.99 - 599fashion.com
5. Silver bracelet - $1.99 - 599fashion.com
TOTAL LOOK - $15.98


1. Yellow T shirt - $2.00 - Walmart
2. Blue embellished cropped shirt - $2.00 - Rue21
3. Jeans - $5.00 - Fashion Shack
4. Bracelet - $1.00 - (I bought it in Korea and spray painted it blue)
5. Black flip flops - free - from my mom years ago because they didn't fit her
TOTAL LOOK - $10.00


The End

Sunday, June 30, 2013

Make Your Own Blush

Making blush is as easy as making your own face powder. You start with any organic red powder and add cornstarch till it matches the blush of your skin. (I also added pearl powder by smashing up a pearl and putting it in!)


If you are more olive-toned (look best in off-white), add cinnamon, red tea powder, or powder that is cinnamon-colored.

If you are more blueish-toned (look best in white), add berry or beet powder or powder that is blueish pink.

Of course, you can mix blue tones with yellow tones if your tones are mixed.


Only make a little at a time and wash your brushes frequently as there are no preservatives in this recipe. Don't be scared by this advice! At least you are not putting harsh chemicals on your face! Some blogs say to add baking powder to help save it, but other blogs said the baking powder was too harsh on skin. I made the little travel-sized pot above with just cornstarch and beet juice powder, and it lasted me over a month without any problems.


For a complete list of makeup DIY, go here.