Showing posts with label Moto. Show all posts

Tuesday, July 30, 2019

De-Fashioning: Updating a Moto Jacket DIY

I haven't done a post in a while. This doesn't mean I have been sewing. It just means that I don't think to take pictures as I'm sewing!

So...I made sure to document this one.

Anyways....

You know how moto jackets used to look like this a few years ago? The double collar was huge. Not so much any more. Especially on this red jacket. I have small shoulders and the points and angles were just way too overwhelming.


So decided that I would tone it down a bit by taking out the neck part of the collar. I just went into the seam and ripped the whole seam out along the neck.


I took the neck collar out.


Then, I just pinned the neck seam back together and sewed it down.


Because the front flaps were top-stitched, I went ahead and top-stitched around the whole neck seam to make it uniform.


And, there you go! Really easy. I have to say the collar lays a lot better now, besides the fact that this is a more modern silhouette. 

Try this on that jacket that you have in your "give away" pile and see if it works for you! (Depending on how your jacket is constructed, you may be able to just cut the neck part out without taking the whole thing apart and resewing it!)


The End!


Monday, May 28, 2018

An EVEN EASIER Moto Jacket Fix!

So...still Memorial Day...still going through photos.

Found an EVEN EASIER moto jacket fix than my last post!

Here it is!

Problem: Lapels of collar sticking up with no way to lie flat.


Solution: sticky velcro! No sewing required!


I cut off two small squares of both sides of velcro. I peeled off the sticky backs. . .


Stuck the whole thing on the back of each lapel. . .


Peeled off the other side. . .


And stuck it down to the jacket.


This way the lapels stay down when you want them to. . .


And if you need them to go up, you will have these unsightly black squares, but. . .


You are probably going to wear it this way anyway!
(And if you need to zip the zipper up all the way, you can always go back to my other fix.)


(Obviously, I took these pictures back at Christmas!!!)


The End!


An Easy Way to Fix a Cheap Moto Jacket

It's Memorial Day. It's raining. My husband and I are finalizing plans for a trip to Scotland later this year, and so I am going through an old SD camera card. I came across some pictures of a blog post I never posted...so here it is!

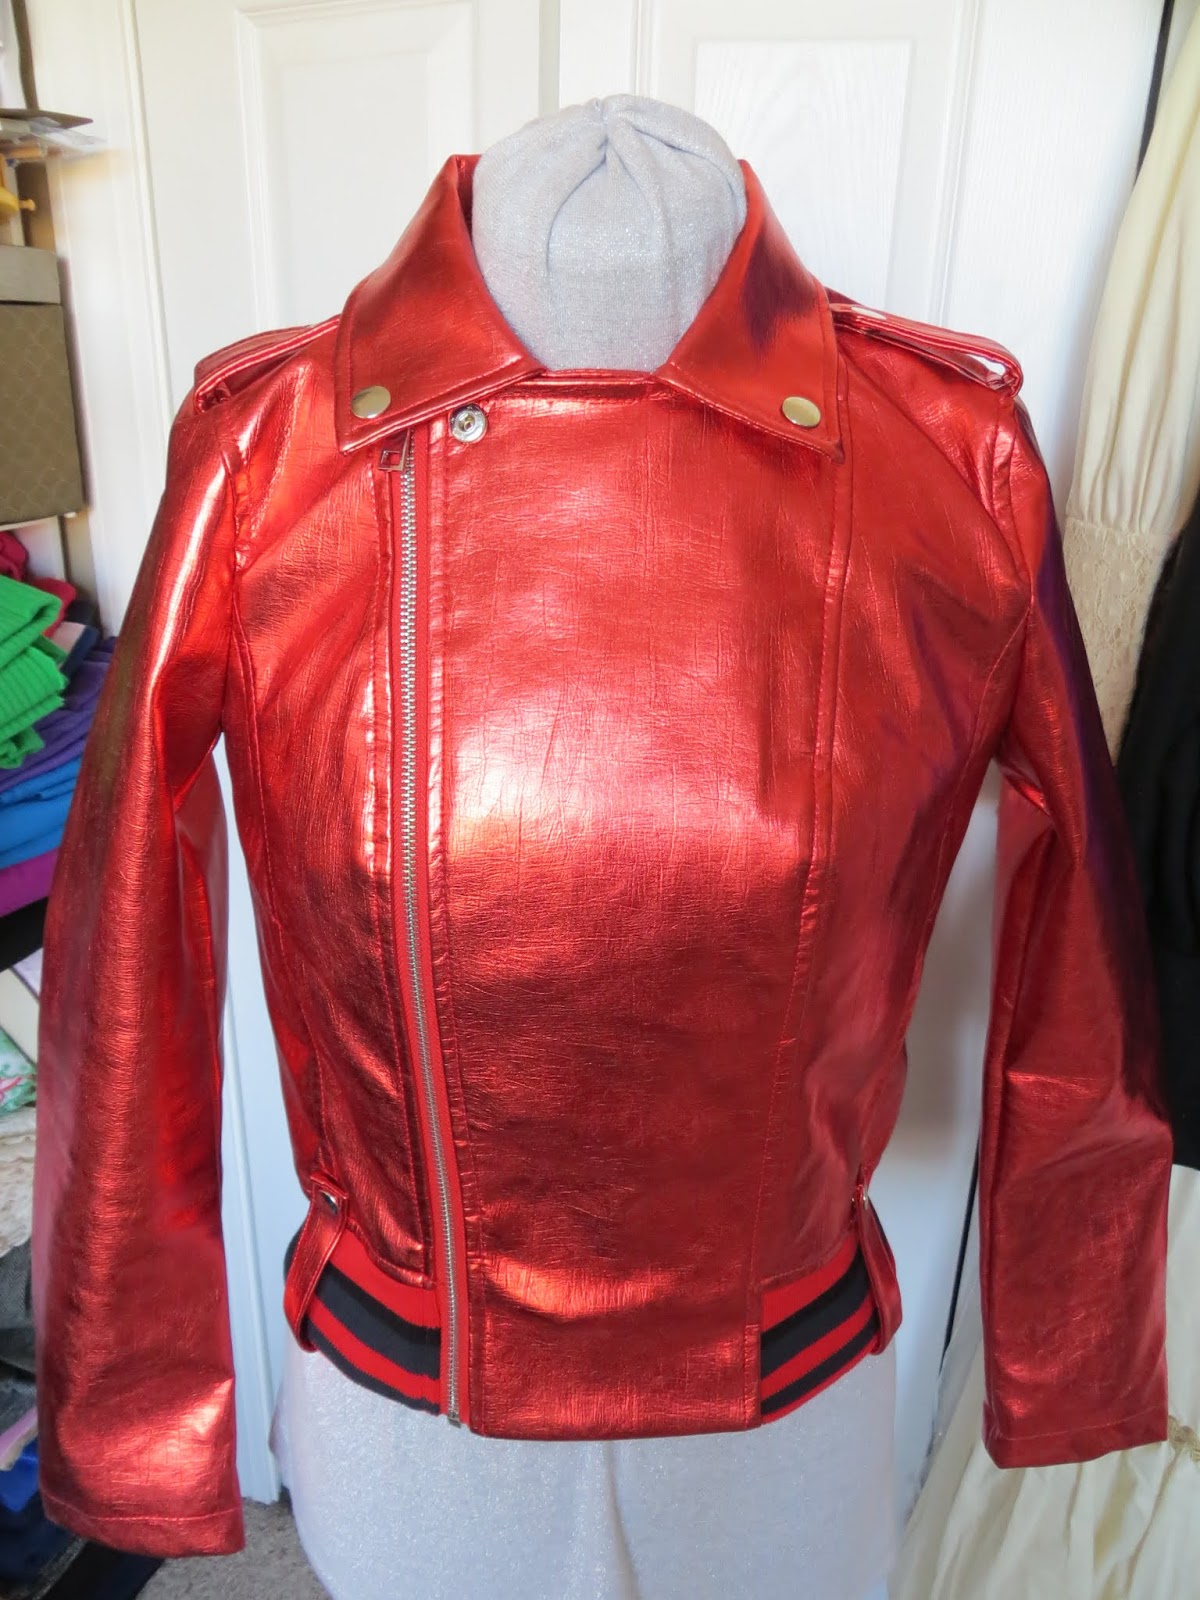
This may never happen to you, but it may give you an idea for something else. But basically, here was my predicament: I had bought the awesome metallic red moto jacket you see below. . .


It was really cool, except for one horrible flaw: When it wasn't zipped up (like the photo above) the lapels stuck out like this:


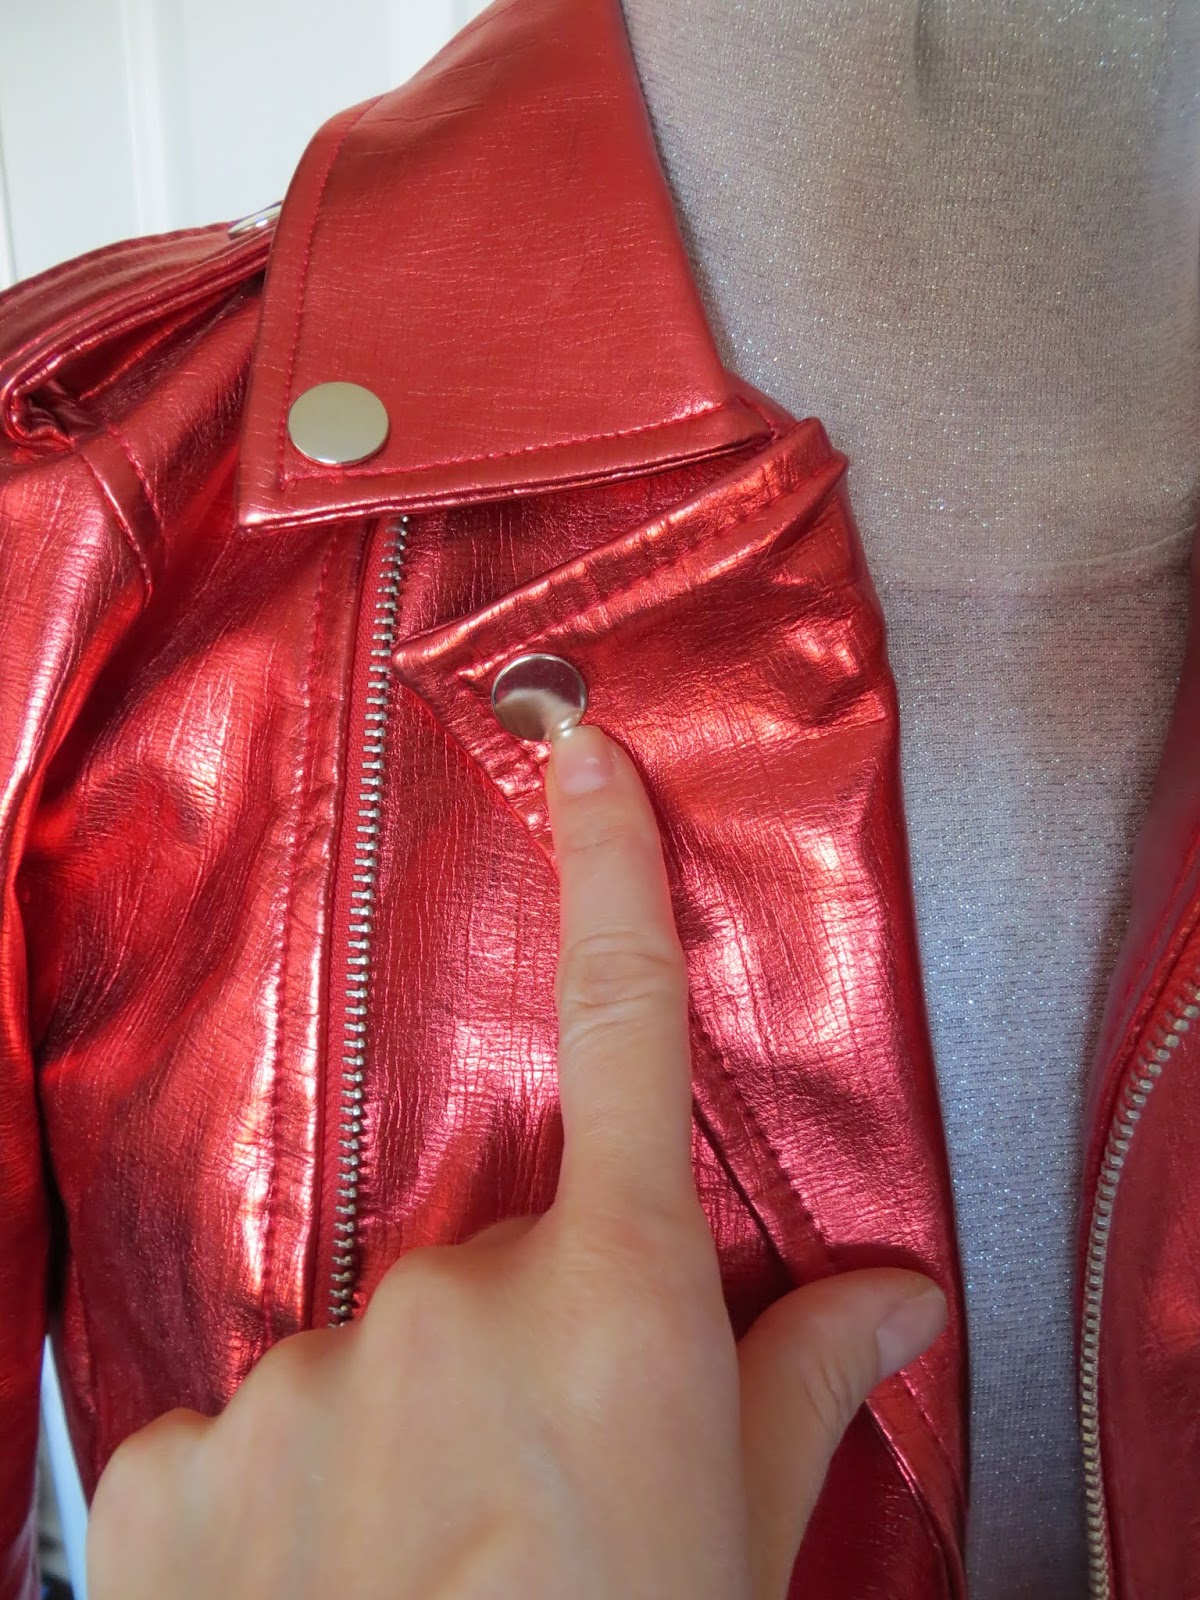
Here is a side view. See how the collar part sticks up? Most moto jackets snap down flat, but I guess the manufacturer didn't think that detail was important.


This is what I wanted the jacket collar to do. Lie down flat.


Okay, so here's what you can do in this situation--especially if you don't have a grommet/snap tool or at least don't have one big enough.

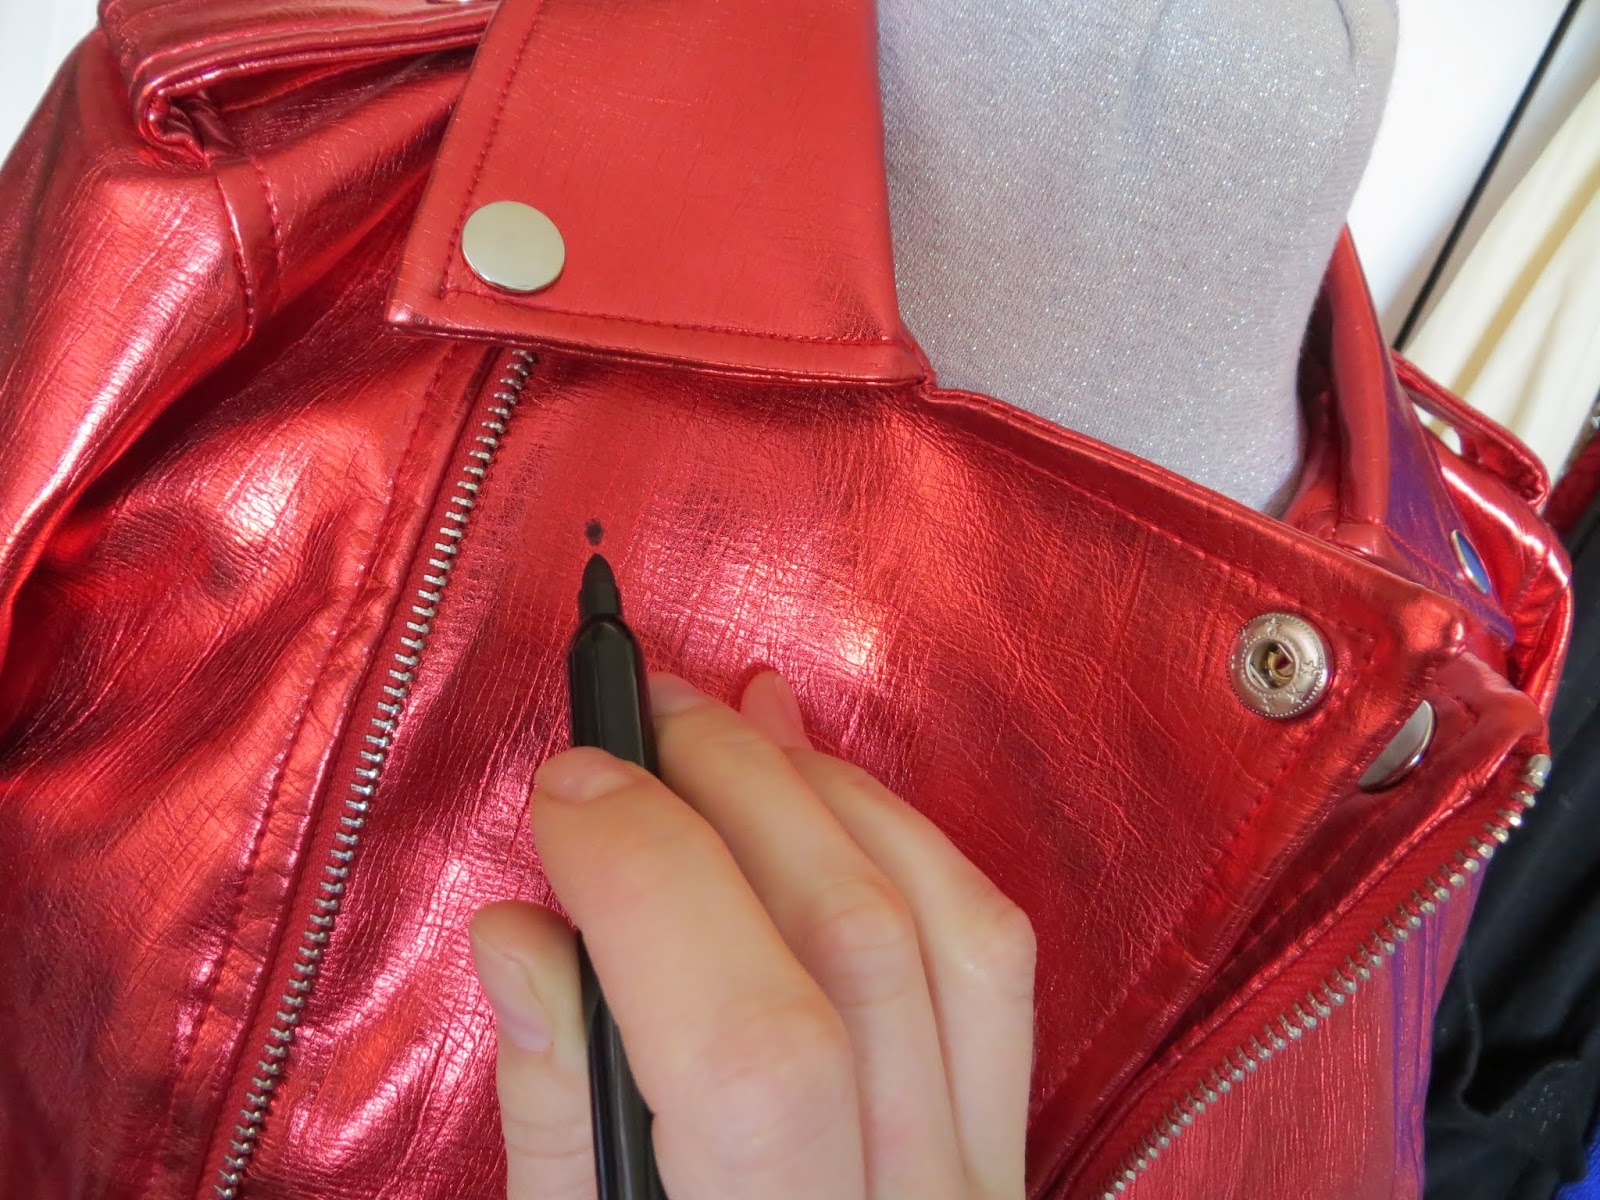
First, I made a mark where the male part of the snap should have been. I did this on both sides.


Then, I found another jacket at a thrift store that had snaps the same size.


Perfect! Two male ends of snaps the same size as my red jacket!


I cut around each snap leaving a margin.


I didn't want the margin to be blue b/c that would conflict with the red jacket, so I "painted" them black with a Sharpie.


I glued each spot with super glue.


Then, I glued the back of each snap.


And pressed each male end into place.


I let them set for a second. Gluing them was not the fix. It was just to keep each piece in place.


With each snap in place, I took a threaded needle and then sewed them into place to assure they wouldn't come apart.


Now the jacket lies open like a normal moto jacket!


And if I want to zip the jacket all the way up, I just have to unsnap the lapels.


The End!


Friday, September 22, 2017

Refashioning: Short-Sleeved Moto Jacket out of a Huge 80s Jacket

I love moto jackets, but I live in the South and cold weather is so short-lived. I feel like I only get my jackets out and it's time to pack them back up. I wanted a short-sleeved version.

Enter the coat below and a refashion!


See that smudge on the back? Don't worry. I'll fix it. This coat had all kinds of problems, including both sleeves had what looked like bleach stains on them.


It had a zip-in thermal layer. I took it out.


I cut it apart. 


I put it on my dress form to start sizing it.


I cut the back so it was shorter than the front.


At first, I thought maybe I could keep the pockets, so that's why they are sticking out like that.


I clipped up the side seams.


And sewed them up.


Using a French curve, I drew the curved bottom hem. (You could just eyeball it, but the curve makes things more precise.)


I topstitched around the bottom.


Then I clipped the sleeves how I wanted them. Because I'd removed the shoulder pads, there was a big hump on each of the shoulders. This actually allowed me to make cap sleeves quite easily as they were already shaped for me. (Use what you got!)


The finished jacket.


Oh. One more thing. I needed to cover up that smudge. I had a big iron on eye patch (much like the one I used for my Kenzo inspired refashion). I put a cloth over it and hit it with the iron just enough so it just barely stuck on in place.


Then, I sewed it on.


The actually finished jacket.


The End!