I admit it. I love high end fashion. But I’m also way cheaper than anyone else I know. So...when that is your fate, you either need to get fearlessly creative, or act like a victim and get massively in-debt.
I opt for the former.
Here’s how you can too!
About a year ago, I started searching the internet for second-hand investment bags from Chanel, LV, Hermès, etc.
I found this Louis Vuitton Vernis Houston handbag on eBay for $80. Brand new, this bag sells for a cool $1600!

Now, listen. I did my homework on this one. There were several of the same bag selling for around the same price—some under, some over. But I had a specific criteria that I searched for: a decent interior, no major rips or scuffs, intact handles, and working zippers. I had to search for a few months, sell a few of my own items on eBay to get the money, and finally found one that fit the bill.

I know, $80 is a lot for a self-proclaimed cheapskate to spend on one bag, but. . .considering that it retails for $1600, my thought was: I can dye that sucker, and when I get tired of it, I can flip it for at least more than I paid for it. Plus, how many ladies throw away $100+ at the local mall for a subpar Michael Kors bag. I don’t think $80 was a bad spend.
If this sounds crazy, remember that I am the woman who dyed a pair of Chanel shoes a few years ago (and then everyone started doing it). Those shoes look as great today as they did back then, so I was up for this challenge.
If you click the words “Chanel shoes” above, it will take you to my post that shows you how to dye your shoes so that they look excellent and not like a hack job. From that post, and when I dyed a Coach bag silver, I learned that Tarrago dye is really good for this kind of project, so I bought another set in “shiny” black. It costs around $10 on eBay.

Inside is a leather conditioner/prepper, leather dye, small brush, and applicator sponge.

I’m just going to tell you right now, that if you attempt this project—even if you buy the supposedly “patent leather”/shiny version of Tarrago dye....it doesn’t work on this bag! This bag is way too shiny.
I spent a while prepping the bag and then painting the bottom. A few hours later after it was dry, the bottom looked super messy, with tons of brushstrokes and uneven dull spots all over it. That is probably because Tarrago is actually leather paint. Same thing with Angelus. If your leather is super shiny, don’t buy either of those. You need an actual dye, not a paint. Instead, do this....

I happened to have an old bottle of Fiebings black leather dye. It’s only like...$5 or something on Amazon, eBay, or your local shoe repair shop.

So...I’m sorry there are pictures missing in this post, but...this is a really messy process, and it’s hard to take pictures while doing it!
Anyways, do this: Using a cotton ball and nail polish remover, rub all over the bag, the hardware, and the handles. Do this a few times to make sure you remove any residue and “break the seal” over the leather and patent leather.
Then, using a cotton ball, sponge, and/or smaller brush, paint over all the surfaces that you want dyed. Don’t worry about the hardware. Just paint over that too. You need to get into all the nooks and crannies.


Then, you need to let it dry somewhere like a garage or basement, but make sure it’s well-ventilated because the dye is really fume-y and can give you a headache.
(I hung my bag on a camera stand in my garage.)

Now, I know this is unorthodox, and I’m sure there are people who think I’m crazy, but. . .
After it’s dry (give it a few days), go over the whole thing with nail polish remover and a cotton ball. I discovered this by trial and error. I’m sure there are many DIYers who would say never to do this. But this is really the only way to take off the excess and assure that your color won’t rub off onto your clothes. This is also the best way to get the color off your hardware so that it looks like the dye job was professionally done. You could ostensibly use a mild soap and a rag, but. . .I wanted to make sure that the color wasn’t going anywhere. Also, acetone dries super quickly, whereas water takes time to dry and can soak your leather. If some of the color comes off during this step, then you can reapply color and let it dry again. Do this cycle as many times as you need to make sure the color is permanent. It works. I’m telling you.
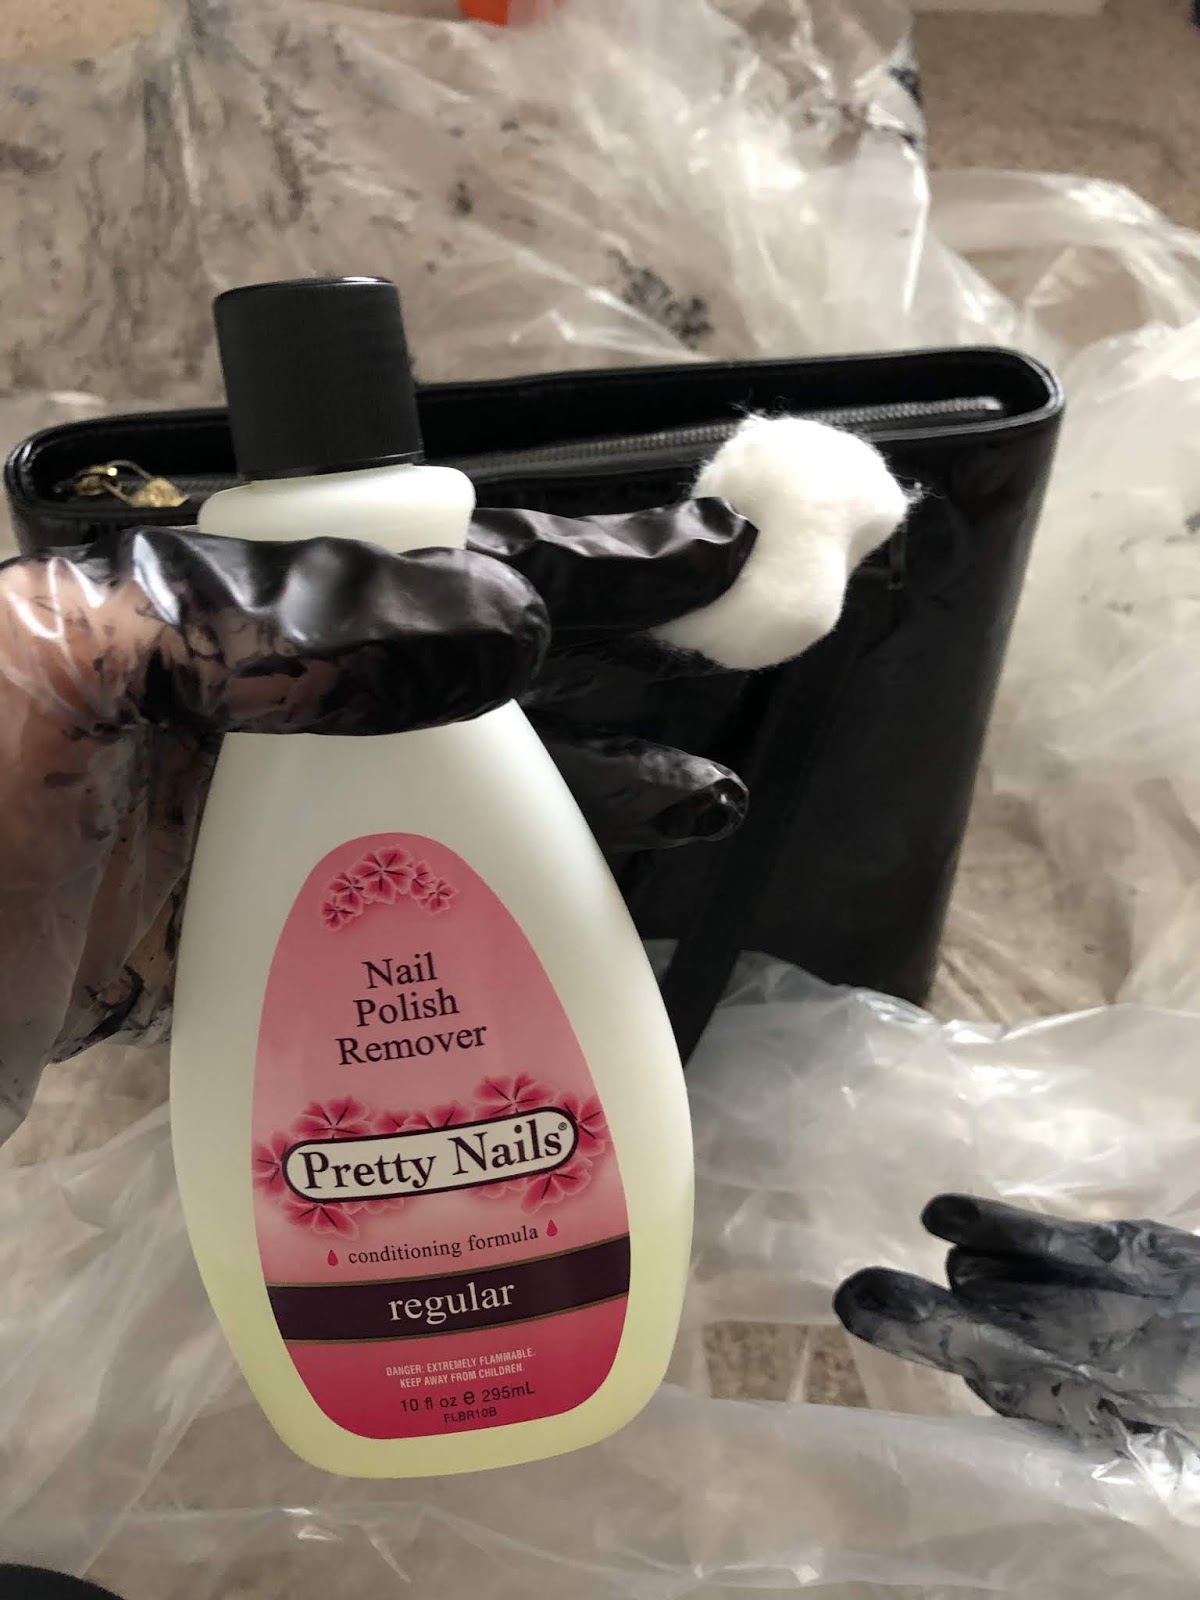
Look how nice and shiny!


(I did buy some Fiebings Resolene—from Amazon—in case I need it. A lot of sources suggested using Resolene (acrylic sealer) to keep the color from fading and rubbing off onto other surfaces. I plan to use it eventually, but I want to make sure all the surfaces are exactly perfectly black before I go sealing anything. That means I will need to use this bag and monitor it for a few weeks yet. And...I many not even need the Resolene. Plus, I’m a little worried that it might dull the shine...Anyways, I’ll update this post and let you know.)

Because I kept the zipper closed, the interior is clean and neat.

I’m not a huge fan of gold hardware, but. . .if I resell it, other people like gold and black, so I can retain a lot of value by keeping the hardware gold. It’s not obnoxious, so I can live with it.

Looks brand new!


The End!