Showing posts with label coat. Show all posts

Friday, January 31, 2020

Refashioning: How to transfer a vintage hood and fur to a jacket and a coat.

Here’s a quickie. This is one of my posts that isn’t quite a “follow these exact rules.” It’s more like, “hopefully, this one gives you an idea.”

So, I go to Goodwill every week. On one of my searchings, I came across this old worn-out coat with a hood attached. What got my attention was the genuine fur trim on the hood. Whatever your moral standing on real versus fake fur, I think you would agree with me that it would be better to reuse vintage fur, rather than throwing it in a landfill, right? So I bought this coat and took it home and then thought about what to do with it.

The coat was pretty gross, and you gotta think about how hoods go on your head. Right? Head lice is a thing, People! Therefore, I detached the hood from the coat and threw it in the washer and hung it to dry. 

(Little secret: You can actually machine wash most treated genuine leather and fur with regular detergent, as long as you hang it to dry and reshape it while it’s drying! Manufacturers don’t like you to know this trick, but you learn these kinds of things when you invest only a dollar in Goodwill finds! Note: doesn’t always work on suede.)


So what I noticed once I got it home was that both the fur and the hood itself were removable with buttons and button holes. This gave me an idea!


I live in South Carolina, and winter barely ever gets below freezing. As a result, I usually end up wearing this leather jacket all winter. I thought....Wouldn’t it be nice if it had a hood in case I’m out and about and the temperature drops suddenly?


I examined the collar to see where the best placement would be to sew on some buttons. I opted for right in the seam and under the collar. That way, they would be unnoticeable when I took the hood off, and easily removable if I ever get tired of having buttons on my jacket. (Read: In the seam, the holes wouldn’t puncture the leather.)


Fortunately, I had five matching black buttons in my inventory.


Here is a view from the outside of the coat. I started by finding the middle back seam for the first button, and then measured the other four buttons out from the middle.


When sewing leather, you should probably have thimble close by. 
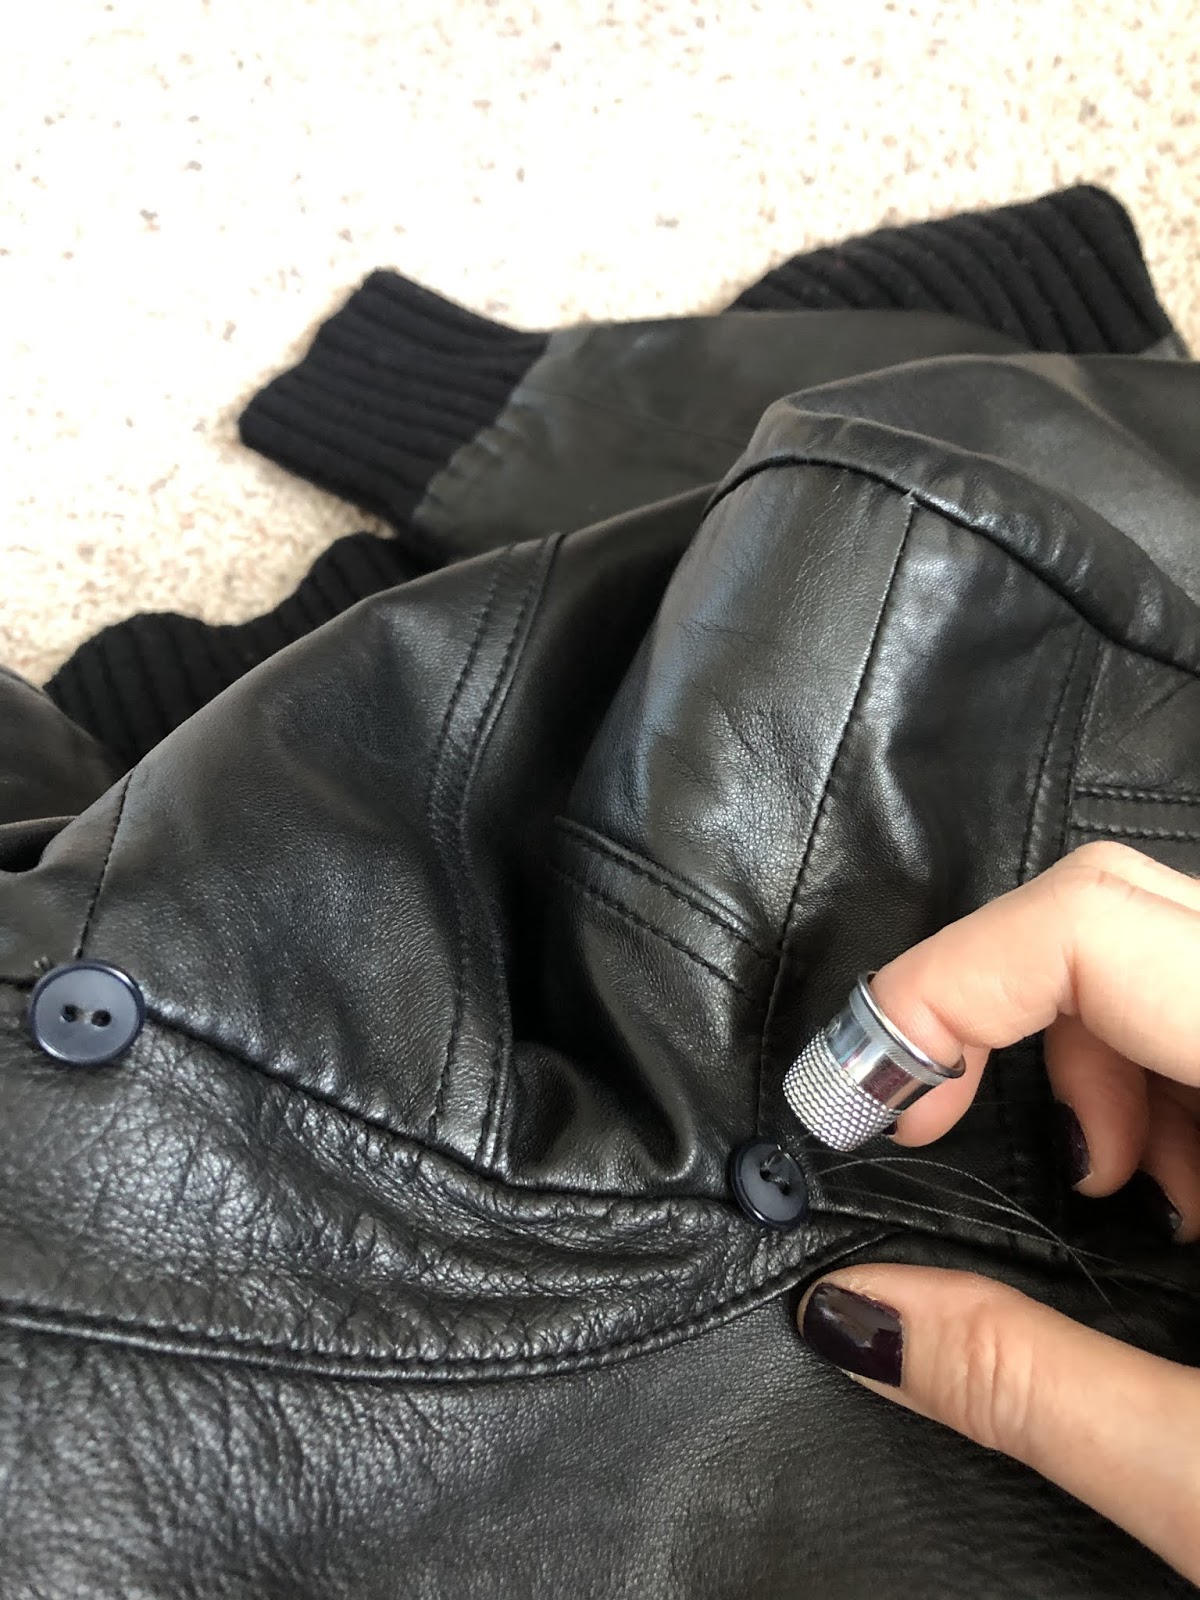


Here are the buttons sewn onto the second jacket.


And here is the hood with fur trim attached to the second jacket. Looks like it was made that way, doesn’t it?


_________________________________________________________________
Second Idea: Fur trim on an existing coat.

So...just so that I could get the most out of the luxurious fox fur trim, I decided to make it “addable” to a dressier coat that I have. I really really like this coat and wear it a lot—especially with dresses. I had a feeling that adding fur trim would take it up a notch! 
(I was right! Scroll down!)


So, to keep the buttons discreet (for the times I don’t want trim), I sewed black buttons into the black part of the hood. This view is from the front.


And this is from the back. I can easily take these buttons off if I ever get tired of them without damaging the coat.


Look how lovely!


Super cute and cozy!


Now, go raid your Goodwills!

The End!


Tuesday, September 11, 2018

Refashioning: Kate Spade Inspired - Red Bow Neck Coat

I haven't done one of these in awhile and I had some time, so here comes today's refashion:

"Kate Spade-ing" a red coat!

Let me start by saying that it totally sucks that Kate is no longer with us.
She left us way too early. . . :(


But I just love her style, and so this post is sort of a late homage.
In particular, I love this red coat with the bow on the neck.


I remember first seeing it worn by Zooey DeChanel on "New Girl" a few years ago.
More recently, I saw a girl wearing one when my husband and I went to Raleigh, earlier this year.


It's just so cute. The one I saw in Raleigh had a bow on the back like this:


This is another Kate Spade coat with a slightly different bow on the neck. I've looked for this coat on eBay for awhile, but they always cost upwards of $300 for one in good condition.


So...fast forward to now. This is a "KashMiracle" coat from the 80s (probably) that I found at Goodwill for a dollar. I thought, "I bet I can Kate Spade that thing"!

But then I got an idea for creating a whole different bow on the neck. . .


Before I get into the bow-ing, this coat needed some work (which was why it was a dollar). If you see the picture here, you can see that the bottom hem was out.


Here's another picture of the messed up hem.


So I pinned the hem (which is on the left in the picture below). . . 


And took it to the sewing machine.


I also did a quick alteration on the inside around the underarm area to take it in a bit around the upper arm and bust area. You can see the difference between the original coat and the tailored one in these two pictures:


The fixed hemline.


Okay, so this part is going to be really hard to talk you through b/c the coat is so red it's a little hard to see, and also...there is a lot of architecture that is hard to describe. . .but you can at least see some of it.

So I folded the coat in half and matched up the neckline and button plackets.


See how they match up?


Okay, I didn't have any extra red fleece fabric, so I used shiny satin instead. What I did in this picture was to lay my folded coat on top of a piece of red satin (shiny side down).


Then, I folded the satin around the coat so it was flush with the back neckline. You can kind of see the outline of the coat under the satin here.


Then, I just started pinning the satin to the coat like this.


This is a picture of the pinned coat opened up so you can see what's going on inside.


Okay, then I just started cutting the fabric how I wanted it to go.

I wanted the bow to sort of organically appear out of a smooth neckline. So I cut the button side as smooth and even to the coat. . .


But you can see on the right, the fabric is a lot wider. This is on purpose, so that I could gather up the right side into a bow of sorts. (Don't understand? Stay with me and you'll see.) This method is more like "draping" than going by a pattern b/c I just whittled away as I went, versus cutting out pieces at the start.


Okay, so then all I had to do was to fold the top edge of the satin under to meet the top seam of the coat and pin it all down.


This is what that whole top seam looked like. (And that bulge of fabric on the right is on purpose.)


Okay, so then, I folded the bottom of the bow embellishment under and pinned that too. 
This is the button side. . .


. . .And this is the "bow" side. (Again, a lot more fabric.)


So then, I started gathering the excess fabric into pleats to see how it would look gathered.


But, I didn't like how the pleats were facing up to the neck. I'd rather had them pointing down, so I took all the pins out and repleated (see below). 


Okay, then I created a small tube of fabric and pinned that where I wanted the middle of the bow to be.


This gives you some idea of how I was picturing this bow.


So I simply sewed on top edge of the satin, catching the bow tie into the seam as I went.


Then, I wanted the pleats to stay in place, but I didn't want to tack them down completely, so I sewed perpendicularly to them under the bow tie to keep them in place without the "tacking" being seen.


Then, I sewed down the other side of the satin, leaving a gap that I could tuck the other side of the bow tie into.

Then, I pinned the bow tie down over the bow like this.


Then, I handstitched the bow tie in place so it would be more invisible and look a little more professional.


So, this is not how Kate's bow went, but. . .this is how I wanted mine to go!


So. . .looking around the neck. . .It starts smoothly from underneath on the button side. . .


Then, around to the back, it is still smooth, but you start to see some gathering on the right. . .


Then, gradually more gathering. . .


Ending in a pleated bow tie sort of look! A lot harder to do than the original bow, but. . .I just wanted to see if it would work like this. This was more experimental than direct copying.


Part Two: The back

This part was way easier. I wanted to make a bow for the back. I made two tubes: one large and one small.


To make the large piece, I sewed along the sides to create a tube, but left a hole in the middle (between the pins).


Then, I flattened out the tube and sewed down the sides.


Then, using the hole in the middle, I turned the whole thing inside out and set it aside.


Next, I made a smaller tube.


I ironed them both flat.


Here are the two pieces.


And here is how I made the bow out of them!


Holding the tie in place, I stitched it down right where my thumb is in this picture.


Then, I pinned it onto the back of the coat and sewed it in place.


Voila!


The End!