Showing posts with label elevate. Show all posts

Friday, January 31, 2020

Refashioning: How to transfer a vintage hood and fur to a jacket and a coat.

Here’s a quickie. This is one of my posts that isn’t quite a “follow these exact rules.” It’s more like, “hopefully, this one gives you an idea.”

So, I go to Goodwill every week. On one of my searchings, I came across this old worn-out coat with a hood attached. What got my attention was the genuine fur trim on the hood. Whatever your moral standing on real versus fake fur, I think you would agree with me that it would be better to reuse vintage fur, rather than throwing it in a landfill, right? So I bought this coat and took it home and then thought about what to do with it.

The coat was pretty gross, and you gotta think about how hoods go on your head. Right? Head lice is a thing, People! Therefore, I detached the hood from the coat and threw it in the washer and hung it to dry. 

(Little secret: You can actually machine wash most treated genuine leather and fur with regular detergent, as long as you hang it to dry and reshape it while it’s drying! Manufacturers don’t like you to know this trick, but you learn these kinds of things when you invest only a dollar in Goodwill finds! Note: doesn’t always work on suede.)


So what I noticed once I got it home was that both the fur and the hood itself were removable with buttons and button holes. This gave me an idea!


I live in South Carolina, and winter barely ever gets below freezing. As a result, I usually end up wearing this leather jacket all winter. I thought....Wouldn’t it be nice if it had a hood in case I’m out and about and the temperature drops suddenly?


I examined the collar to see where the best placement would be to sew on some buttons. I opted for right in the seam and under the collar. That way, they would be unnoticeable when I took the hood off, and easily removable if I ever get tired of having buttons on my jacket. (Read: In the seam, the holes wouldn’t puncture the leather.)


Fortunately, I had five matching black buttons in my inventory.


Here is a view from the outside of the coat. I started by finding the middle back seam for the first button, and then measured the other four buttons out from the middle.


When sewing leather, you should probably have thimble close by. 
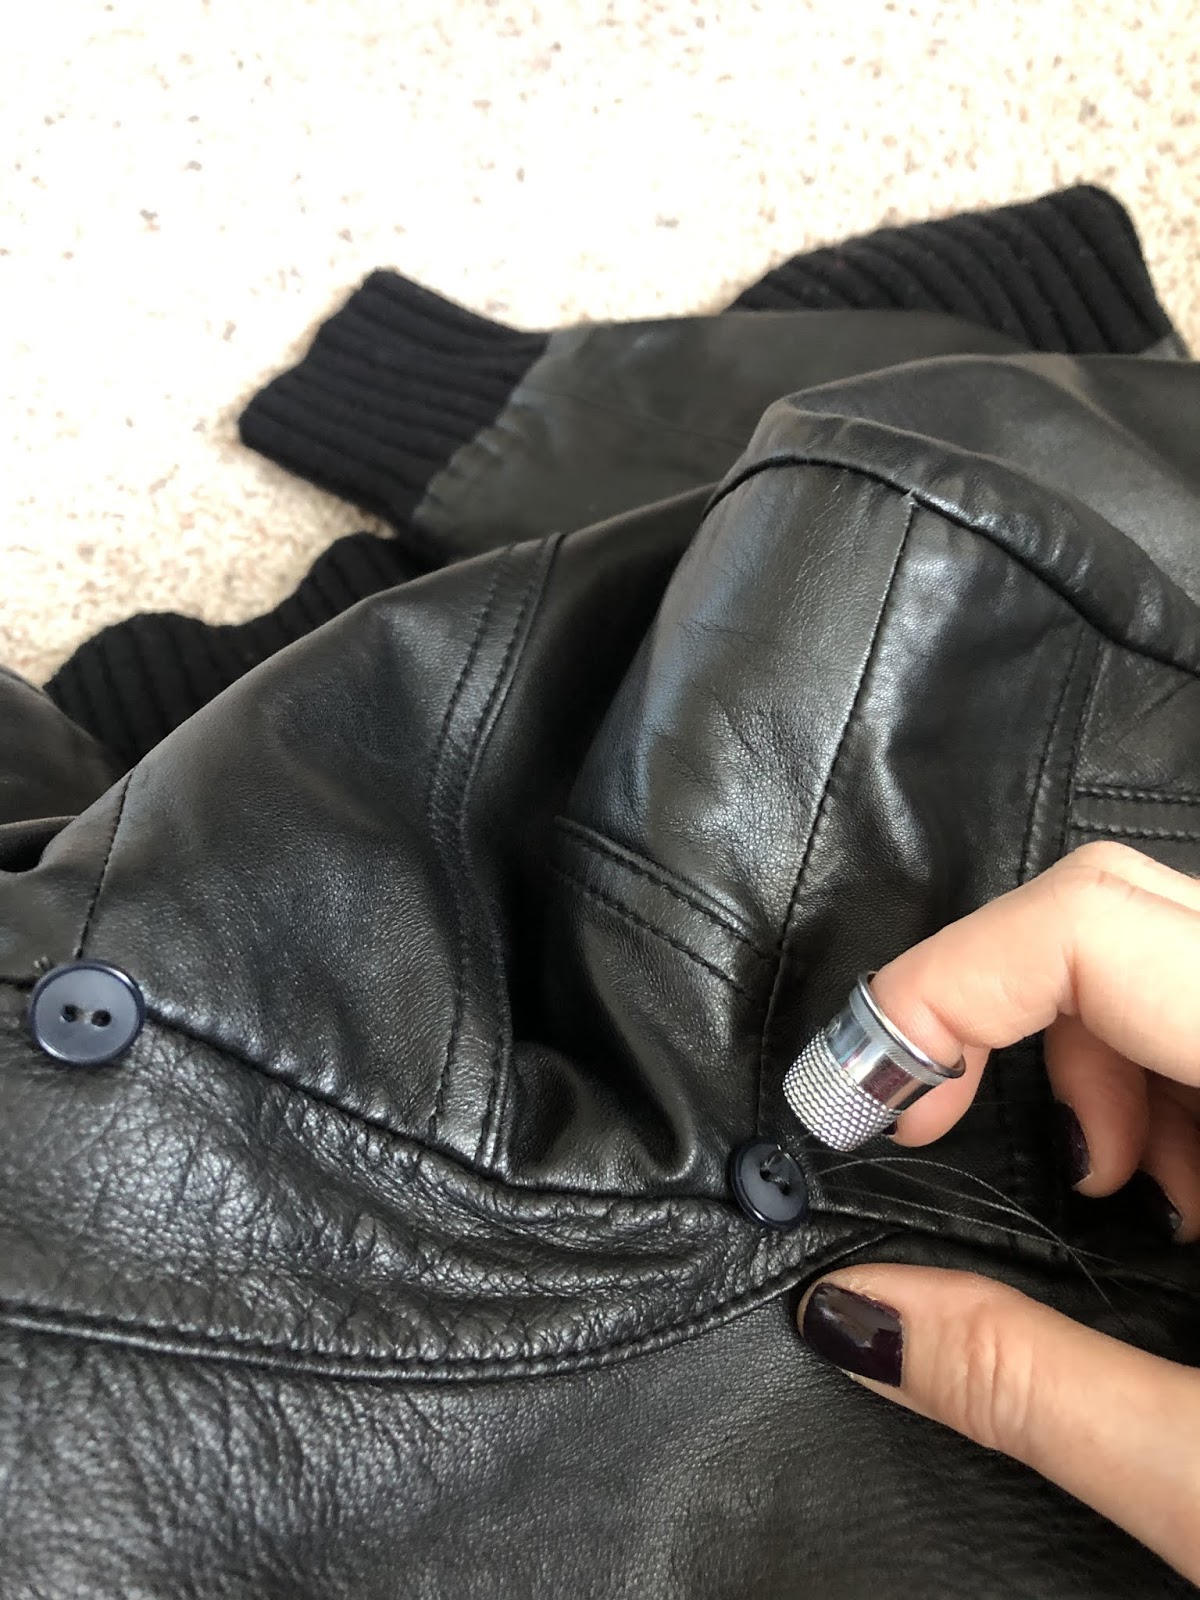


Here are the buttons sewn onto the second jacket.


And here is the hood with fur trim attached to the second jacket. Looks like it was made that way, doesn’t it?


_________________________________________________________________
Second Idea: Fur trim on an existing coat.

So...just so that I could get the most out of the luxurious fox fur trim, I decided to make it “addable” to a dressier coat that I have. I really really like this coat and wear it a lot—especially with dresses. I had a feeling that adding fur trim would take it up a notch! 
(I was right! Scroll down!)


So, to keep the buttons discreet (for the times I don’t want trim), I sewed black buttons into the black part of the hood. This view is from the front.


And this is from the back. I can easily take these buttons off if I ever get tired of them without damaging the coat.


Look how lovely!


Super cute and cozy!


Now, go raid your Goodwills!

The End!


Saturday, September 30, 2017

Refashioning: How to Make a Dickie from a Collared Shirt and Instantly Elevate Your Wardrobe

Sometimes, you buy a shirt when you only actually like the collar. You may hate the rest of it (as I do for the shirt below!)


So, today, we are going to make a dickie!


Dickies are a great way to elevate a regular no-collar shirt or sweater. In the 90s, dickies were mostly just the top part of a turtleneck made to wear under V-neck sweaters without having the added bulk and heat-trapping layers of a full turtleneck.

However, while they were supposed to make life easier, they usually ended up creeping up around the decollate area and making weird wrinkles underneath said sweaters.

Today, dickies are made much more thoughtfully as they have elastic under the armpits to keep them down. (Innovative!!) Also, they aren't just turtlenecks anymore. See the cute one below? I bought it because (1) the dickie was much cheaper than buying the whole shirt, (2) I can mix and match it with not just fall/winter attire, but also spring/summer shirts, (3) I wanted one to study to figure how to make my own!


Using the pre-made dickie as a template, I laid my shirt down underneath it and cut around. If you don't have a pre-made dickie, you can cut from around the seam at the top of the shoulder down to about the top of the chest area--usually down to about the fifth or sixth button. Really, this measurement is up to you and how deep the necklines are of the items under which you will be putting the dickie, so you should probably get your deepest necklined shirt/sweater out and use that as your reference. Wherever that neckline falls, give yourself another inch or two to make sure the dickie doesn't pop out!


For mine, I used binding lace to finish the edges. If you don't have binding you can just leave about 5/8" seam allowance around the extremity when you are cutting your dickie out, then fold the edge in about 1/4" and press, and then fold it in again about 1/4" and press. That was too much work for me, so I bound instead! (Also. . .you really don't HAVE to finish the edges as they will never be seen, so you can skip to the next step if raw edges don't bother you. However, bear in mind that finished edges keep things from falling apart over time. So. . .do as the Spirit leads.)


Here are the edges all finished.


Next, you need to measure about 6-ish inches of elastic for under the arms. Fold the edge of the elastic under about 1/4" and pin it to the wrong side of either side of the dickie to create arm holes.


Then, zig-zag stitch them in place.


The finished arm hole from the right side.


The finished dickie.


Much cuter than the original shirt!


The End!


Friday, August 19, 2016

Refashioning: Oversized Shirt into Separates - Shirt and Skirt (V Shaped Body Type to Pear Shaped Fix)

I got this shirt in Thailand for around $1.60. I just liked the cartoon print of it and knew I could do something with it.

Actually, at this point, I've already taken in the back neckline to bring the shoulders closer together. It used to be a huge scoop neckline. Also, the sleeves were way too big for my arms. Obviously, it was made for someone who had much broader shoulder and thicker arms--maybe a ladyboy? Who knows. Anyways, this sistah is pear shaped, so. . .I thought if I took in the neckline and sleeves, the problem would be fixed, but as you can see, I'm still not gonna wear it!


Another problem is that this shirt was just so far over the top, and what I call "Miami Chic" meaning "cheap and tacky." I feel like I should be wearing a ton of gold chains and hoop earrings with stilettos, and. . .that ain't my style.


Here you can see how I took in the back neckline.


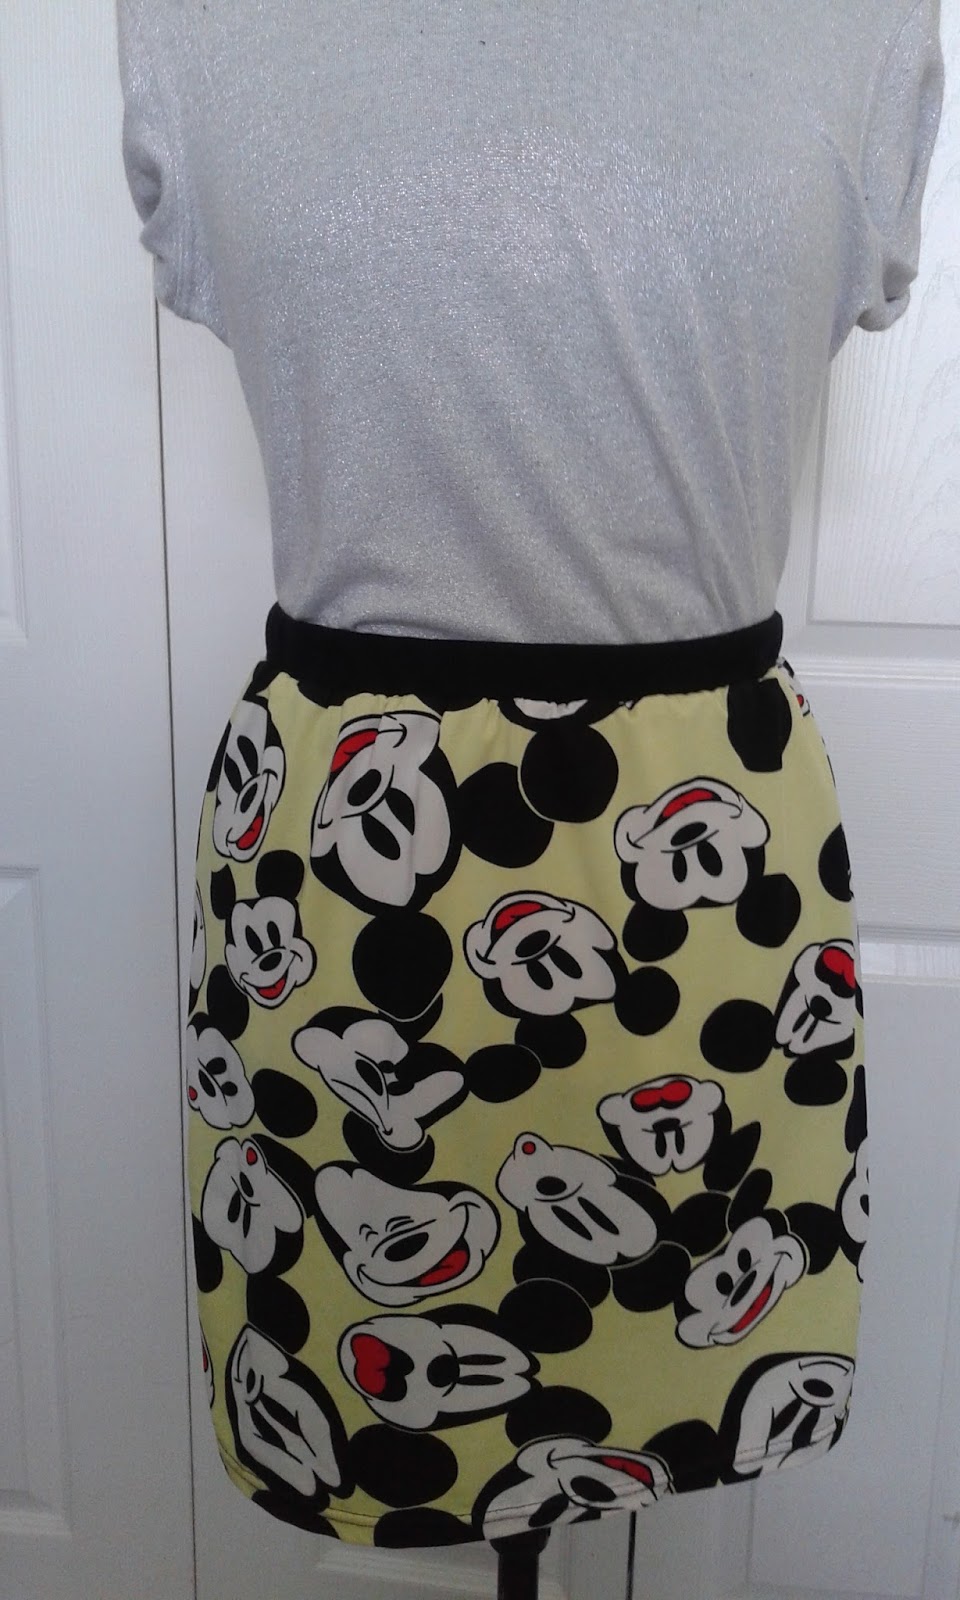
All right, so if I was going to save this shirt, I was going to need to spread the love a little bit. So I cut it in half.


Using some black jersey, I cut out a three inch waist band for the top of the bottom of the shirt. 
It was about to become a skirt.


Then I cut out a 9 inch band of jersey to put on the bottom of the top of the shirt.


Here is the skirt band.


I finally found a bodkin! So...here I am using my bodkin to thread some elastic through the waistband.


Then, I stitched the elastic together and sewed the rest of the waistband seam to close the hole.


Skirt.


Here is the band going on the bottom of the top of the shirt.


Finished.

Okay, so...yes, there is still a lot going on, but at least now I can wear the pieces separately and not look as gross. Even just adding the wide black waist section breaks up the craziness a bit, if I wanted to wear them together. Adding the waistbands has now added shape to an otherwise shapeless garment. I may actually get rid of this entire outfit soon, but I wanted at least to show you how you could salvage and elevate some of those oversized T-shirts you may currently be wearing as pajamas!


The End!