Showing posts with label fast. Show all posts

Sunday, April 12, 2020

How to make a CoVID-19 Mask 2.0

So, I have already given a tutorial on how to make a CoVID-19 mask, which you can find here. But after thinking about it, and looking back through my inventory, I thought up a new design. Like the other one, it is reversible, reusable, washable, uses cotton and flannel, and has a conformable nose bridge wire. However, instead of having the ties (around the back of the head or around the ears), this one uses elastic around the ears. This may be a better design since elastic is easier to deal with at times than ties. Plus, the sides are gathered with elastic instead of pleating. Also, the biggest advantage I found is that once you get the hang of them, these can be made in half the time of the other ones. 


So, first of all, I made two sizes. One is made from 8”x8” squares. This is for L/XL heads. The other size is 6”x8” and this fits children and S/M heads. I personally can wear the S/M version and my head is about 21” around if that gives you some idea. 


I ran out of the chenille wire from before, so I bought a back of pipe cleaners at Dollar Tree. There are 45 in a pack. They are 12” long, so I cut them into 4” pieces. These are for the nose bridge wire.


The first step is to use a zig-zag stitch and sew the pipe cleaners to the wrong side of the cotton fabric. Center them at the top and down about 1/2”. (If you are making a 6”x8” size, you will sew this to one of the 6” ends). I used a button hole foot because it has a groove on the bottom of the foot that guided the pipe cleaner through and kept it straight.


This is what it looks like from both sides when you are done.


Next, cut two short lengths of elastic. I cut them 8” long, but you may want to test this out yourself. Make one as practice to see if it’s the right size for your head. 


You will pin these between the right sides of flannel and cotton fabric on both of the longer 8” sides. Pin them like you see below. I’ve opened the layers to show you what it looks like between the layers.


So once you have the elastic pinned into the seams of both of the longer sides, you just sew up all four sides, leaving an opening on one side to turn it right-side-out. I left this opening on a short side which was opposite the nose bridge wire. 

So this is a little hard to describe. You want to tack down one end of elastic that will run down both of the longer sides. Don’t pre-cut this elastic. When turned right-side-out, this is what will create the gathering on the sides of the face. So, tack it down like this....


Then, sew down that longer side, and as you turn to sew down the other shorter side, pull the elastic tight. This requires some skills. You need to pull the elastic tight with both hands. Then, place the fingers of your right hand on top of the elastic and on either side of the presser foot. Let go of the elastic in your left hand, and release your presser foot. Then sew really quickly across the elastic. I back stitch over the elastic to make sure it holds. Then, once it is secure, you can cut this elastic. You will do this on both of the longer sides.


This is what it looks like inside-out.


And this is what it looks like right-side-out. Make sure you really push the corners out. You have one step left after this.


Again, this is going to take some skills. So, basically all you are going to do is to sew a big square around everything again. However, you need both hands and your wits about you. I start on the side with the hole. I sew up that side, stopping about 3/4” from the edge. 


Then, when you come to that first elastic side, turn the corner and put the presser foot back down. Again, this requires both hands. Hold the fabric under the foot in place. . .


And then pull the inside elastic tight. Using both hands, guide the fabric down as you sew. Make sure you hold the fabric at the top and bottom and guide it through. Don’t just pull it through, because you will break your needle. This will not be perfect, and that’s okay. You are just creating a channel for the inside elastic so that the fabric will lay correctly against your face.


When you sew up that last side, be sure to back stitch to tack everything in place.


So this mannequin is pretty small, but this is the S/M one. 


And this is the L/XL one. You can see from the one above and below that they are reversible. Make sure you decide AHEAD OF TIME which side you want against your face. If you switch the sides halfway through the day, you’ve just negated the entire reason for wearing the mask!!


If for some reason your mask is too big or you just don’t want to wear it behind your ears, you can put a paper clip behind your head and attach it that way.


The End!


Wednesday, November 1, 2017

Refashioning: How to Make Sequin Leg Warmers from Skirts

I like to read fashion magazines to get ideas when I'm bored of my clothes. I must say I haven't been too inspired by anything I've seen lately, except for what you see below: sequin socks!


I mean, they are just the weirdest thing, aren't they? Who would even think to make them? But they look so cute and unusual. . .so my mind started spinning.

I like the look of them, but. . .I wasn't too thrilled with the sock idea. I mean, socks can only be worn once and then they need to be washed, so I had an alternative idea that would still keep the sequins around the ankles, but not be so scratchy around the foot: leg warmers!


I found this mini skirt on the dollar rack at Goodwill.


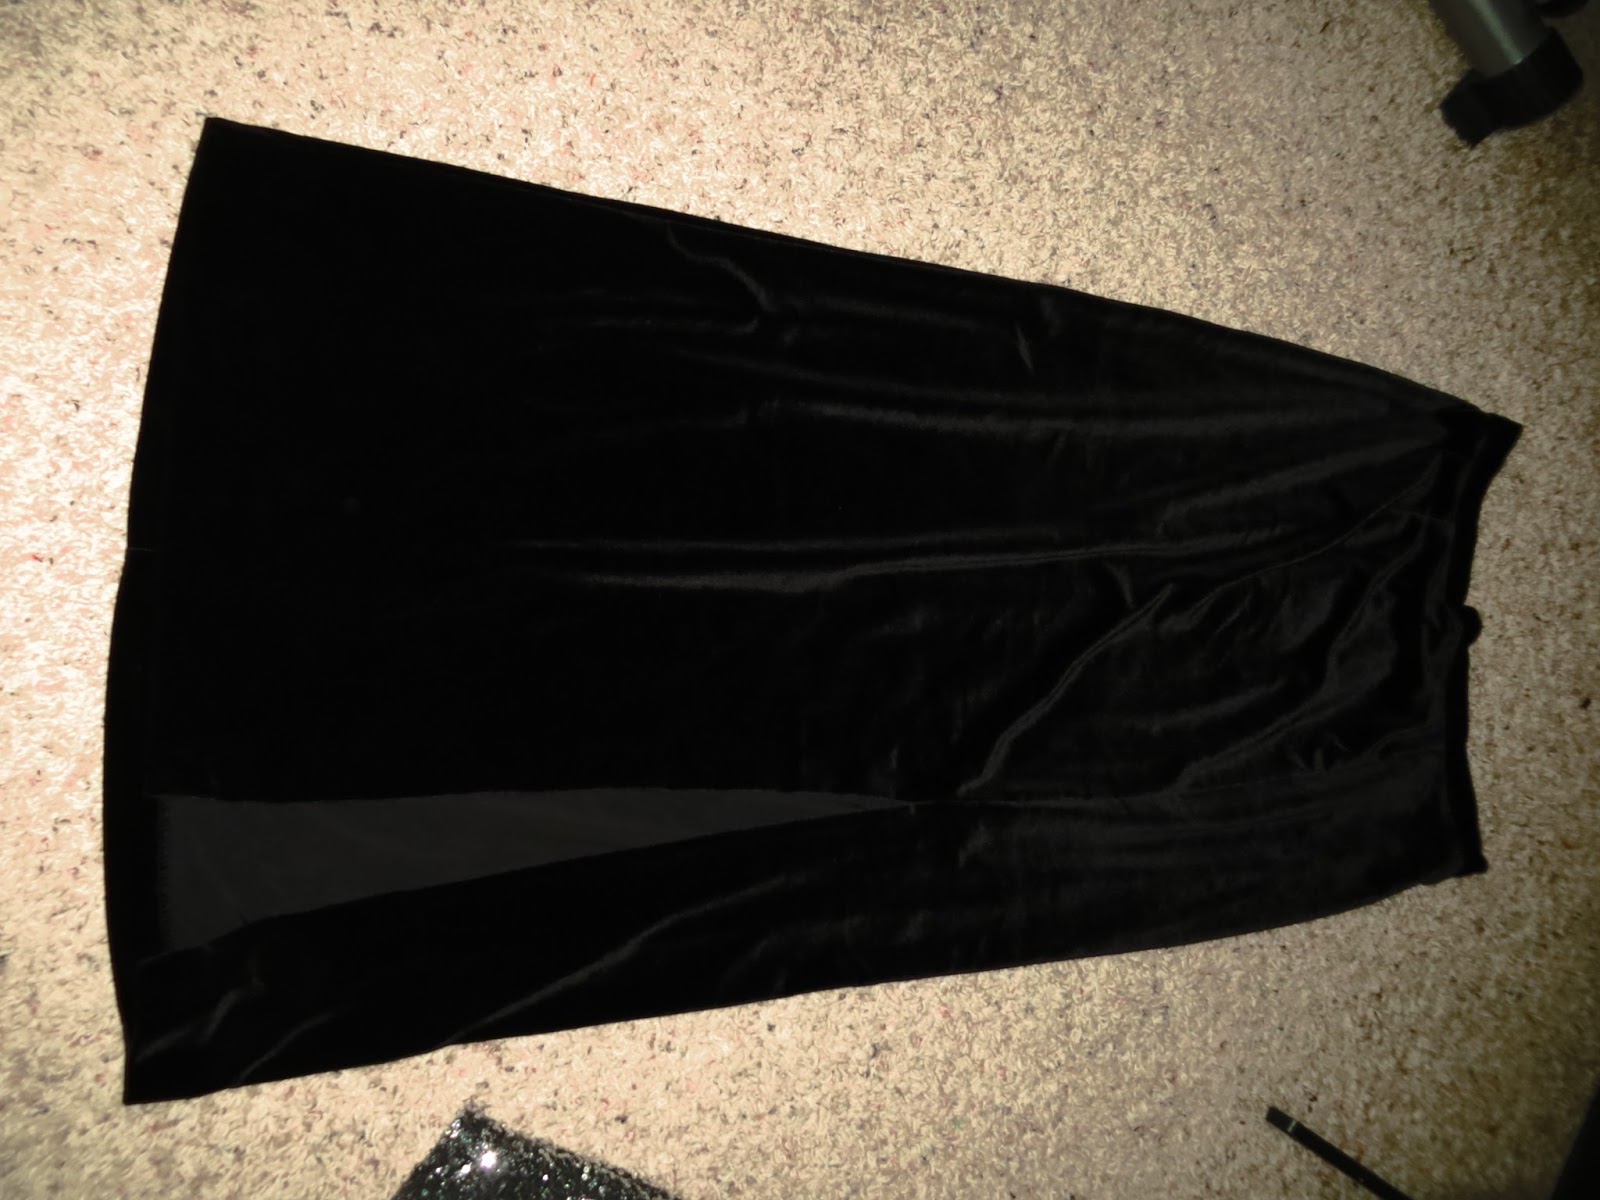
And this velveteen skirt as well.


First, I measured around my calf and I cut the skirt you see below to that measurement plus one inch (for seam allowance). I also cut it as tall as I could get it with the fabric I had. Cutting through the skirt like this gave me two panels.


I used those same measurements to cut out two panels of velveteen.


Since the bottom edge of the skirts were both finished, I decided to use that as the bottom of the leg warmers (the pieces are upside-down in this picture). I pinned the adjacent edges of one piece of sequin with one piece of velveteen with right sides together.


I sewed them with the sequins on bottom. (Note: velveteen is tricky because it slides around, so. . .watch out for that!)


So once those seams were created, I unfolded both pieces and pinned the long edges with right sides together.


After sewing those seams, I turned each tube inside out.


The finished leg warmer. This project took about fifteen minutes.


And! They are reversible!


The End!


Thursday, October 19, 2017

Sunday School Craft - "Let There Be Light" Creation Glow Bracelets

So. . .our children's curriculum is starting over again which means. . .

I had to think of another Creation craft!

I have done three different crafts for the days of Creation (you can see them here, here, and here), and I knew I could probably get away with just reprinting one of those older ones for the kiddies this week, but. . .let's be honest. Little kids know what crafts they have done, even if the parents have forgotten! I had to think of a new one!

So. . .I took a trip to Wal-Mart.

There I found glow bracelets five for a dollar, so. . .let there be light!


You need: cardstock (colored is optional), hole punch, scissors, and glow bracelets.

I made a verse sheet (Genesis 1:3) in Publisher, and you can print it out at the end of this post if you want to do this craft too.


Cut out the verses.


Punch a hole in either side.


Insert the bracelet into the holes and. . .you're done!


If you do this craft during the day, be sure to turn out the lights and cover the windows so the kids can all see the bracelets glow!


Template:


The End!


Saturday, September 30, 2017

Refashioning: How to Make a Dickie from a Collared Shirt and Instantly Elevate Your Wardrobe

Sometimes, you buy a shirt when you only actually like the collar. You may hate the rest of it (as I do for the shirt below!)


So, today, we are going to make a dickie!


Dickies are a great way to elevate a regular no-collar shirt or sweater. In the 90s, dickies were mostly just the top part of a turtleneck made to wear under V-neck sweaters without having the added bulk and heat-trapping layers of a full turtleneck.

However, while they were supposed to make life easier, they usually ended up creeping up around the decollate area and making weird wrinkles underneath said sweaters.

Today, dickies are made much more thoughtfully as they have elastic under the armpits to keep them down. (Innovative!!) Also, they aren't just turtlenecks anymore. See the cute one below? I bought it because (1) the dickie was much cheaper than buying the whole shirt, (2) I can mix and match it with not just fall/winter attire, but also spring/summer shirts, (3) I wanted one to study to figure how to make my own!


Using the pre-made dickie as a template, I laid my shirt down underneath it and cut around. If you don't have a pre-made dickie, you can cut from around the seam at the top of the shoulder down to about the top of the chest area--usually down to about the fifth or sixth button. Really, this measurement is up to you and how deep the necklines are of the items under which you will be putting the dickie, so you should probably get your deepest necklined shirt/sweater out and use that as your reference. Wherever that neckline falls, give yourself another inch or two to make sure the dickie doesn't pop out!


For mine, I used binding lace to finish the edges. If you don't have binding you can just leave about 5/8" seam allowance around the extremity when you are cutting your dickie out, then fold the edge in about 1/4" and press, and then fold it in again about 1/4" and press. That was too much work for me, so I bound instead! (Also. . .you really don't HAVE to finish the edges as they will never be seen, so you can skip to the next step if raw edges don't bother you. However, bear in mind that finished edges keep things from falling apart over time. So. . .do as the Spirit leads.)


Here are the edges all finished.


Next, you need to measure about 6-ish inches of elastic for under the arms. Fold the edge of the elastic under about 1/4" and pin it to the wrong side of either side of the dickie to create arm holes.


Then, zig-zag stitch them in place.


The finished arm hole from the right side.


The finished dickie.


Much cuter than the original shirt!


The End!