Showing posts with label fashion. Show all posts

Friday, January 31, 2020

Refashioning: Paint it Black: A $1600 Louis Vuitton Handbag for $80!

I admit it. I love high end fashion. But I’m also way cheaper than anyone else I know. So...when that is your fate, you either need to get fearlessly creative, or act like a victim and get massively in-debt.

I opt for the former.

Here’s how you can too!

About a year ago, I started searching the internet for second-hand investment bags from Chanel, LV, Hermès, etc.

I found this Louis Vuitton Vernis Houston handbag on eBay for $80. Brand new, this bag sells for a cool $1600!


Now, listen. I did my homework on this one. There were several of the same bag selling for around the same price—some under, some over. But I had a specific criteria that I searched for: a decent interior, no major rips or scuffs, intact handles, and working zippers. I had to search for a few months,  sell a few of my own items on eBay to get the money, and finally found one that fit the bill.


I know, $80 is a lot for a self-proclaimed cheapskate to spend on one bag, but. . .considering that it retails for $1600, my thought was: I can dye that sucker, and when I get tired of it, I can flip it for at least more than I paid for it. Plus, how many ladies throw away $100+ at the local mall for a subpar Michael Kors bag. I don’t think $80 was a bad spend.

If this sounds crazy, remember that I am the woman who dyed a pair of Chanel shoes a few years ago (and then everyone started doing it). Those shoes look as great today as they did back then, so I was up for this challenge.

If you click the words “Chanel shoes” above, it will take you to my post that shows you how to dye your shoes so that they look excellent and not like a hack job. From that post, and when I dyed a Coach bag silver, I learned that Tarrago dye is really good for this kind of project, so I bought another set in “shiny” black. It costs around $10 on eBay.


Inside is a leather conditioner/prepper, leather dye, small brush, and applicator sponge.


I’m just going to tell you right now, that if you attempt this project—even if you buy the supposedly “patent leather”/shiny version of Tarrago dye....it doesn’t work on this bag! This bag is way too shiny.

I spent a while prepping the bag and then painting the bottom. A few hours later after it was dry, the bottom looked super messy, with tons of brushstrokes and uneven dull spots all over it. That is probably because Tarrago is actually leather paint. Same thing with Angelus. If your leather is super shiny, don’t buy either of those. You need an actual dye, not a paint. Instead, do this....


I happened to have an old bottle of Fiebings black leather dye. It’s only like...$5 or something on Amazon, eBay, or your local shoe repair shop.


So...I’m sorry there are pictures missing in this post, but...this is a really messy process, and it’s hard to take pictures while doing it!

Anyways, do this: Using a cotton ball and nail polish remover, rub all over the bag, the hardware, and the handles. Do this a few times to make sure you remove any residue and “break the seal” over the leather and patent leather. 

Then, using a cotton ball, sponge, and/or smaller brush, paint over all the surfaces that you want dyed. Don’t worry about the hardware. Just paint over that too. You need to get into all the nooks and crannies.


Then, you need to let it dry somewhere like a garage or basement, but make sure it’s well-ventilated because the dye is really fume-y and can give you a headache. 
(I hung my bag on a camera stand in my garage.)


Now, I know this is unorthodox, and I’m sure there are people who think I’m crazy, but. . .

After it’s dry (give it a few days), go over the whole thing with nail polish remover and a cotton ball. I discovered this by trial and error. I’m sure there are many DIYers who would say never to do this. But this is really the only way to take off the excess and assure that your color won’t rub off onto your clothes. This is also the best way to get the color off your hardware so that it looks like the dye job was professionally done. You could ostensibly use a mild soap and a rag, but. . .I wanted to make sure that the color wasn’t going anywhere. Also, acetone dries super quickly, whereas water takes time to dry and can soak your leather. If some of the color comes off during this step, then you can reapply color and let it dry again. Do this cycle as many times as you need to make sure the color is permanent. It works. I’m telling you.
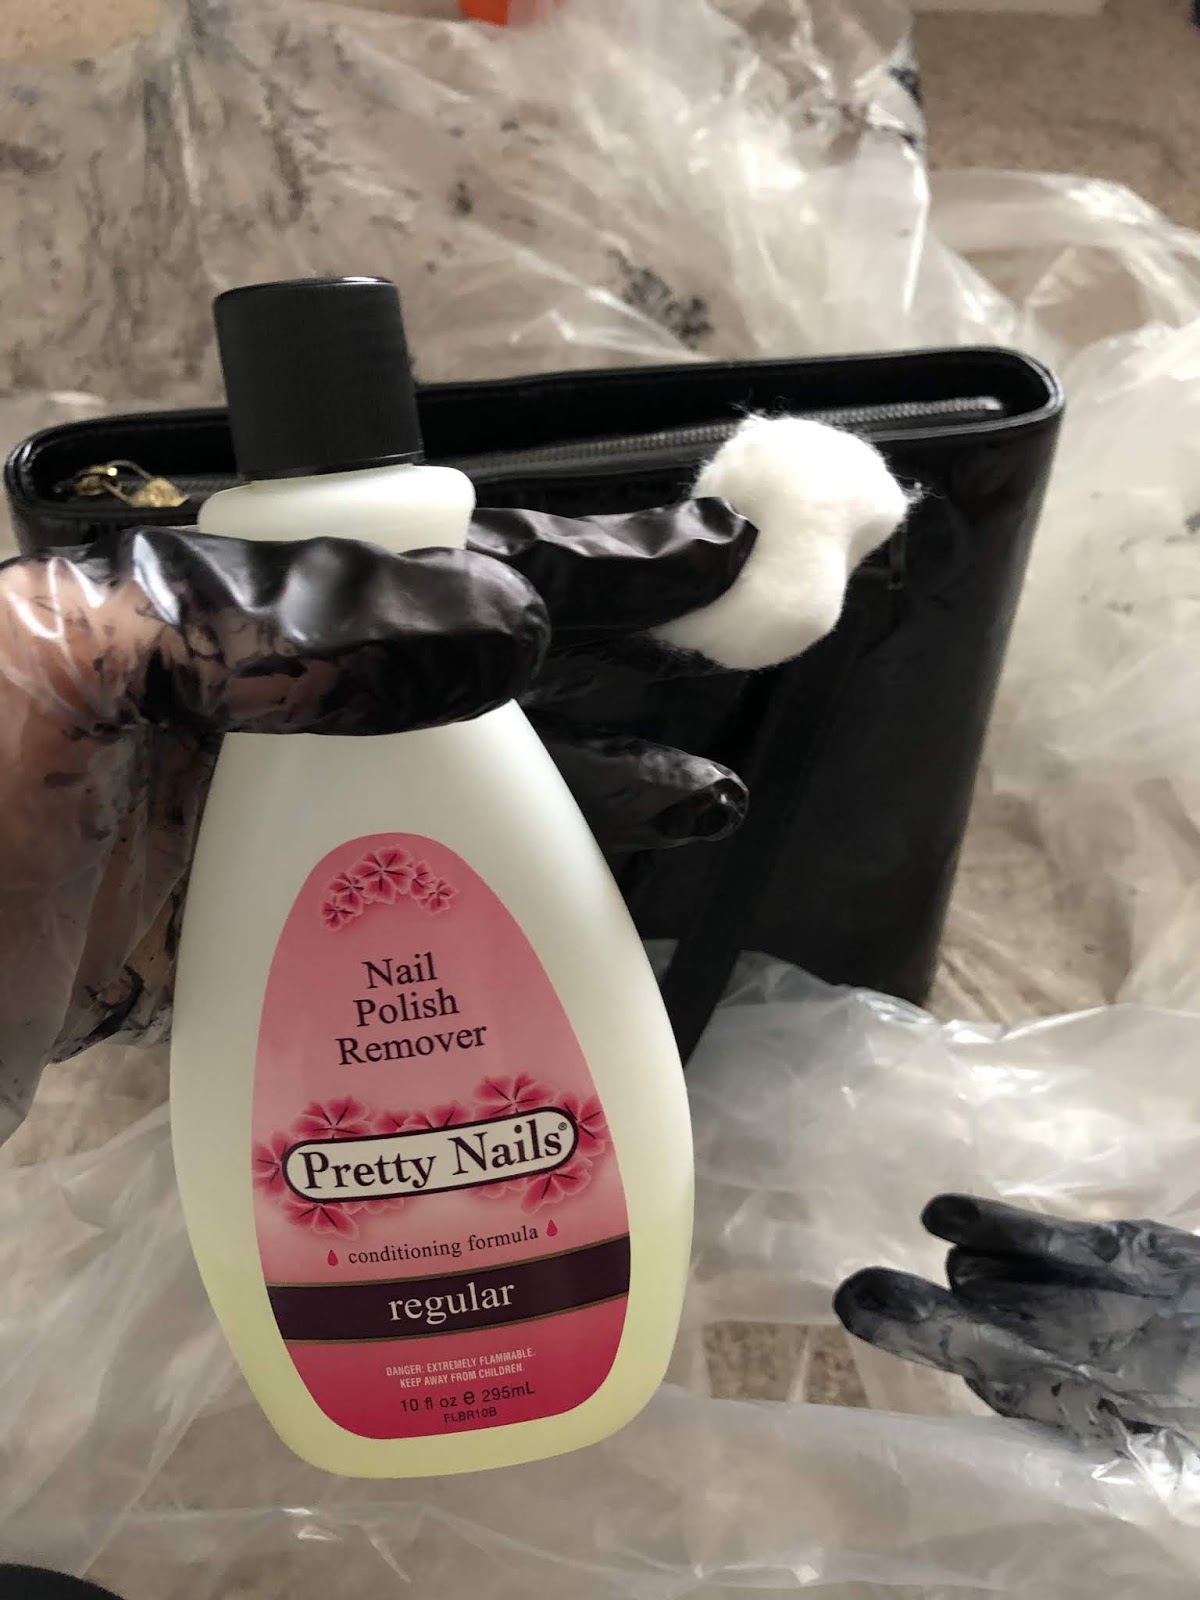


Look how nice and shiny!


(I did buy some Fiebings Resolene—from Amazon—in case I need it. A lot of sources suggested using Resolene (acrylic sealer) to keep the color from fading and rubbing off onto other surfaces. I plan to use it eventually, but I want to make sure all the surfaces are exactly perfectly black before I go sealing anything. That means I will need to use this bag and monitor it for a few weeks yet. And...I many not even need the Resolene. Plus, I’m a little worried that it might dull the shine...Anyways, I’ll update this post and let you know.)


Because I kept the zipper closed, the interior is clean and neat.


I’m not a huge fan of gold hardware, but. . .if I resell it, other people like gold and black, so I can retain a lot of value by keeping the hardware gold. It’s not obnoxious, so I can live with it.


Looks brand new!


The End!


Sunday, November 10, 2019

Refashioning: A 70s Floral Dress into a Tailored Slit Dress (Over Skinny Jeans)

When I'm bored, I scour Pinterest for ideas.

So, lately, I've been getting looks like these in my main feed:


I dunno...I've seen the maxi-dress-over-pants look before, and largely ignored it. However, something about it intrigued me this time. So...I kept an eye out at Goodwill for a maxi dress to play with.

A few weeks later, I found this little 70s Flower Child number:


You can see it's way too big--even dragging on the floor. I hate ruffle sleeves on me. And the V-neck is way too low. 

Still, I really liked the print and the polyester jersey fabrication, so I paid my $1.00 and took it home!

If you would like to try this, you don't have to follow these exact directions, but maybe it'll give you some ideas!


First order of "bid-ness" was to cut the horrible sleeves off.


Now...realize this: When you want to shorten a dress, you actually have TWO options. Yes, you can hem it from the bottom--which is the usual way. But I know a much easier way--especially when the neckline is way too low.

This is what you do: You pinch an inch or so at the shoulder seam. Now...I realize that this is going to move the shoulder seam forward. In other words, it will no longer sit at the top of your shoulder. However, a forward-ed shoulder seam is sorta "in" right now, so I find this to be an adequate adjustment. I'm gonna show you a few pictures of this, because it's kind of hard to see in this print.


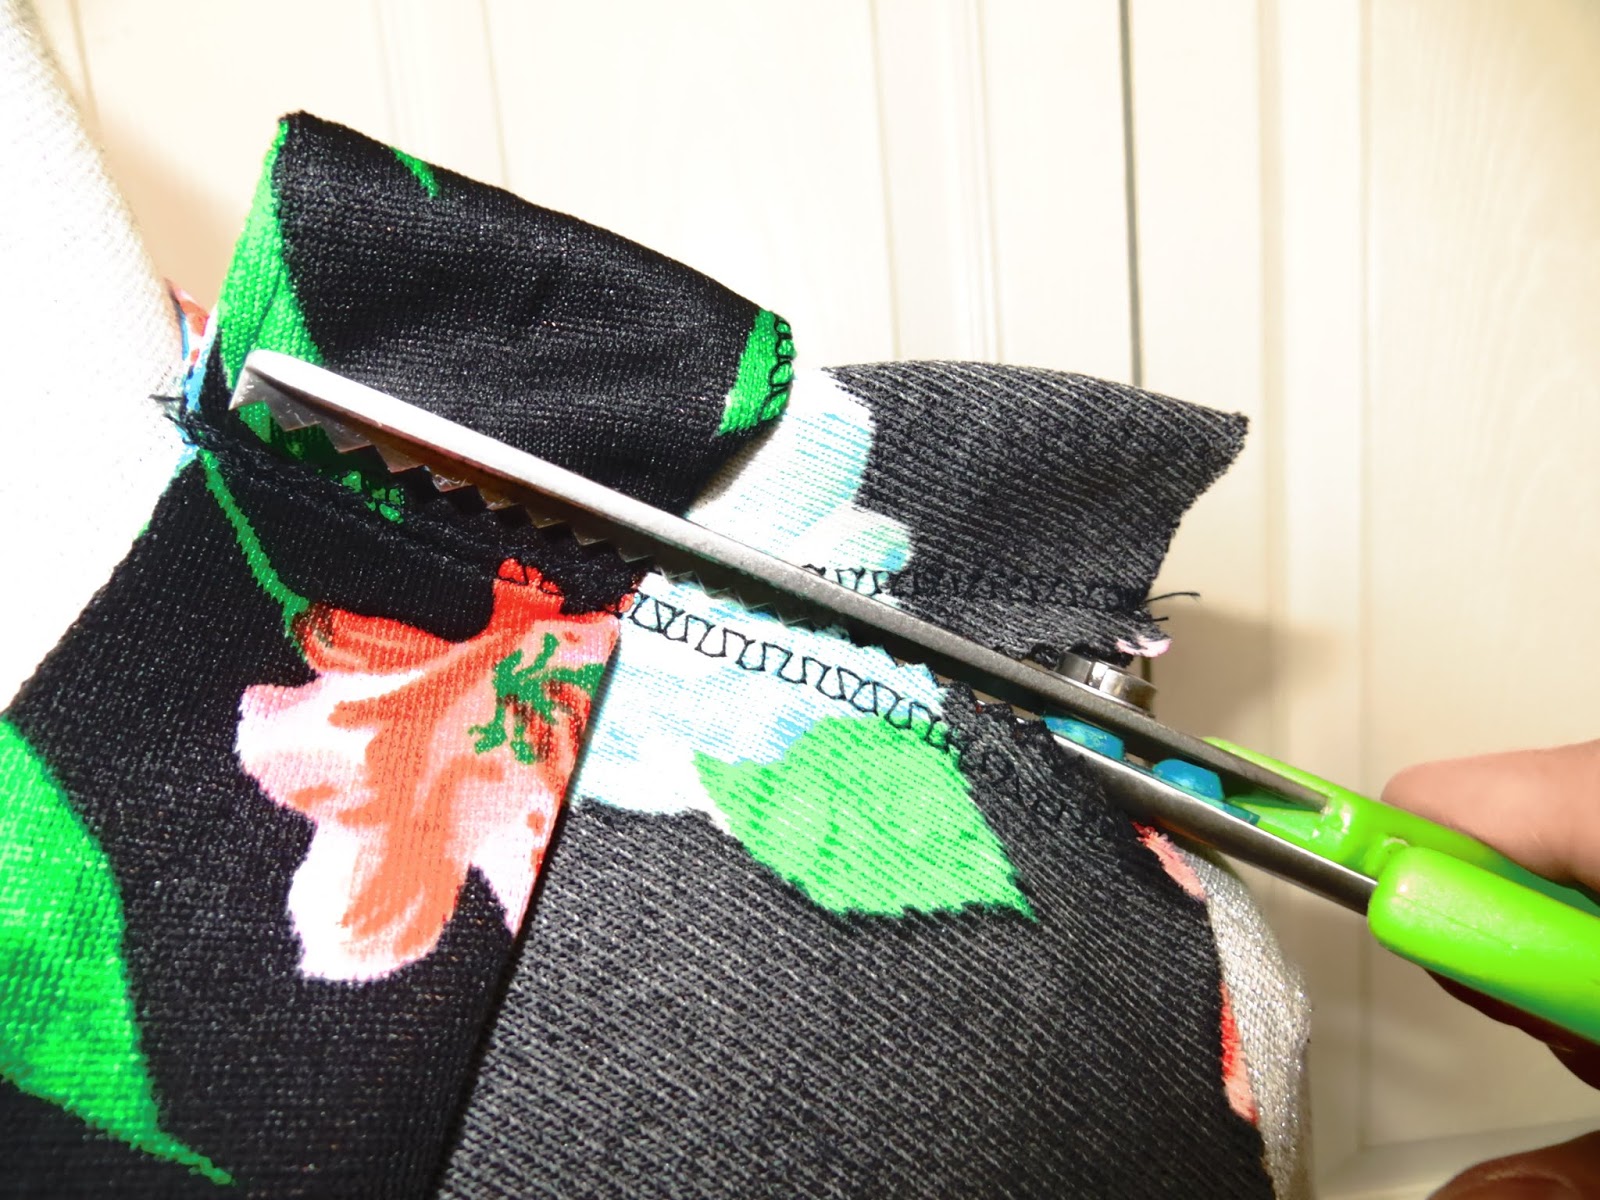
So then, all you do is cut off the excess. I use pinking shears.


Okay, so...I really wanted sleeves. Trying to finagle the ruffle sleeves into a more fitted sleeve was...not easy. The fabric was a really weird shape. Still, you gotta use what you got. I laid another shirt on top of the ruffle sleeves as a pattern.


So, next I eased and pinned the sleeves back onto the dress.


So you can see here how big the dress is; however, notice how much nicer the V-neck sits from before. 


So, the next step was pinning down the sides to take off the excess sizing.


I sewed the side seams all the way down from the armpit to the floor to keep the shape uniform. It's now beginning to look really nice! I could have stopped here...but it's getting colder, so I wanted longer sleeves.

Notice how much shorter the dress is now. I didn't hem it. This just goes to show you that if a dress is too big, try taking the length away from the top and the sides first. Then see how long it is. 
Don't ever hem as your first alteration!!!


I added a piece of faux leather jersey to give an edgy look. But notice that now it looks sorta incomplete.


So, I added a bit more of the floral fabric. I had precious little left from the ruffle sleeves, but it was just enough to create a more uniform finished-looking sleeve.


Okay...I could have stopped there...(and maybe some of you think I definitely should have!)...but I have a million dresses...and the purpose of buying this one was to put it over pants...

so....

I laid it down on the floor...

and cut a big ol' chunk out of the front!


Not gonna lie...I was like, "What have I just done???"

But then I took it to the sewing machine and finished the slit's seam.


Here's how it looks over jeans.


And because we all love "Before and After"s:


The End!


Saturday, September 30, 2017

Refashioning: How to Make a Dickie from a Collared Shirt and Instantly Elevate Your Wardrobe

Sometimes, you buy a shirt when you only actually like the collar. You may hate the rest of it (as I do for the shirt below!)


So, today, we are going to make a dickie!


Dickies are a great way to elevate a regular no-collar shirt or sweater. In the 90s, dickies were mostly just the top part of a turtleneck made to wear under V-neck sweaters without having the added bulk and heat-trapping layers of a full turtleneck.

However, while they were supposed to make life easier, they usually ended up creeping up around the decollate area and making weird wrinkles underneath said sweaters.

Today, dickies are made much more thoughtfully as they have elastic under the armpits to keep them down. (Innovative!!) Also, they aren't just turtlenecks anymore. See the cute one below? I bought it because (1) the dickie was much cheaper than buying the whole shirt, (2) I can mix and match it with not just fall/winter attire, but also spring/summer shirts, (3) I wanted one to study to figure how to make my own!


Using the pre-made dickie as a template, I laid my shirt down underneath it and cut around. If you don't have a pre-made dickie, you can cut from around the seam at the top of the shoulder down to about the top of the chest area--usually down to about the fifth or sixth button. Really, this measurement is up to you and how deep the necklines are of the items under which you will be putting the dickie, so you should probably get your deepest necklined shirt/sweater out and use that as your reference. Wherever that neckline falls, give yourself another inch or two to make sure the dickie doesn't pop out!


For mine, I used binding lace to finish the edges. If you don't have binding you can just leave about 5/8" seam allowance around the extremity when you are cutting your dickie out, then fold the edge in about 1/4" and press, and then fold it in again about 1/4" and press. That was too much work for me, so I bound instead! (Also. . .you really don't HAVE to finish the edges as they will never be seen, so you can skip to the next step if raw edges don't bother you. However, bear in mind that finished edges keep things from falling apart over time. So. . .do as the Spirit leads.)


Here are the edges all finished.


Next, you need to measure about 6-ish inches of elastic for under the arms. Fold the edge of the elastic under about 1/4" and pin it to the wrong side of either side of the dickie to create arm holes.


Then, zig-zag stitch them in place.


The finished arm hole from the right side.


The finished dickie.


Much cuter than the original shirt!


The End!