Showing posts with label pinterest. Show all posts

Sunday, November 10, 2019

Refashioning: A 70s Floral Dress into a Tailored Slit Dress (Over Skinny Jeans)

When I'm bored, I scour Pinterest for ideas.

So, lately, I've been getting looks like these in my main feed:


I dunno...I've seen the maxi-dress-over-pants look before, and largely ignored it. However, something about it intrigued me this time. So...I kept an eye out at Goodwill for a maxi dress to play with.

A few weeks later, I found this little 70s Flower Child number:


You can see it's way too big--even dragging on the floor. I hate ruffle sleeves on me. And the V-neck is way too low. 

Still, I really liked the print and the polyester jersey fabrication, so I paid my $1.00 and took it home!

If you would like to try this, you don't have to follow these exact directions, but maybe it'll give you some ideas!


First order of "bid-ness" was to cut the horrible sleeves off.


Now...realize this: When you want to shorten a dress, you actually have TWO options. Yes, you can hem it from the bottom--which is the usual way. But I know a much easier way--especially when the neckline is way too low.

This is what you do: You pinch an inch or so at the shoulder seam. Now...I realize that this is going to move the shoulder seam forward. In other words, it will no longer sit at the top of your shoulder. However, a forward-ed shoulder seam is sorta "in" right now, so I find this to be an adequate adjustment. I'm gonna show you a few pictures of this, because it's kind of hard to see in this print.


So then, all you do is cut off the excess. I use pinking shears.
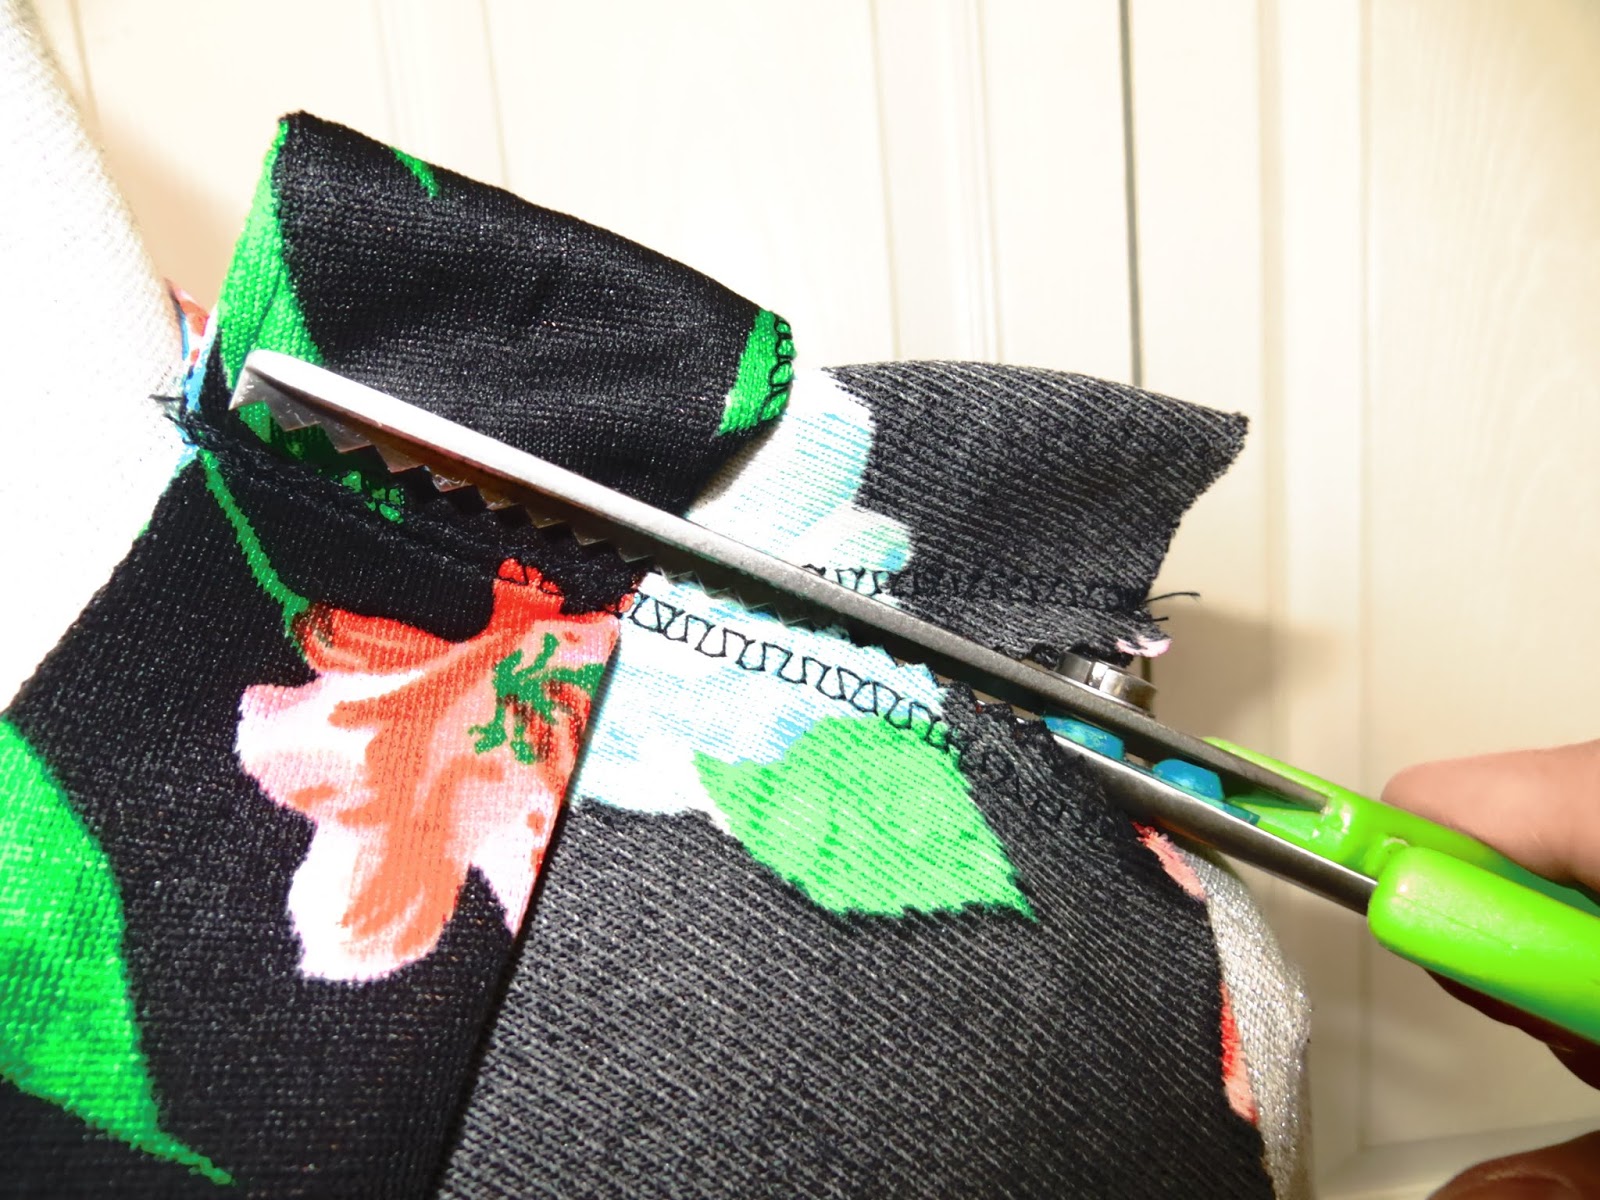


Okay, so...I really wanted sleeves. Trying to finagle the ruffle sleeves into a more fitted sleeve was...not easy. The fabric was a really weird shape. Still, you gotta use what you got. I laid another shirt on top of the ruffle sleeves as a pattern.


So, next I eased and pinned the sleeves back onto the dress.


So you can see here how big the dress is; however, notice how much nicer the V-neck sits from before. 


So, the next step was pinning down the sides to take off the excess sizing.


I sewed the side seams all the way down from the armpit to the floor to keep the shape uniform. It's now beginning to look really nice! I could have stopped here...but it's getting colder, so I wanted longer sleeves.

Notice how much shorter the dress is now. I didn't hem it. This just goes to show you that if a dress is too big, try taking the length away from the top and the sides first. Then see how long it is. 
Don't ever hem as your first alteration!!!


I added a piece of faux leather jersey to give an edgy look. But notice that now it looks sorta incomplete.


So, I added a bit more of the floral fabric. I had precious little left from the ruffle sleeves, but it was just enough to create a more uniform finished-looking sleeve.


Okay...I could have stopped there...(and maybe some of you think I definitely should have!)...but I have a million dresses...and the purpose of buying this one was to put it over pants...

so....

I laid it down on the floor...

and cut a big ol' chunk out of the front!


Not gonna lie...I was like, "What have I just done???"

But then I took it to the sewing machine and finished the slit's seam.


Here's how it looks over jeans.


And because we all love "Before and After"s:


The End!


Tuesday, June 6, 2017

Sunday School Craft - 7 Days of Creation Wheel

Yet ANOTHER creation craft! Our little kids all learn these stories at different intervals, and I don't feel like doing the same one for each group. . .hence a NEW creation craft!

Again, I compiled all these from Google searches.


You need: cardstock (I chose yellow because we had a lot of yellow), crayons (optional), glue or gluesticks, and regular paper.

First I printed the "wheel" part on cardstock. I printed the "days" on regular paper.

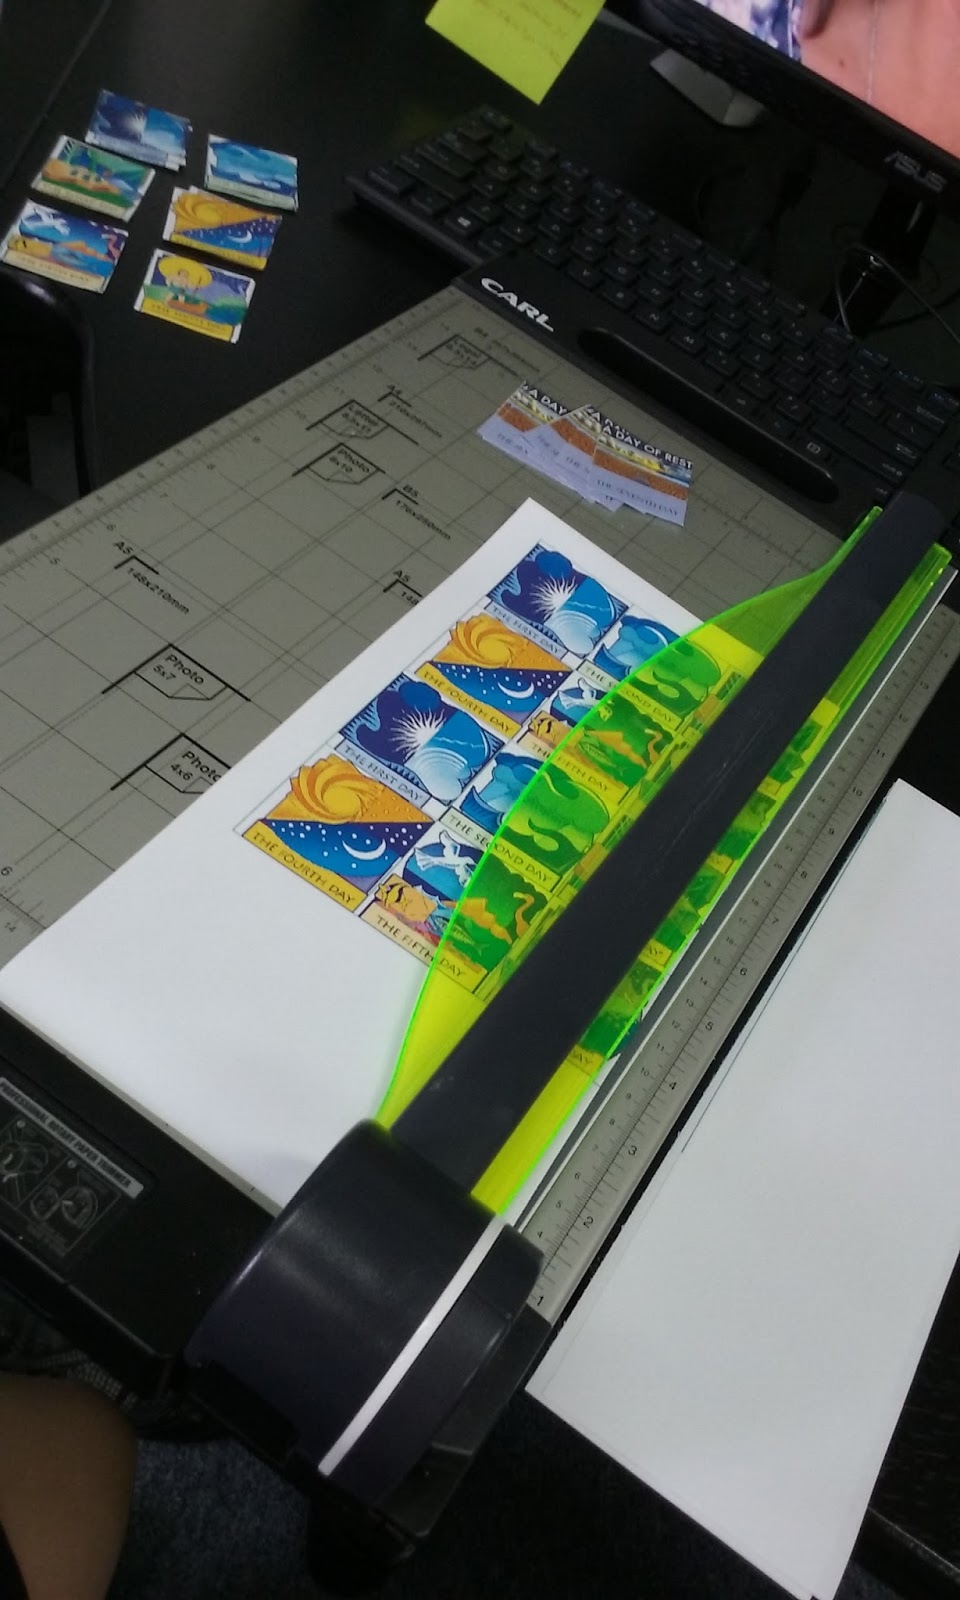
Then, I cut out all the days on a paper cutter.


Then, I just glued each day down where they belonged!


Templates:


The End!


Friday, April 22, 2016

De-Fashioning: A Silk Dress into a. . .Beauty Pillowcase?


So this one is going to be a little backwards. . .That's why I called it "De-fashioning."

I have been trying to sell the following dress on eBay for TWO YEARS, and it has been hanging in our spare bedroom. I bought it on sale for next to nothing from an online consignment store--even though it's totally opposite my body type--thinking I could resell it and make a profit. It is 100% green silk satin. It is "Laundry by Design" and was originally $300, or something! I had it on eBay for some ridiculous price, like $13. Lots of people viewed it and a couple people added it to their watch lists, but no one ever bought it or even made an offer!


This is the back. 


So, now we come to the epiphany that I had today. I have been reading more and more (from very informed places like fashion magazines and. . .Pinterest), that I should be using a silk satin pillowcase. It's apparently good for your hair, because it doesn't strip your hair of oils like cotton does, and doesn't promote breakage due to its slippery nature. It can also benefit your skin by not promoting acne and wrinkles because it's organic. So, here's the epiphany I had: Why should I pay money for a silk pillowcase, when I already have one hanging in my closet?

See how it's backward? Normally, a DIYer tells you how to make something from nothing. Here I am telling you to cut up a frickin' $300 dress to make a pillowcase!!! 

Now, here's why I'm posting this: You can create a beautiful silk pillowcase yourself by frequenting thrift stores and looking for silk items on their sale/dollar racks. I just bought a 100% silk hot pink over-sized shirt yesterday for $.40! So, it can be done! I once found a 100% silk zebra print prom dress for a dollar. (I blogged about that one here. I turned it into a skirt.)


So here you can see the metallic sheen. (It's actually much greener in real life.)


First step.


I opened the dress out. The part on the left was polyester lining that I discarded. The part on the right is silk.


It's hard to explain, but the bottom strip of the dress was sandwiched between the lining and the fashion fabric. In order to free it, I cut this seam off.


So, here is the dress in all its fundamental parts.


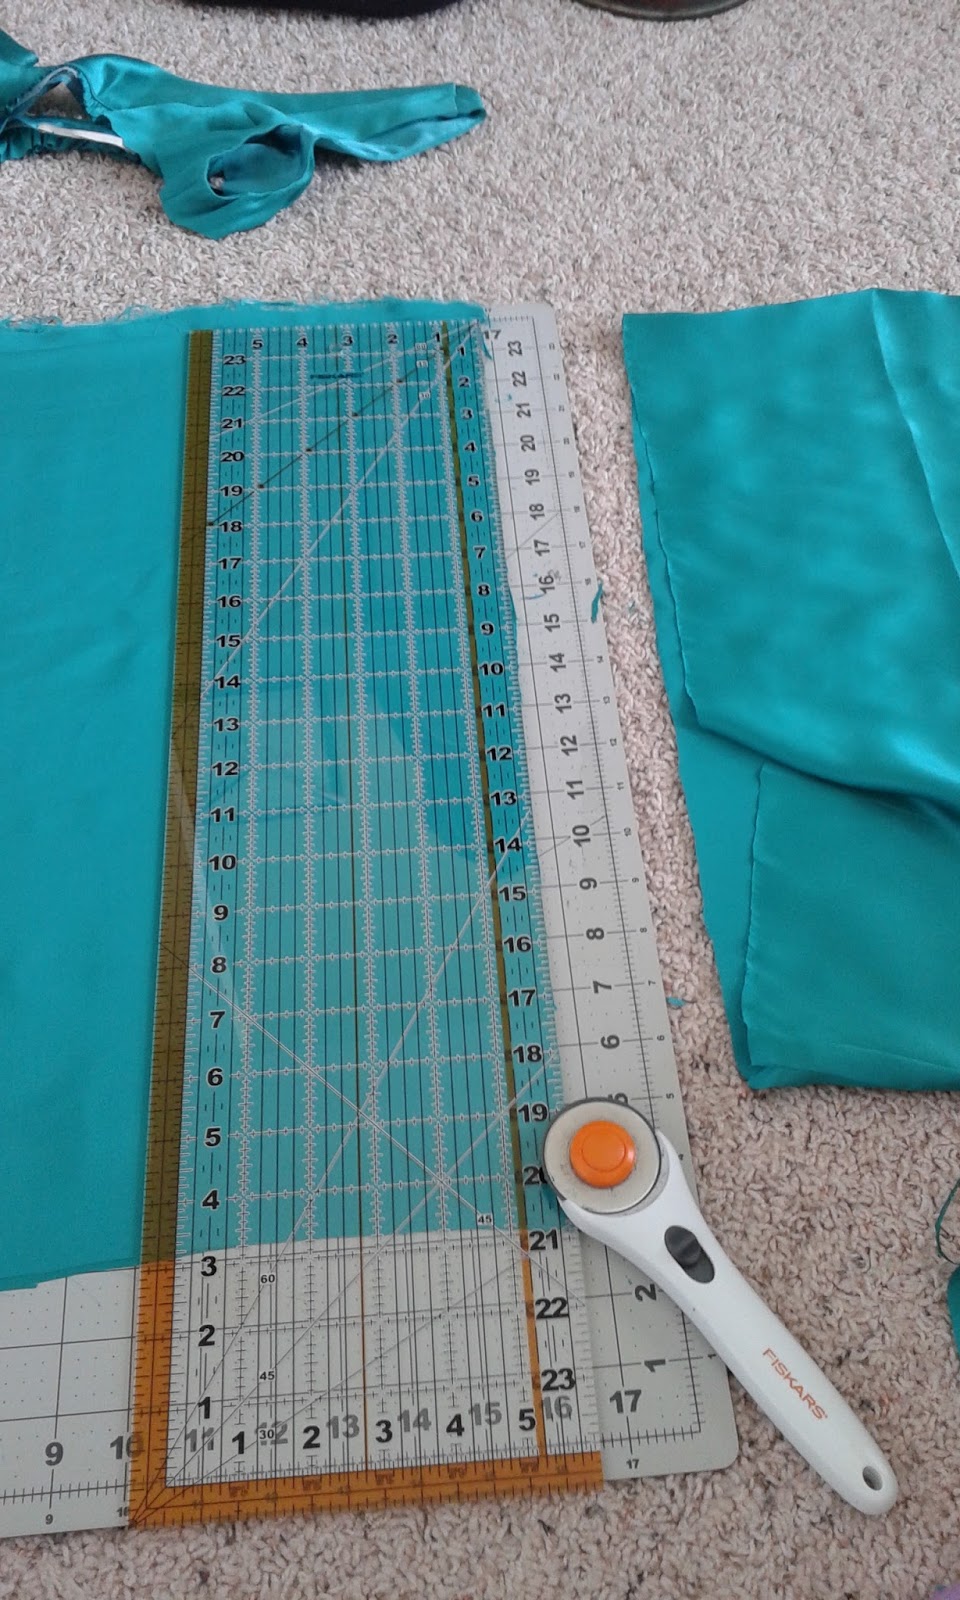
The part on the right is the bottom strip I was talking about before. (You can see the ironed fold down its center that I opened out.) I used this measurement as my guide for cutting the bigger section of the dress. That part I'm cutting off on the bottom of this picture will come up later.


After I cut, I "trued" up all the sides. This took awhile because silk satin is EXTREMELY slippery.


I got all my sides cut. If you look on the left-hand edge, you will see a seam. That is an original seam of the dress. I figured that would be one less seam I'd have to worry about sewing, so I used it!


This is that little part I cut off earlier. This would become the opening of the pillowcase.


I measured it out and trued it up as well.


I sewed both ends of the band. . .


. . .and then I folded it in half, ironed it, and set it aside.


Even though it had straight seams, I still used pins because it wanted to slide all over the place.


So, here you can start to see the pillowcase coming together.


I made sure to zig-zag all my seams, because this fabric was fraying like crazy!


All I needed to do now, was attach the band.


And through the magic of blogging, it is now attached.


I cut off all the excess fraying.


Okay, I know what you are thinking. "If she is worried about wrinkles, doesn't she realize she has a big old seam down the middle?" Don't worry, I'm way ahead of you.


See? I have one of those chiropractic pillows where you sleep on your back when your head is in the middle, and on your side when you are on either side. You can see the seam is in the perfect place. My face will never rest there.


Okay, another tip, and I would've explained this earlier, but it was too confusing. Anyways, if you make a pillowcase like this, make sure that the slippery part goes from side to side and not up and down. You move from side to side in your sleep, so you want the sheen to go with your movement and not against it.


So, I pretty much used the entire dress for this. I just wanted you to see. (That big part is the lining. Look at what is left of the actual silk! Not much!)


The End!