Showing posts with label skinny. Show all posts

Sunday, November 10, 2019

Refashioning: A 70s Floral Dress into a Tailored Slit Dress (Over Skinny Jeans)

When I'm bored, I scour Pinterest for ideas.

So, lately, I've been getting looks like these in my main feed:


I dunno...I've seen the maxi-dress-over-pants look before, and largely ignored it. However, something about it intrigued me this time. So...I kept an eye out at Goodwill for a maxi dress to play with.

A few weeks later, I found this little 70s Flower Child number:


You can see it's way too big--even dragging on the floor. I hate ruffle sleeves on me. And the V-neck is way too low. 

Still, I really liked the print and the polyester jersey fabrication, so I paid my $1.00 and took it home!

If you would like to try this, you don't have to follow these exact directions, but maybe it'll give you some ideas!


First order of "bid-ness" was to cut the horrible sleeves off.


Now...realize this: When you want to shorten a dress, you actually have TWO options. Yes, you can hem it from the bottom--which is the usual way. But I know a much easier way--especially when the neckline is way too low.

This is what you do: You pinch an inch or so at the shoulder seam. Now...I realize that this is going to move the shoulder seam forward. In other words, it will no longer sit at the top of your shoulder. However, a forward-ed shoulder seam is sorta "in" right now, so I find this to be an adequate adjustment. I'm gonna show you a few pictures of this, because it's kind of hard to see in this print.


So then, all you do is cut off the excess. I use pinking shears.
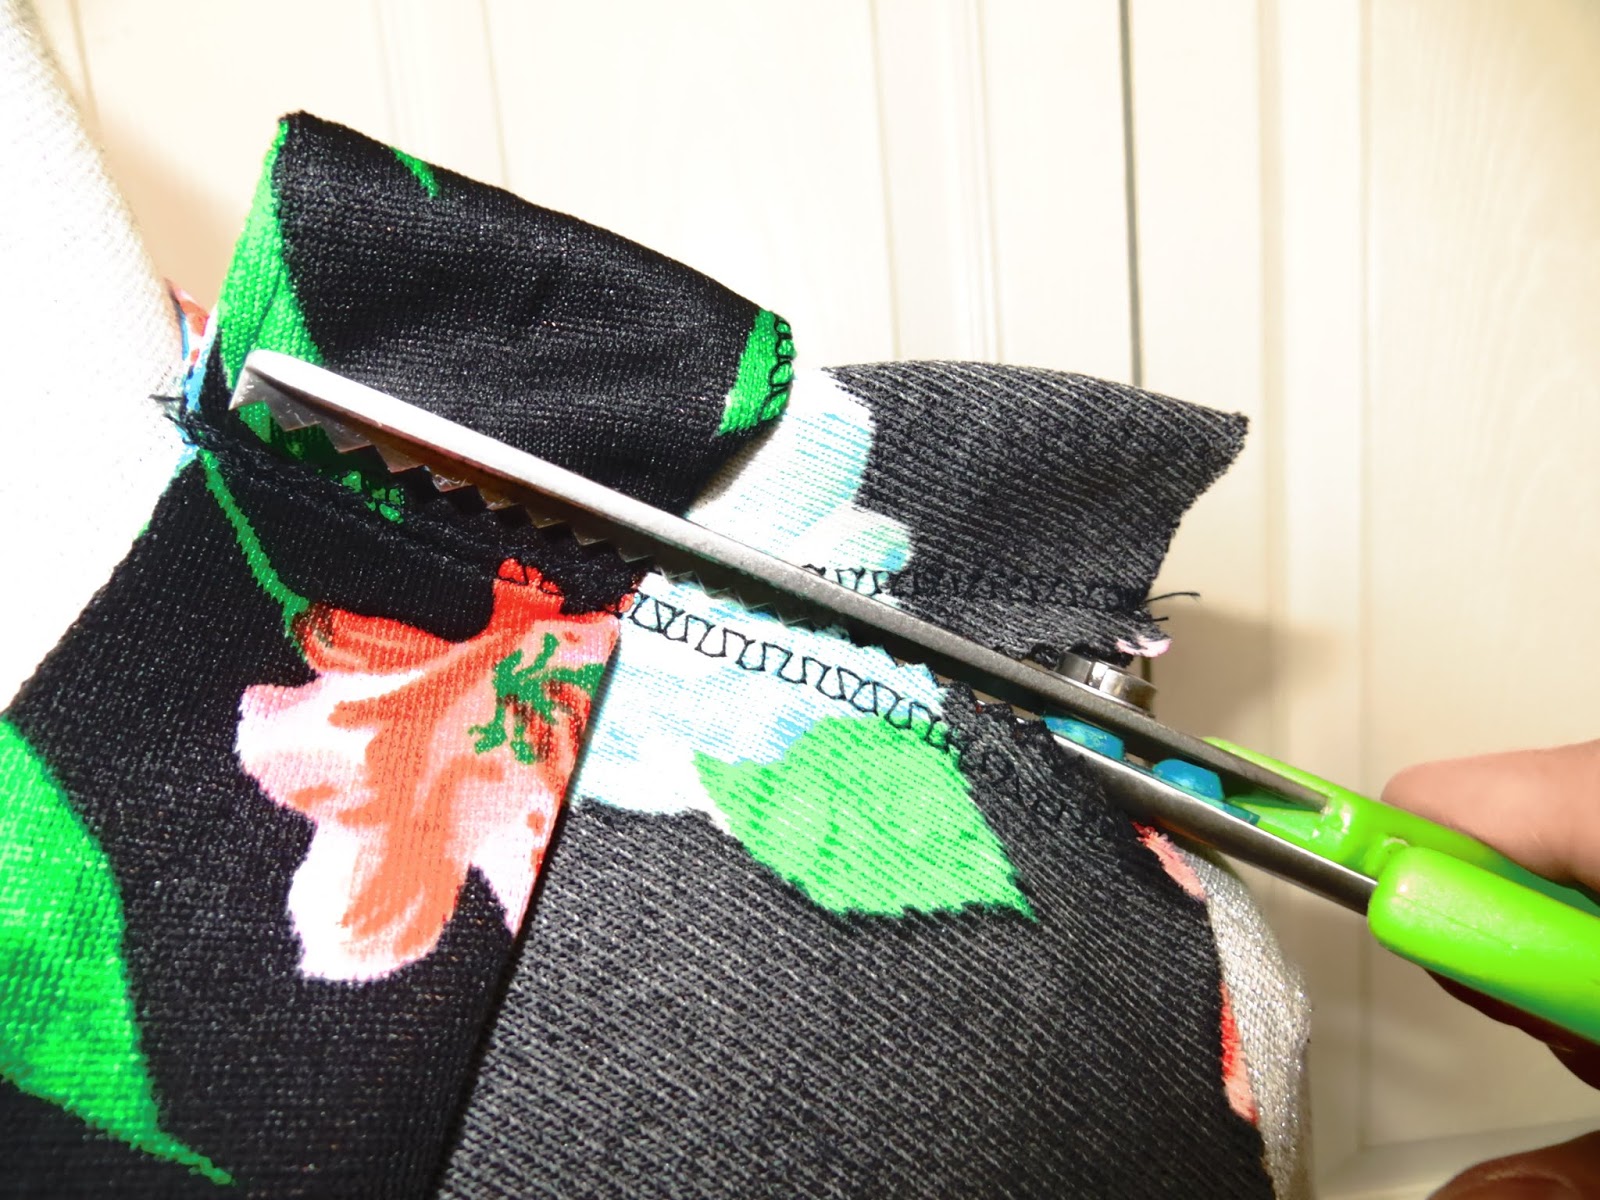


Okay, so...I really wanted sleeves. Trying to finagle the ruffle sleeves into a more fitted sleeve was...not easy. The fabric was a really weird shape. Still, you gotta use what you got. I laid another shirt on top of the ruffle sleeves as a pattern.


So, next I eased and pinned the sleeves back onto the dress.


So you can see here how big the dress is; however, notice how much nicer the V-neck sits from before. 


So, the next step was pinning down the sides to take off the excess sizing.


I sewed the side seams all the way down from the armpit to the floor to keep the shape uniform. It's now beginning to look really nice! I could have stopped here...but it's getting colder, so I wanted longer sleeves.

Notice how much shorter the dress is now. I didn't hem it. This just goes to show you that if a dress is too big, try taking the length away from the top and the sides first. Then see how long it is. 
Don't ever hem as your first alteration!!!


I added a piece of faux leather jersey to give an edgy look. But notice that now it looks sorta incomplete.


So, I added a bit more of the floral fabric. I had precious little left from the ruffle sleeves, but it was just enough to create a more uniform finished-looking sleeve.


Okay...I could have stopped there...(and maybe some of you think I definitely should have!)...but I have a million dresses...and the purpose of buying this one was to put it over pants...

so....

I laid it down on the floor...

and cut a big ol' chunk out of the front!


Not gonna lie...I was like, "What have I just done???"

But then I took it to the sewing machine and finished the slit's seam.


Here's how it looks over jeans.


And because we all love "Before and After"s:


The End!


Saturday, July 25, 2015

Oil Dying - When Other Oil Stain Removal Methods Don't Work


So, remember when I blogged about how coconut oil is the best thing for your hair ever? Well, it is. . .however if you try to put it in your hair after getting dressed, it can stain your clothes. See pics below. 


I was particularly mad about this shirt because it's Ralph Lauren, and I hadn't even gotten the chance to wear it yet!!! Grrr...


The culprit:


So, I tried many things to get the stains out. I tried rubbing Oxy into the stains, letting them sit, and then washing them and hanging them to dry. Didn't work. I tried lemon juice and vinegar too. Nothing worked. Those pictures above are actually taken AFTER all of these mentioned methods, so you can see for yourself that they didn't work. I was going to donate the ruined clothes to Goodwill, but I was super mad because I wear those blue pants all the time. . .


Then, I got the idea, "If you can't beat 'em, join 'em." 


I took my half used jar of coconut oil, some boiling water and a plastic tub and went to work.

First, I put the boiling water and oil into the tub and stirred it up till the oil was all melted.


Then, I added my shirt and pants and kneaded them and flipped and kneaded and flipped until they were fully saturated.


I waited a few minutes and then wrung them out as much as I could and threw them into the wash (on cold).


I hung both to dry. . .and I'm pleased to say that the pants look GREAT! I feel like the color is actually even more vibrant than before and the stains are completely gone.


However. . .the green shirt was completely ruined. The original stains were still there, and all I had accomplished was making new ones...


Oh well. You win some, you lose some! At least the pants were saved!


The End!


Tuesday, February 11, 2014

Modification: Update Your Trouser Jeans

I have about five pairs of the trouser jeans you see below. I love them, but they are sooooo 2005. I tried to sell two of them on eBay since they are really nice Uniqlo jeans that I bought in South Korea, but no one ever bought them. Then I got an idea. If you have any old 90s or early 2000s wide leg jeans, you can do this too. It takes about 10 minutes.


You can only do this well if you can find a seam down the outer seam or inseam of your pants that isn't top stitched. Usually, it will be the outer seam, and the inseam will be top stitched like below:


This is the outer seam. See the difference? See how you can see stitches over the seam above, but you can't below?


NOTE: If your jeans are top stitched on both sides, you are out of luck with this project. It's hard to explain why if it's not already apparent to you. Just trust me.


Then, turn the pants inside out and grab a pair of skinnier jeans. 
Align the inseams of both pairs of pants. 


You are only going to use the skinny jeans as a guide, not a pattern. Instead of cutting all the way close to them, you are going to allow for the grain of the trouser jeans' fabric. If you look at the lower leg in the picture below, I have denoted the grain of the fabric with yellow lines and then shown you where I actually cut with a red line. It's kind of hard to explain, but if you cut too much into the grain of the jeans from here, the outer seam is going to look weird because it will be cut on the bias which will make it stretch slightly compared to the inseam. Suffice to say, if you cut too much into the grain of the fabric, it will be a dead giveaway that these were "DIY" pants. (A potential way to fix this would be to even the cutting up along the inseam; however, if you do, you need to cut all the way up the inseam from the feet to the crotch and sew a brand new inseam yourself. Remember how I mentioned that inseams are usually top stitched? This is to add bulk for durability's sake, but  if you want to make really skinny jeans, it would be better to do away with the original top stitched inseam all together than to try to cut the inseam from the feet to the knee only. It's really hard to explain. If you do the latter "feet to knee" option, you will have a weird bulge from the bulk of the original top stitching. Just trust me.) Just try to follow the grain with your scissors on the outer seam as much as possible. Then, simply sew up your cut seams.


Before:


After:


What I made aren't really skinny jeans--more like straight leg or boyfriend cut.


I know I got super wordy up there trying to explain myself, so if I lost you, just follow these simple directions:

1. Find a seam that is not top stitched on your jeans (usually the outer seam).
2. Turn your jeans inside out and lay a skinnier pair on top of them.
3. Using the skinnier pair as a guide (rather than pattern), follow the grain of the fabric as you cut, and then sew up the seams.
4. (Optional for really skinny jeans: cut away the entire inseam, and then even up the grain of the fabric on the outer seam so the grain goes straight down the leg.)


Here's another "Before and After":


The End!