Showing posts with label coconut. Show all posts

Tuesday, October 24, 2017

Make Your Own Turmeric Latte Mix!

If you haven't heard, turmeric lattes are the next big thing. They taste similar to chai lattes, but are super super good for you. The compound curcumin found within turmeric is widely known to fight cancer and inflammation and all kinds of bad stuff. I'm not a scientist nor a medical professional, and don't want to give mis-information, so. . .Google it!

Anyways, it can be kind of time consuming to make a real turmeric latte as it requires heating nut milk on the stove and using a hand-held blender to foam it.

When processes are that involved, let's be honest, we AREN'T going to do them every day.

So, here is a scaled-down easier method that you can do every morning in lieu of or in accordance with your morning coffee!


First of all, you will need at LEAST the following spices: turmeric, ginger, and cinnamon. All three of those spices can be found at Aldi or Big Lots for $1.00-2.00. (I suggest buying them soon as once big corporations find out that their low-cost items are now considered "health foods," they go and jack up the prices.)

I also added a tiny bit of cardamom, but that is because I have it. Be warned, though. Cardamom is like. . .upwards of $16 a bottle at Wal-Mart! It's really good for you, though, so if you have it, add it.


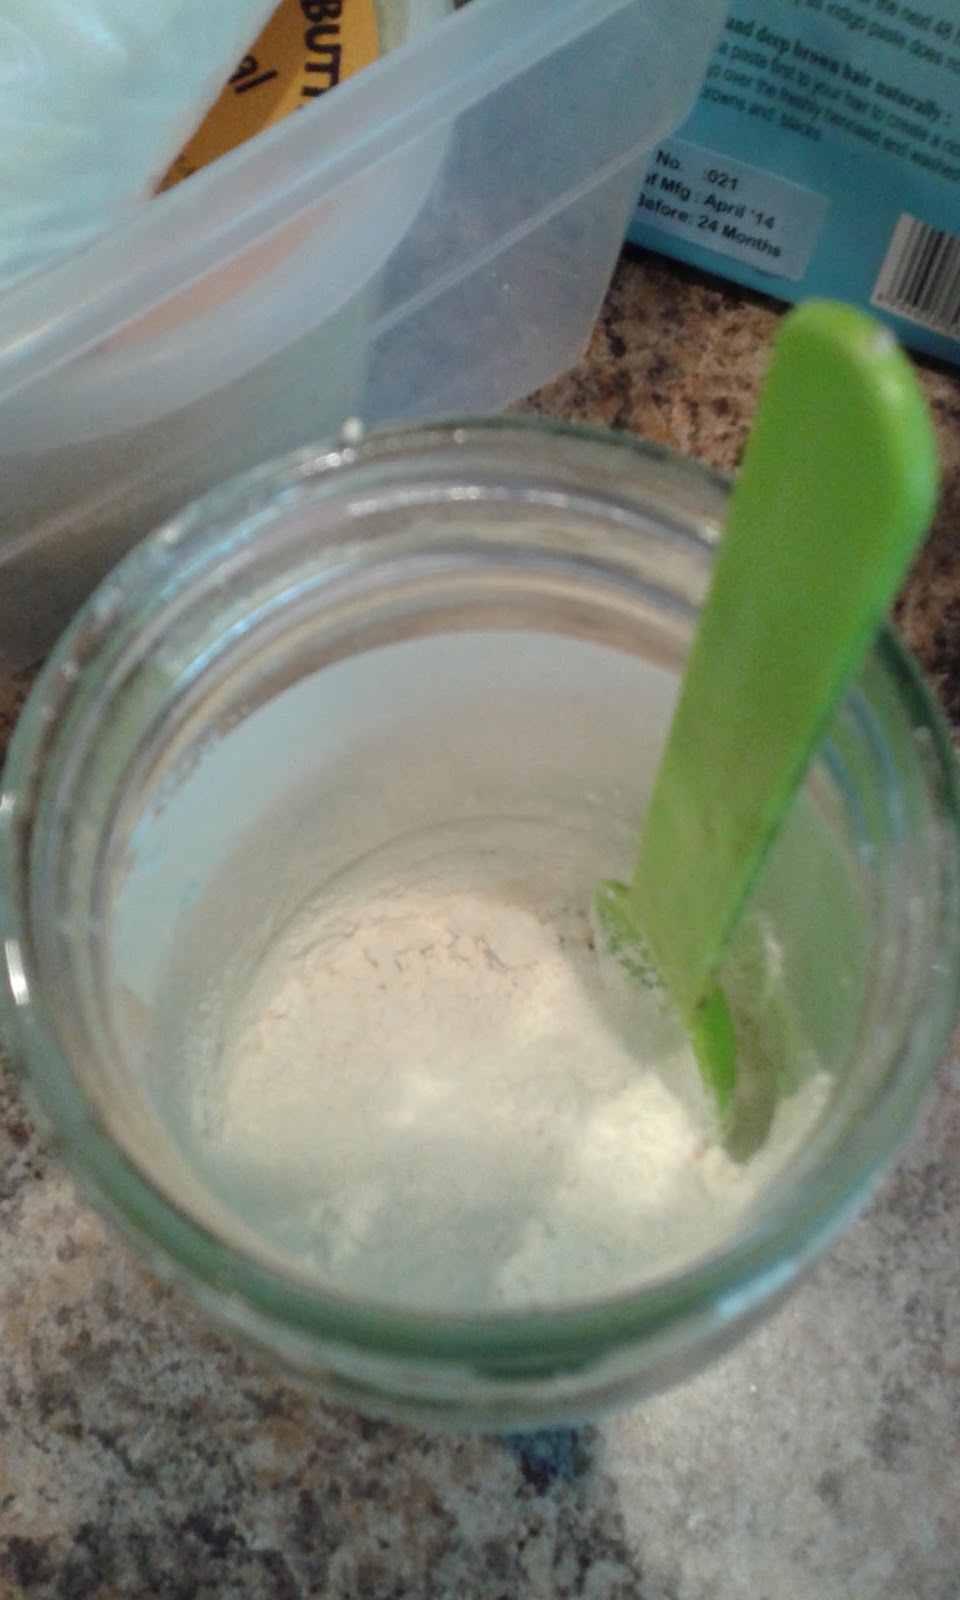
The ratio I have found on other blog posts and online recipes seems to be something like: 1 part turmeric to 1 (or less) part ginger to 1/3 part cinnamon. But if you like one of these spices more than the others, feel free to tweak. (You could also add pumpkin pie spices like nutmeg and clove if you want.) The important thing is to keep turmeric as the biggest part. I added a 3.75oz. bottle of turmeric, two 1.5oz. bottles of ginger, about 1oz. of cinnamon, and about a tablespoon of cardamom to this mason jar cup. (If you don't have a mason jar, an old washed out pasta sauce jar will work equally as well.)


Then, I shook it all together.


So now on to how to make the latte.

You can add as much of your powder to your nut milk (almond, coconut, etc.) as you want. I do a heaping tablespoon, and I add it to just a little bit of milk to start.


I stir that together for a few seconds. I do this because sometimes if you add the powder to a full glass of milk, it causes annoying lumps. If you stir a little milk with the powder to make a paste, the powder breaks down more evenly. (This trick is helpful with any powder-to-drink mix.)


Then, I filled the mug with milk. . .


. . .and added a little honey. I do highly recommend honey or some other sweetener as the spices can be kind of bitter/harsh on their own. But don't add very much! It doesn't take but a little bit of sweetener to counteract the bitterness. 
Don't cancel out the healthfulness with sugar! (You KNOW that is what the big corporations are going to do once these lattes catch on. They will create their own "ready made" mix and it will promise to be all healthy, meanwhile it will be LOADED with sugar. Happens every time!)

You can also add a tablespoon of coconut oil or ghee butter (if you real real fancy!) and heat it all together. That's what you are supposed to do, actually, but. . .anyways. . .I was running late this morning, so I didn't.


Then, I put the mug in the microwave for two to three minutes.

To make a really foamy latte, you can put this mixture in a separate microwave safe container, heat it for a minute, shake the container, heat it for another minute, shake it, etc., until you get a nice thick foam--you know, like a regular latte. Anyways, I didn't have time for that mess, so I just heated it up and sprinkled some cinnamon on top. My drink still had a little layer of foam on the top, so it wasn't like I was missing out on the latte experience or anything! 


So, there you have it! For a couple of dollars, you can have a ready made nice cozy spicy drink mix on hand for the whole winter (that ISN'T loaded with sugar)! You can also use the mix for other things besides lattes. You can add it to coffee, or like. . .muffin mixes. . .or wherever you feel appropriate.

(P.S. these jars make great gifts!. . .You're welcome!)


Simplified Directions:

Drink Mix:
1 part turmeric
1 (or less) part ginger
1/3 part cinnamon
(other spices - optional)
1 glass jar

Latte:
1 tablespoon of mix to a cup of nut milk
A bit of honey
1 tablespoon of coconut oil
Heat for 2-3 minutes
Enjoy!


One last note!!! Swallow a few peppercorns before drinking and your body will absorb the nutrients more fully! (Or you can add pepper to the mix, if you want.)


The End!


Saturday, August 13, 2016

Make Your Own SPF Body Lotion!

UPDATE: This recipe I used lasted 3.5 months. It kept very well during that time.


First off, I need to explain that my recipe for body lotion is not FDA approved, and I make no claims that it will prevent skin cancer.

That said, I use two types of sun "blocking" ingredients: zinc oxide, and titanium dioxide--both in powder form. I use these because after researching, it seems that both of these ingredients are less harmful than other sunscreens out there. Anyways, I had them on hand from another project for which I bought them, so. . .into my lotion they would go.

If you want to make your own lotion, you don't have to use all the ingredients that I used. I just had them in my supply from my soap making and other little projects. Basically, if you want to make lotion, you need to have some kind of solid oil or butter and some liquid oil. Make sure to use about two to three times as much liquid as you use solid. You could even use different ingredients from what I used, so don't be afraid to experiment. Just keep in mind that if your ingredients need to be refrigerated or will likely spoil, your lotion won't hold up very long.

I am the kind of person who goes through lotion (SPF especially as I wear it every day) way too quickly, so this is why I decided to make my own. I just bought this five cup glass jar at a yard sale, so I could make lotion that would last me several weeks.

What I used: beeswax, cocoa butter, shea butter, coconut oil, grapeseed oil, avocado oil, pure aloe gel, titanium dioxide, zinc oxide, and one bottle of Bath and Body Works lotion (I'll explain why).


Whatever oils and butters you use, make sure to melt the hardest ones first. I cut up about a bar and a half of beeswax and melted it in the microwave for two minutes.


I cut up some cocoa butter and added it to the beeswax and melted it for another two minutes.


I had an already open jar of coconut oil, and I added some shea butter to it. I melted those together for about a minute.


You can see my two jars here. I forgot to mention: I wanted the jar to be big enough I could fit my hand into it. Also, I wanted it to be big enough so that I could actually make the lotion in it. This would cut down on cleaning and also cut down on product loss. The coconut oil jar I just ended up throwing away, so I didn't have to clean that one either.


Then, I added the coconut oil/shea butter to the bigger jar.


Then, using the now empty coconut oil jar, I added about 5T of zinc oxide and 5T of titanium dioxide. (I read that a good ratio for SPF is to add about 1-2T of either z.o. or t.d. to 8oz. of lotion. Since this jar is 5 cups, and 1 cup is 8oz., that is why I added 10T of the powder.)


I then filled the jar with grapeseed oil and avocado oil and stirred it up.


The jar is not quite full yet!


Okay,...this is not DIY, but I get lotion every Christmas and I hate to waste it. . .so I added the rest of an already opened bottle of Japanese Cherry Blossom lotion from B&BW. In my mind, maybe there are preservatives in this lotion that will help my DIY lotion not to go bad? I dunno. It smells good at least.
Waste not, want not.


The container still wasn't full, so I topped it off with organic aloe gel.


Then, I got out my immersion blender and blended it all up right in the jar!


The finished jar. Because it is squarish, it fits in my bathroom drawer quite nicely. I wanted to keep it out of direct sunlight, just so it keeps better.

It feels so great. It's a little greasy at first, but after about an hour it really absorbs into the skin and my skin feels super soft all day. Even my hands still feel soft. . .and I wash them like every five minutes!


The End!


Sunday, January 10, 2016

Surviving the Daniel Fast: Vegan Chia Seed Tapioca Pudding and Coconut Chocolates

If you are vegan or if you are on the Daniel Fast, here is a great recipe for some desserts. Keep in mind that none of these recipes use animal products nor sugar, so these probably won't be for everyone's taste.

First of all the tapioca pudding. If you know me I love pressure cooking because I'm impatient. I also like to make things in bulk so I don't have to spend my life cooking. However, I have a sweet yet sometimes finicky husband who doesn't like to eat the same thing every day for very long....so stay tuned after the first recipe for some variations on the tapioca theme. In other words, think of this pudding recipe as a base.

(I'm blogging from my phone and Blogger is being stupid, so I might not have pictures....)

You will need:
1. 1 1/2 cup tapioca. (I used Bob's Red Mill small pearl tapioca)
2. 6 cups almond milk
3. 1 can coconut milk (skip this if you have thyroid or triclyceride issues)
4. Shredded unsweetened coconut
5. Vanilla extract
6. Coconut oil
7. Nutmeg
8. 1/4 cup chia seeds (or you could add more if you're a fan)

Directions

1. Add a tablespoon or so of coconut oil to the bottom of your pressure cooker and melt over med high heat. Add the shredded coconut and toast till a nice brown color. (Amounts are to your taste.)

2. Immediately add tapioca and almond milk. Stir. Turn to high heat. Add coconut milk, vanilla (to taste), nutmeg (to taste), and you will probably have to add a few cups of water because it starts thickening like crazy. Keep stirring like a madman so nothing burns on the bottom of your cooker.

3. Once it starts to boil, lock the lid on. When the pressure indicator pops up, turn the heat down (somewhere around 3) and set your timer for 6 minutes. When it's done, let the pressure come off naturally (about ten minutes).

[Skip to chocolates recipe below while the pudding cooks to save time.]

4. Aaaaaand then I forgot I didn't add the chia seeds, so I put them in after pressure came off. It's probably better that way anyway since they don't really have to be cooked.

Notes: Next time I will only cook the tapioca for 5 minutes because I like them rather chewy and they were just a little mushy.

Several recipes for people who get bored easily (these are still vegan and sugar free):

1. Mexican - Using your "base" that you made above, add cinnamon and just a dash of red pepper.

2. Korean - Add mochi (rice) balls, red bean, and cereal powder.

3. Fruity - Uhhhh....add fruit! Obviously!

4. Chocolate - Add cocoa powder.

5. Pumpkin spice - Add canned pumpkin, cinnamon, ginger, a tad more nutmeg, and allspice.

6. Hawaiian - Pineapple and mango.

7. Peppermint Mocha - Cocoa powder and just a TAD of peppermint extract.

Some other things you could add: peanut or almond butter (has sugar, so do as the Spirit leads), nuts, dried fruit, and....you know....whatever else you feel like adding!

Okay, while your pudding cooks, you can do this fun and horribly messy project!

You will need:

1. 2 parts coconut oil
2. 1 part cocoa powder
3. 3/4 parts unsweetened shredded coconut (optional)
4. Cashews (or other nuts...or not)
5. Vanilla extract
6. Silicon chocolate mold (or just pour it all into the bottom of a container and break it in pieces when you're done.

Directions:
1. Melt the oil in the microwave.

2. Add the cocoa powder, vanilla, and shredded coconut. Stir

3. (I prepped my molds with one cashew each during step one, but you don't have to if you don't want nuts.) Pour the mixture into the mold.

4. Refrigerate.

5. Eat. Keep uneaten ones refrigerated.

The End!!


Saturday, July 25, 2015

Oil Dying - When Other Oil Stain Removal Methods Don't Work


So, remember when I blogged about how coconut oil is the best thing for your hair ever? Well, it is. . .however if you try to put it in your hair after getting dressed, it can stain your clothes. See pics below. 


I was particularly mad about this shirt because it's Ralph Lauren, and I hadn't even gotten the chance to wear it yet!!! Grrr...


The culprit:


So, I tried many things to get the stains out. I tried rubbing Oxy into the stains, letting them sit, and then washing them and hanging them to dry. Didn't work. I tried lemon juice and vinegar too. Nothing worked. Those pictures above are actually taken AFTER all of these mentioned methods, so you can see for yourself that they didn't work. I was going to donate the ruined clothes to Goodwill, but I was super mad because I wear those blue pants all the time. . .


Then, I got the idea, "If you can't beat 'em, join 'em." 


I took my half used jar of coconut oil, some boiling water and a plastic tub and went to work.

First, I put the boiling water and oil into the tub and stirred it up till the oil was all melted.


Then, I added my shirt and pants and kneaded them and flipped and kneaded and flipped until they were fully saturated.


I waited a few minutes and then wrung them out as much as I could and threw them into the wash (on cold).


I hung both to dry. . .and I'm pleased to say that the pants look GREAT! I feel like the color is actually even more vibrant than before and the stains are completely gone.


However. . .the green shirt was completely ruined. The original stains were still there, and all I had accomplished was making new ones...


Oh well. You win some, you lose some! At least the pants were saved!


The End!


Thursday, November 20, 2014

Pumpkin Pie that WON'T Kill You...in 20 minutes!

We all know that a high mortality rate from over-indulgence is a uniquely Western problem. (Wow. Turning 35 has made me really preachy...) Anyways, here is how to make a pumpkin pie that not only tastes good, but helps grow and maintain healthy stomach flora with good bacteria.

I know some people hate chatty blogs, so I've bolded what you really need to know.

CRUST

Ingredients: 1/2 apple sauce, 1/2 cup ground flaxseed, 1/2 rolled oats, 1/2 chopped nuts, 2T sunflower oil, 2T coconut flakes. (If you hate coconut, don't add the flakes.)

Directions: Preheat the oven to 350. Mix all the ingredients together. (I do my mixing in the pie pan itself to save washing an extra bowl.) Spread the mixture throughout the pan. Bake for 12 minutes.


As you can see from the picture above, I added my coconut flakes on top of everything else.


PIE FILLING

Ingredients: 1 can of pure pumpkin, 1t cinnamon, 1/2t nutmeg, 1/2t ginger, 1/2t allspice, 1/2t cardamom, 1c vanilla yogurt, 2T gelatin dissolved in 2T of hot water. 

Directions: While your crust is baking, mix everything but the gelatin together. (I do my mixing in the yogurt tub itself so I don't have to wash another bowl.) Dissolve the gelatin separately in between stirs of your filling mixture. Once the gelatin has cooled a little, add it to the rest of the filling. (You don't want it too hot, or it will kill the good bacteria in the yogurt.) Put the filling in the refrigerator for a few minutes until your crust has finished baking and has cooled. 

P.S. I don't add sugar because there is plenty in the vanilla yogurt. If you are a sugar fiend, then...*sigh*...I guess add some. Just remember, the point of this exercise is to make something healthy.

While you are waiting for all the cooling to finish, let me explain why I'm using gelatin. I realize that gelatin is an animal product (well, so is the yogurt if we want to get technical), but I needed something that was a good thickening agent and I didn't want to add eggs because I'm not cooking the filling. If you don't want to add gelatin, then use a vegetable thickener or just freeze the thing and eat it like an ice cream pie. I don't freeze mine because, again, don't want to hurt the good bacteria in the yogurt.

Also, if eating uncooked pumpkin out of a can makes you nervous, then I guess you can buy yourself a pumpkin and puree it the old fashioned way. I'm just using what I have on-hand because I'm too lazy to leave the house.

Here is the baked crust. It actually holds together quite well.


Once the crust has cooled down from hot to slightly warm, go ahead and add the filling. It may have congealed into lumps in the few minutes that you've been waiting, so just run it through a blender before you pour and you'll be fine. Once you've poured it, spread it throughout the crust. Put promptly into the refrigerator. 

(It may or may not set depending on how much gelatin you use or your altitude or if the baking gods are smiling, so if it doesn't, go ahead and put it in the freezer and serve it like an ice cream pie.)


The End!


Monday, January 6, 2014

Make 32oz of Your Own Liquid Castile Soap for $1.00...Apologies to Dr. Bronner

Here's another thing I did over the holidays. I read about how to do this on another blog, so I'm kind of a poser on this one, but in case you haven't read this blog, I'll tell you how I did it myself. I did it more quickly and my result is more concentrated (i.e. the same consistency as Dr. Bronner's) than hers.

The key ingredient is Kirk's Original Coco Castile Soap (or any castile soap for that matter, Kirk's is just the cheapest I've seen). I found this at the Walmart in Central, SC in a three-pack for $3.00. (For people in Seneca, it's not at our Walmart, I checked.) You could also check Big Lots periodically, as they get organic/natural stuff from time to time.

Sorry, Blogger put my picture in sideways:


As you can see, there are no harmful sulfates or weird-to-pronounce ingredients:


I know it's not as exotically ingredient-ed as Dr. Bronner's. In other words, if jojoba oil was the selling point to you of Dr. Bronner's then...buy Dr. Bronner's. Otherwise, if you are all about the saving of money, continue reading...

With a Dollar Tree grater, I grated the entire bar of soap and shoved it into an old 32oz. empty bottle of Dr. Bronner's.


Then I boiled 32oz. of water and poured the boiling water into the bottle. In a few minutes it was all dissolved. (Learn from my mistake: Maybe don't shove the soap shavings into the bottle. Maybe just dissolve the 32oz. of water in a separate non-melty container and let it cool before pouring into the bottle...Because look what I did to my bottle!)


Oh well, even though the bottle is warped, the formula works just like Dr. Bronner's! You can use it in place of Dr. Bronner's in any of the homemade soaps and shampoos on my or other people's blogs.


The End