Showing posts with label remove. Show all posts

Saturday, March 12, 2016

Refashioning: Dolce and Gabbana Inspired - Red Lace Blouse (Plus: How to Fix Snags!)

By now you should know that I love Dolce and Gabbana and get a lot of my inspiration from this designer house. Today, I will show you how to update a red lace blouse to look similar to the D&G ones below.


So here is the blouse I found. It was on a dollar rack, so. . .again. . .I thought it was worth a dollar to see if I could refashion it. Notice how long the sleeves are and how they bell out. That's not my style at all! (No judgement if it's yours, though!)


Okay, before I get to how to fix it, I need to address how to get rid of snags. See the one in the picture below? This poor shirt was covered.


This is an old trick my mom taught me years ago. Find a needle threader. They usually come in those little travel sewing kits, but you can also find them in the sewing notions section of fabric stores.


So, what you do is you push the tip of the threader through the base of wherever your snag is. Make sure you poke it through very close and in front of the snag.


Then, with your finger, guide the snag into the loop of the threader.


Lastly, pull the snag through to the other side. Done! Good as new!


You can't even tell where it used to be. (I know you THINK you can tell, but that's actually the seam you are looking at. The snag in question is a tad farther to the right of the seam.)


Okay, so now that all your snags are fixed, let's get to altering this blouse! Look how long the sleeves are! (Sorry, no full body picture. I was in pajamas with no makeup.)


I cut the sleeves out and look what the armpits did! They jutted out at both sides.


So, I pinned them.


When I pinned them down, I noticed that the top of the shoulders started to gap, so I pinned those too and sewed every down.


Next, the sleeves.


I used the sleeve of a shirt I knew fit me as my pattern.


Then, I cut about an inch or two off the top of the sleeve. I just free-handed the curve because I've done this a million times.


Okay, really important: When you attach sleeves to a bodice, make sure to pin the halfway point at the top of the shoulder of. Then make that pin match the top of the shoulder of the bodice. Pin it. Pin the armpit seam of the sleeve to the armpit seam of the bodice. THEN pin the rest of the sleeve up. Always work at the two extremes before you pin the rest of the lengths and you'll be way less aggravated.


Okay, I actually had to take a little more off the sides of the bodice, but here is the finished shirt with a red tank top under it.


Remember that skirt from my last post?


The End!


Saturday, July 25, 2015

Oil Dying - When Other Oil Stain Removal Methods Don't Work


So, remember when I blogged about how coconut oil is the best thing for your hair ever? Well, it is. . .however if you try to put it in your hair after getting dressed, it can stain your clothes. See pics below. 


I was particularly mad about this shirt because it's Ralph Lauren, and I hadn't even gotten the chance to wear it yet!!! Grrr...


The culprit:


So, I tried many things to get the stains out. I tried rubbing Oxy into the stains, letting them sit, and then washing them and hanging them to dry. Didn't work. I tried lemon juice and vinegar too. Nothing worked. Those pictures above are actually taken AFTER all of these mentioned methods, so you can see for yourself that they didn't work. I was going to donate the ruined clothes to Goodwill, but I was super mad because I wear those blue pants all the time. . .


Then, I got the idea, "If you can't beat 'em, join 'em." 


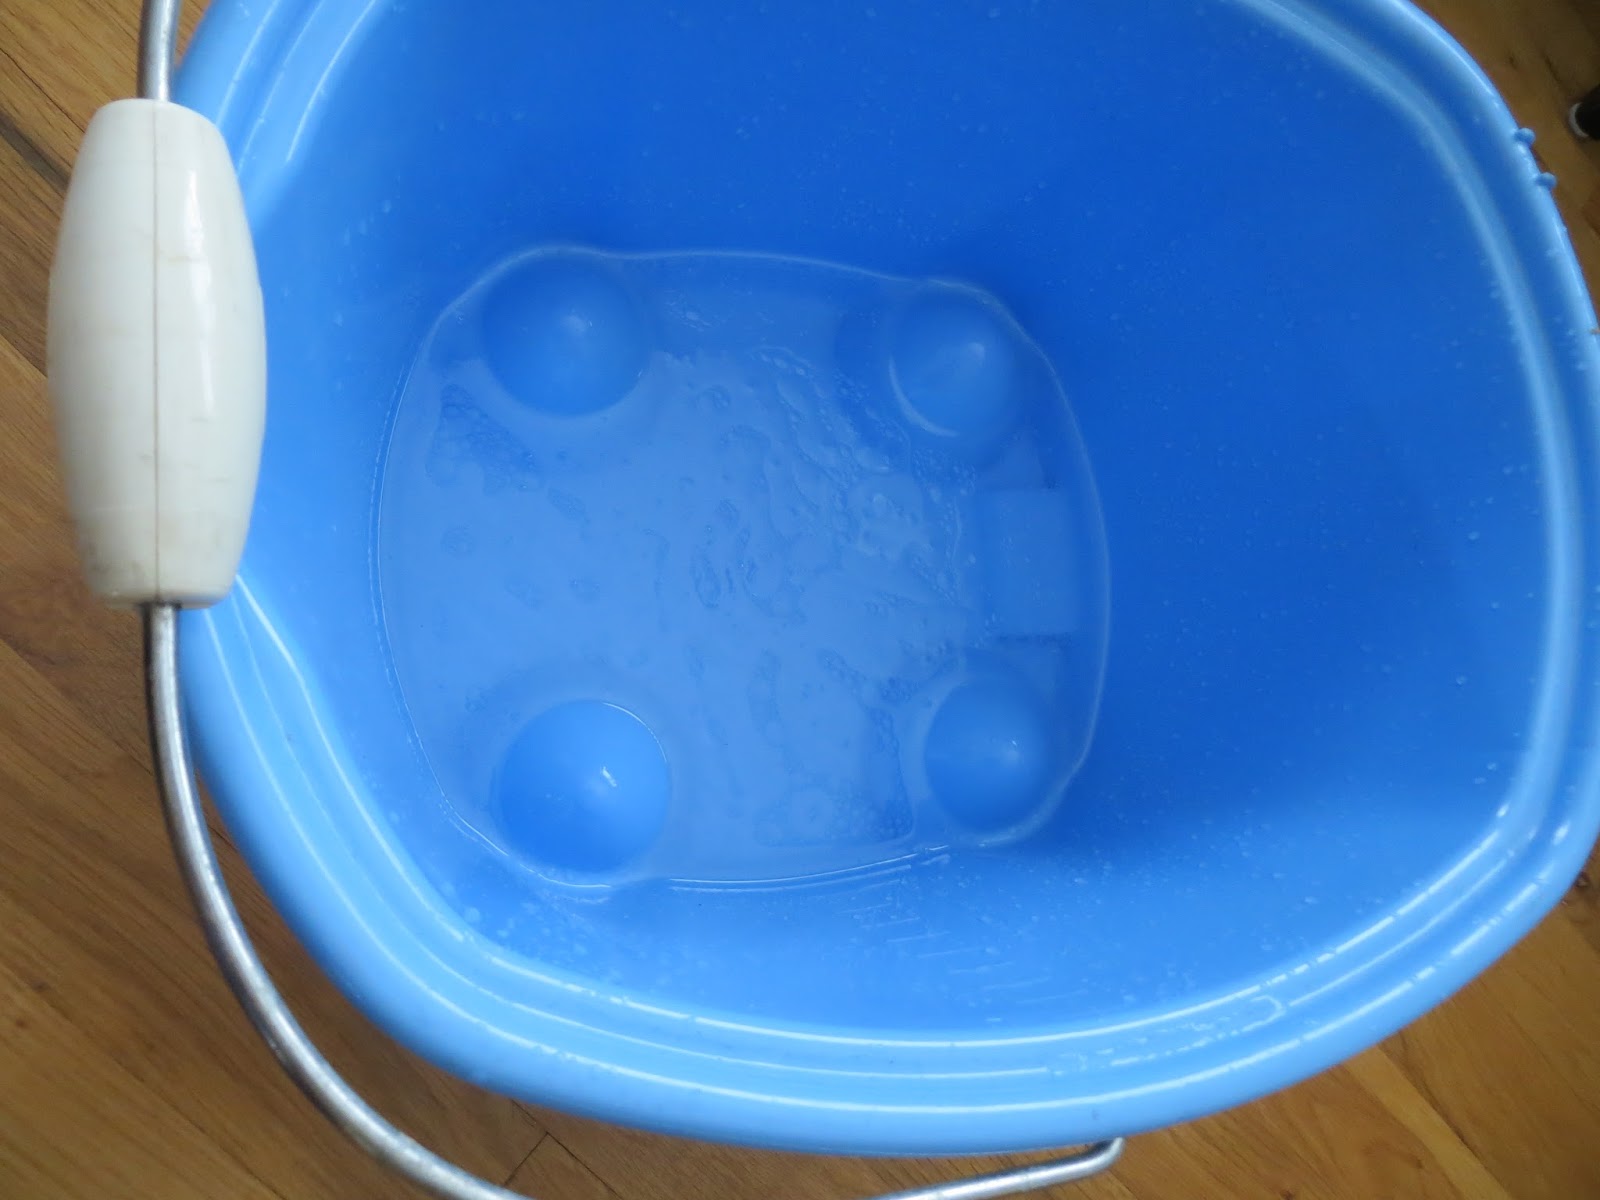
I took my half used jar of coconut oil, some boiling water and a plastic tub and went to work.

First, I put the boiling water and oil into the tub and stirred it up till the oil was all melted.


Then, I added my shirt and pants and kneaded them and flipped and kneaded and flipped until they were fully saturated.


I waited a few minutes and then wrung them out as much as I could and threw them into the wash (on cold).


I hung both to dry. . .and I'm pleased to say that the pants look GREAT! I feel like the color is actually even more vibrant than before and the stains are completely gone.


However. . .the green shirt was completely ruined. The original stains were still there, and all I had accomplished was making new ones...


Oh well. You win some, you lose some! At least the pants were saved!


The End!


Wednesday, May 13, 2015

How to Fix an Ink Stain on Your Coach Purse....or...Dying a Coach Purse

I bought this beige Coach purse at a yard sale. It had lots of ink stains on it. "No problem!" I thought.
...Yeah...It ended up being a problem.
I searched the internet for ways to remove leather stains. I tried soap. Nothing. Rubbing alcohol. Nothing. Vinegar. Nothing.
So then I got into the harder stuff--and like drugs--the deeper I got, the more of a mess I was in. I tried nail polish remover...and...bleach! (WHAT??) So now I had an ink stained purse...that had all the shiny factory protective coating removed. Great.
Then I got the bright idea to buy Guardsman Leather Ink Stain Remover sticks. It's in the name, right? How could I go wrong? Yeah. After using them, I now had a waxy, sticky...yet infuriatingly STILL ink stained, protective coating-less mess.
I was going to give up, and it was making me mad, because it was a really nice purse. No holes or tears. I was mad because I had spent money. I was mad because I couldn't fix it. I was mad because the stuff that was supposed to fix it, didn't--plus costing more money! I was mostly mad because I thought I could make the purse better and had only made things even worse. Not acceptable!
Then I remembered that I still had half a jar of silver leather paint from the previous project that nearly gave me a heart attack: dying a pair of Chanel shoes.
I literally had nothing to lose, so I spent the next two or three hours painting my beige purse silver...and now it looks almost new. Yay for having a new warm weather purse! I am actually glad it's silver, because I don't like beige anyway! So there, Universe!
(The pictures are of this process, and I'm writing this from my phone, so it won't let me narrate them. You will just have to use your imagination.)
The End!