Showing posts with label blouse. Show all posts

Saturday, May 6, 2017

Refashioning: Red Valentino Inspired - Black Ruffle Bow Tie Keyhole Dress

I love the brand Red Valentino, especially dresses that are kinda throw-backy like these. 

On this one, I like the ruffle detail countered by the simple A-line short skirt.


On this one, I like the bow tie detail, harkening back to the feminine "power blouses" of the 80s. 

On this one, I love the ruffle up by the neckline.


And this blouse is awesome with the statement-making ruffle down the sides of the front, and the keyhole bow tie. 


I went to Goodwill and found this dress. It's got an awesome ruffle and bow tie, yet. . .the length of the skirt and sleeves are so over-whelming. 

Time for an update!


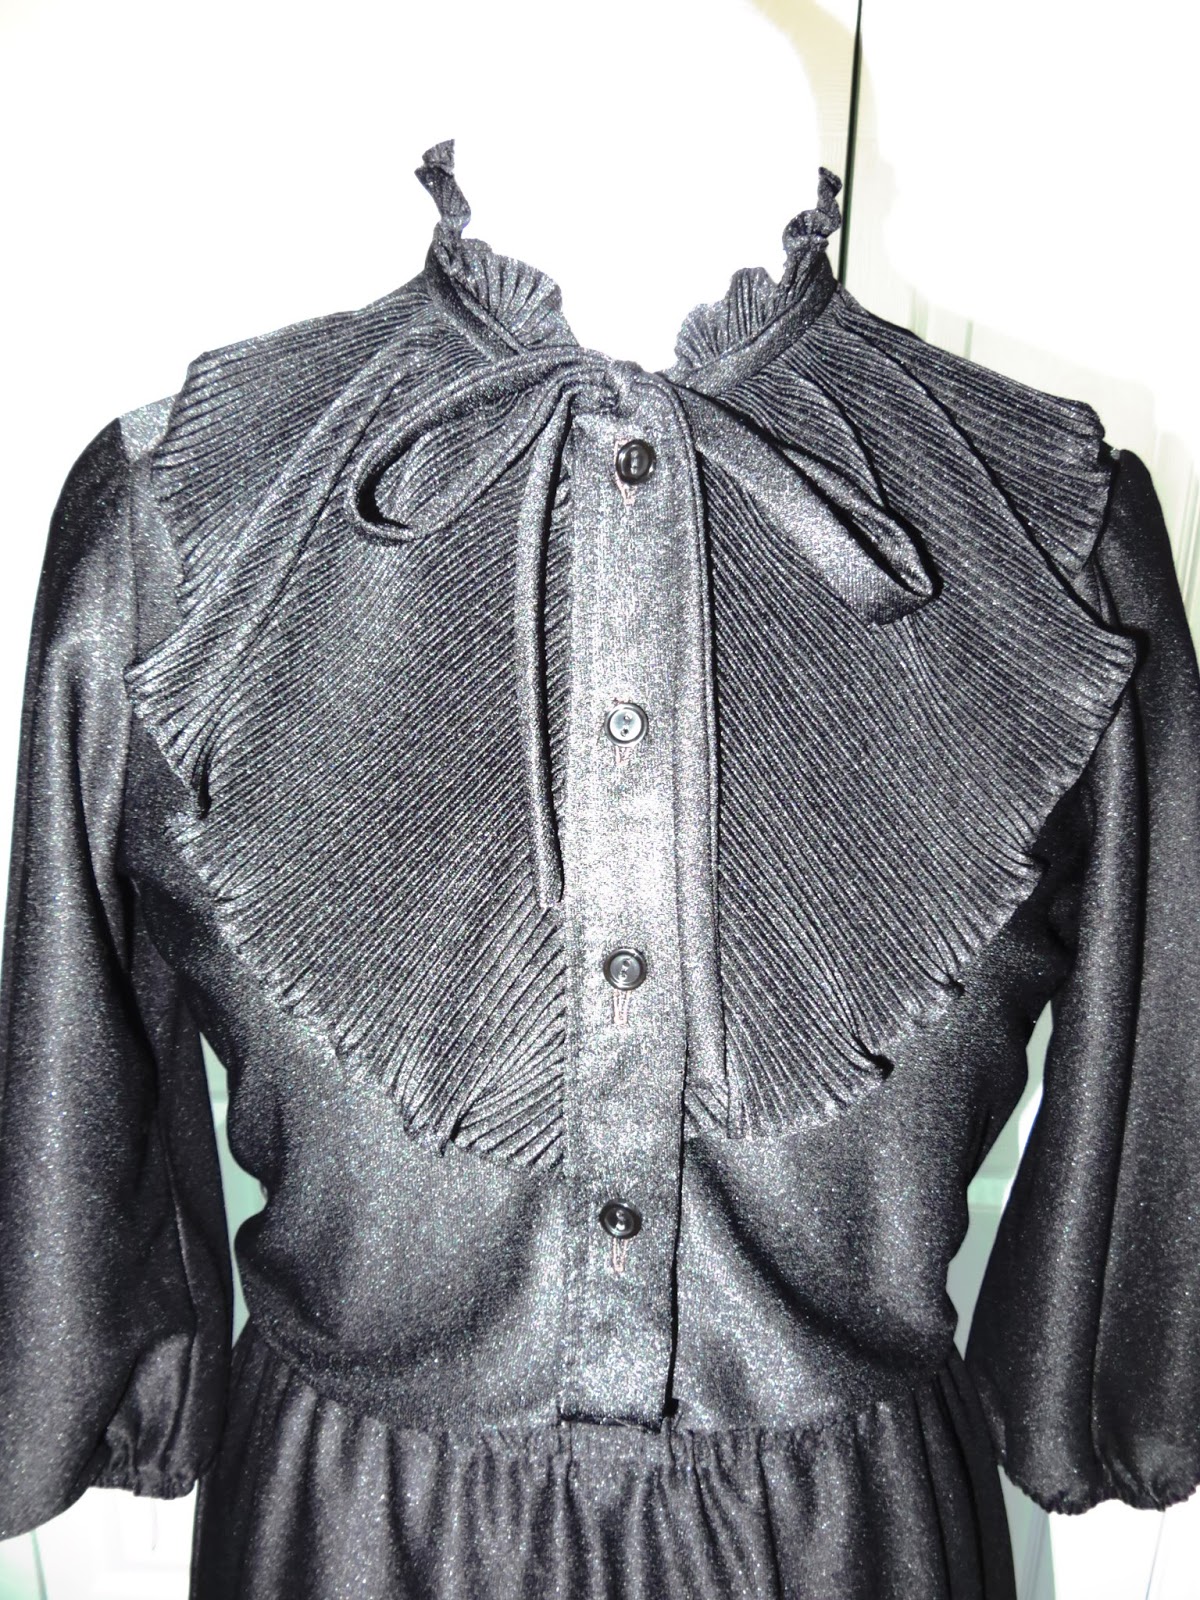
Before getting into the tutorial part, I wanted to show you a close-up of the ruffle/bow tie. Really awesome and worth saving!


First, I cut the sleeves off.


Then, I measured the cut-off portions to remake them into sleeve cuffs.
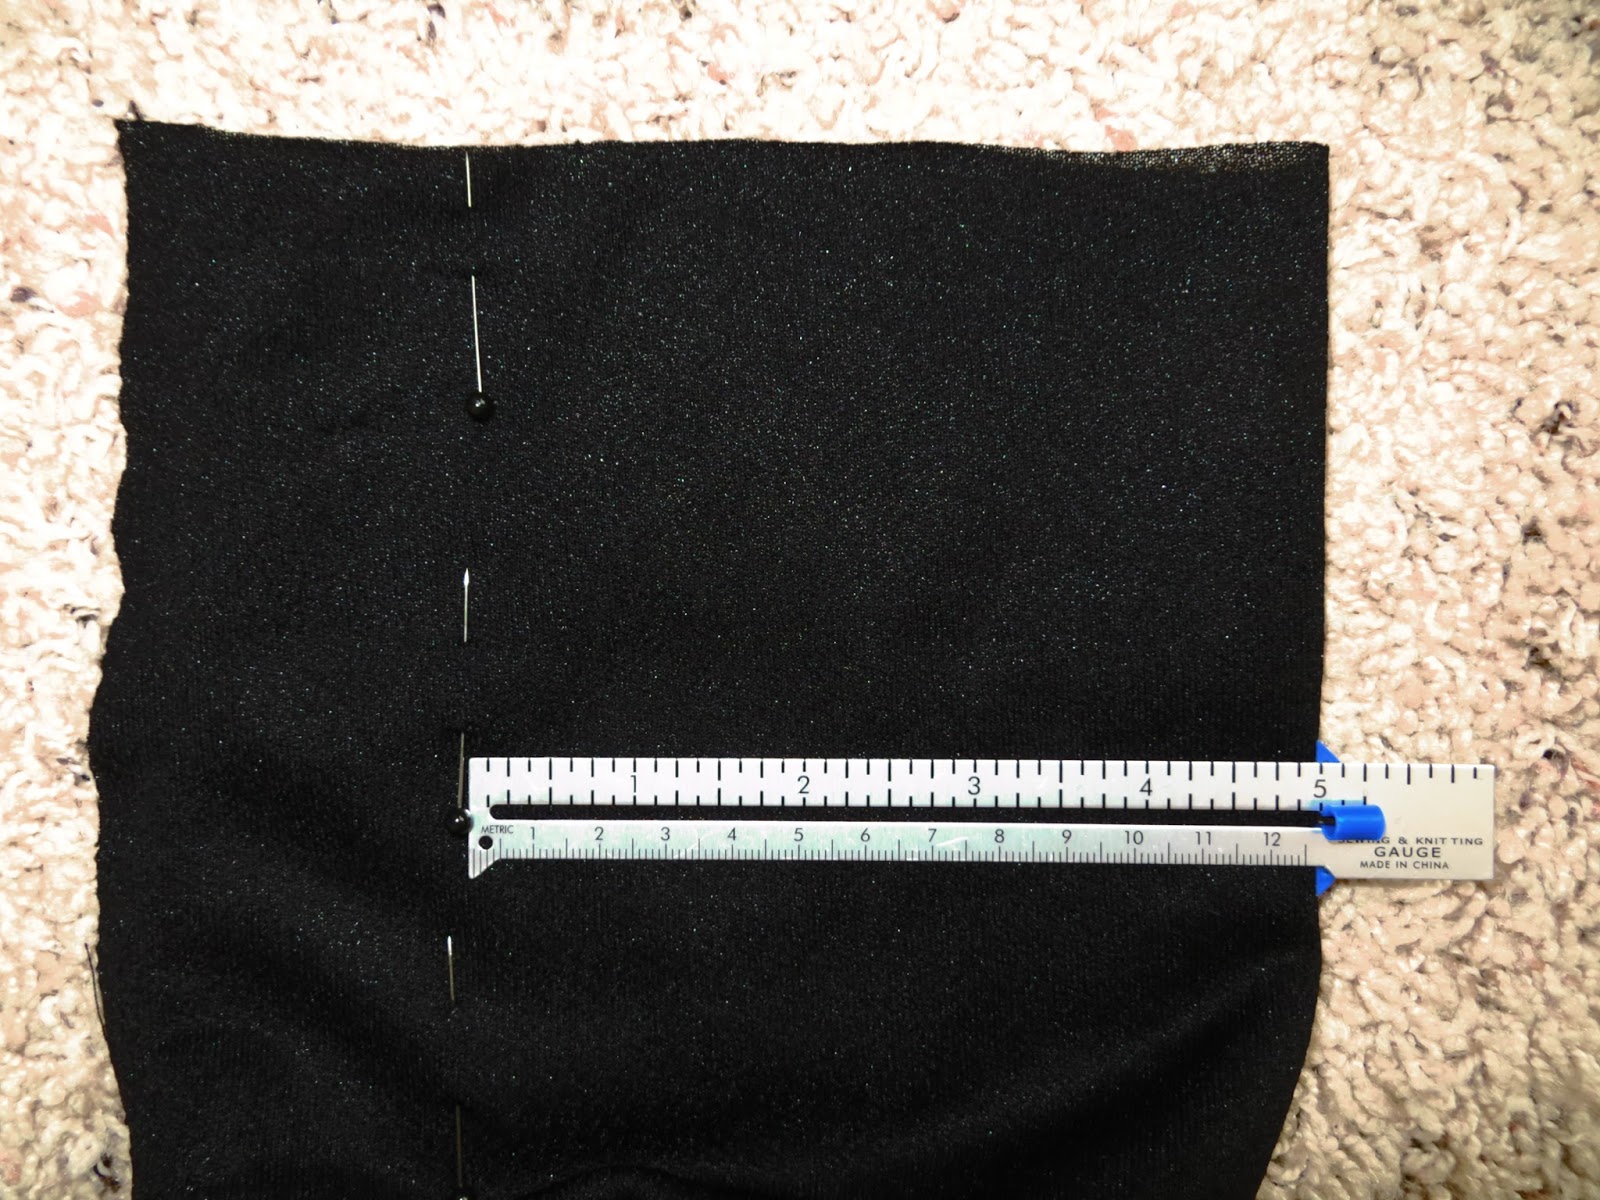


This is what they look like as cuffs, but before being sewn on.


Then, I cut off 5 inches from the bottom of the dress.


A close up.


Then, I hemmed the skirt up an inch.


Then, I pinned the button placket back down to the third button to make a keyhole in the neckline.


Here is the finished dress! Looks so much more modern. Cutting the length off the sleeves and hemline and opening up the keyhole really helps to make the ruffle area the statement part of the dress, instead of it getting lost in all the length and downward movement.


And because the fabric is sorta sheer, and because Red Valentino likes to layer prints under sheers, and just for fun. . .I put a polka dot skirt underneath! But you could also just wear it with a slip.


The End!


Thursday, February 2, 2017

Refashioning: Updating a Long-Sleeve Bow Tie Blouse - Tailoring and Creating a Keyhole

The bow tie blouse was an office staple in the 60s, 70s, and 80s, but then it died off for about 25 or so years. Anyways, it's back, Baby! That means you can raid those dated thrift store racks versus going out to buy a brand new one! All you need is two simple sewing steps and you have a stylish, updated blouse!


So, here is one that I found last week on a thrifting adventure. It is a bonafide vintage blouse from the 70s. I loved the color, and since it is polyester, it will NEVER die! :) However, you can see it's WAY too "blouse-y" for current trends.


The first thing to do is to turn the blouse inside out. Make sure the shoulders fit. A lot of vintage blouses have HUGE shoulders, and some of them are even padded. If you run across this issue, you will have to take in the shoulders. Anyways, these shoulders were just at my acceptable limit, so I left them where they were.


Then, I pinned all down the inside seams of the sleeves from the base of the cuff (I left the cuff itself alone), up to the armpit, and then down the side of the bodice. I did that on both sides.


And here is the second really important "current trend" step: Creating a keyhole under the bow. All I did was fold the button placket back from the base of the bow ties to the second button, stitch that part down, and then cut off the top button. That's how easy making a keyhole is! This picture is showing you the pinned keyhole from the wrong side.


And here is the "Before" on the left and the "After" on the right!

Super easy!


The End!


Sunday, March 13, 2016

Refashioning: Remaking a Blouse into a Cute Shirt

Did you ever hear that old anecdote about when Michelangelo was questioned, "How do you carve an angel out of marble?" and he said, "Simple. Cut away all the parts that aren't angel." 

So, I'm NOT comparing this to Michelangelo, but I am saying that I like to think about that story whenever I do these refashions. It's like. . .you look at a bid dumpy shirt or dress, but you can see the article of clothing that it WANTS to be. So, you cut away all the parts that aren't it!


Here is the dumpy shirt in question for today. The long sleeves are wayyy too much. The shoulder pads are ridiculous. However, I love the contrast and the structured bow, so that's why I bought this sucker at the thrift store!


First thing: Cut the shoulder pads off!


Next, the sleeves.


Then, turn it inside out and smooth all the wrinkles out.


Fold it in half.


Lay a better fitting shirt over it as a pattern.


Now, here is where I ran into a snag. Remember that   Moo Moo to Modcloth dress I posted a few days ago? Well, the issue with the dress was the neckline was too low, so I cut off the shoulder fabric. This allowed me plenty of fabric to work with to bring the dress in. The example of what I just described is in the picture below right.

Now, the problem I had with this black and white shirt is that I wanted to keep the top of the shoulders intact. Notice what that does to the armpits when alterations begin.  (Picture on the left.)
That's a problem that I didn't anticipate.


So you may or may not be able to tell, but I had to cut in the sides of the bodice to compensate for the fabric missing in the armpits. This brought the shirts dimensions in drastically and the shirt was potentially going to be way too small.


You can see what I'm talking about a lot better in this picture. Look at the gap in the armpit!!!


So, let's leave that problem alone for a few minutes while we work on the sleeves. Look at these beauties! They are way too blouse-y and peasant-y for the structure of the front placket and bow.


Using another shirt as a guide, I made short sleeves. Getting rid of all that fabric was crucial to make sure that the bow was the focal point.


Okay, back to the bodice problem. I cut out two strips of black chiffon a little over 2" wide.


And I pinned them to the sides of the bodice.


So now the fit problem was fixed. It also created a modern color blocked look.


Okay, back to the sleeves. The sleeves ended up being way too big for the arm holes. This was on purpose, because I wanted gathered, puffed sleeves. So notice below the two pins on either side of the sleeve. Those were marking where I wanted to baste and gather.


I basted between the two pins along the top of both sleeves. You can see how they gathered below. Then, I sewed them to the bodice.


To hem the shirt, I did it in two steps. Rather than trying to fold chiffon over 1/2" twice and iron it--which is a PAIN--I folded the fabric over once and quickly stitched it.


Then, I folded it again and stitched it.


The End!