Showing posts with label peasant. Show all posts

Sunday, March 13, 2016

Refashioning: Remaking a Blouse into a Cute Shirt

Did you ever hear that old anecdote about when Michelangelo was questioned, "How do you carve an angel out of marble?" and he said, "Simple. Cut away all the parts that aren't angel." 

So, I'm NOT comparing this to Michelangelo, but I am saying that I like to think about that story whenever I do these refashions. It's like. . .you look at a bid dumpy shirt or dress, but you can see the article of clothing that it WANTS to be. So, you cut away all the parts that aren't it!


Here is the dumpy shirt in question for today. The long sleeves are wayyy too much. The shoulder pads are ridiculous. However, I love the contrast and the structured bow, so that's why I bought this sucker at the thrift store!


First thing: Cut the shoulder pads off!


Next, the sleeves.


Then, turn it inside out and smooth all the wrinkles out.


Fold it in half.


Lay a better fitting shirt over it as a pattern.


Now, here is where I ran into a snag. Remember that   Moo Moo to Modcloth dress I posted a few days ago? Well, the issue with the dress was the neckline was too low, so I cut off the shoulder fabric. This allowed me plenty of fabric to work with to bring the dress in. The example of what I just described is in the picture below right.

Now, the problem I had with this black and white shirt is that I wanted to keep the top of the shoulders intact. Notice what that does to the armpits when alterations begin.  (Picture on the left.)
That's a problem that I didn't anticipate.


So you may or may not be able to tell, but I had to cut in the sides of the bodice to compensate for the fabric missing in the armpits. This brought the shirts dimensions in drastically and the shirt was potentially going to be way too small.


You can see what I'm talking about a lot better in this picture. Look at the gap in the armpit!!!


So, let's leave that problem alone for a few minutes while we work on the sleeves. Look at these beauties! They are way too blouse-y and peasant-y for the structure of the front placket and bow.


Using another shirt as a guide, I made short sleeves. Getting rid of all that fabric was crucial to make sure that the bow was the focal point.


Okay, back to the bodice problem. I cut out two strips of black chiffon a little over 2" wide.


And I pinned them to the sides of the bodice.


So now the fit problem was fixed. It also created a modern color blocked look.


Okay, back to the sleeves. The sleeves ended up being way too big for the arm holes. This was on purpose, because I wanted gathered, puffed sleeves. So notice below the two pins on either side of the sleeve. Those were marking where I wanted to baste and gather.


I basted between the two pins along the top of both sleeves. You can see how they gathered below. Then, I sewed them to the bodice.


To hem the shirt, I did it in two steps. Rather than trying to fold chiffon over 1/2" twice and iron it--which is a PAIN--I folded the fabric over once and quickly stitched it.


Then, I folded it again and stitched it.


The End!


Saturday, September 7, 2013

. . .Another White Dress I've Gotten Myself Into

Remember this picture from the blog before? 


It's from the Chanel Prefall for 2013/14. Anyways, then I drew this picture:


I thought it might be interesting not to have to put another zipper in something fitted, so instead, I would just pleat the top straight down (instead of darting) and then leave a panel in the back open. That way, I could get in and out of it easily, but also the panel thingy would add a bit of interest. 


When it came to sewing it, I took the darts down a bit further than waist-high to make it slightly drop-waisted. Everything else I make is so high-waisted, so I wanted to do something different. People ask me how I have so much time to sew. This dress only took about two to three hours.


This is the side without the panel.


The back.


From this side, you can really see the slit panel thingy.


Okay, so I learned how to do something else this time. You see the eyelet holes in the fabric? It's the same fabric I used for the Scottish nightmare dress...Anyways, it likes to get holes in the points of the zigzag. I tried to piece the fabric so that most of the holes are hidden in the wrap around part of the back of the dress, but one of them was right in the front:


So I thought about maybe recreating the latticework with thread, but. . .then I got the bright idea to take a scrap I'd cut off and piece it into the hole. 


Can you see the scrap lying on top? This is the wrong side of the fabric, by the way.


Then I just stitched around the zigzag and cut the scrap down close to where I stitched.


The is the right side of the fabric. See? You can hardly tell, and you for sure couldn't if you didn't know about it.


Up close you can tell something's a little off, but. . .at least it's not a gaping hole!

Last word. I have a piece of unsolicited advice for the rest of female-kind out there: Wear a slip!!!! They aren't as archaic as you think, and they keep you looking confident and not gross.


The End!


Friday, September 6, 2013

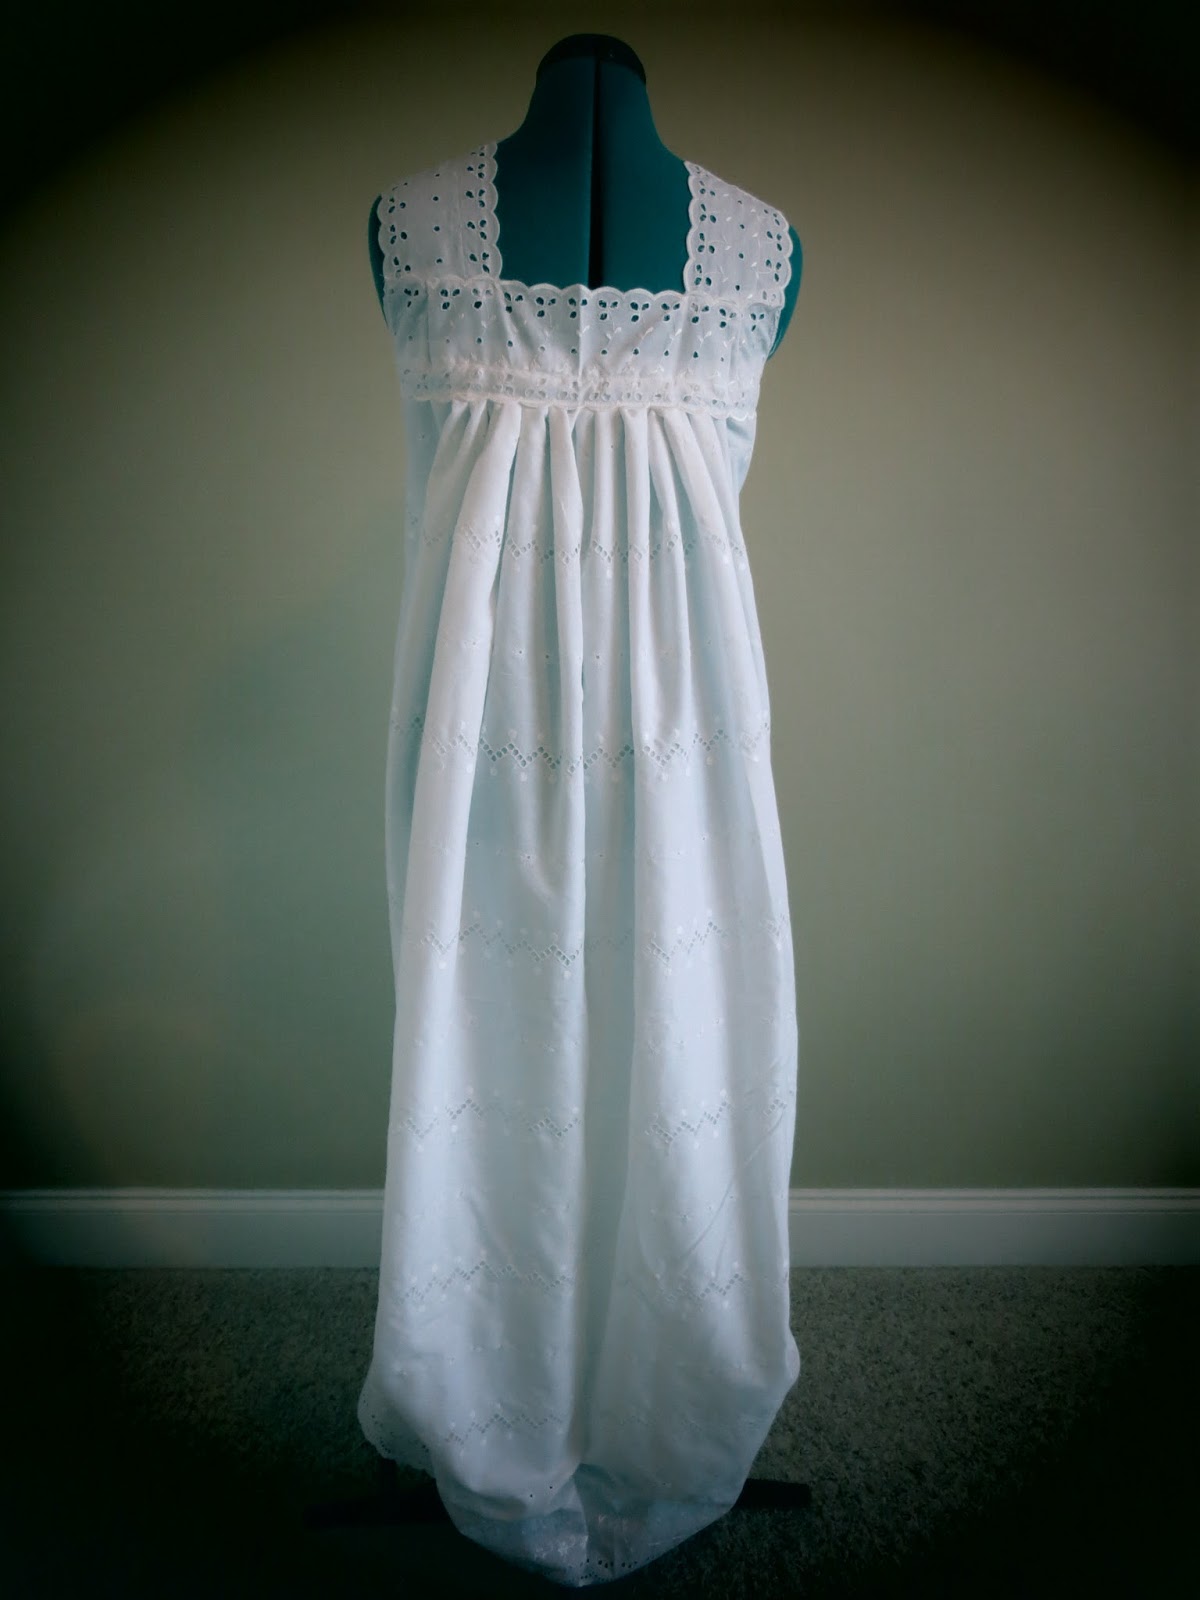
Chanel Inspired: The Scottish Renaissance Nightgown Dress

So...these are some looks from the Chanel Pre-Fall collection. It looks like everyone is in Scotland circa 1500.


Here are some more that I chose to try to emulate.


I really should have just tried the one above, but I decided to go for it and do the poofy volume of the one below.


This is what I came up with. If anyone is filming a horror movie and needs a scary white dress, call me!


I did something I'd never done before and that was machine basting. I'd always hand-basted before, but this was too much material and I was impatient. At least now I know I can machine baste from now on!


Very voluminous! I pinned the sides up at the bottom because it was so long. This process made me feel much like Aaron and the golden calf. I sat down at the machine. . .and this dress popped out! It took a ton of work, but for some reason I kind of don't really feel responsible for it, to be honest.


Because the eyelit material was see-throughish, I lined it with the white part of the Ralph Lauren bedskirt that I'd cut the "skirt" part off to make this skirt. It was crappy material to make anything important out of, but it does make for a good lining!


The back.


This dress actually took way longer than I'd expected or what it looks like. Never underestimate the time that goes into making a moo-moo! It was yards upon yards of fabric, plus you have to try to get the lining to match up underneath. Most of the time was spent on tailoring the top part! Then I sewed more eyelit trim on the bottom. If I ever do this again, I am going to use wayyyyy less material and shorten it. Where am I ever going to wear this??? It was a good learning experience, but it's just not practical. I mean, have I been casted in a play about Mary Queen of Scots that I don't know about?


This is the front. Ironically, it's actually the back, but I sewed the gathered part of the dress with the main seam going down the front by accident and didn't realize it till I was done sewing. My seam ripper is still AWOL, so...the front became the back and the back became the front, and never the twain shall meet. They actually look better reversed, so. . .that was a freebie!

Then my husband came home and told me that it made me look fat. Not really, he's not that mean to say something like that. . .but that IS what I heard!

So I added some grey ribbon to the front.


The End!