So...I'm not a huge fan of "swing" dresses (Think: Lularoe) because I am pear-shaped and they tend to make me look frumpy. However, I found one this past Christmas that fits me really well.
It gave me a silhouette idea to make a dress I'd had in my mind for awhile: To incorporate the collar of this dress tunic below into a different garment. It is one of those "cold shoulder" tunic/top/dresses that can't make up its mind as to what it is. Anyways, I really only ever bought it because of its collar. I hated the rest of it, and I wore it with white pants once, and it DESTROYED my pants!
The dye came off!!! So annoying!
....Anyways, I digress...
Let's get to the actual project...
So I had this really cool graphic fabric based on the comic strip "Blondie." It is actually supposed to be for making stretchy book covers, but. . .I found it at a thrift store a few years ago, and I've been wanting to make a dress out of it for awhile.
So what I did was to fold the swing dress in half, fold the fabric in half (matching up the pattern on both sides with pins as I folded it in half--you'll find out why later), and laid the dress on top, smoothing all the wrinkles out.
I knew I didn't want the dress to be too long, but I wasn't sure how long it should be, so I cut the bottom hem out quite a bit longer than the swing dress. You can always take away later. You can NEVER add back!
Then, I cut around the rest of the dress with about 1/2" seam allowance.
Then, I did the same thing for the sleeves.
Okay, so my pieces are cut out here. The first order of "bid-ness" was to sew the shoulders together--But! As I have pointed out before from studying the inner workings of my other clothing: When fabric is particularly stretchy, clothing makers add a bit of elastic to the shoulders. This is to keep the shoulders from stretching way out of shape as the garment hangs off your body. REALLY IMPORTANT!!
So, I cut out pieces of elastic to fit the shoulder seams
And I went ahead and pinned the shoulders together along with the elastic so I could sew them together--as Marie Kondo would say--"in one fell swoop." (NOTE: Don't stretch the elastic here. Just sew it straight onto the shoulders.)
Go slowly. You really need to keep your wits about you when you sew stretchy fabric. Make sure your foot pressure is not too heavy, and imagine you are pushing the fabric through slightly. DON'T PULL ON THE FABRIC OR YOU WILL BE SO SO MAD WITH YOURSELF!!!
(Use a blanket stitch if you don't have a serger.)
This is with the shoulders sewn together.
Okay, so this part I had to really think about...how was I going to integrate a not-so-stretchy collar onto an EXTREMELY stretchy dress.
Well...there is always more than one way to skin a cat, but...my motto is "Work smarter, not harder!"
So the first thing I did was to fold the collared dress in half--or at least the collar and zipper part. Now...it was REALLY IMPORTANT to keep the zipper intact with the collar b/c, while the dress was stretchy enough to pull on over my head, the collar opening was not! So...I would need the zipper intact to get in and out of the dress properly.
So, I cut the collar and zipper off the dress/tunic/shirt thing and made sure to leave about a 2" margin around it all. Remember...I had never done this before and was kind of learning as I was going...so if you do the same, you NEED to give yourself some WIDE margins in case you have to change something.
So then I laid the collar on top of the dress on my dressform. (NOTE: The next set of steps is almost literally IMPOSSIBLE to do if you don't have a dress form! You can't do it with the dress flat on the ground, b/c you need a body to hold the shape, and you can't use a real person's body b/c you will definitely stick them with pins! If you don't have a dressform, the only other thing I can think of is to safety-pin a pillow to the shoulders of a hanger--put a bra on it if you need too--and then hang your garments over that. Then, hang the hanger at shoulder level so you can work on it.
Still, using a dressform is really the best way.)
Here is the back....(I took this picture b/c I was stalling for time...I still wasn't sure what to do.)
Okay, so then I pulled myself together and started folding the margin of the collar up, about an inch, and pinning it to the dress.
I continued around to the back. Okay...this is another reason why you need a dressform: Stretchy fabric stretches out as it hangs on the body, so you have to hang it on a body to make sure that the non-stretchy fabric will match it. This is kind of like...draping...a little bit.
Another note: You don't just pin willy-nilly. You constantly have to make sure that things on the top and underneath are flush and even. So take your time. It's better to unpin and repin something than to rip stitches out!!! (Oh Lord...I want to make that abundantly clear!!)
Also: This process is much easier BEFORE you put sleeves on so you can reach underneath and shift things that need shifting. I have the sides of the dress pinned in this picture to help me feel out the shape of the finished dress, but the only things actually sewn at this point are the shoulders.
So here it is all pinned down.
So, if that seemed like a lot of work, it was totally worth it, b/c now all you have to do is top stitch all around it in one step! This saves a ton of time, actually.
(If you don't sew, you have no idea what I'm talking about...)
Not bad at all. Is it perfectly even? No. I can tell you where all the mistakes are. But you know what? Who cares! It's not worth taking the stitches out to redo it. (The picture above looks like the stitching is all stretched out, but it flattened out once the dress was finished.)
Okay, so now, all you have to do is open the zipper. . .
. . .And then cut the underneath fabric down the zipper. . .
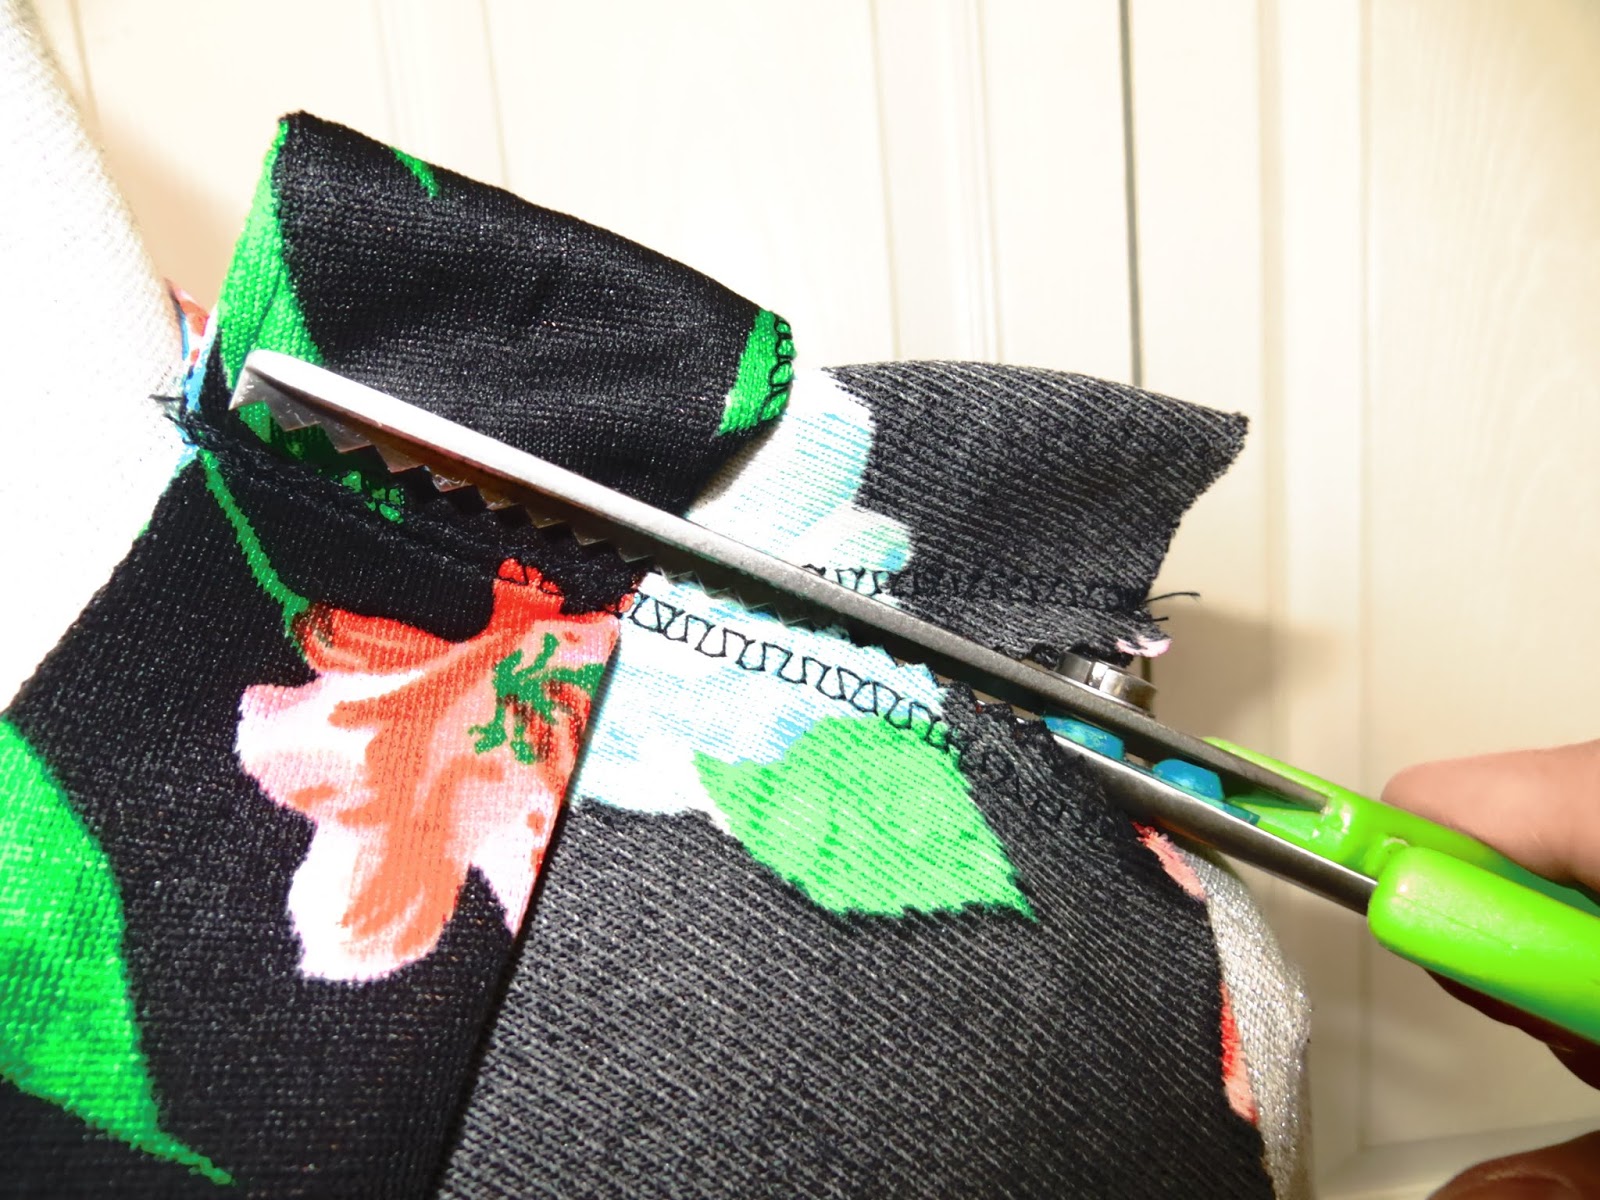
. . .And cut away all the extra margin/seam allowance from inside.
Okay, the rest of the steps are pretty standard. . .Blahblahblah. . .You pin the sleeves on. . .
. . .and sew them down. . .
Then you pin from the inside of the cuff, up to the armpit, and then down the side to the bottom hem. Sew all this in one step.
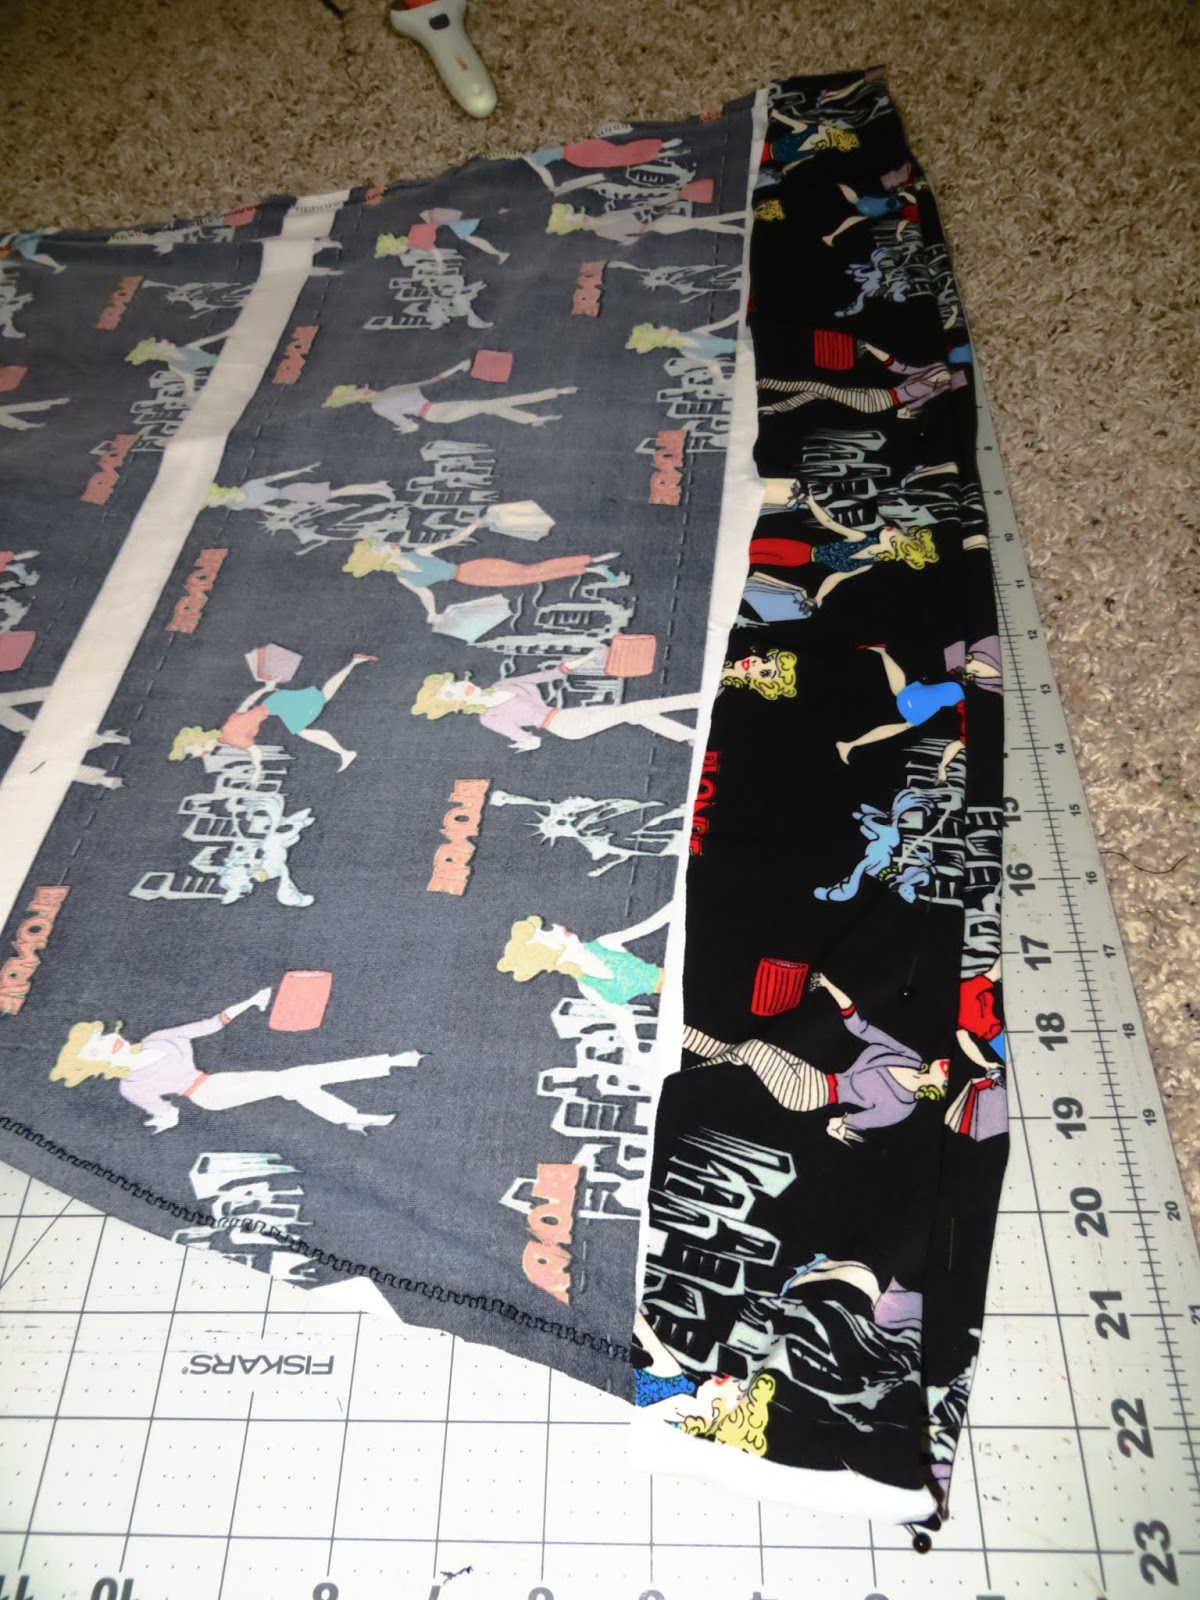
Okay, here's a little trick: Remember how I said that I made sure the pattern of the fabric matched on both sides when it was folded? That was to make sure that I was cutting both the front and back of the dress out so that the stripes would match up on the sides....(Well...these aren't really stripes. They are actually just spaces between book covers...but for my purposes, they are stripes!).
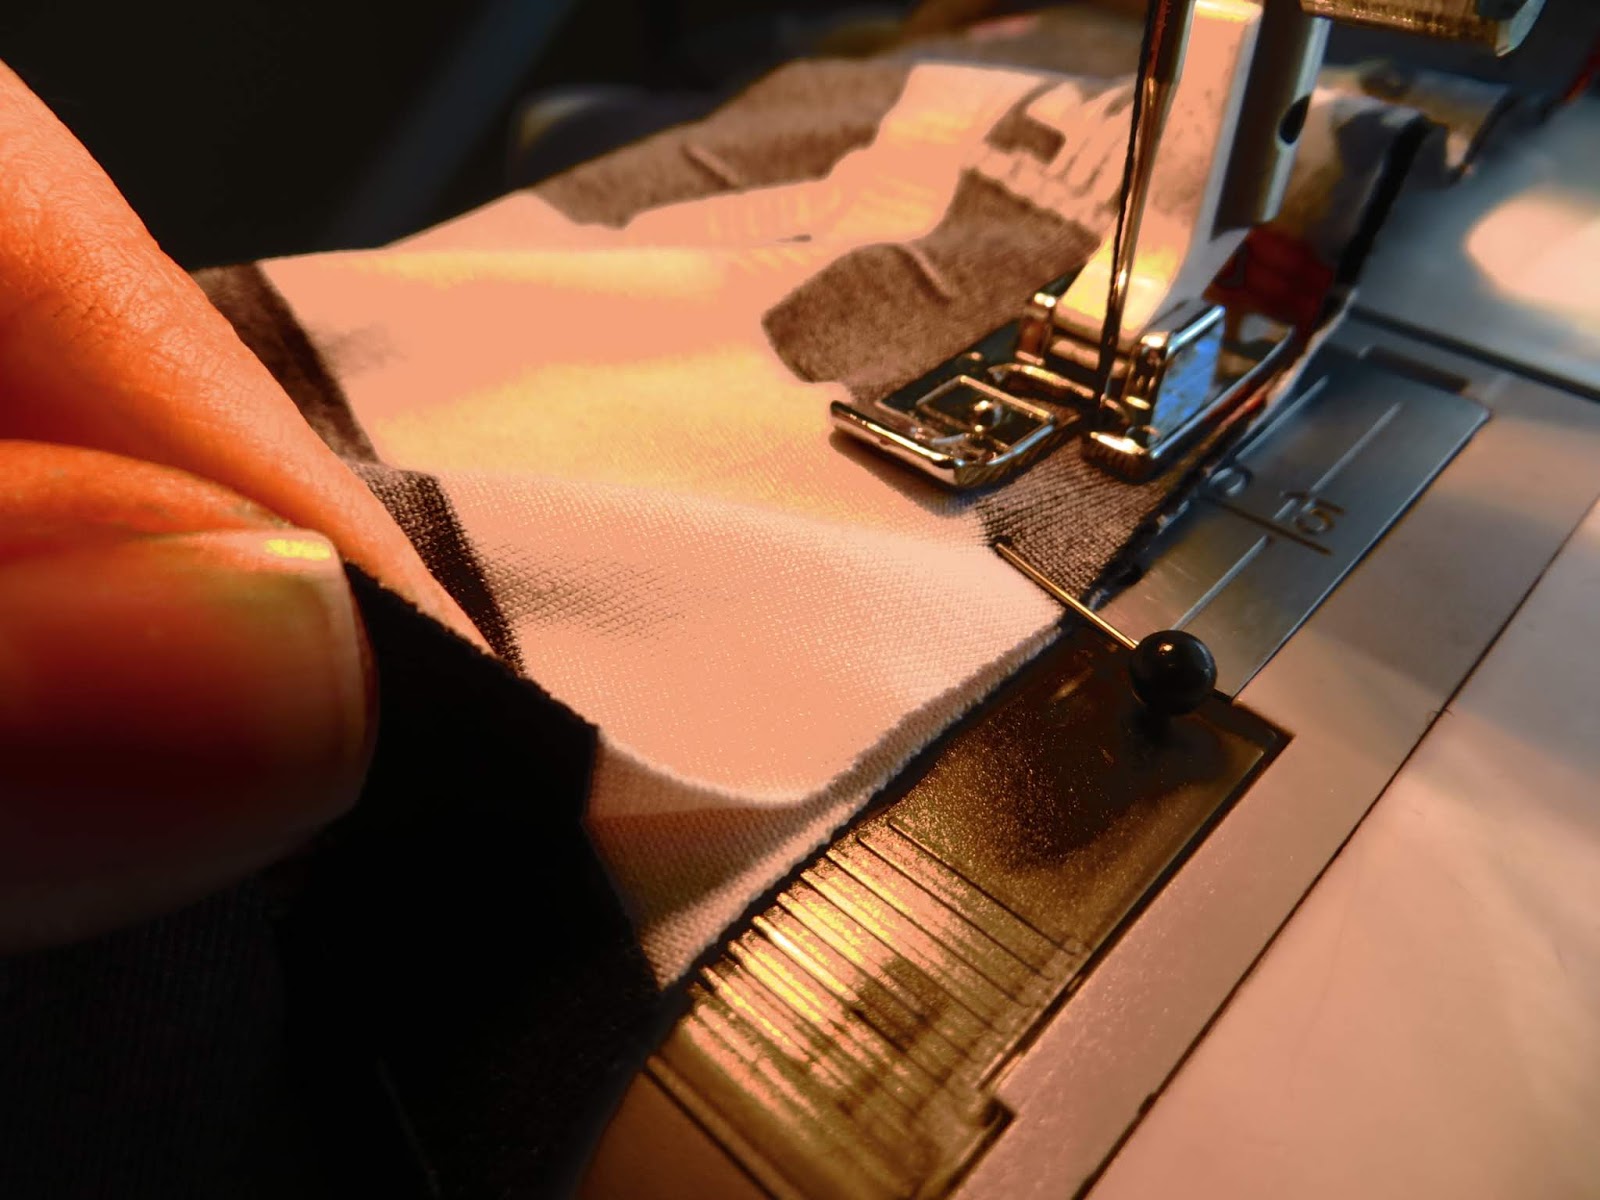
Anyways, as you are pinning your garment, pin the stripes together perpendicularly at the top of each stripe. Look at the picture below? See how that pin is perpendicular to the seam and runs along the top of the white stripe? I'm lifting the bottom of the stripe up, so you can see how the stripes meet.
Almost done! Just need to hem! Okay...here is yet another need for a dressform. I have it set to my measurements and to my height. See how something is a little off on proportion? This happens when you have a patterned dress that is long sleeved and has no waistline. Also, the collar is very high. All these elements cause the dress to seem a little frumpy. If the sleeves were shorter, the hemline might be okay where it is, but I want the dress to have the high collar and long sleeves. That means, I need to make the dress a bit shorter to stay out of Frumpsville!
This is precisely why I don't buy a lot of Lularoe. . .
In the meantime, see how nicely the stripes match up on the sides?
And even on the sleeves!
Okay, so at this point, I tried the dress on and played with the hemline till I saw what I wanted. I noted how short I wanted it to be and then laid the dress flat to pin it. Once again, I didn't just pin willy-nilly! For one thing, I made sure the back hem was 1/2" longer than the front (for "butt rise"), and I also measured the length from the armpits to the hemline on both sides to make sure everything was even. In other words...If I had measured up from the bottom--say...4"--the finished dress would have had a wonky hemline. It's better to measure from the top down, than bottom up, when you hem.
The finished dress.
Collar looks great!
Back looks good too!
The End!