Showing posts with label pants. Show all posts

Sunday, November 10, 2019

Refashioning: A 70s Floral Dress into a Tailored Slit Dress (Over Skinny Jeans)

When I'm bored, I scour Pinterest for ideas.

So, lately, I've been getting looks like these in my main feed:


I dunno...I've seen the maxi-dress-over-pants look before, and largely ignored it. However, something about it intrigued me this time. So...I kept an eye out at Goodwill for a maxi dress to play with.

A few weeks later, I found this little 70s Flower Child number:


You can see it's way too big--even dragging on the floor. I hate ruffle sleeves on me. And the V-neck is way too low. 

Still, I really liked the print and the polyester jersey fabrication, so I paid my $1.00 and took it home!

If you would like to try this, you don't have to follow these exact directions, but maybe it'll give you some ideas!


First order of "bid-ness" was to cut the horrible sleeves off.


Now...realize this: When you want to shorten a dress, you actually have TWO options. Yes, you can hem it from the bottom--which is the usual way. But I know a much easier way--especially when the neckline is way too low.

This is what you do: You pinch an inch or so at the shoulder seam. Now...I realize that this is going to move the shoulder seam forward. In other words, it will no longer sit at the top of your shoulder. However, a forward-ed shoulder seam is sorta "in" right now, so I find this to be an adequate adjustment. I'm gonna show you a few pictures of this, because it's kind of hard to see in this print.


So then, all you do is cut off the excess. I use pinking shears.
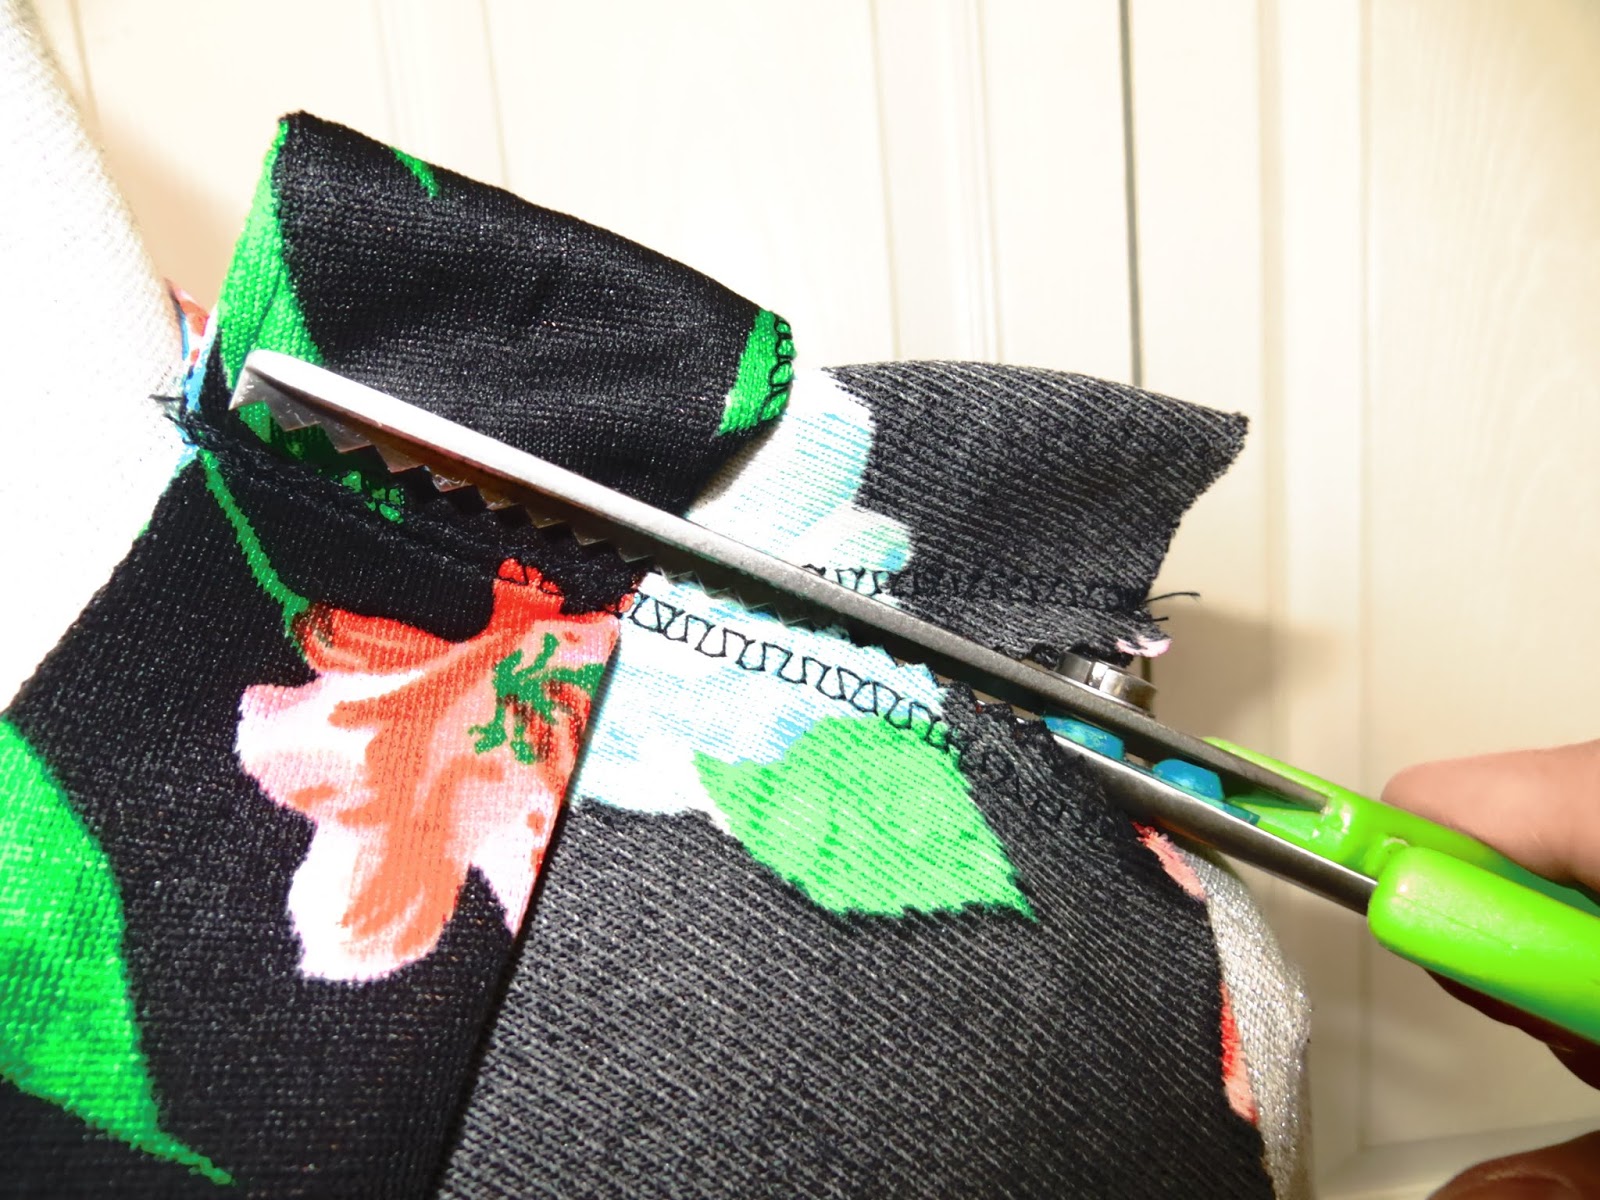


Okay, so...I really wanted sleeves. Trying to finagle the ruffle sleeves into a more fitted sleeve was...not easy. The fabric was a really weird shape. Still, you gotta use what you got. I laid another shirt on top of the ruffle sleeves as a pattern.


So, next I eased and pinned the sleeves back onto the dress.


So you can see here how big the dress is; however, notice how much nicer the V-neck sits from before. 


So, the next step was pinning down the sides to take off the excess sizing.


I sewed the side seams all the way down from the armpit to the floor to keep the shape uniform. It's now beginning to look really nice! I could have stopped here...but it's getting colder, so I wanted longer sleeves.

Notice how much shorter the dress is now. I didn't hem it. This just goes to show you that if a dress is too big, try taking the length away from the top and the sides first. Then see how long it is. 
Don't ever hem as your first alteration!!!


I added a piece of faux leather jersey to give an edgy look. But notice that now it looks sorta incomplete.


So, I added a bit more of the floral fabric. I had precious little left from the ruffle sleeves, but it was just enough to create a more uniform finished-looking sleeve.


Okay...I could have stopped there...(and maybe some of you think I definitely should have!)...but I have a million dresses...and the purpose of buying this one was to put it over pants...

so....

I laid it down on the floor...

and cut a big ol' chunk out of the front!


Not gonna lie...I was like, "What have I just done???"

But then I took it to the sewing machine and finished the slit's seam.


Here's how it looks over jeans.


And because we all love "Before and After"s:


The End!


Sunday, December 18, 2016

How to Fix: When Stripes Don't Match Up on a Garment

I bought this crazy dress at Rosewholesale.com...which you can find here if you like it as much as I did. 

However, this site is from China and it takes a while to get your merchandise...Also, because they are mass-made, you get little problems like this one. (Notice that the right-hand side dart stripes don't match up.)


Also, if you look along the bottom of the stripes, you will see that the bottom black stripe is kinda wonky as well. No matter. We can fix both problems!


First, take out the seam along the bottom of the stripes. . .


Then, take out the dart in question.


Okay, in order for the stripes to match up, fold the fabric and then pin the stripes. . .


Making sure that they match up from both sides. Then sew up the dart.


Next, I needed to fix the bottom stripe, so I pulled it down enough to make it symmetrical.


There! Both problems solved!


The sleeves were also really large (as in big around), so I tailored those in a bit...which I have ton a billion other times on these posts, so I didn't bore you with how to do that part.


The End!


Saturday, December 17, 2016

Refashioning: Old Lady Pants into Skinny Pants

Updating a pair of pants is pretty easy, but there are some important things you need to look for first.

I really liked the color of these Kathy Ireland (remember that brand from the 90s?) blue velvet pants that were on the Goodwill dollar rack. Velvet is having a moment right now. The legs were way too roomy, but notice how the legs are straight--not flared. That's the first thing to look for.


I put a pair of my favorite skinny pants over them. You can see all the extra fabric along the insides of the legs. If you are wanting to do this project, you can't do it with flare pants. I mean, you can, but you will have to take fabric off both sides of each leg (because flare pants flare out both sides), and that is really hard unless you have another specific situation....Which I shall explain in the next picture.


Okay, see how the inner seam here is just a regular seam with no top-stitching? Let me show you an example of top-stitching in the next picture...


Here is an example of a pair of pants with top-stitching. It's a "flat feld" seam to be exact. Anyways, in order to fix flare pants with flat feld seams (which most of them have, at least in the inner seam), you would have to take all the seam work out--which is at least three rows of stitching per seam. Why all the trouble? Because the top half of flare pants are generally pretty form fitting and you would ostensibly be fixing only from the knee down on both sides. It would look super awkward to sew a normal seam into a flat feld one. You'd get a weird bend in the seams on either sides of your knees. Anyways, that's way too much work, and when I saw the afore-mentioned blue velvet ones, I knew that they wouldn't take much work to fix!


Okay, another thing to be mindful of: the back of the leg is a bigger pattern piece than the front. You can see where my fingers are pointing. On either side of the leg, see how you can see extra fabric creeping up from behind? That is because most people have more dimension on the back sides of their bodies than the front. (If you didn't, you'd look weird.) Anyways, I have seen these "Make Skinny Pants from Your Old Pants" blog posts before, and they don't take into account the percentages of back panel to front panel, and they end up making the front panels too slim and the backs too large. This is because as a pattern is graded (made bigger or smaller), the grader deals with percentages, not just making the shape bigger. Anyways, if I flattened the inner seam and cut the inner seam portion away as a 2 dimensional object, the back panel would be end up being much larger than the percentages you see here, and it would look super "Amateur Hour" when I finished.


So here is how I compensated. I pulled the crotch up!


Then, I laid the red pants on top as a guide for pinning.


I sewed along the pins.


When I tried them on, I realized that the leg on the right side of the screen was tighter than the left. You can especially see between the two pins that it's tighter. What I should have done was to pin one leg, sew it and test it, and then cut both legs to the same measurement before sewing the other leg. That would have saved time. No matter. It's a learning experience!


So what I did was to cut the seam down on the good leg.


Then, I matched up both legs, one on top of each other.


And then cut the bottom leg to match the top one.


You can see here how "off" my sewing was! By almost 1/2 an inch!


I sewed up the second leg. . .


And took out the tighter of the two seams.


I had a ton of fuzzies now, so I took some packing tape and rubbed them all off.


Matching legs.


Below you can see the pants before and after. 


The End!!!