Showing posts with label avocado. Show all posts

Saturday, August 13, 2016

Make Your Own SPF Body Lotion!

UPDATE: This recipe I used lasted 3.5 months. It kept very well during that time.


First off, I need to explain that my recipe for body lotion is not FDA approved, and I make no claims that it will prevent skin cancer.

That said, I use two types of sun "blocking" ingredients: zinc oxide, and titanium dioxide--both in powder form. I use these because after researching, it seems that both of these ingredients are less harmful than other sunscreens out there. Anyways, I had them on hand from another project for which I bought them, so. . .into my lotion they would go.

If you want to make your own lotion, you don't have to use all the ingredients that I used. I just had them in my supply from my soap making and other little projects. Basically, if you want to make lotion, you need to have some kind of solid oil or butter and some liquid oil. Make sure to use about two to three times as much liquid as you use solid. You could even use different ingredients from what I used, so don't be afraid to experiment. Just keep in mind that if your ingredients need to be refrigerated or will likely spoil, your lotion won't hold up very long.

I am the kind of person who goes through lotion (SPF especially as I wear it every day) way too quickly, so this is why I decided to make my own. I just bought this five cup glass jar at a yard sale, so I could make lotion that would last me several weeks.

What I used: beeswax, cocoa butter, shea butter, coconut oil, grapeseed oil, avocado oil, pure aloe gel, titanium dioxide, zinc oxide, and one bottle of Bath and Body Works lotion (I'll explain why).


Whatever oils and butters you use, make sure to melt the hardest ones first. I cut up about a bar and a half of beeswax and melted it in the microwave for two minutes.


I cut up some cocoa butter and added it to the beeswax and melted it for another two minutes.


I had an already open jar of coconut oil, and I added some shea butter to it. I melted those together for about a minute.


You can see my two jars here. I forgot to mention: I wanted the jar to be big enough I could fit my hand into it. Also, I wanted it to be big enough so that I could actually make the lotion in it. This would cut down on cleaning and also cut down on product loss. The coconut oil jar I just ended up throwing away, so I didn't have to clean that one either.


Then, I added the coconut oil/shea butter to the bigger jar.


Then, using the now empty coconut oil jar, I added about 5T of zinc oxide and 5T of titanium dioxide. (I read that a good ratio for SPF is to add about 1-2T of either z.o. or t.d. to 8oz. of lotion. Since this jar is 5 cups, and 1 cup is 8oz., that is why I added 10T of the powder.)
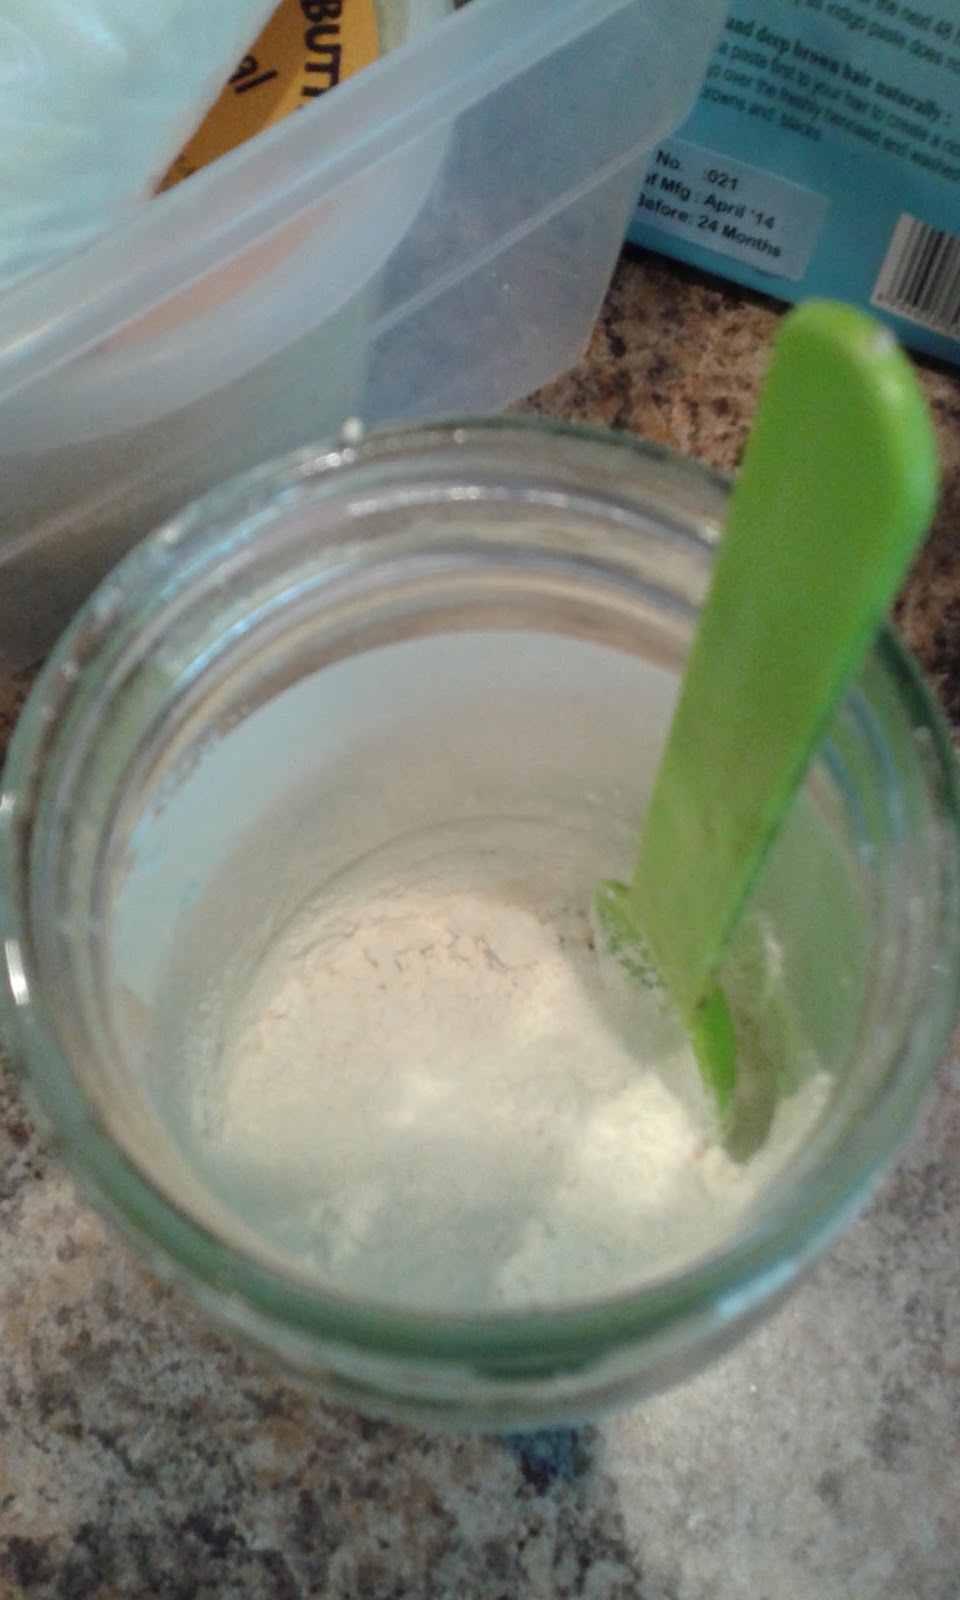


I then filled the jar with grapeseed oil and avocado oil and stirred it up.


The jar is not quite full yet!


Okay,...this is not DIY, but I get lotion every Christmas and I hate to waste it. . .so I added the rest of an already opened bottle of Japanese Cherry Blossom lotion from B&BW. In my mind, maybe there are preservatives in this lotion that will help my DIY lotion not to go bad? I dunno. It smells good at least.
Waste not, want not.


The container still wasn't full, so I topped it off with organic aloe gel.


Then, I got out my immersion blender and blended it all up right in the jar!


The finished jar. Because it is squarish, it fits in my bathroom drawer quite nicely. I wanted to keep it out of direct sunlight, just so it keeps better.

It feels so great. It's a little greasy at first, but after about an hour it really absorbs into the skin and my skin feels super soft all day. Even my hands still feel soft. . .and I wash them like every five minutes!


The End!


Monday, March 4, 2013

Two Steps to Making an Awesome Salad Every Time

Let's be honest. Just because something is labeled "Salad" does not mean it's healthy. Most restaurants load the exact same unhealthy ingredients as on a hamburger, but since these ingredients are on a bed of gross lettuce, somehow that is supposed to make them healthy.

No.

So to make an actually healthy salad, follow these two simple rules:

1. Put on only things that you like eating. In other words, don't put on anything you want to pick off.

2. Make sure those things are 90-100% plants and 10-0% meat, cheese, dressing, and croutons. 


This may sound hard, because we Americans go to fast food restaurants to learn what "salads" are. (Think about the irony there.) However, if you just change your thinking a little bit, you can lose weight, feel clean inside, and not get sick so much. "But I only like one vegetable!" Then start with only that one vegetable. . .but try experimenting a little bit--you become a more interesting person if you can branch out.

Here is an example of what kind of salad I make for my husband and myself on a daily basis:


This one has red onions, avocado, carrots, cucumber, and tomato; all on a bed of spinach. These are ingredients that we actually like. I don't even buy lettuce anymore because even the nice green and purple stuff isn't as vitamin-rich as spinach. Plus, spinach is cheaper and more versatile for other dishes.

When they are in season, I put pomegranate seeds on which adds a delightful tart sweetness and tons of antioxidants. Other great ideas are artichokes, portabella mushrooms, colored peppers, sweet potato, cilantro, and asparagus.  You can even put on fruit, but make sure it is fresh and not canned, salted, or candied--same with nuts. Non-canned beans are also a great addition to a salad.

Whatever you put on it, make sure the salad fills up a big portion of your plate. Then add your "main course" to the plate after. I put "main course" in quotation marks because that is the American way of thinking. (Your main course should actually be the plants!) Changing these proportions, is key to losing weight and living healthier. 

I have been making these types of salads for my husband and me for over a year now and my good cholesterol is super high (even before I lost 20 lbs.), so it really works.

Wednesday, February 6, 2013

Calabazadillas...or UN-quesadillas

This is a recipe I posted earlier this year on Facebook.

RECIPE: Calabazadillas...or UN-quesadillas

("calabaza" is spanish for pumpkin)

Ingredients:
1. whole grain 8" tortillas
2. canned pumpkin (NOT pumpkin pie filling and not with salt or anything added)
3. 1/2 onion 
4. 3 cloves of garlic
5. handful of fresh baby spinach
6. mushrooms
7. spices: chili pepper, cilantro (fresh is better tasting than dried), cumin
8. olive oil (or for even lower fat: white wine)
9. 1/2 a chicken breast (even lower fat: tofu)
10. lime juice
11. 1/2 an avocado

Also needed: medium sized cast-iron skillet

Directions:
Chop the onions, garlic, and mushrooms. Saute them in olive oil (or white wine) in a cast-iron skillet over medium heat (cast iron conducts heat better than steel, so you can save energy by cooking at lower temperatures). Once they are just barely sauteed, add the chicken or tofu. Turn heat down to medium low and continue cooking. Meanwhile, put four tortillas on a plate. Distribute 1/2 of the canned pumpkin among the four tortillas, spreading it evenly. Cut 1/2 an avocado into really thin strips (1/2cm) and put three-ish slices onto each pumpkin covered tortilla. Sprinkle lime juice over them if you want.

Once the chicken is slightly browned on both sides, take it out of the pan and cut it into very thin strips (3/4cm). Put it back into the pan and cook a little longer adding the cumin, chili pepper, and cilantro (according to your taste). Also, add the baby spinach. Once the baby spinach starts getting nice and wilty and the chicken is completely cooked, turn off the heat. Distribute this mixture among the four pumpkin/avocado-ed tortillas. Cover each tortilla with another tortilla.

Wipe off your skillet with a paper towel. Turn the stove back on medium heat and put a little olive oil (or white wine) in the skillet. Fry each tortilla turning each of them only once (smash them down before flipping with a wide spatula to keep them falling apart). Cut each one into fourths. Wipe your skillet out again and add a little more oil if it looks dry before storing it. (Keep the patina on it. Never wash an iron skillet with soap!)

You won't miss the queso! ;o)