Showing posts with label butter. Show all posts

Tuesday, October 24, 2017

Make Your Own Turmeric Latte Mix!

If you haven't heard, turmeric lattes are the next big thing. They taste similar to chai lattes, but are super super good for you. The compound curcumin found within turmeric is widely known to fight cancer and inflammation and all kinds of bad stuff. I'm not a scientist nor a medical professional, and don't want to give mis-information, so. . .Google it!

Anyways, it can be kind of time consuming to make a real turmeric latte as it requires heating nut milk on the stove and using a hand-held blender to foam it.

When processes are that involved, let's be honest, we AREN'T going to do them every day.

So, here is a scaled-down easier method that you can do every morning in lieu of or in accordance with your morning coffee!


First of all, you will need at LEAST the following spices: turmeric, ginger, and cinnamon. All three of those spices can be found at Aldi or Big Lots for $1.00-2.00. (I suggest buying them soon as once big corporations find out that their low-cost items are now considered "health foods," they go and jack up the prices.)

I also added a tiny bit of cardamom, but that is because I have it. Be warned, though. Cardamom is like. . .upwards of $16 a bottle at Wal-Mart! It's really good for you, though, so if you have it, add it.


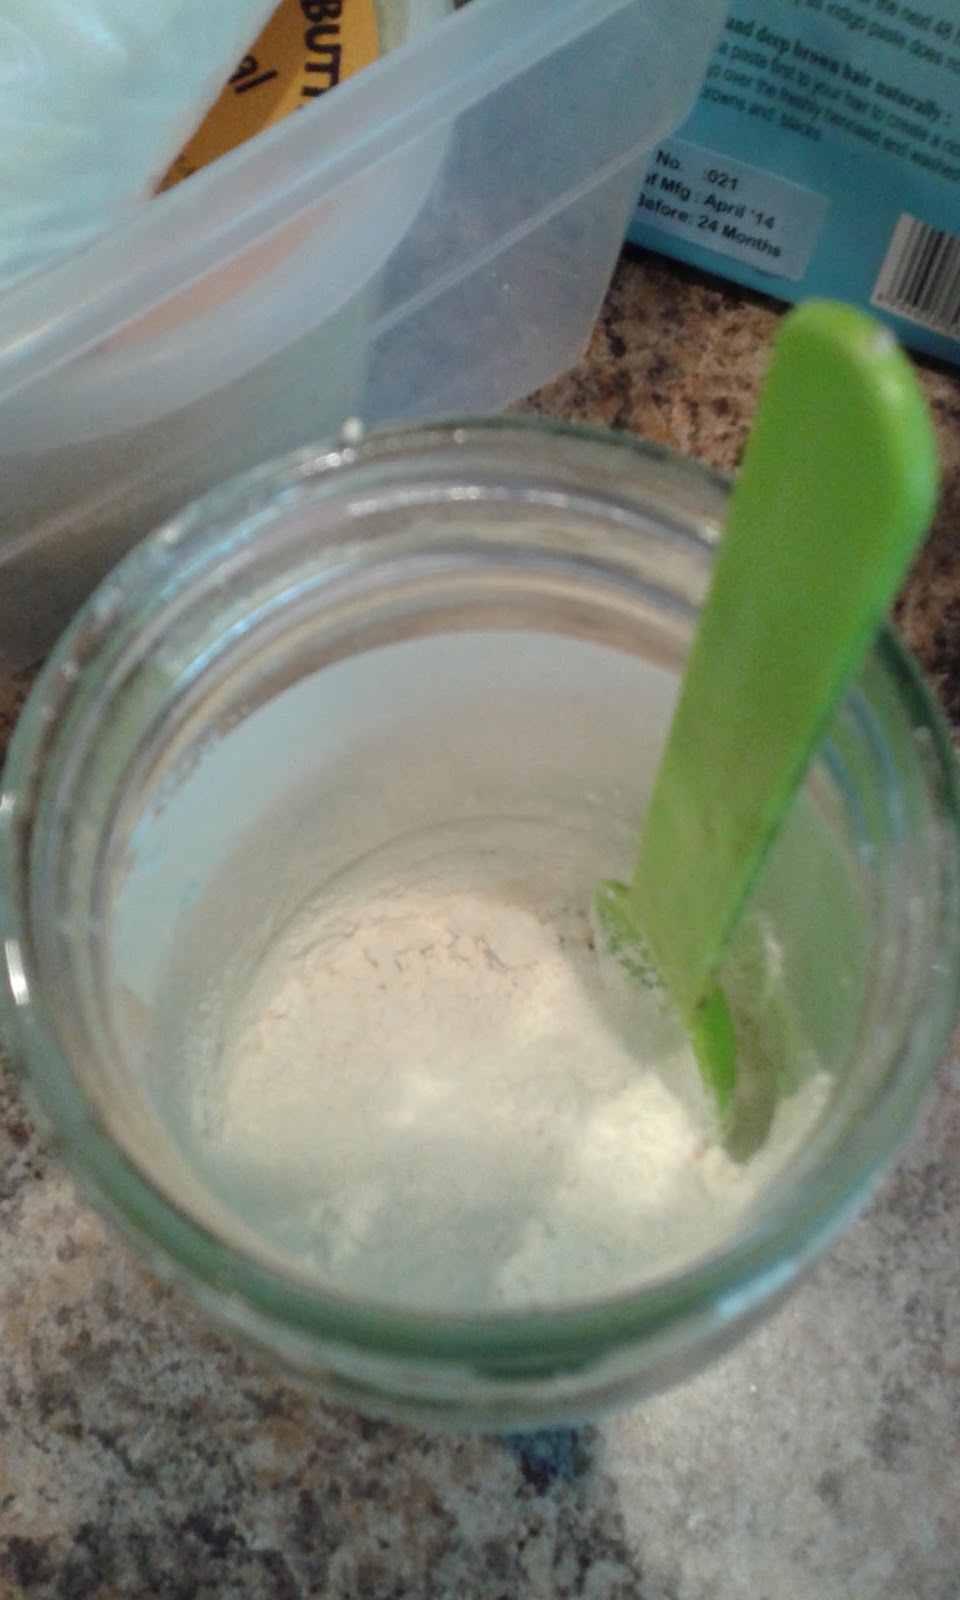
The ratio I have found on other blog posts and online recipes seems to be something like: 1 part turmeric to 1 (or less) part ginger to 1/3 part cinnamon. But if you like one of these spices more than the others, feel free to tweak. (You could also add pumpkin pie spices like nutmeg and clove if you want.) The important thing is to keep turmeric as the biggest part. I added a 3.75oz. bottle of turmeric, two 1.5oz. bottles of ginger, about 1oz. of cinnamon, and about a tablespoon of cardamom to this mason jar cup. (If you don't have a mason jar, an old washed out pasta sauce jar will work equally as well.)


Then, I shook it all together.


So now on to how to make the latte.

You can add as much of your powder to your nut milk (almond, coconut, etc.) as you want. I do a heaping tablespoon, and I add it to just a little bit of milk to start.


I stir that together for a few seconds. I do this because sometimes if you add the powder to a full glass of milk, it causes annoying lumps. If you stir a little milk with the powder to make a paste, the powder breaks down more evenly. (This trick is helpful with any powder-to-drink mix.)


Then, I filled the mug with milk. . .


. . .and added a little honey. I do highly recommend honey or some other sweetener as the spices can be kind of bitter/harsh on their own. But don't add very much! It doesn't take but a little bit of sweetener to counteract the bitterness. 
Don't cancel out the healthfulness with sugar! (You KNOW that is what the big corporations are going to do once these lattes catch on. They will create their own "ready made" mix and it will promise to be all healthy, meanwhile it will be LOADED with sugar. Happens every time!)

You can also add a tablespoon of coconut oil or ghee butter (if you real real fancy!) and heat it all together. That's what you are supposed to do, actually, but. . .anyways. . .I was running late this morning, so I didn't.


Then, I put the mug in the microwave for two to three minutes.

To make a really foamy latte, you can put this mixture in a separate microwave safe container, heat it for a minute, shake the container, heat it for another minute, shake it, etc., until you get a nice thick foam--you know, like a regular latte. Anyways, I didn't have time for that mess, so I just heated it up and sprinkled some cinnamon on top. My drink still had a little layer of foam on the top, so it wasn't like I was missing out on the latte experience or anything! 


So, there you have it! For a couple of dollars, you can have a ready made nice cozy spicy drink mix on hand for the whole winter (that ISN'T loaded with sugar)! You can also use the mix for other things besides lattes. You can add it to coffee, or like. . .muffin mixes. . .or wherever you feel appropriate.

(P.S. these jars make great gifts!. . .You're welcome!)


Simplified Directions:

Drink Mix:
1 part turmeric
1 (or less) part ginger
1/3 part cinnamon
(other spices - optional)
1 glass jar

Latte:
1 tablespoon of mix to a cup of nut milk
A bit of honey
1 tablespoon of coconut oil
Heat for 2-3 minutes
Enjoy!


One last note!!! Swallow a few peppercorns before drinking and your body will absorb the nutrients more fully! (Or you can add pepper to the mix, if you want.)


The End!


Saturday, August 13, 2016

Make Your Own SPF Body Lotion!

UPDATE: This recipe I used lasted 3.5 months. It kept very well during that time.


First off, I need to explain that my recipe for body lotion is not FDA approved, and I make no claims that it will prevent skin cancer.

That said, I use two types of sun "blocking" ingredients: zinc oxide, and titanium dioxide--both in powder form. I use these because after researching, it seems that both of these ingredients are less harmful than other sunscreens out there. Anyways, I had them on hand from another project for which I bought them, so. . .into my lotion they would go.

If you want to make your own lotion, you don't have to use all the ingredients that I used. I just had them in my supply from my soap making and other little projects. Basically, if you want to make lotion, you need to have some kind of solid oil or butter and some liquid oil. Make sure to use about two to three times as much liquid as you use solid. You could even use different ingredients from what I used, so don't be afraid to experiment. Just keep in mind that if your ingredients need to be refrigerated or will likely spoil, your lotion won't hold up very long.

I am the kind of person who goes through lotion (SPF especially as I wear it every day) way too quickly, so this is why I decided to make my own. I just bought this five cup glass jar at a yard sale, so I could make lotion that would last me several weeks.

What I used: beeswax, cocoa butter, shea butter, coconut oil, grapeseed oil, avocado oil, pure aloe gel, titanium dioxide, zinc oxide, and one bottle of Bath and Body Works lotion (I'll explain why).


Whatever oils and butters you use, make sure to melt the hardest ones first. I cut up about a bar and a half of beeswax and melted it in the microwave for two minutes.


I cut up some cocoa butter and added it to the beeswax and melted it for another two minutes.


I had an already open jar of coconut oil, and I added some shea butter to it. I melted those together for about a minute.


You can see my two jars here. I forgot to mention: I wanted the jar to be big enough I could fit my hand into it. Also, I wanted it to be big enough so that I could actually make the lotion in it. This would cut down on cleaning and also cut down on product loss. The coconut oil jar I just ended up throwing away, so I didn't have to clean that one either.


Then, I added the coconut oil/shea butter to the bigger jar.


Then, using the now empty coconut oil jar, I added about 5T of zinc oxide and 5T of titanium dioxide. (I read that a good ratio for SPF is to add about 1-2T of either z.o. or t.d. to 8oz. of lotion. Since this jar is 5 cups, and 1 cup is 8oz., that is why I added 10T of the powder.)


I then filled the jar with grapeseed oil and avocado oil and stirred it up.


The jar is not quite full yet!


Okay,...this is not DIY, but I get lotion every Christmas and I hate to waste it. . .so I added the rest of an already opened bottle of Japanese Cherry Blossom lotion from B&BW. In my mind, maybe there are preservatives in this lotion that will help my DIY lotion not to go bad? I dunno. It smells good at least.
Waste not, want not.


The container still wasn't full, so I topped it off with organic aloe gel.


Then, I got out my immersion blender and blended it all up right in the jar!


The finished jar. Because it is squarish, it fits in my bathroom drawer quite nicely. I wanted to keep it out of direct sunlight, just so it keeps better.

It feels so great. It's a little greasy at first, but after about an hour it really absorbs into the skin and my skin feels super soft all day. Even my hands still feel soft. . .and I wash them like every five minutes!


The End!


Wednesday, April 24, 2013

Make Your Own Eye Cream

I am really excited about this eye cream. I've been using it for a while now before bed and it's really good. It keeps my skin really supple and non-wrinkly, and because it is kinda waxy, it keeps my skin moisturized even after I've washed it off the next morning. If you have really oily skin, I think this would still work for you because natural ingredients tend not to mess with your ph balance. Try it and see!

There is really only one step to this process if you followed my last two blogs (especially the one on making lip balm). All three processes took me 20 minutes total to do. To bring you up to speed, I suggest going here.


How to Make Your Own Eye Cream:

After following the directions on my last blog, all you have to do is add a table spoon of honey. I suggest using local honey as it helps your tolerance to pollen allergies. Honey is what changes the consistency of our lip balm into a cream, and honey is really good for you and your skin. If you are allergic to honey then use olive oil:


This step is optional, but you can add another fragrance if you like. I added lavender because it smells good with mint, and also it's good for your skin:


Stir it up and pour into a small cosmetic jar:


Put it in the refrigerator for an hour or so. Spread it on your eyes with your fingers in small massaging circles.


Things to remember:

1. The reason I did green tea and coffee bean butters is mostly because I knew I'd make this eye cream last and both of those butters have anti-aging properties.
2. Coconut oil and honey are anti-bacterial. Probably the others are too, but I know those two are for sure.


The End!

Tuesday, April 23, 2013

Make Your Own SPF Lip Balm

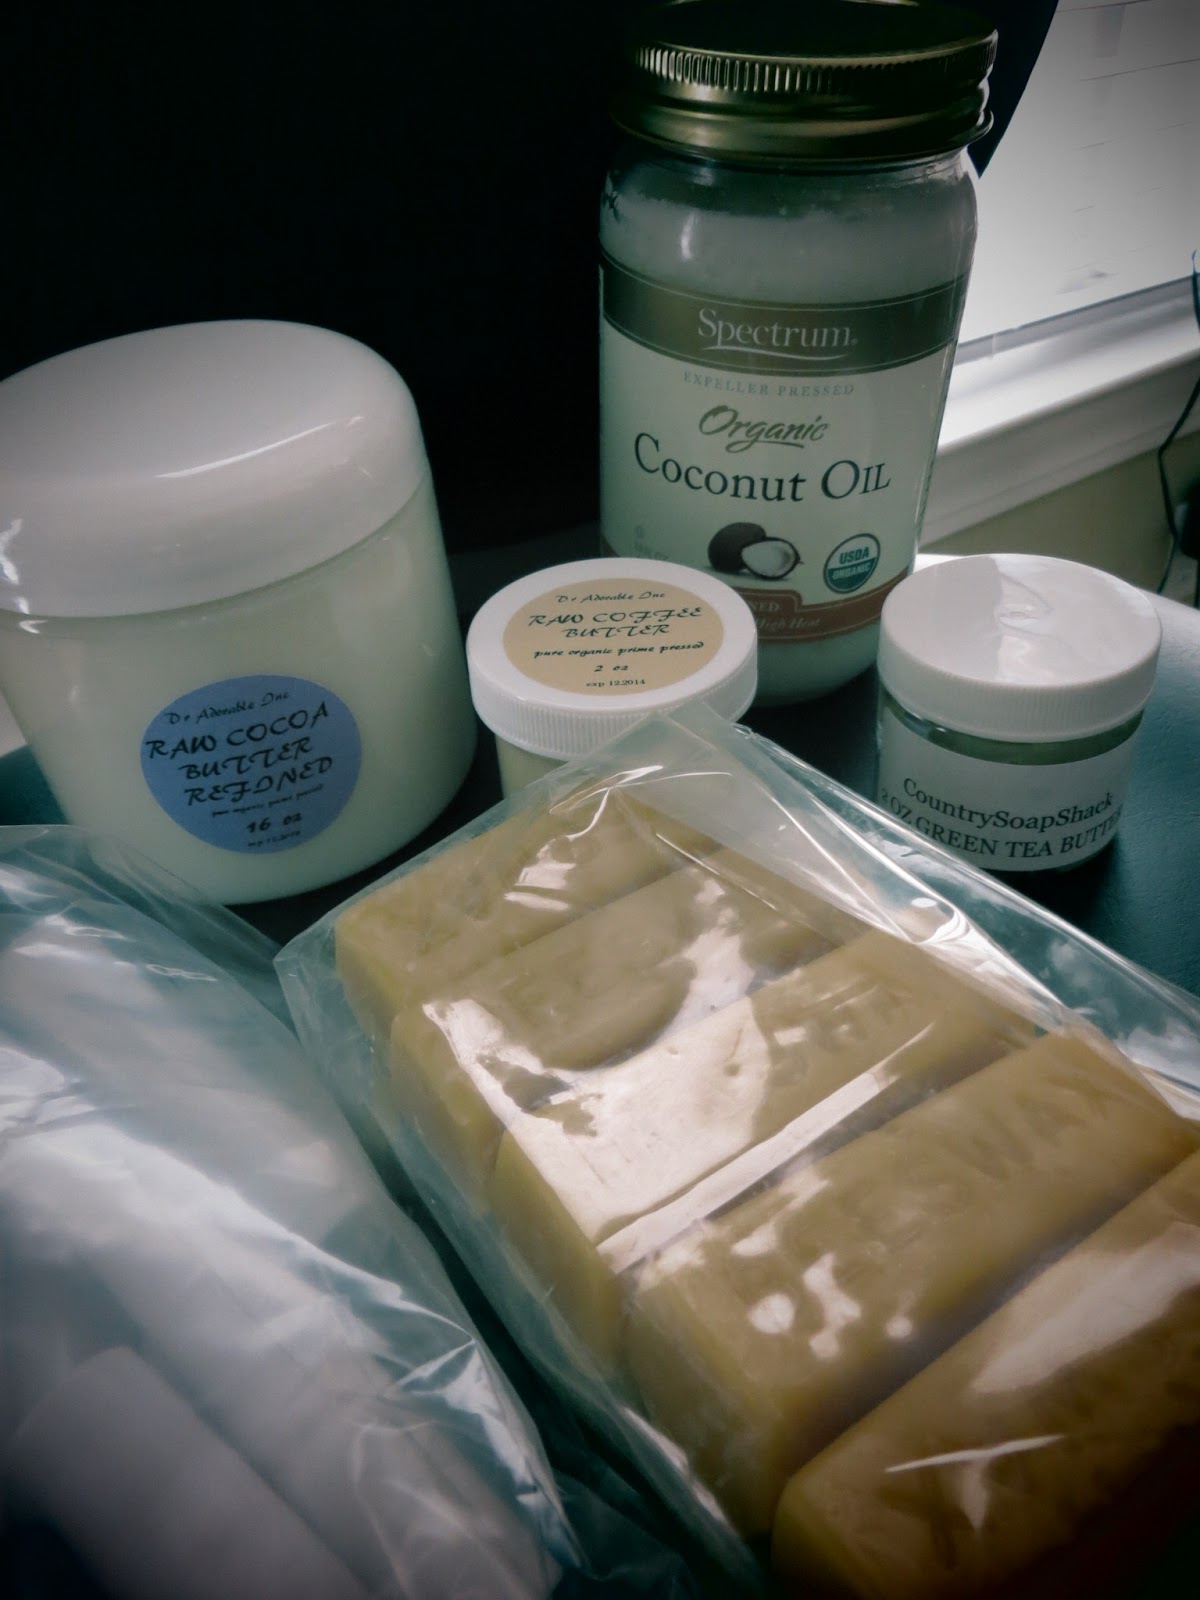
This is continued from Make Your Own Stretch Mark Eraser, if you want to make that. To make the eraser, lip balm, and eye cream, it took me about 20 minutes. That's why I'm writing these three blogs in a sequence. Otherwise, to bring you up to speed, you need these ingredients:


Namely:
1. Cocoa Butter 
2. Coconut Oil
3. Coffee Bean Butter
4. Green Tea Butter
5. Beeswax
6. At least 4 lip balm containers (You used 2 of your 6 for the stretch mark eraser)

All these ingredients can be found raw and for sale on eBay and Amazon. You don't really need the Green Tea or the Coffee Bean butters, but I added them because they are really good for protecting against sun damage. However, coconut oil has some sun blocking capabilities on its own. If you want major sun blocking power, add some zinc oxide powder (cosmetic grade) before the last step.


How to Make Lip Balm:

If you've already made the eraser, skip to the third picture down. Otherwise, get a hot pot and put water in it and wait for it to boil (or else put a pot of water on the stove):


While the water is boiling, grate about a tablespoon and a half of beeswax. (It's really annoyingly sticky and doesn't wash off your grater very easily, but grating it helps the beeswax melt more evenly later. It's actually an important step not to skip.):


Now add your beeswax to a Pyrex measuring cup and submerge it into the boiling water. (Don't use a plastic cup.):


Wait for it to melt then add one tablespoon of coconut oil and one table spoon of cocoa butter. Mix it all with a chopstick or butter knife. (Notice the towel under my hot pot now in this picture...):


Then add about 1/2 a tablespoon of green tea butter and coffee bean butter:


Then add some fragrance or flavoring. I added peppermint extract to make it all "Burt's Bees"-y. Also, I knew peppermint wouldn't conflict with the eye cream I was going to make after this:


Pour your liquid into four lip balm containers. Put your containers in the fridge in your Pyrex cup. (The starred containers below are my "erasers" from the blog prior to this one.) I got the idea to stand them up with paper towel from another blog:


The finished product:


Things to remember:

1. About 1/2 a tablespoon of butter will fill a lip balm container, so for 4 containers, you need 2 tablespoons total of product. If you do the math on the directions I just gave, you will come to 4 1/2 tablespoons of product (1 1/2T beeswax + 1T coconut oil + 1T cocoa butter + 1/2T green tea butter + 1/2T coffee bean butter = 4 1/2T). I used the remaining 2 1/2T to make my eye cream in the next blog.
2. Any seed/bean butter will work in place of these, I just used these ones for their sun damage fighting properties.
3. My husband loves this lip balm. He claims it lasts longer than his other lip balms. . .and he's right!


Now to make eye cream...


For a complete list of makeup DIY, go here.