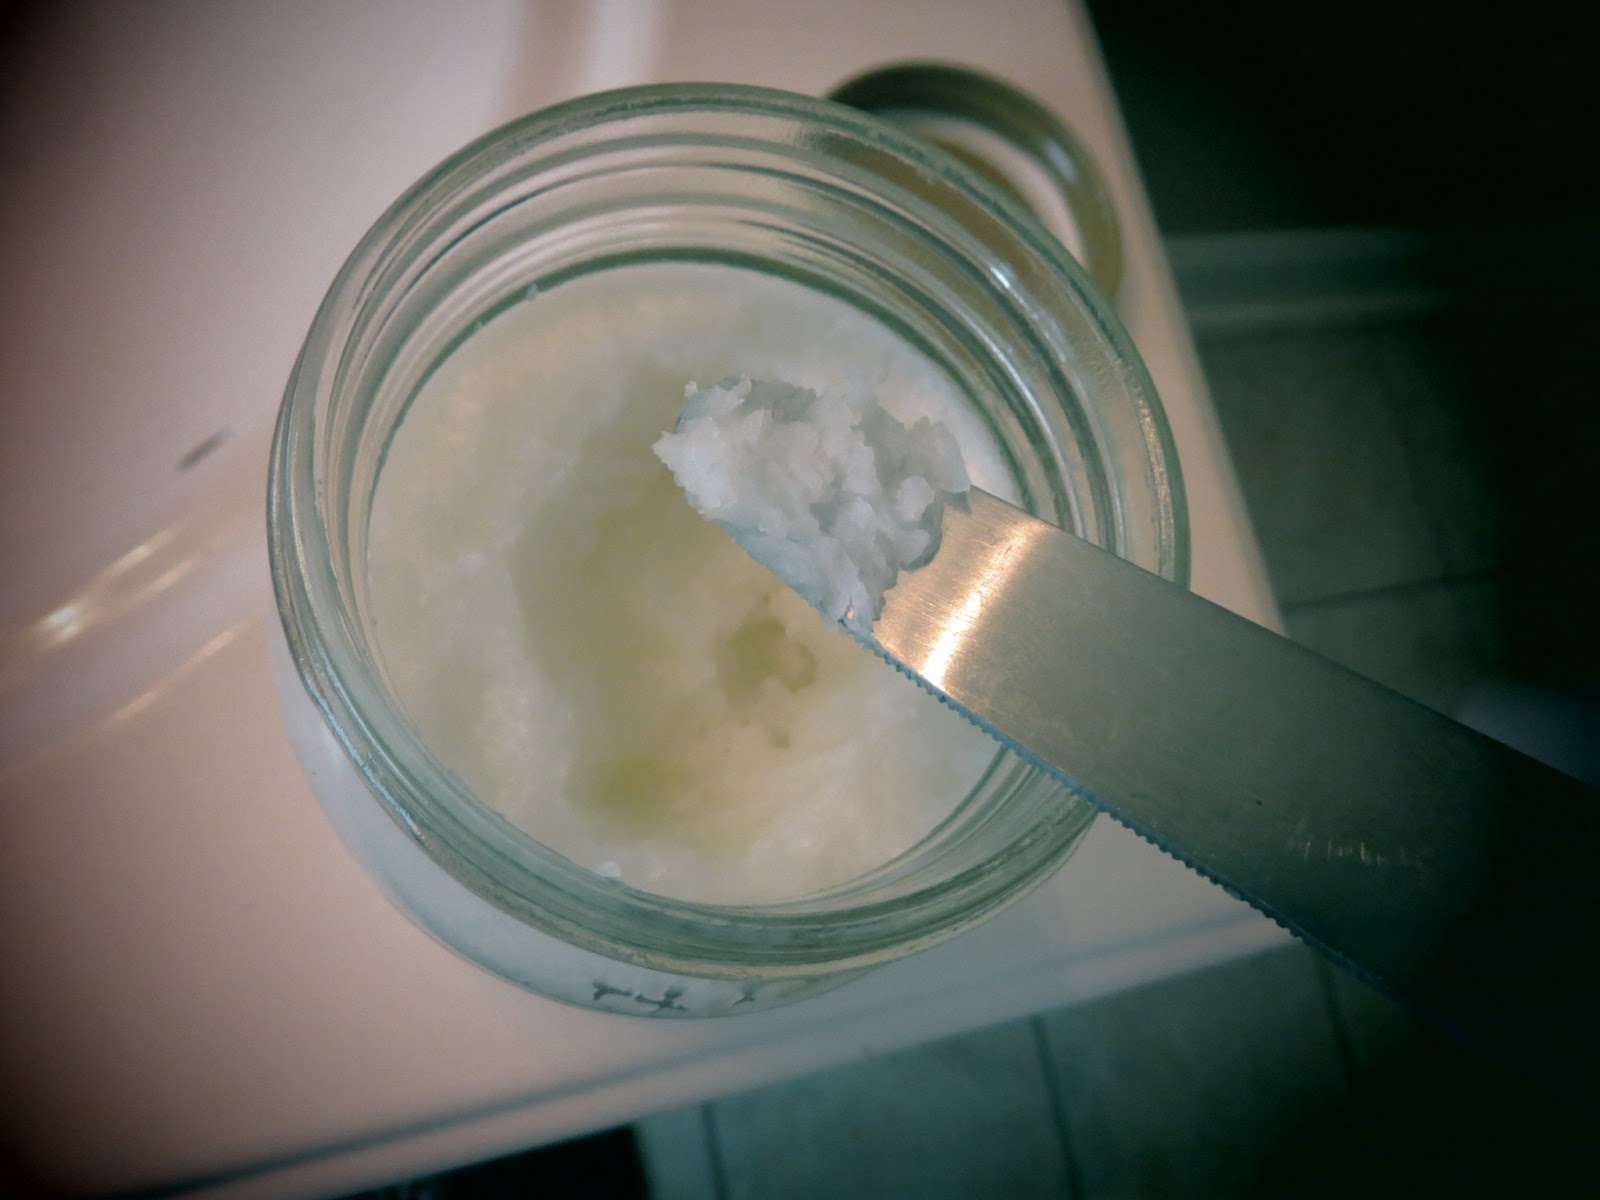
Why this is a good idea:
1.
Easy - This is a very easy item to make. In fact, all you need to do is buy a jar of Coconut Oil. (You can actually stop reading here if you just wanted to know how to make it.)
2.
Versatile - Coconut oil is kind of a splurge (Mine was $7.50 for 14oz at Food Lion), but a little goes a looooooong way, and this same jar also can be used for cooking. (Word to the wise: Coconut oil is one of the only plant-based oils that is super high in saturated [i.e. bad] fat. It is slightly better for your bad cholesterol levels than cooking with butter, but if you are looking to lose weight, cook with an oil that is liquid at room temperature [i.e. canola or olive].) Also, if you stay tuned, you will learn other interesting and fun money-saver/natural things you can make with coconut oil--so make the splurge!
3.
Better - I have tried every hair product on the market and nothing ever works. What I notice about coconut oil is that, used sparingly, my hair is more manageable, softer (emphasis on the
soft!), and way less "fly-away" than it's ever been. Plus, coconut oil is natural, so you know it's better! You too can have the hair of an island princess!
4.
Frugal - Even though a jar is $7.49, you will use far less of it than any other leave-in treatment you can buy. Also, you will save water because coconut oil is antibacterial, so you won't have to wash your hair as much. Furthermore, you will be saving yourself the application of sulfates and alcohol (which promote hair loss) and other nasty filler chemicals that "the man" adds to your current hair products.
Something I like about coconut oil is that I didn't have to special order it or go to some health food store to get it. There is a certain comfort in knowing I can always go to the grocery store if I run out. (Any Mitch Hedberg fans out there?. . ."Oh yeah! . . . Kinkos!")
I suggest getting the stuff out with a knife or some such utensil
to keep it as clean and versatile as possible. (Also, store it in a cool, dark place.)
Just get a little bit out at a time. Too much is going to make your head look greasy. My hair is long, curly, and course (like a classy Brillo pad) so I used a whole tip of a knife. If your hair is fine, start waaaaay smaller. Play around to find your perfect amount.
As soon as you put it on your hand, it starts melting. That shows you that it's not the worst of the saturated fats. . .but still.
Press your hands together until it completely melts.
Apply it to your hair. Start at the ends and work your way up.
For Fine Hair: A larger amount can be applied to wet hair for an hour or so and washed out. (This is an especially good option for people with people with dry shafts of hair but greasy follicles who wouldn't be able to apply coconut oil to dry hair without weighing it down.)
For Curly Hair: Simply towel dry your hair. Apply a small amount of coconut oil and a small amount of hair gel (all-natural hair gel recipe coming soon). If your ends dry faster than your roots, apply a bit more oil to the ends. Scrunch your hair and shake it out a little. The coconut oil will naturally guide your strands into nice "piece-y" curls as your hair air dries. (Usually, I have to twist each lock into a curl and apply mounds of product.) Time saved: 15 minutes. The end.
Quick Fix: If you accidentally overdo it, get out your baking soda from when you made your own
Laundry Soap and/or
Dish Washer Soap and sprinkle it over whatever part of your head looks a little greasy. Brush it out until you don't see any more powder. Voila! (I have to do this on my bangs every once in awhile. Why do bangs get shiny when the rest of your head doesn't?? No idea. . .)
I washed and straightened my hair on Friday evening and applied it then. I only had to reapply a tiny bit on Monday morning (this skippidge of two mornings of reapplying product is unheard of in "Jessica'sHeadLand"). This picture is from Monday evening.
I know I just started doing this, but I was so impressed, I just had to blog about it. I am not sure, but if i had to hazard a guess, I think over time I am going to see fewer split ends and thicker hair. I'll have to report back in a few weeks.
UPDATE: Since that picture was taken, I actually did not have to wash my hair for an entire week and it didn't look oily or gross--even with FIVE hour-long cardio workouts that week! I washed my hair the following Friday, but didn't use shampoo, only conditioner--hoping that I could go "sulfate free" for the rest of my life. Unfortunately, by Tuesday night, my hair was feeling not so great, so I washed it with shampoo on Wednesday morning.
My words of wisdom are: Until we can figure out a natural, thoroughly clean version of shampoo (I realize you can buy sulfate-free shampoo from the grocery store, and this may be your only option), I would advise washing your hair twice with shampoo before going without washing it for a week.