Showing posts with label reversible. Show all posts

Sunday, April 12, 2020

How to make a CoVID-19 Mask 2.0

So, I have already given a tutorial on how to make a CoVID-19 mask, which you can find here. But after thinking about it, and looking back through my inventory, I thought up a new design. Like the other one, it is reversible, reusable, washable, uses cotton and flannel, and has a conformable nose bridge wire. However, instead of having the ties (around the back of the head or around the ears), this one uses elastic around the ears. This may be a better design since elastic is easier to deal with at times than ties. Plus, the sides are gathered with elastic instead of pleating. Also, the biggest advantage I found is that once you get the hang of them, these can be made in half the time of the other ones. 


So, first of all, I made two sizes. One is made from 8”x8” squares. This is for L/XL heads. The other size is 6”x8” and this fits children and S/M heads. I personally can wear the S/M version and my head is about 21” around if that gives you some idea. 


I ran out of the chenille wire from before, so I bought a back of pipe cleaners at Dollar Tree. There are 45 in a pack. They are 12” long, so I cut them into 4” pieces. These are for the nose bridge wire.


The first step is to use a zig-zag stitch and sew the pipe cleaners to the wrong side of the cotton fabric. Center them at the top and down about 1/2”. (If you are making a 6”x8” size, you will sew this to one of the 6” ends). I used a button hole foot because it has a groove on the bottom of the foot that guided the pipe cleaner through and kept it straight.


This is what it looks like from both sides when you are done.


Next, cut two short lengths of elastic. I cut them 8” long, but you may want to test this out yourself. Make one as practice to see if it’s the right size for your head. 


You will pin these between the right sides of flannel and cotton fabric on both of the longer 8” sides. Pin them like you see below. I’ve opened the layers to show you what it looks like between the layers.


So once you have the elastic pinned into the seams of both of the longer sides, you just sew up all four sides, leaving an opening on one side to turn it right-side-out. I left this opening on a short side which was opposite the nose bridge wire. 

So this is a little hard to describe. You want to tack down one end of elastic that will run down both of the longer sides. Don’t pre-cut this elastic. When turned right-side-out, this is what will create the gathering on the sides of the face. So, tack it down like this....


Then, sew down that longer side, and as you turn to sew down the other shorter side, pull the elastic tight. This requires some skills. You need to pull the elastic tight with both hands. Then, place the fingers of your right hand on top of the elastic and on either side of the presser foot. Let go of the elastic in your left hand, and release your presser foot. Then sew really quickly across the elastic. I back stitch over the elastic to make sure it holds. Then, once it is secure, you can cut this elastic. You will do this on both of the longer sides.


This is what it looks like inside-out.


And this is what it looks like right-side-out. Make sure you really push the corners out. You have one step left after this.


Again, this is going to take some skills. So, basically all you are going to do is to sew a big square around everything again. However, you need both hands and your wits about you. I start on the side with the hole. I sew up that side, stopping about 3/4” from the edge. 


Then, when you come to that first elastic side, turn the corner and put the presser foot back down. Again, this requires both hands. Hold the fabric under the foot in place. . .


And then pull the inside elastic tight. Using both hands, guide the fabric down as you sew. Make sure you hold the fabric at the top and bottom and guide it through. Don’t just pull it through, because you will break your needle. This will not be perfect, and that’s okay. You are just creating a channel for the inside elastic so that the fabric will lay correctly against your face.


When you sew up that last side, be sure to back stitch to tack everything in place.


So this mannequin is pretty small, but this is the S/M one. 


And this is the L/XL one. You can see from the one above and below that they are reversible. Make sure you decide AHEAD OF TIME which side you want against your face. If you switch the sides halfway through the day, you’ve just negated the entire reason for wearing the mask!!


If for some reason your mask is too big or you just don’t want to wear it behind your ears, you can put a paper clip behind your head and attach it that way.


The End!


Wednesday, February 5, 2014

How to Make a Leather Belt...Or...What Happens When Your Husband Chews Up His Old Belt and You Wanna be Resourceful...

Okay, so...this post isn't about following my directions completely because, frankly, I feel that my method here was a bit lucky. I don't have any leather tools, but what I had just happened to work well. You may actually have better tools/materials than I, or different ones, but anyways, I thought this was pretty awesome and wanted to share it. Hopefully it will inspire someone...

If anyone wonders when I have time to do all this sewing, I wanted to show you what my husband does during time off. He is either studying for his classes or he is out in the backyard clearing the woods in his little forest-y man-cave.


He's a cutie.


Anyways, even though he is cute, he is a ravenous beast when it comes to his belts. He has been using this belt for only two months! Stupid bonded leather!!


Well, I've been mulling this project over for awhile. After studying his current belt, I noticed that the buckle is attached to the leather by little screws.


This is actually a really cool belt as you can pull the buckle apart and switch it around. This way it can be worn with black or brown. The buckle is still in really good shape, so. . .I was going to use it!


I found a pair of ladies' black leather pants at Goodwill for $1.00, so I cut them apart.


I found this huge brown cowhide at another thrift store for $8.00!!! (That is a queen sized bed!)


One thing I was really nervous about was whether my Husqvarna Viking machine could sew through two layers of leather with heavy duty thread. Well, I think the sample piece below gives the answer! (If you are trying this at home, I would not advise trying it on a Singer or Brother machine, unless they are commercial machines. Husqvarnas are just really awesome, and I never even knew how awesome until today! I wish I were famous so I could advertise for them. . .) You could also sew it by hand, but. . .that would take forever.


(I wanted to show my mother-in-law that I am making good use of her Christmas gifts.) If you don't have a ruler, mat, and rotary cutter set, you can just lay something with a flat edge on top, trace the straight edge with a pen and cut the leather with scissors.


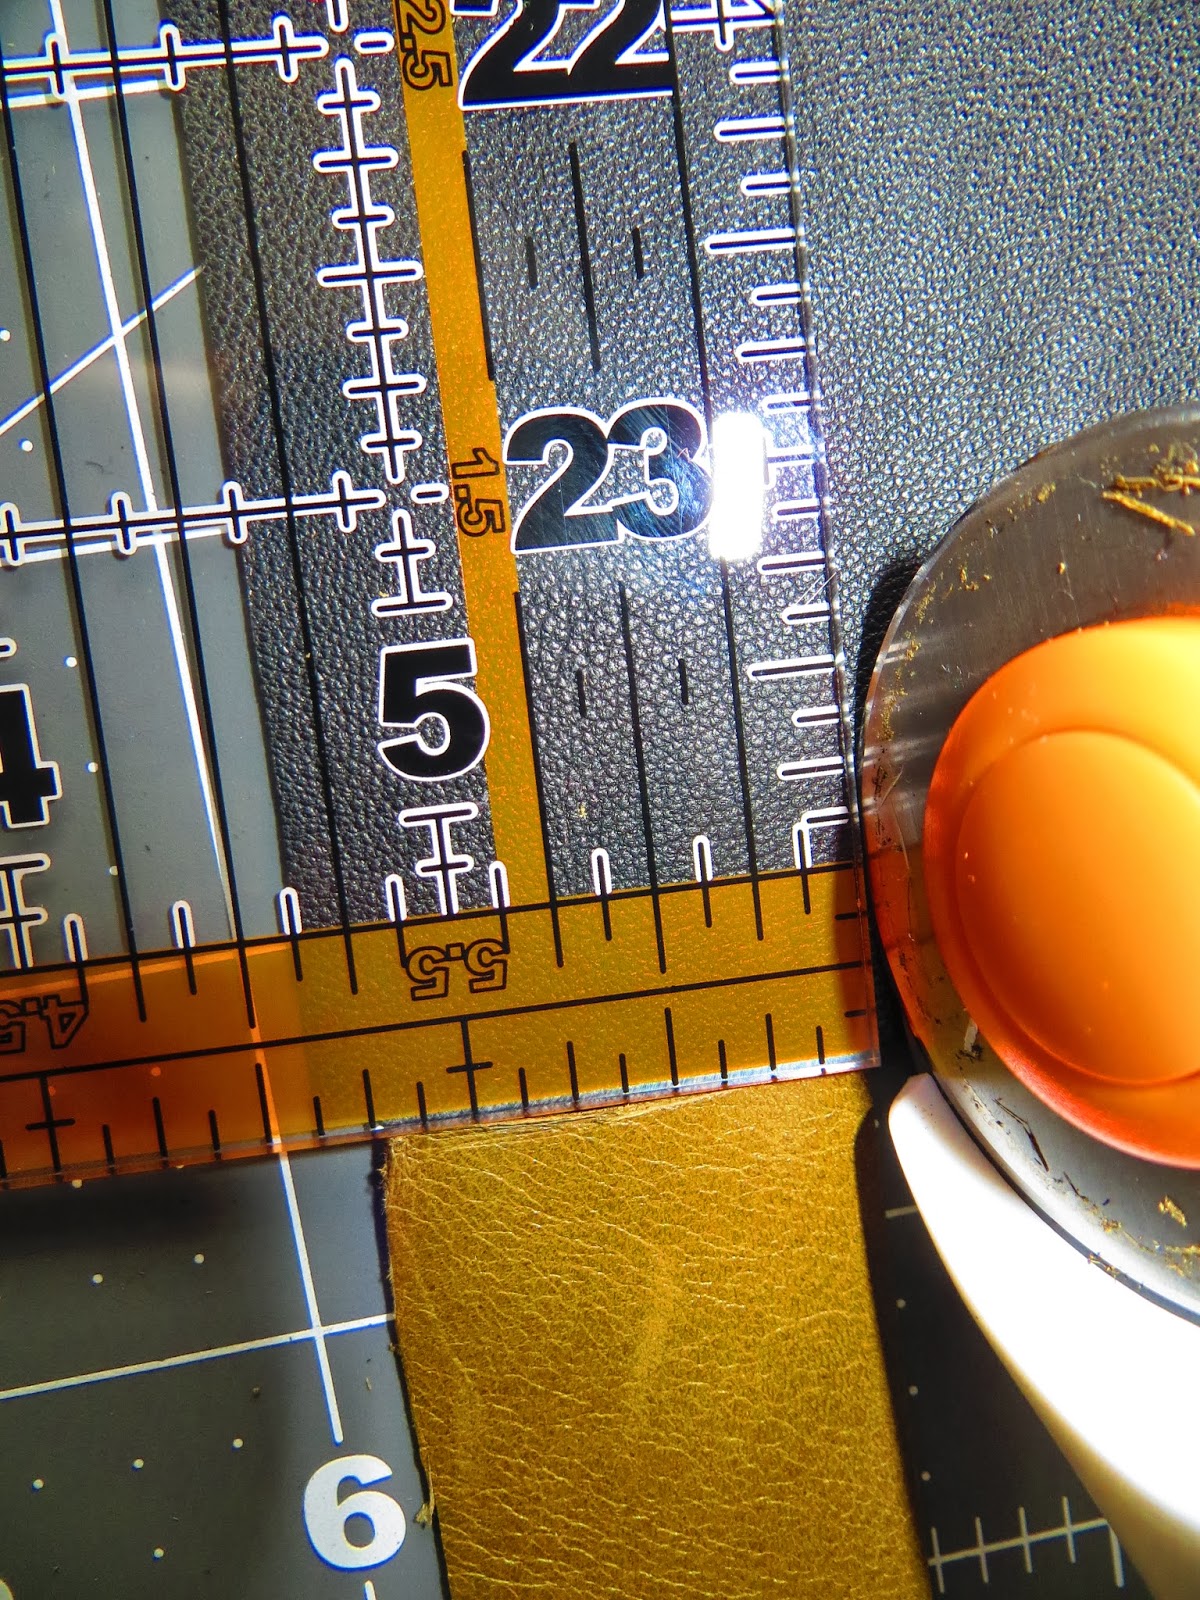
After cutting that edge, I measured down about 1 1/4 inches and cut again.


I did the same to the black, except I measured the black about an 8th of an inch wider. I did this in case the two layers shifted during the sewing process. It would be far easier to trim the black than to have uneven seams.


Before stitching the two layers together, I put a length of ribbon between them. This was to help stabilize the leather and hopefully deter too much stretching.


I stitched it all together. You can see that the black is wider than the brown.


This is after I trimmed the black.


The next step was to unscrew the tiny screws in the buckle.


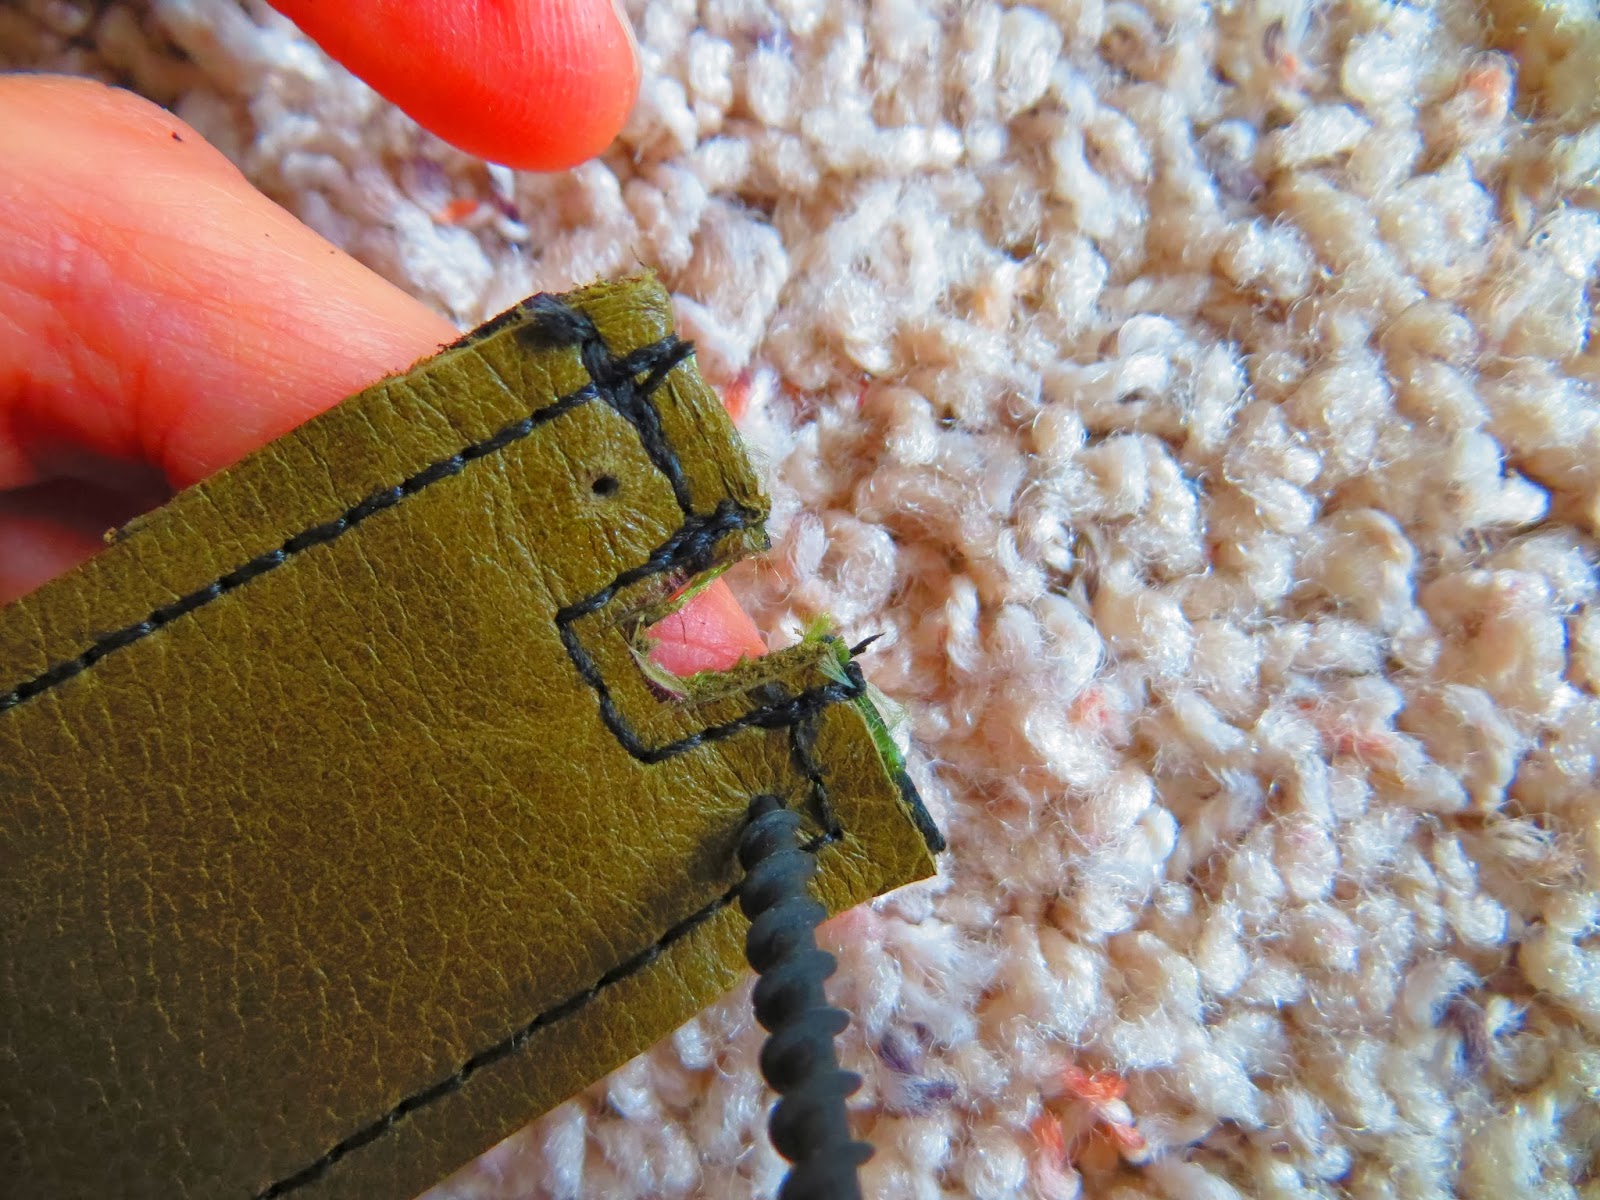
The notch in the leather is because there is a screw that runs in the middle so that the buckle can switch around. I hadn't anticipated this notch, but it was easy to fix.


I simply traced the notch and then stitched around it to reinforce it.


Next, I pushed the end of the leather into the buckle and traced two small dots where the screws would go.


With a screw, I sort of hand drilled through the first layer of leather.


Then, I shoved it back in and screwed the screws in place.


Laying both belts side by side. I figured out where the most used belt hole was on the old belt and marked the new belt with a screw point. Looking this up-close at the old belt makes me wonder....What part of it was bonded leather exactly?? Did they paint the leather on??...Seriously...


Then, I screwed back and forth into the hole with the same screw as before. I used a screw rather than a nail because a screw makes a cleaner hole. Also, if you want to do this, I suggest screwing on top of something like Styrofoam or something solid you don't mind damaging.


I then fed the screw through the other side back and forth.


This tool is actually for sanding out the holes in glass beads that can't fit onto a string.


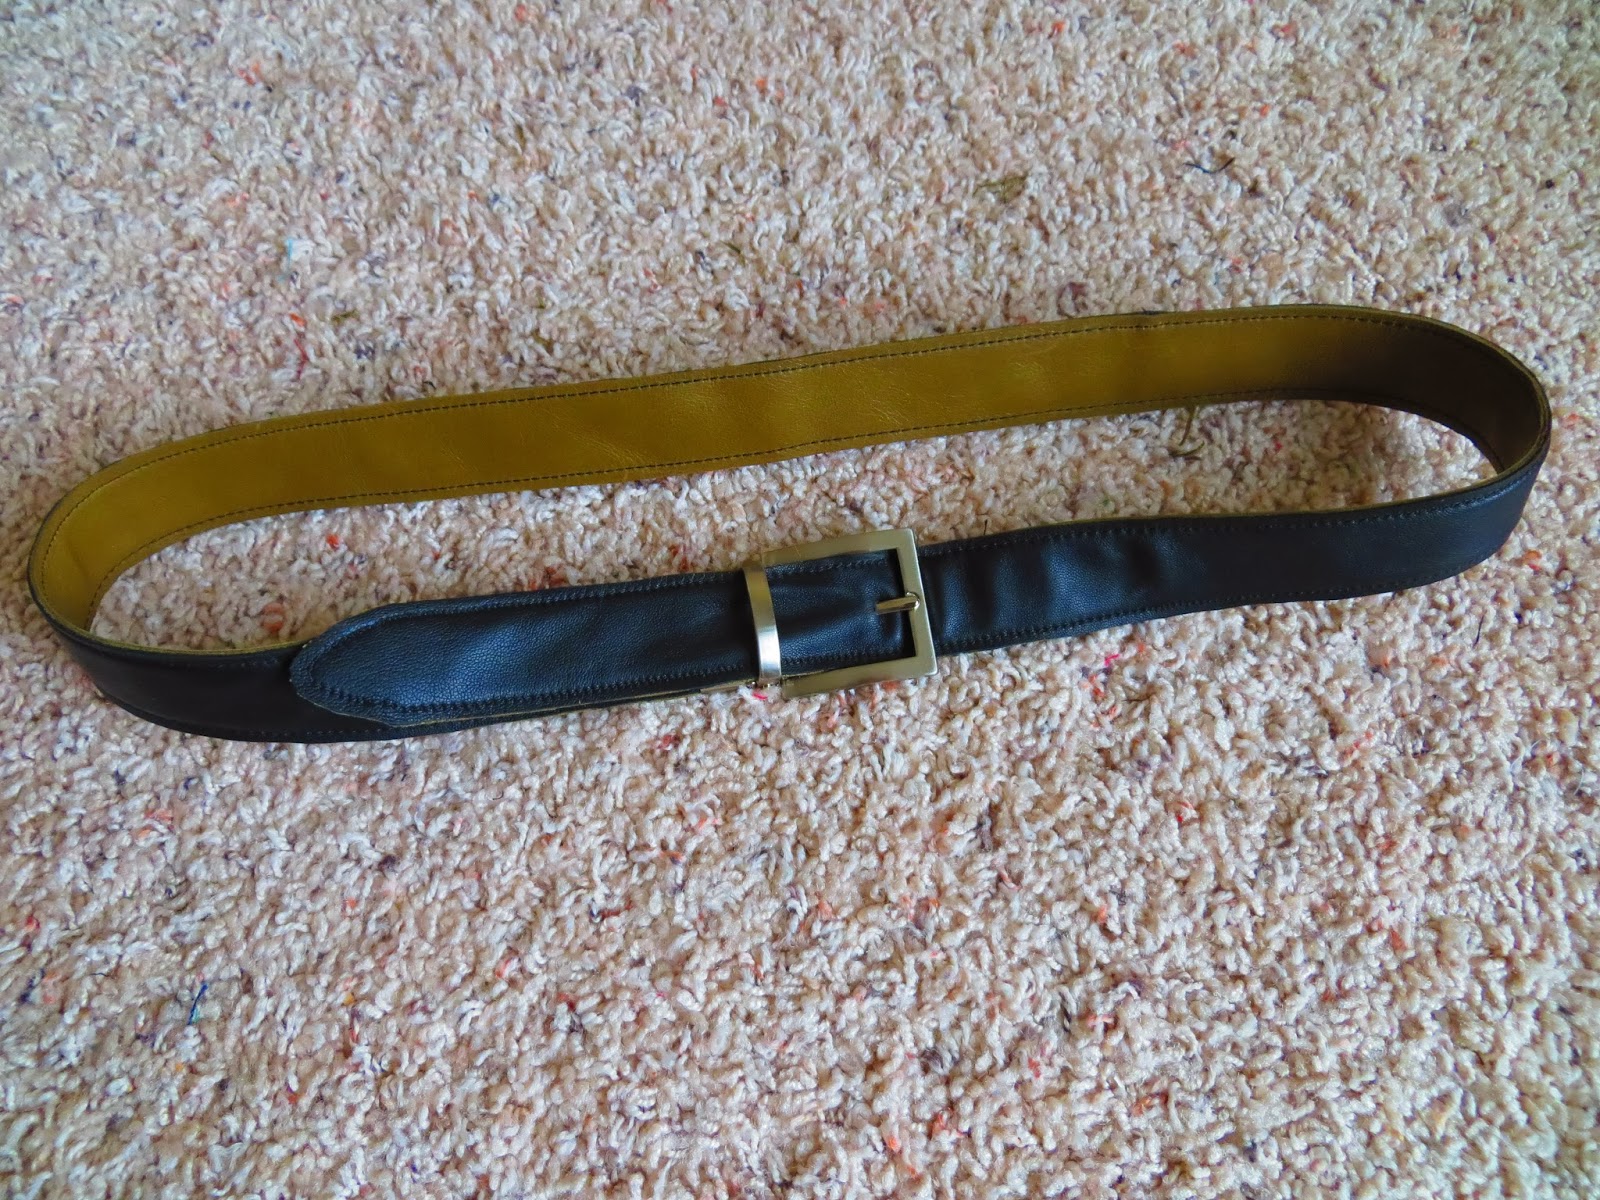
Ready! I'd say it's worth spending $9.00 on leather!


A brown belt.


A black belt.


A trash belt!


The End

Monday, May 20, 2013

Ultimate Travel Multi-Wear Shirt

I had this idea in my head, and I had a few hours last Friday, so I made it. It is reversible and can be worn in any setting from super casual to very dressy. Why don't you scroll down and see?

I used these three shirts as my inspiration. I used the top of the back grey shirt, the bottom of the front grey shirt, and the split front of the pink one. I just laid the shirts down and cut around them instead of making a pattern, because I was too lazy to use paper:


I cut the same pattern in the striped grey and the nude underneath, except the nude I cut a bit longer, obviously. The front neckline is slightly lower than the back, but it is wearable backwards (you'll see what that means later).


It looked kinda frumpy on me the way I had it up there, so I cut a slit up the middle of the front, detailed the lower seams, and narrowed the grey part so the nude part would sort of ruffle underneath.


The back.


You can see how I detailed the lower side seams here. I added elastic to the grey part and tucked the nude part.


This is how the two seams hang together.


If you turn it inside out, you can wear it like this.


This is how the tucked sides hang from the other side.


This is how it looks if you wear it with the grey side out and the slit in the back.


You can wear it to work!


I guess the style now is to mix like patterns.


You can also wear the slit in the front with a jacket.


You can gather up the grey and tuck it in and pin it in the back and make a sort of mock-midriff shirt.


If you pull the two corners of the slit to the back and pin them like this, you can get the following look.


You can also simply tuck in the nude part and let the grey part hang out. (The skirt is one that I made that I will post soon, but I'm still tweaking a few things.)


You can tie the two corners together up high and do a 50s/80s look.


Or tie it low and get this one.


If you use a wide belt, you can pull the two corners to either side and get sort of an Asian look going.


Flip it inside out and add a white sweater for a conservative granny style.


Looks good with black lace too.


Add a belt and pull the bottom out in a bit of a non-obnoxious peplum.


Gatsby it up! (Pretend that I wasn't lazy and added my string of pearls.)


It's off the shoulder...but not really.


Add a fake collar.


I wore it this past weekend with the grey side out, slit in the back, and the top from my flash dance dress.


Another nice thing about it is, it's made of polyester and nylon materials, so you can wash it out in a sink and it will dry over night! Ta-da! Perfect for travel!

Thanks for reading!