Showing posts with label brown. Show all posts

Wednesday, February 5, 2014

How to Make a Leather Belt...Or...What Happens When Your Husband Chews Up His Old Belt and You Wanna be Resourceful...

Okay, so...this post isn't about following my directions completely because, frankly, I feel that my method here was a bit lucky. I don't have any leather tools, but what I had just happened to work well. You may actually have better tools/materials than I, or different ones, but anyways, I thought this was pretty awesome and wanted to share it. Hopefully it will inspire someone...

If anyone wonders when I have time to do all this sewing, I wanted to show you what my husband does during time off. He is either studying for his classes or he is out in the backyard clearing the woods in his little forest-y man-cave.


He's a cutie.


Anyways, even though he is cute, he is a ravenous beast when it comes to his belts. He has been using this belt for only two months! Stupid bonded leather!!


Well, I've been mulling this project over for awhile. After studying his current belt, I noticed that the buckle is attached to the leather by little screws.


This is actually a really cool belt as you can pull the buckle apart and switch it around. This way it can be worn with black or brown. The buckle is still in really good shape, so. . .I was going to use it!


I found a pair of ladies' black leather pants at Goodwill for $1.00, so I cut them apart.


I found this huge brown cowhide at another thrift store for $8.00!!! (That is a queen sized bed!)


One thing I was really nervous about was whether my Husqvarna Viking machine could sew through two layers of leather with heavy duty thread. Well, I think the sample piece below gives the answer! (If you are trying this at home, I would not advise trying it on a Singer or Brother machine, unless they are commercial machines. Husqvarnas are just really awesome, and I never even knew how awesome until today! I wish I were famous so I could advertise for them. . .) You could also sew it by hand, but. . .that would take forever.


(I wanted to show my mother-in-law that I am making good use of her Christmas gifts.) If you don't have a ruler, mat, and rotary cutter set, you can just lay something with a flat edge on top, trace the straight edge with a pen and cut the leather with scissors.


After cutting that edge, I measured down about 1 1/4 inches and cut again.


I did the same to the black, except I measured the black about an 8th of an inch wider. I did this in case the two layers shifted during the sewing process. It would be far easier to trim the black than to have uneven seams.
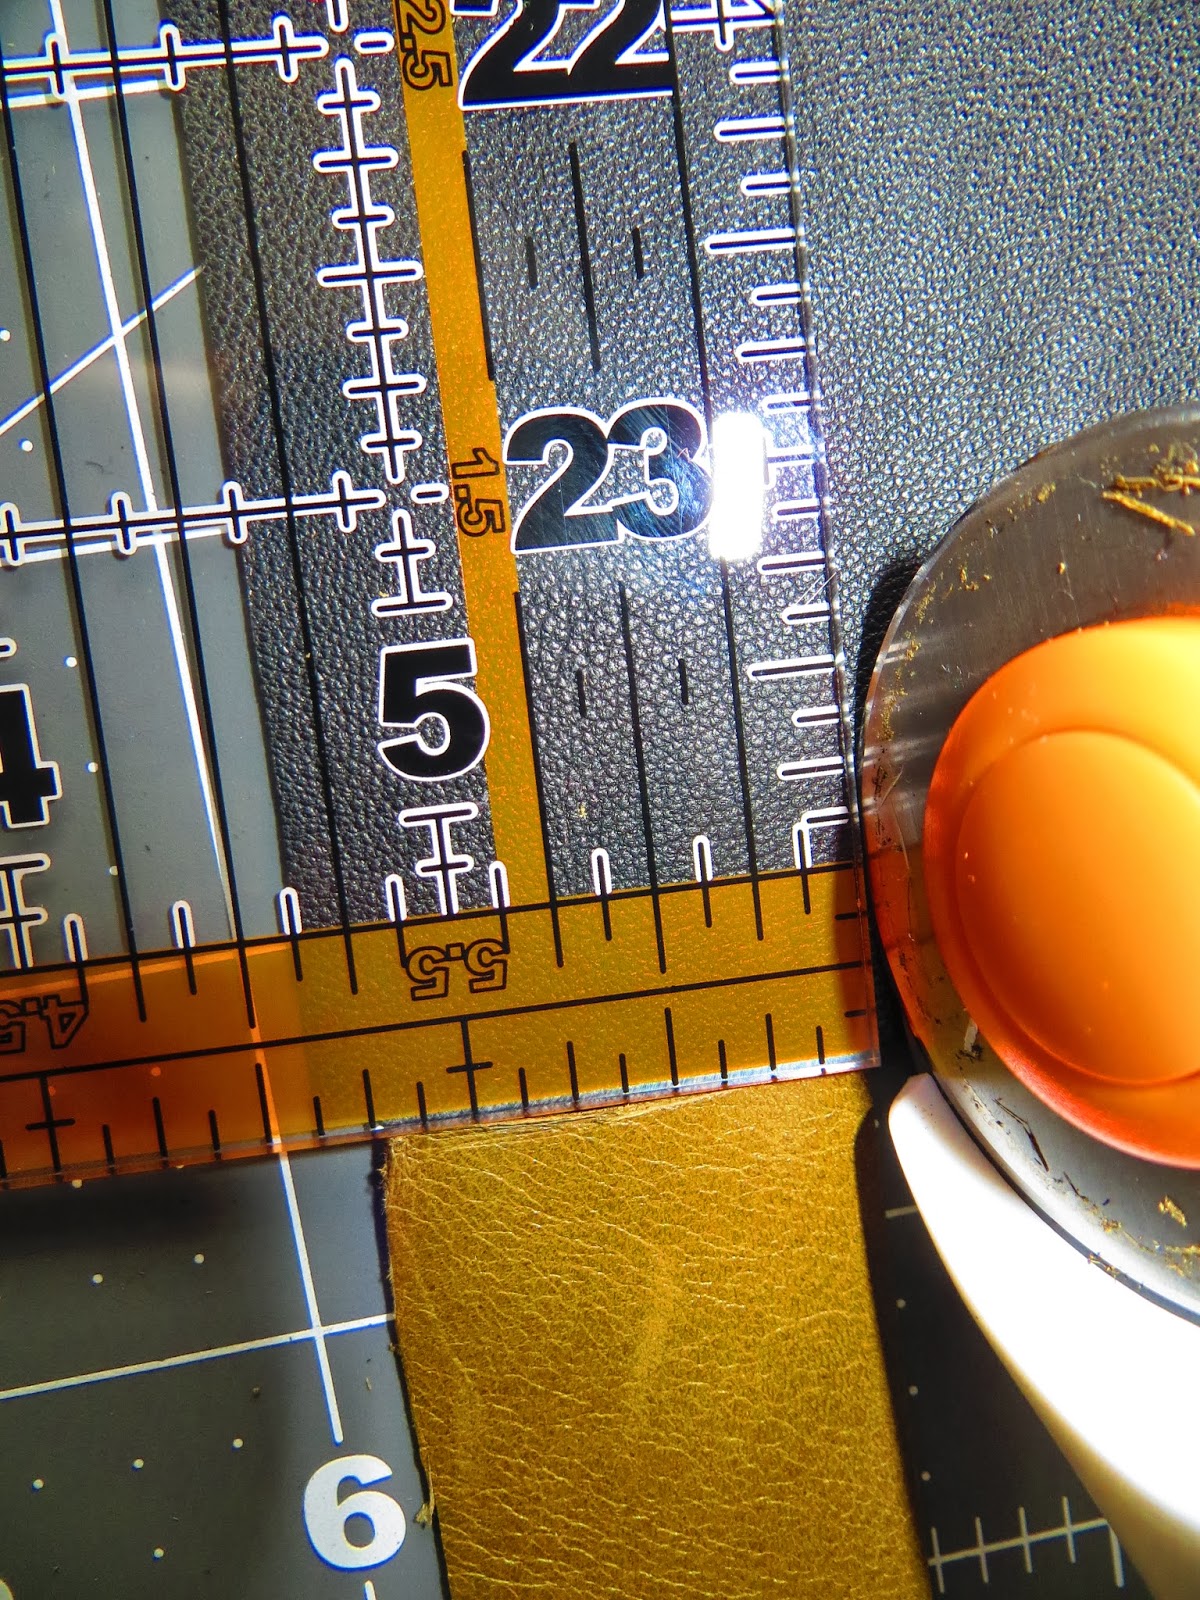


Before stitching the two layers together, I put a length of ribbon between them. This was to help stabilize the leather and hopefully deter too much stretching.


I stitched it all together. You can see that the black is wider than the brown.


This is after I trimmed the black.


The next step was to unscrew the tiny screws in the buckle.


The notch in the leather is because there is a screw that runs in the middle so that the buckle can switch around. I hadn't anticipated this notch, but it was easy to fix.


I simply traced the notch and then stitched around it to reinforce it.


Next, I pushed the end of the leather into the buckle and traced two small dots where the screws would go.


With a screw, I sort of hand drilled through the first layer of leather.
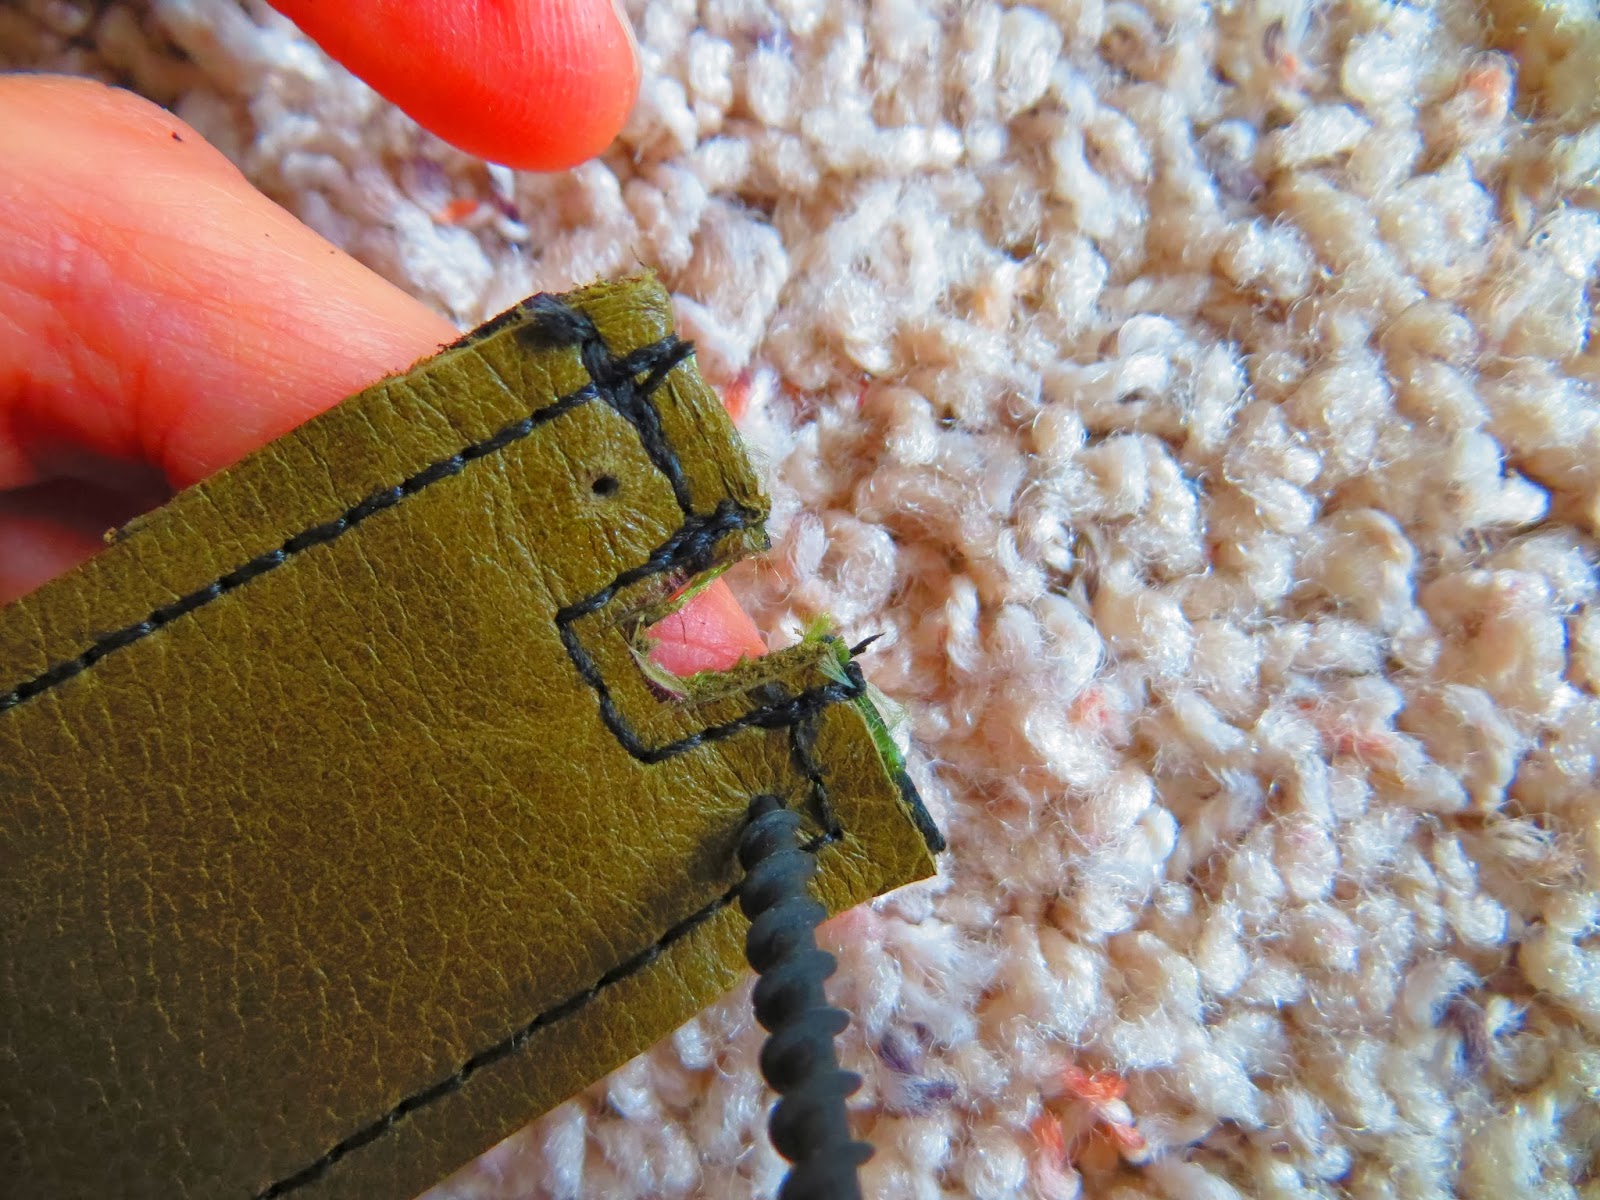


Then, I shoved it back in and screwed the screws in place.


Laying both belts side by side. I figured out where the most used belt hole was on the old belt and marked the new belt with a screw point. Looking this up-close at the old belt makes me wonder....What part of it was bonded leather exactly?? Did they paint the leather on??...Seriously...


Then, I screwed back and forth into the hole with the same screw as before. I used a screw rather than a nail because a screw makes a cleaner hole. Also, if you want to do this, I suggest screwing on top of something like Styrofoam or something solid you don't mind damaging.


I then fed the screw through the other side back and forth.


This tool is actually for sanding out the holes in glass beads that can't fit onto a string.


Ready! I'd say it's worth spending $9.00 on leather!


A brown belt.


A black belt.
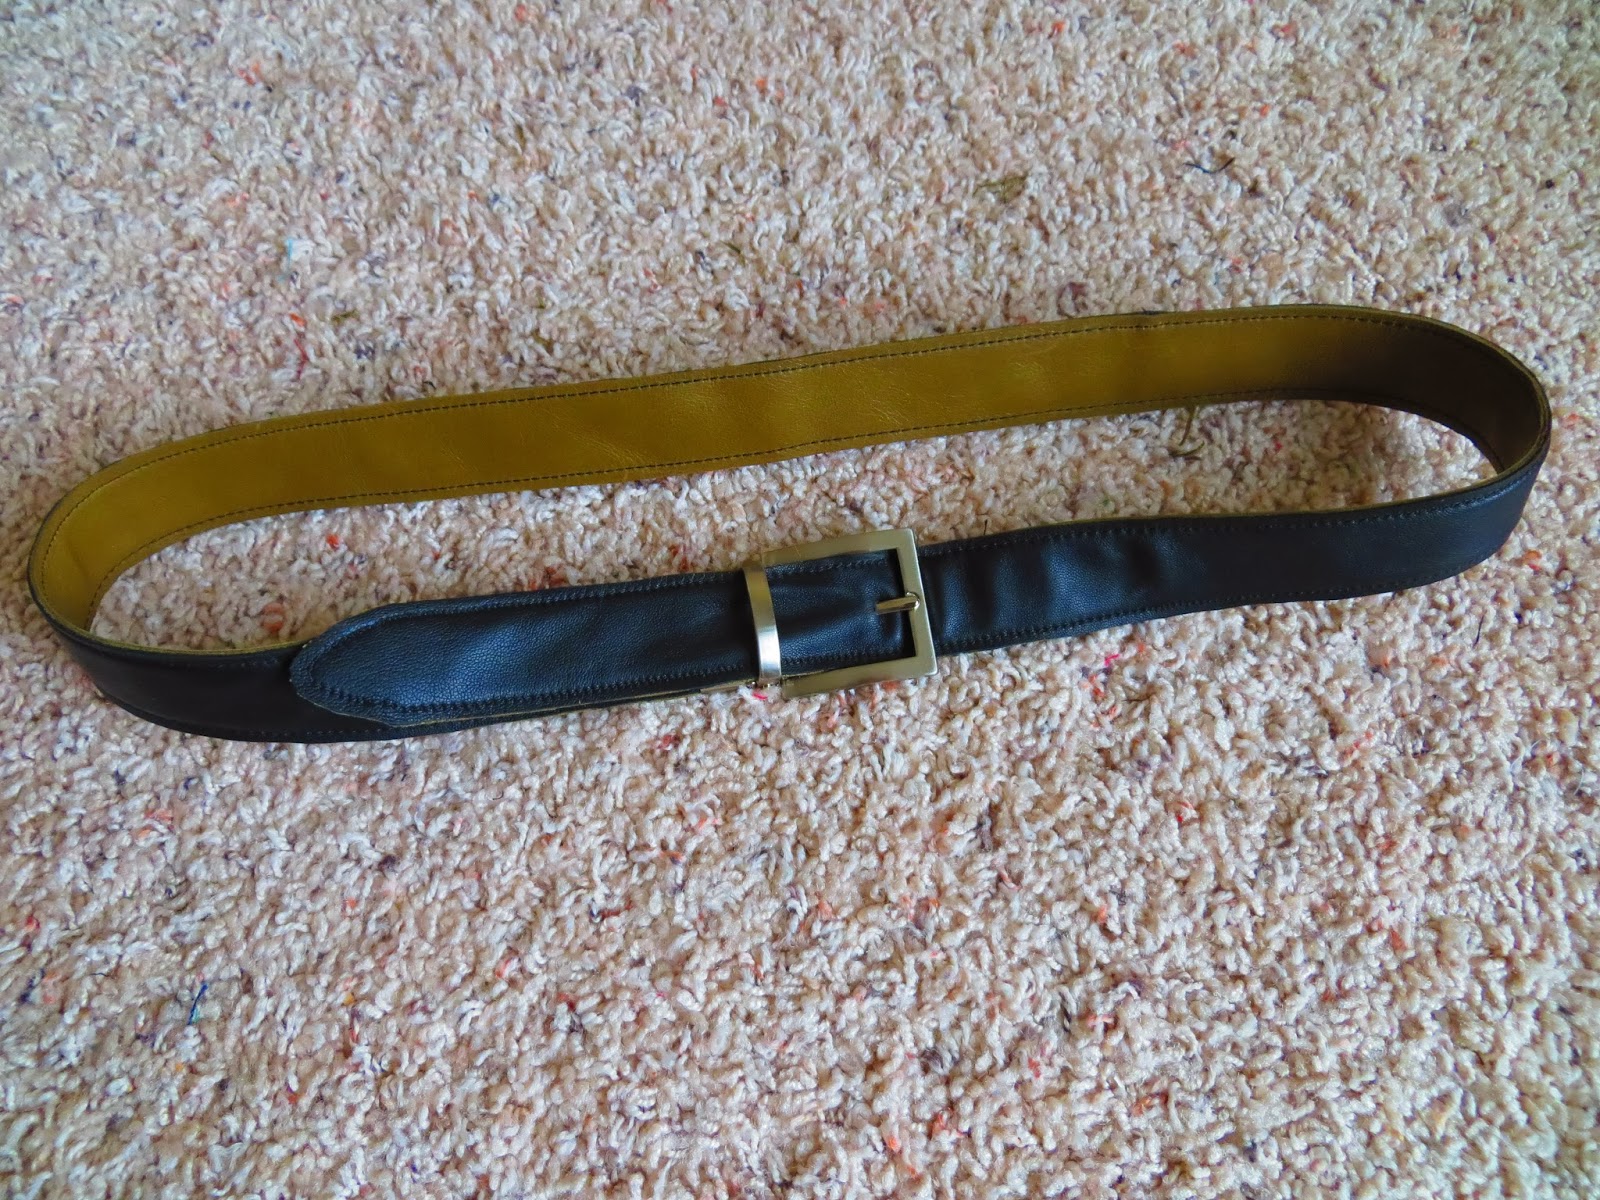


A trash belt!


The End

Thursday, October 17, 2013

Breast Cancer Awareness Jumper - Pink and Tweed

For some reason, the colors aren't coming through on this one the way I'd hoped. Anyways, I bought a yard and a half of this sort of brown and pink cotton tweed a few weeks ago. I've had to go to work a lot this week, so I had no time to do anything with it. Today I had off, so I decided to make something with it.


You can't really tell, but it's tan and black together with a light pink stripe going one way and a bright pink stripe going the other way. I wanted to make a jumper with pockets to wear with this light pink long-sleeved sweater/shirt that I have.


The side seam patterns match up and the front bodice stripes are exactly off center to the waist strip in the front and the back.


It has pockets!


Aaand then my camera ran out of batteries. Consider yourself aware.

The End.


Friday, September 27, 2013

The Sell-Out #1: Butterick 5890 - The Alice in Wonderland Smock Bubble Dress

I am no fan of store-bought patterns. I haven't used them in over a decade. I like to make my own. However, the other day I was at a thrift store and came across several boxes of vintage patterns. As they were $.30 apiece, I thought playing with them might be fun. Most of them were of hideous 90s dresses, but a few were kind of interesting. This was one of them. I was particularly interested in the pointed yoke and the pleated front. Also, I wanted to see how they'd patterned the pockets. 


Since, I used a pre-made pattern for this one, I called it a "sell-out." However, you know I can't follow directions, right? In fact, I looked over the directions and followed about half of them. That is the exact reason I hate store-bought patterns. They take you through all these unnecessary and confusing steps when all you have to do is think of the next logical step. For instance, they wanted me to add a zipper. Why in the world would I need to add a zipper to a dress that I'm practically swimming in?

I'm not really a good body type for this kind of dress as I don't really have shoulders, so I decided to add sleeves. This is what happened. Ick:


It looks like a feed-sack--exactly the look I was NOT going for. This was also the smallest size available on the pattern. After making it, I realized the pattern packet read, "Maternity" on the front. Oops. No wonder.

So, then I remembered I had a really comfortable, cute H&M smock dress hanging in my closet. I got it out and studied it.


My fixes were to take in the sides about two inches, peg the sleeves so they didn't stick out like a weird Sci-Fi costume, and hem the dress to just above the knee.


The brown and blue diamond fabric is left over curtain material from my sister's house. The blue skirt material is, I think, from hospital sheets.


Details, details:


Oh, so proud of the symmetry. Notice it around the neckline, the point, the shoulders, even the sleeves, please.


This small peg makes a big difference.


Fearful symmetry. (That is where the unnecessary zipper was supposed to go. Maybe next time, I will just put the fabric on the fold and skip this seam entirely.)


Deep side pockets. Mmmm comfort!


The End!...Just kidding, it's not.

So after posting this, I was trying the dress on, and you know what? I didn't love it. It wasn't different enough for me. I dunno, it was too poofy or something around the bottom. So I tapered the bottom hem in a little bit on both sides at an angle. Here I pulled the sides way out to exaggerate what I did. (The dress won't hang this way.)


I just think the tapering on the bottom helps to balance the architecture on the top.


Yeah, this is way more "me". . .More Asian-y looking.


The REAL End!


Wednesday, September 4, 2013

Chanel Inspired: Striped Sweater

Okay, so this is another one that's really loosely based on Chanel. Anyways, I've been seeing sweaters for fall and winter that have shorter sleeves than you'd expect. I'd been working on this sweater for about two weeks, off and on, whenever my husband and I watched T.V.  I made this sweater from the leftover yarn I still had after the "Baby Boom of '13" as I'm calling it. (Of the 250 people at my church, 10 women will have had babies this year. I made them all mother/baby hat sets, and I had a ton of leftover yarn. Hence, the sweater.)


Basically, I knitted five panels. Two sleeves, two large panels for the body, and one for the neck. Then, stitched them all together. 

(I did other things too, like tapering in the body panels at the top to avoid the shoulders hanging off, folding the "fabric" over to create tubular edges, and tapering the top hems of the sleeves so they hang at an angle.)


This sweater is super bulky, so I will definitely not travel with it! It takes up almost half my carry on!


I lifted the sleeve to show how I matched up the colors on the seams on the sides.


The End!