Showing posts with label reusable. Show all posts

Sunday, April 5, 2020

How to Make a CoVID-19 Reusable Washable Homemade Mask

I have really been inspired by rewatching the movie “Superman I.” (In fact, I wrote about it along with nine other ideas I bet you’ve never heard of on how to deal with this pandemic. You can read it here.) I have been trying to think of way to be a “Superman” during this pandemic, but it’s not easy!

My husband and I have really been trying to think of something we can do to help while maintaining good social distancing protocols. He suggested that we start calling everyone on our contact list to check in on them. I thought that was a great idea. It keeps infections from spreading, but it shows people you care.

I, on the other hand, had this really ambitious idea to make a ton of face masks. They don’t seem too hard to make, and I thought I could crank out 40-50 in a couple of hours.

Well, I was definitely wrong about my ambitions. It took me all day Saturday to crank out a paltry dozen. Like, literally all day!


Seriously, each one takes me about 30 minutes. And I work fast! It took at least an hour to cut all my fabric and then another six hours to make the twelve I made. So, I decided that since it’s not feasible for me to make masks for everyone I know and love. And since sitting at my machine for hours on end kills my back. And since I have to tear up my work-from-home office every time I want to get to my sewing machine, and then put it back together for work the next day. And especially when everyone else seems just to be reading books, watching movies, and “Netflix and Chill”-ing. And since people tend to ask me to make them things that they never end up using. 
I thought: Why am I going to kill myself making a million masks???

I decided that we would distribute the ones I made among our neighbors. Besides, this cuts down on the social contact of driving around to deliver masks to everyone. And it creates a sense of community around your home. 

If we all made masks or bought toilet paper or delivered groceries to the three to five people we live around, this whole pandemic would be a lot nicer and more manageable. Plus, this sort of help is a lot more sustainable versus trying to make a million masks for everyone you know!


Then, I decided I would write a mask tutorial for everyone else. You really need to learn how to sew, and you’ve got a ton of time on your hands if you’re not working. Here’s another reason it’s better for you to make your own masks: Liability. No one knows who has this CoVID-19 and who doesn’t. What happens if I make you a mask and then you get coronavirus from me? I’m not gonna play that game. Incidentally, if you are ordering a homemade mask from anyone, you need to make sure that you wash it and let it thoroughly dry before you wear it. However, if you make it yourself from your own fabric, you don’t have to worry about that at all!

So, I’m just going to warn you. This isn’t the easiest tutorial out there. I am just going to show you my process, in case you are interested. My method uses bias tape, because I wanted to use what I have already and I have a lot of bias tape. If you don’t know what bias tape is, then clearly, you need to look for a different tutorial. (Google: “Easy mask tutorial”) I will say that my version can be washed and tumble dried. (Although, line dry is better as tumble drying can strip the filtering of the fabric over time.)

On the bright side: Even if you are a terrible sewer and are really sloppy, that’s fine! These don’t have to be perfect. They just have to be functional, so give yourself some grace.

Here’s what I used: A Ralph Lauren bed sheet, white cotton, baby blanket flannel, chenille wire (pipe cleaners), and bias tape.


So I read from another tutorial that an 8”x8” square is good for adults and 7”x6” is good for children. I cut the fabric accordingly.


Originally, I made these three-ply—wanting to be as safe as possible. However, I think as long as you have a good quality cotton and a layer of flannel, you should be okay. All the sources I read said these were the best fabrics to use. You do have to actually breathe through them! So, maybe don’t make too many layers.

Note: When wearing face masks, you need to limit your movement. Because they constrict your air flow, you will get winded if you try to run or move too quickly with one on.


So fold the top down approximately 1 1/2” and pin it.


Make another fold and pin that too. I’m sorry. I don’t use exact measurements. I just eyeball it and make it look like this each time.


Then, I pinned some bias tape to the edge.


After I sewed that down, I folded the bias tape in half. (Most bias tape comes prefolded, so you probably won’t have to do this.)


Then, I folded the edge of the tape to the middle crease I’d just made.


Then, I flipped the bias tape around the mask’s edge and pinned it in place.
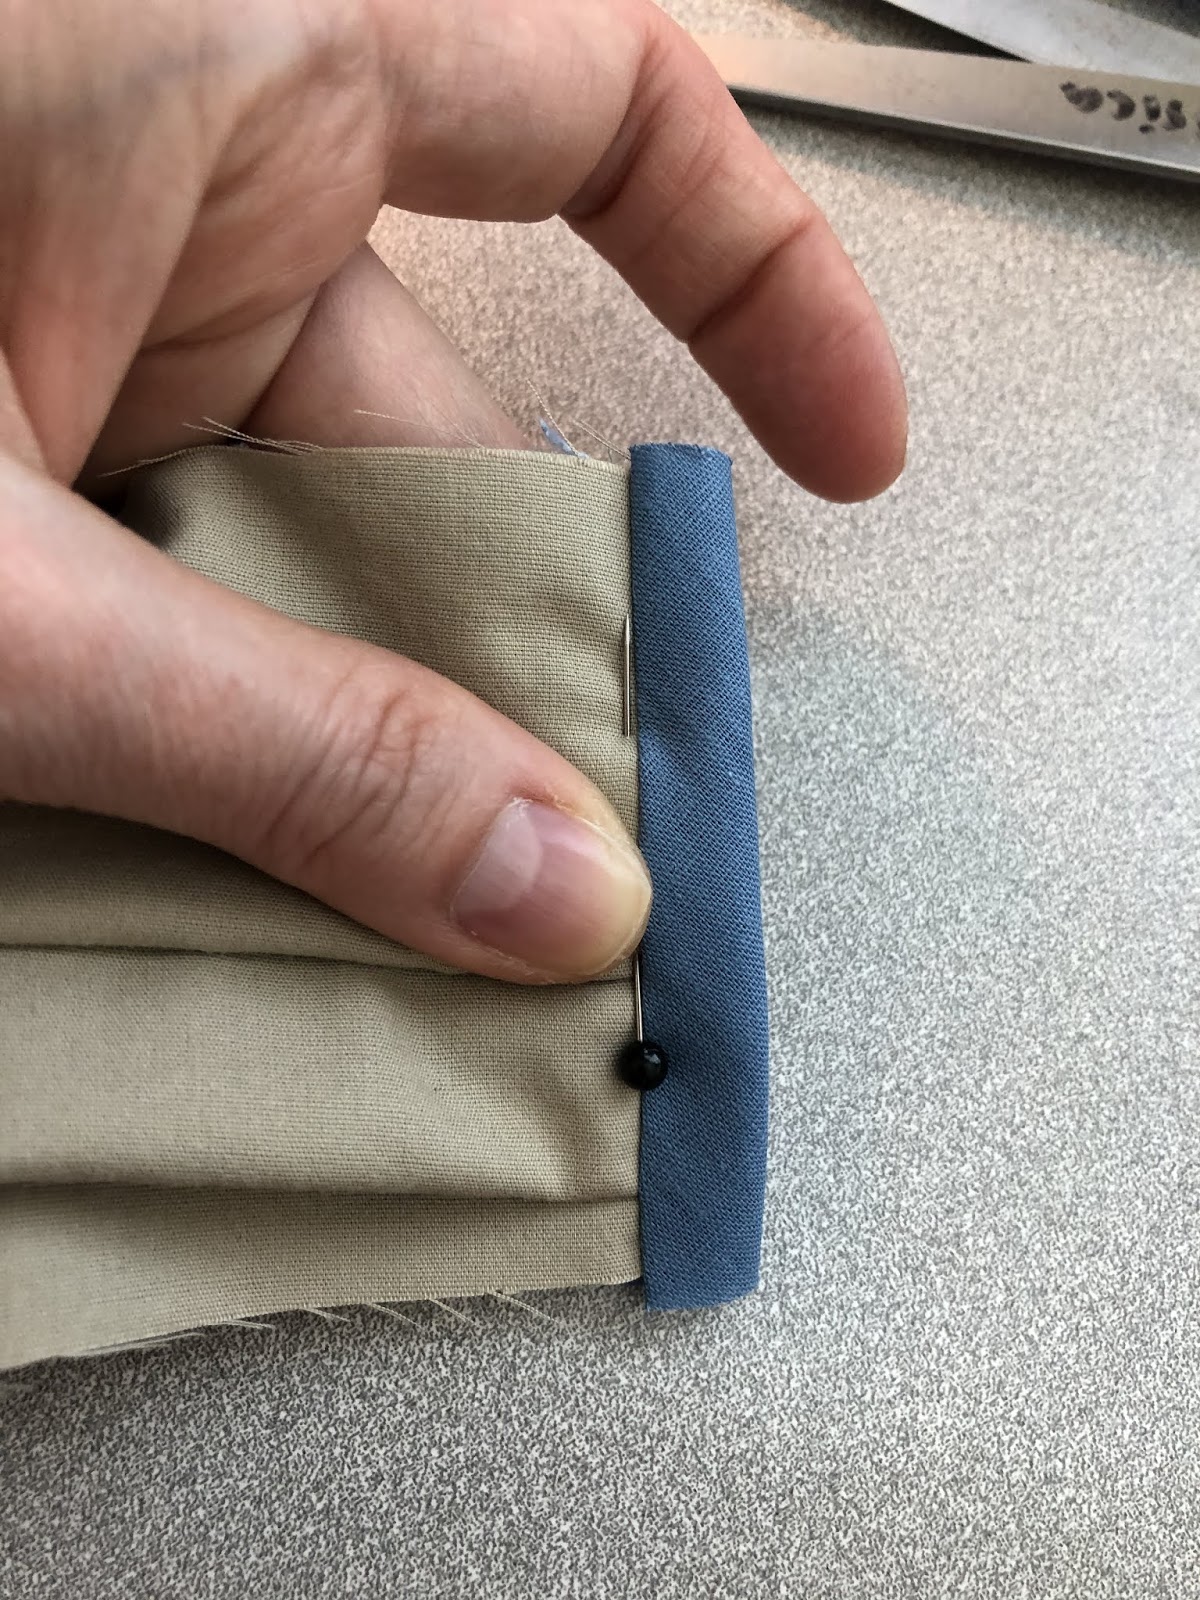


I stitched in the ditch, but you could also top stitch if you want. It doesn’t have to be perfect.


So this is what both edges looked like bound in the bias tape.


Now, I had to sew in a little pocket at the top to put in the chenille wire. (This is so you can adjust the mask over your nose.) Start the pocket about 1 1/2” from the side edge. Sew down about 3/4” and then across and back up. Look at the picture after this one to see what that looks like. 


This is what the little pocket looks like when you are done.


Then, I measured how much chenille wire I needed against the pocket.


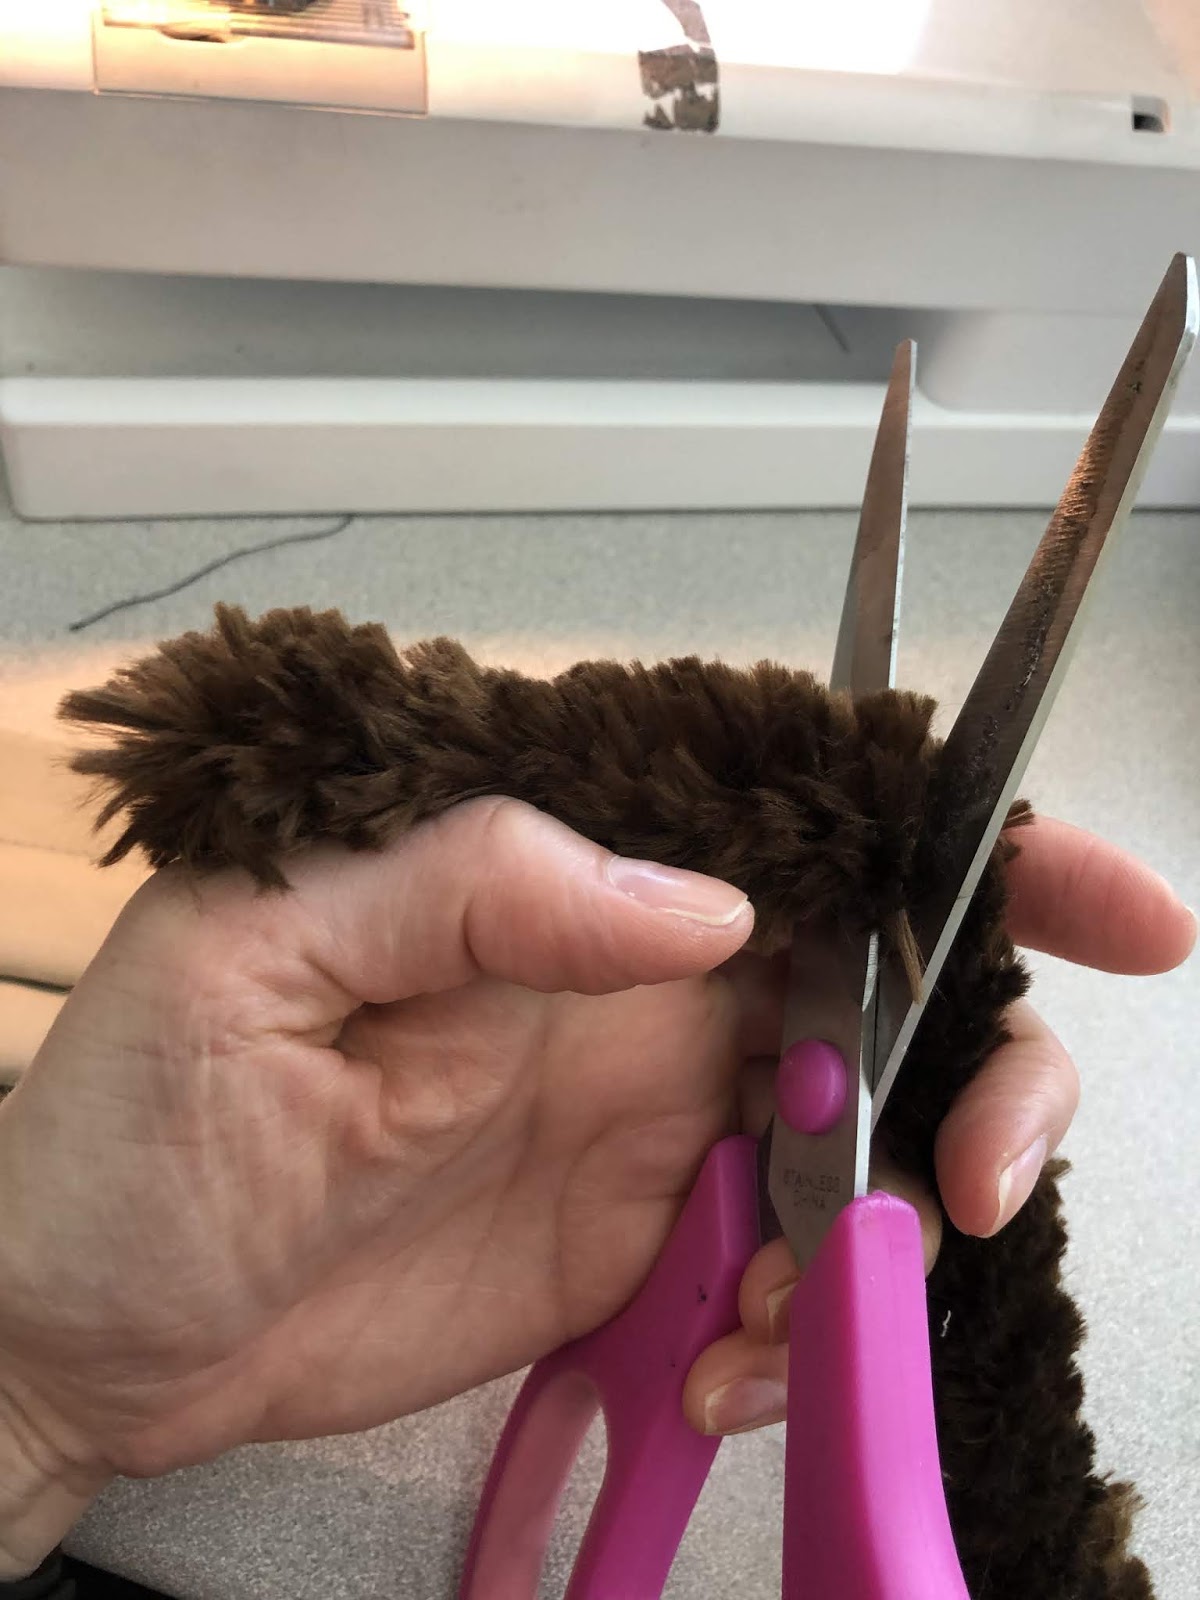
My chenille wire is really thick and fuzzy for some reason. Most pipe cleaners are a lot thinner. You probably will never have to do this step to cut it down. However, I wanted to use what I already had versus running to the store.


After trimming the wire, I folded the ends over to keep them from poking out of the mask.


Then, I placed the wire into the pocket.


Then, I stitched it in place. Again this doesn’t have to look nice. You just want a simple stitch to keep the wire from popping out.


Sorry that the picture is sideways, but you can see the wire is in place.


Next, I cut two approximately 22” piece of the bias tape. I didn’t formally measure these pieces. I just  used my arm as a measurement.


Then, I folded both pieces in half and finger pressed a crease.


I matched the crease to the middle of the mask.


And then I pinned each piece—one to the top and one to the bottom of the mask.


After stitching them in place, I folded the bias tape in half lengthwise and finger pressed them.


Then, I folded the edges into the middle crease, beginning with the middle of the mask.


Then, I flipped it over the edge.


And I pinned it in place.


Then, I just worked my way from the middle out to the outer ends and pinned as I went.


This is the most difficult part, but once you get all your pins in, it’s straight shooting from here and you’re done!


The finished mask.


So I made the straps long so that they can be worn one of two ways.

This first way is tied around back.


But not all heads are created equal, and some people don’t like them tied behind their heads.
In that event, you can just tie the ties in loops like this and hang them off your ears. If you don’t like the bows, you can either make the straps shorter to begin with or you can cut them down once you get them how you want them.


Happy sewing!

The End!


Tuesday, October 22, 2013

Make Your Own Convenient No-Sew Reusable Napkin System in Less Than 20 Minutes!

If there's one thing I hate, it's buying paper napkins and paper towels. I always end up forgetting to buy them when I'm at the grocery store, or else forgetting that I bought them last time and having bazillions of paper towels cluttering up my precious under-the-sink space. I also really can't stand how much trash my husband and I create from just paper napkins and paper towels. Think of how many you use a day--not only for meals, but snacks, wiping things off, etc. It's a ridiculous amount. Last Saturday, I did something about it, and you can too! Apparently, a quick Google search will bring you to hundreds of other people who have had this same brilliant idea.

What makes my idea different is that my process only takes 20 minutes of your life and creates a reusable napkin system that is just as convenient as the paper ones!

All you Need:

1. Pinking Shears.
2. A clean old bedsheet.
3. Measuring Tape.


A word about the supplies above. Pinking Shears are those funky zig-zag scissors. People use them when they want to create a non-fraying edge to fabric without having to hem the fabric by sewing. You can buy a decent pair at Walmart for around $10, or ask your grandmother for one--every grandmother has a pair. It's a grandmother prerequisite. (Don't use the kind for scrapbooking, because they don't cut fabric very well at all.) Use an old bedsheet. In other words, DON'T GO BUY A BRAND NEW ONE. That defeats the purpose of "Going Green." If you don't have a bedsheet to spare, use random cotton fabric scraps, or else if you absolutely have to buy one go to the thrift store. Let's use what we have already instead of creating more trash.

Now you need to figure out the correct measurements to your liking. I am too lazy to make big ol' 12-14" napkins because when they are that size they need to be folded before they are stacked. Yeah right. Not happening. Also, you are going to want to measure the entire piece of fabric to see if it is closest to a multiple of something. In other words, if your sheet is 60" across, and you are making 10" napkins, you can make six napkins across without any waste. If you are using bolt fabric that someone gave you, that kind of fabric is usually 44-45" across, so if you made 11" napkins, you could get four of them across. Make sense? My fabric was 52" inches across (I had a big scrap), so I decided to make 10" napkins. I cut a little slit at 50" and then ripped the fabric down the length of it instead of cutting: (1) it saves time (2) I was sure to get a straight line.

(The picture below just shows you what 10" looks like compared to a folded paper napkin.)


From there, I measured the fabric the other way and got 64", so I cut a little slit at 60" and ripped it down the length. When I finished ripping I had a piece of fabric that was 50" x 60". 
In other words: 30 napkins.

From here, you can just cut the edge of your fabric all the way around with the pinking shears. However, if you want to save time, do my little trick: Fold the fabric in half and then half again. This creates four layers. (My pinking shears can cut 4-6 layers of material, so this was perfect.) Smooth out any wrinkles and then cut the two sides of raw edges. This creates the same amount of cutting in 1/4 of the time!


From here you can painstakingly measure 10"x10" and cut, measure 10"x10" and cut, or you can do my time-saver method below! 

Lay your tape measure just above one of your newly "pinked" edges and make little cuts at every 10" or 11" measurement. Then move the tape measure up a few inches as pictured below and cut from the little cuts you just made to the designated measurements on the tape measure. Don't worry about your lines being perfectly straight, just do them as straight as you can.


Move the tape measure up a little and do the same thing.


And again.


And now you are done with that series of cuts. 


Now stack 2 or three of these strips on top of each other and do the same cutting technique going the other way to create squares.

Notice that I have two and a half napkins forming. Remember how my fabric was 50" wide? When folded in half, it becomes 25". If you have a measurement with an odd number followed by a zero (30", 50", 70", 90", etc.), make sure you leave the "half" part on the folded side. Otherwise, you will have a bunch of half napkins!


Aaaaand (Blogger put my picture in sideways) You're done! You can use them for normal napkin use, or you can even clean surfaces with them like paper towels! Plus, they don't rip like paper products do, so you can use fewer of them at one time.


How to Put Your New Napkins in an Old Napkin Holder:

You probably have noticed that these napkins are a bit bigger than the folded size of your paper napkins. Don't worry, you don't have to fold them individually to get them to work in your napkin holder. All you have to do is fold them all together a little bit on one side. 


Then, put that folded side down into the holder. To get one napkin out at a time, simply grab one napkin and lightly and quickly tug-tug-tug at it until it comes out. You may have to practice this a little because if you grab one the way you grabbed the paper napkins, they will all come out at once. Don't worry, it works really well once you get the hang of it. (One other advantage to pinking the edges rather than taking hours and hours to hem the edges is that you can fit more napkins into your holder at a time.)


Goodbye old paper towel dispenser! You were breaking anyway!


Now to Make a Napkin "Laundry Bag":

I didn't know what else to call it but a laundry bag. In order for this whole fabric napkin thing to become just as convenient as its paper alternative, you are going to need a place to put the dirty ones until they can visit the washing machine and dryer. They need to be kept separate from the rest of the laundry so that they don't go missing/end up all over the house. This can be done in several ways, I'm just going to give you two. Be creative!

The first thing I tried was a lingerie bag I bought at the Dollar Tree. Any small mesh bag will work. Make sure it's mesh so it can breathe. Sometimes napkins get wet, you know. In other words, DON'T make your napkin laundry bag out of a plastic bag...unless you like stinky mold.


This is what it looked like when I hung it on a nail on the door under the sink. It was kinda too long and took too much effort to open and close every time we had a dirty napkin. If you aren't as lazy as me, then this system is fine.


However, I knew I wasn't going to keep that effort up for very long, so I took some yarn and some plastic canvas, and constructed this little box and hung it on the same nail. (This part takes about 45 minutes, though.) Voila! Easy and Doable! You could achieve this same convenience with any mesh or holey box on a nail under your sink. You don't have to make it, you know. Just use what you have! That's all I did.


**Doing this project with your kids (that are old enough for scissors) is a really great way to help them see the importance of reducing trash, saving money, creating something, helping the environment, and saving time!**


The End!