Here is a project I did just yesterday.
If you like raglan sleeves, here is an easy way to turn any two piece shirt pattern into a raglan pattern without cutting your pattern apart.
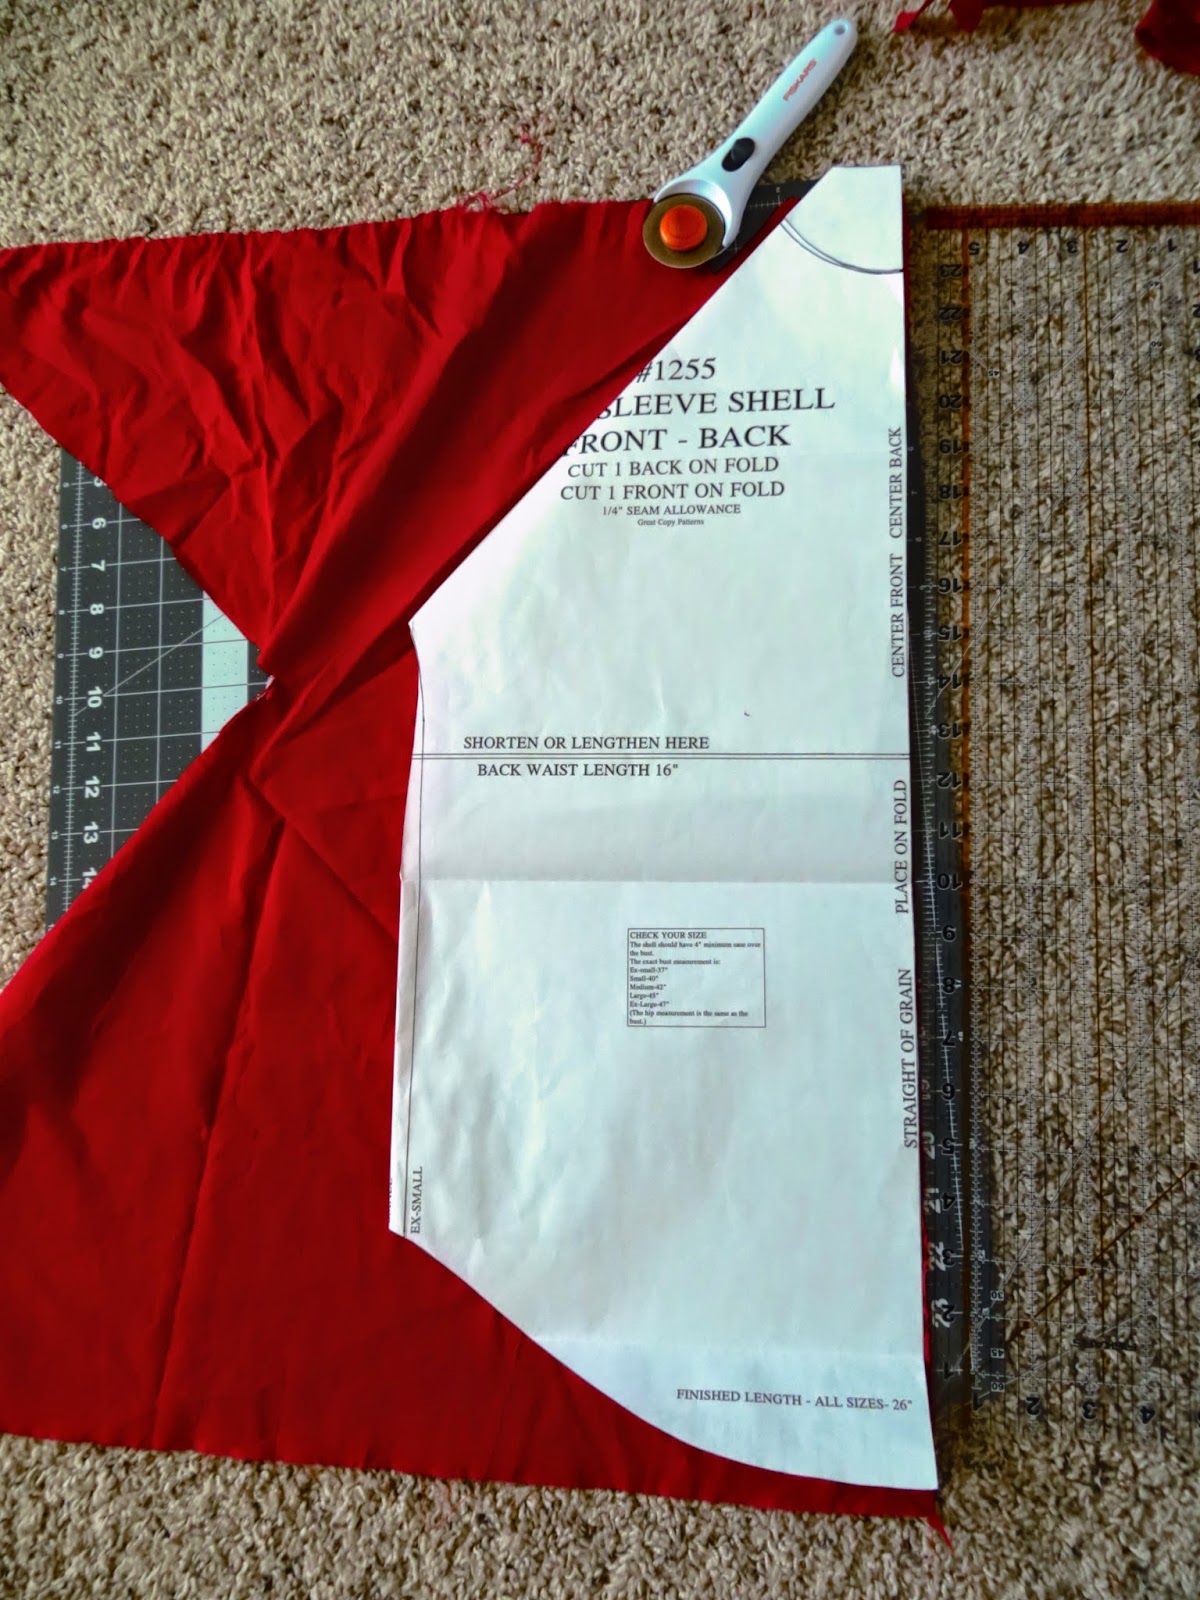
As you can see below, this is what I'm talking about when I say a "two-piece shirt pattern." In other words, a two-piece shirt pattern is one where the bodice and the sleeves are all one piece, so the whole pattern is two pieces: one for the front and one for the back. (Usually the sleeves are a separate piece.) The pattern below is actually a one-piece shirt pattern as the front and back have been combined as you can see from the slit at the neckline.

Okay, to make a raglan sleeve, all you do is make a diagonal fold from the neckline to the arm pit. You then simply cut out both sides of the fold from different fabric, sew them together, and you're done. I chose red for my bodice. (I don't use pins. I just hold the paper down with one hand and rotary cut the fabric with the other. God bless rotary cutters.)
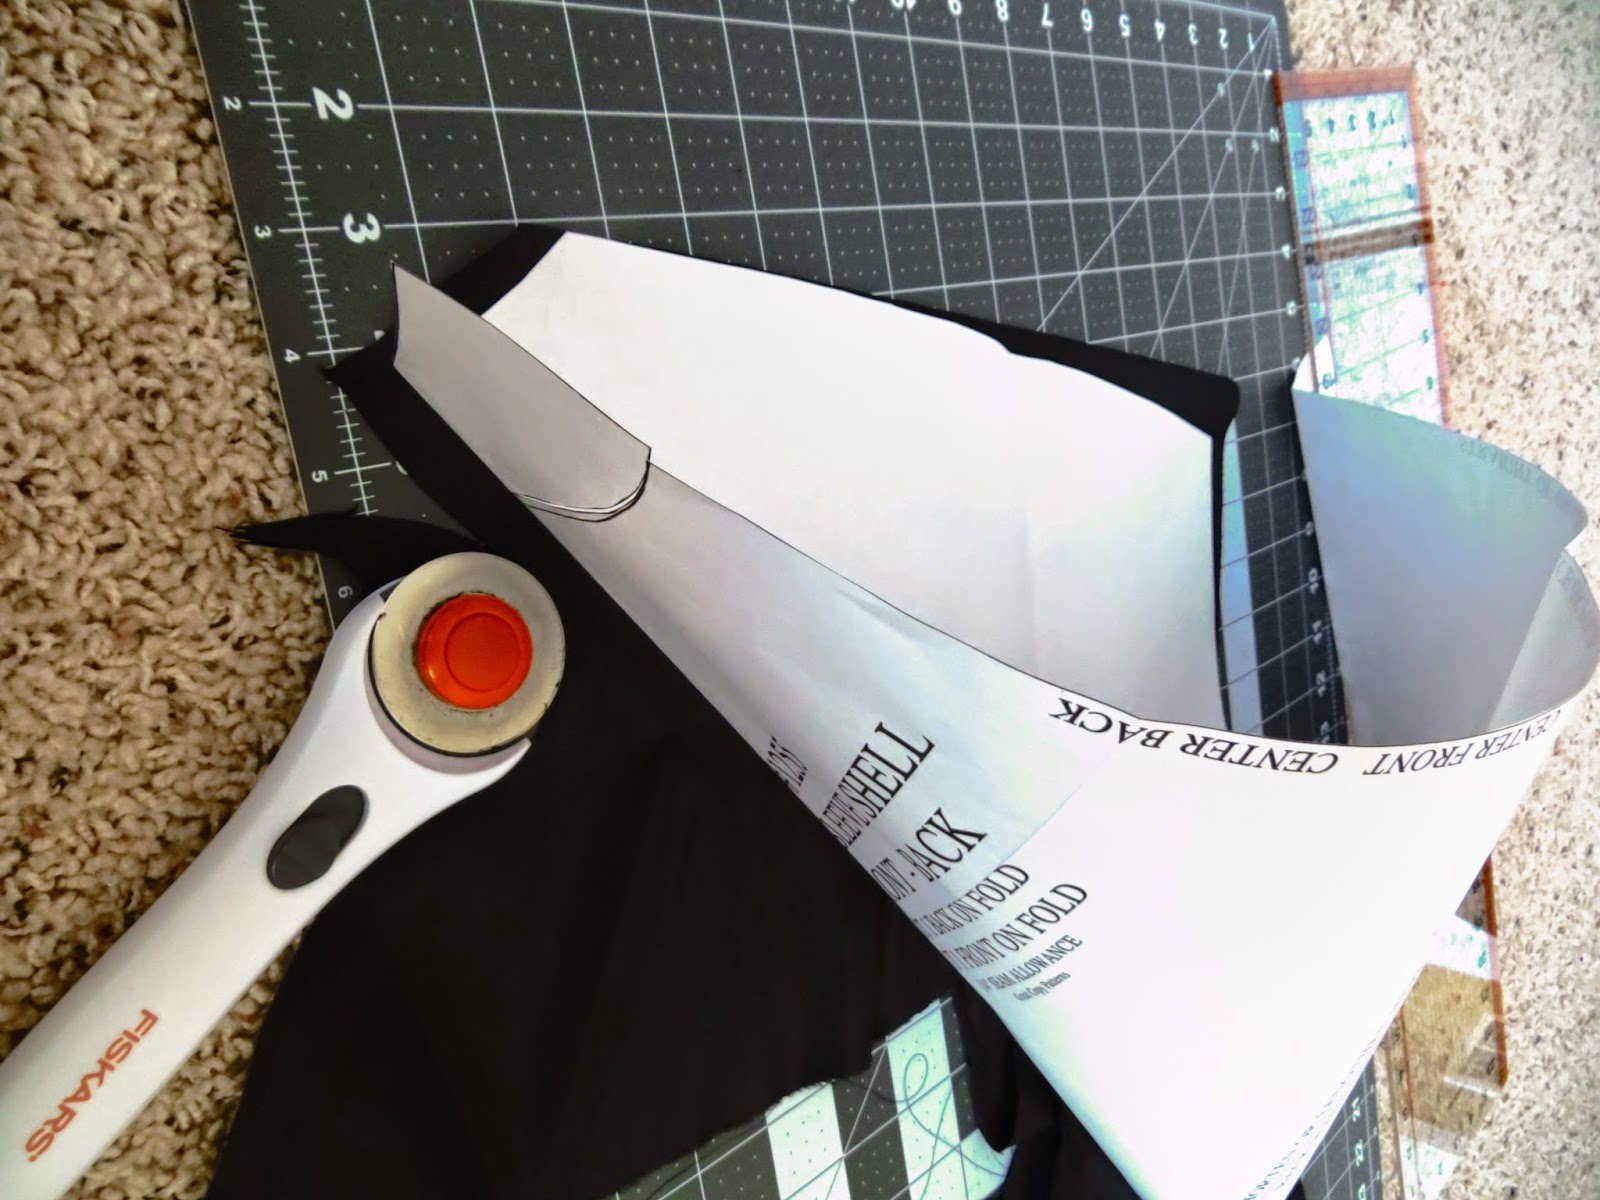
Then, I chose black for the sleeves. I folded black fabric over and made that fold to be the top of the sleeves (where I'm pointing). I held the folded sleeve pattern in place with one hand as I rotary cut around it with the other.

Here is another view:
And another view:

(**One note about this. After you cut out your sleeves, unfold the fabric, lay the sleeves on top of each other, and cut a line from the back neckline to the front neckline. Use the paper pattern as your guide for this. The reason you should do this is because the front neckline is lower than the back, and if you don't make this cut, your red and black fabric won't match up in the front.)
Here are some pictures of the finished shirt. (I had kind of a nineties red and black baseball shirt sort of thing going, hence the make-shift black choker.) This over-sized shirt will go well with skinny jeans and tall boots.

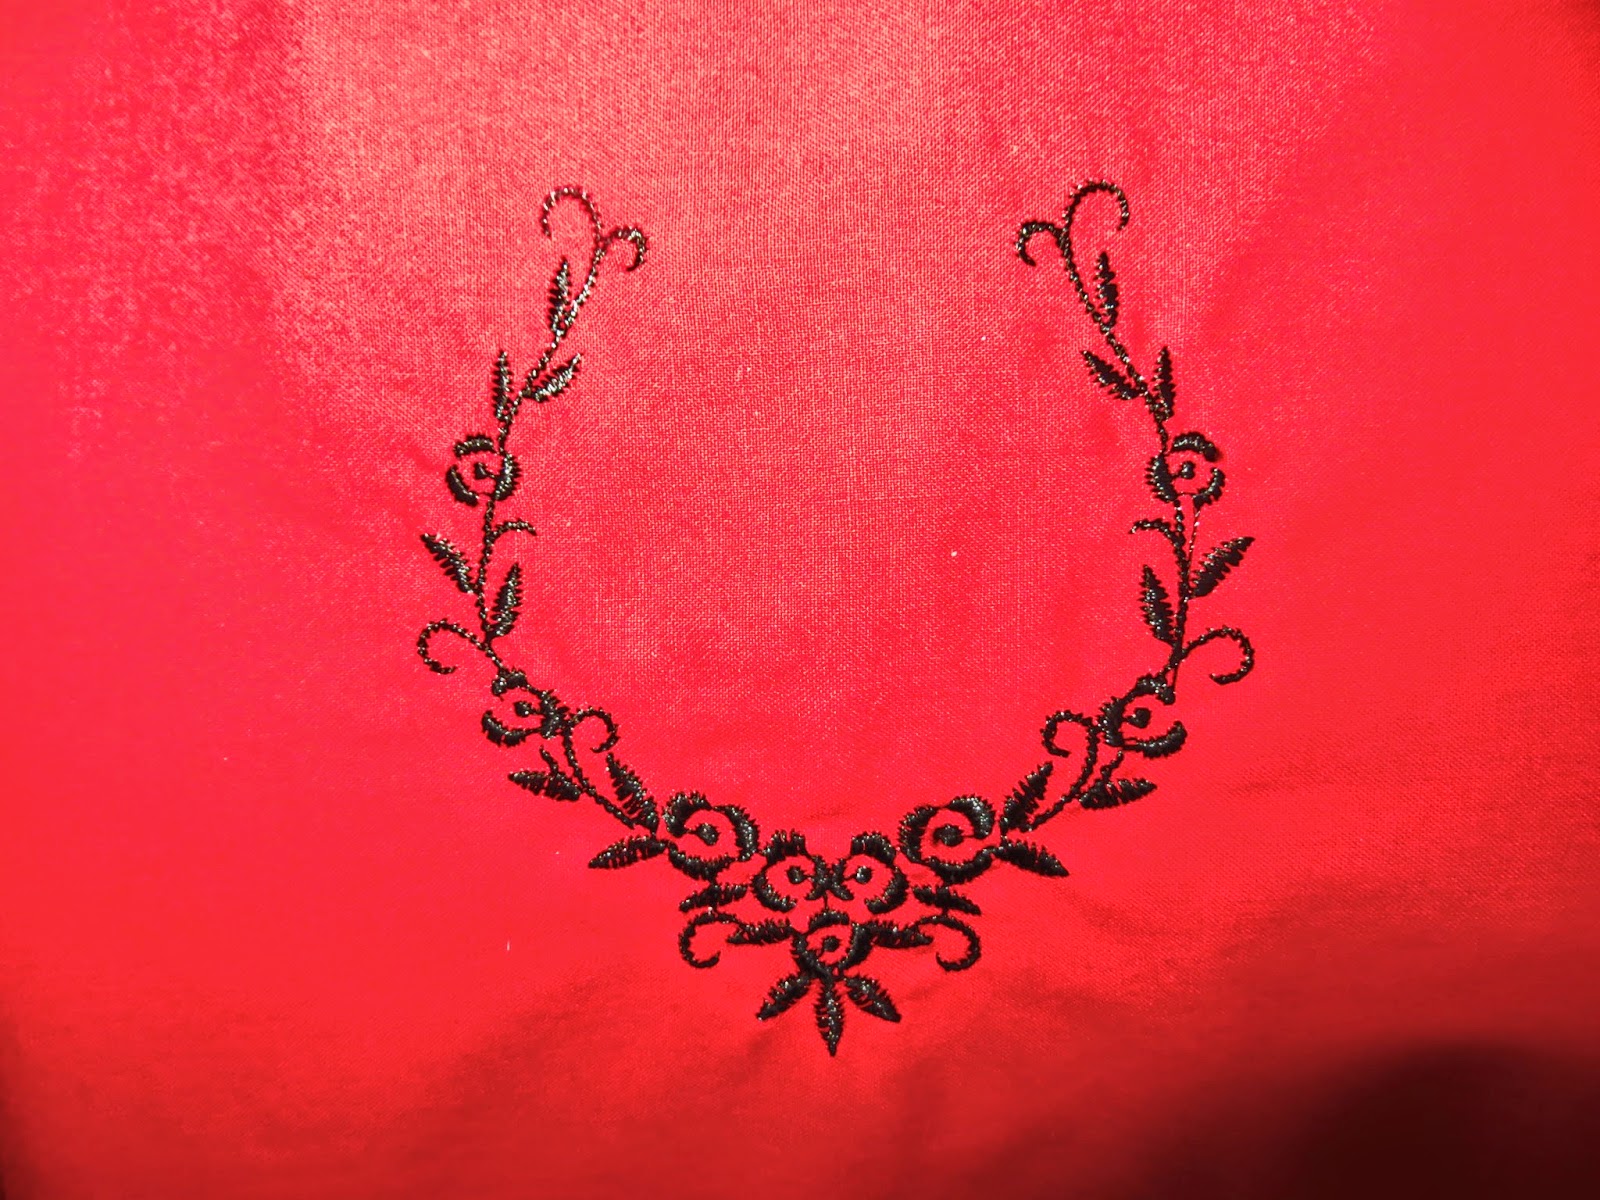
I had some fun with my embroidery machine that my husband bought me two Christmases ago, and I hadn't used until just a few days ago because he was threatening never to buy me any Christmas presents ever again if I never used this one, and I was also feeling tremendously guilty. Just kidding. He didn't really threaten that. I got a bottle of Chanel perfume this year, so all was not lost. :) But I did feel tremendously guilty. . .because it was expensive. . .But I just couldn't think of any good embroidery projects all year, was my problem. Also, I was scared of breaking it by using the wrong stabilizer or like. . .What if I ended up screwing up a project because I put the design on crooked? Stabilizer and embroidery thread ain't cheap, and I didn't want to ruin any of my clothes. Or like. . .what if I messed up the calibration of my machine the first time I used it because I didn't read all the directions? These are the thoughts that went through my head for over a year. Admittedly, that was unbelievably paranoid of me, but still. . .
Anyways, sometimes it takes me awhile before I use things. It took me two months before I opened and started using my new computer that I bought with my own money. I mean...don't take it personally, People, if it takes me awhile to wear/use anything you give me. Also, don't let that stop you from giving me presents, because. . .I like presents. I really do. . .Actually, I love them. . .Anyways, enough of this. . .
Isn't it pretty?


The End!
No comments:
Post a Comment