Showing posts with label sleeves. Show all posts

Sunday, September 20, 2015

Refashioning: Three "Meh" Shirts into Two, "Yes, I Will Actually Wear Those" Shirts

Here is a quickie I did in about 15 minutes a few weeks ago.

First of all, the three shirts in question. The one below used to be a big kid's mini dress. I was going to wear it as a tunic, but then realized that that was not going to work. I cut the bottom off as you can see in the picture. (The bottom inches I used to make a headband. . .All the parts of the buffalo, right?)


This second shirt actually became part of the other two shirts. It fits me in the shoulders, but it's too short in the torso. . .amazingly enough.


The third shirt is one that you might just not consider even buying (even if it was on the dollar rack at Goodwill) because it's SUPER REDNECK! But. . .I saw its potential to be a statement piece.


So, I cut the bottom hem off the black shirt.


I folded that black bottom hem over and made it into the bottom hem of the houndstooth shirt.

So that one's done. The next one took a little longer.


So for the redneck shirt, I cut around the eagles in sort of a "sweetheart" neckline sort of way. 


So, here you can kinda see my vision for this shirt/dress. Maybe I just gave away the punch line. Oops.


So the next order of bidness was to fold the black shirt in half and cut a scoopy sort of section through the whole thing. Just so's you know, this will be the back seam line.


The next thing I did was to lay the eagle shirt on top of the opened up black shirt and cut the same "sweetheart" shape out of the front of the black shirt. (Notice how the bottom of the back of the black shirt is still "scoopy.")


This is kinda hard to see, but I pinned the armpits of the eagle shirt (which is inside out in the picture). I sewed up from the sides to the armpits because the eagle shirt was bigger than the black shirt.


Also, hard to see. I'm pointing at the side seams I'd just created to show you what I did.


Okay, so remember how the eagle shirt still had "sweetheart" necklines on both the front and back? So, in the picture below, I laid the black shirt on top of the back of the eagle shirt and cut out a "scoopy" seam line for the back.


See?


Okay, so. . .Here you can kinda see where I will join the black shirt and the eagle shirt.
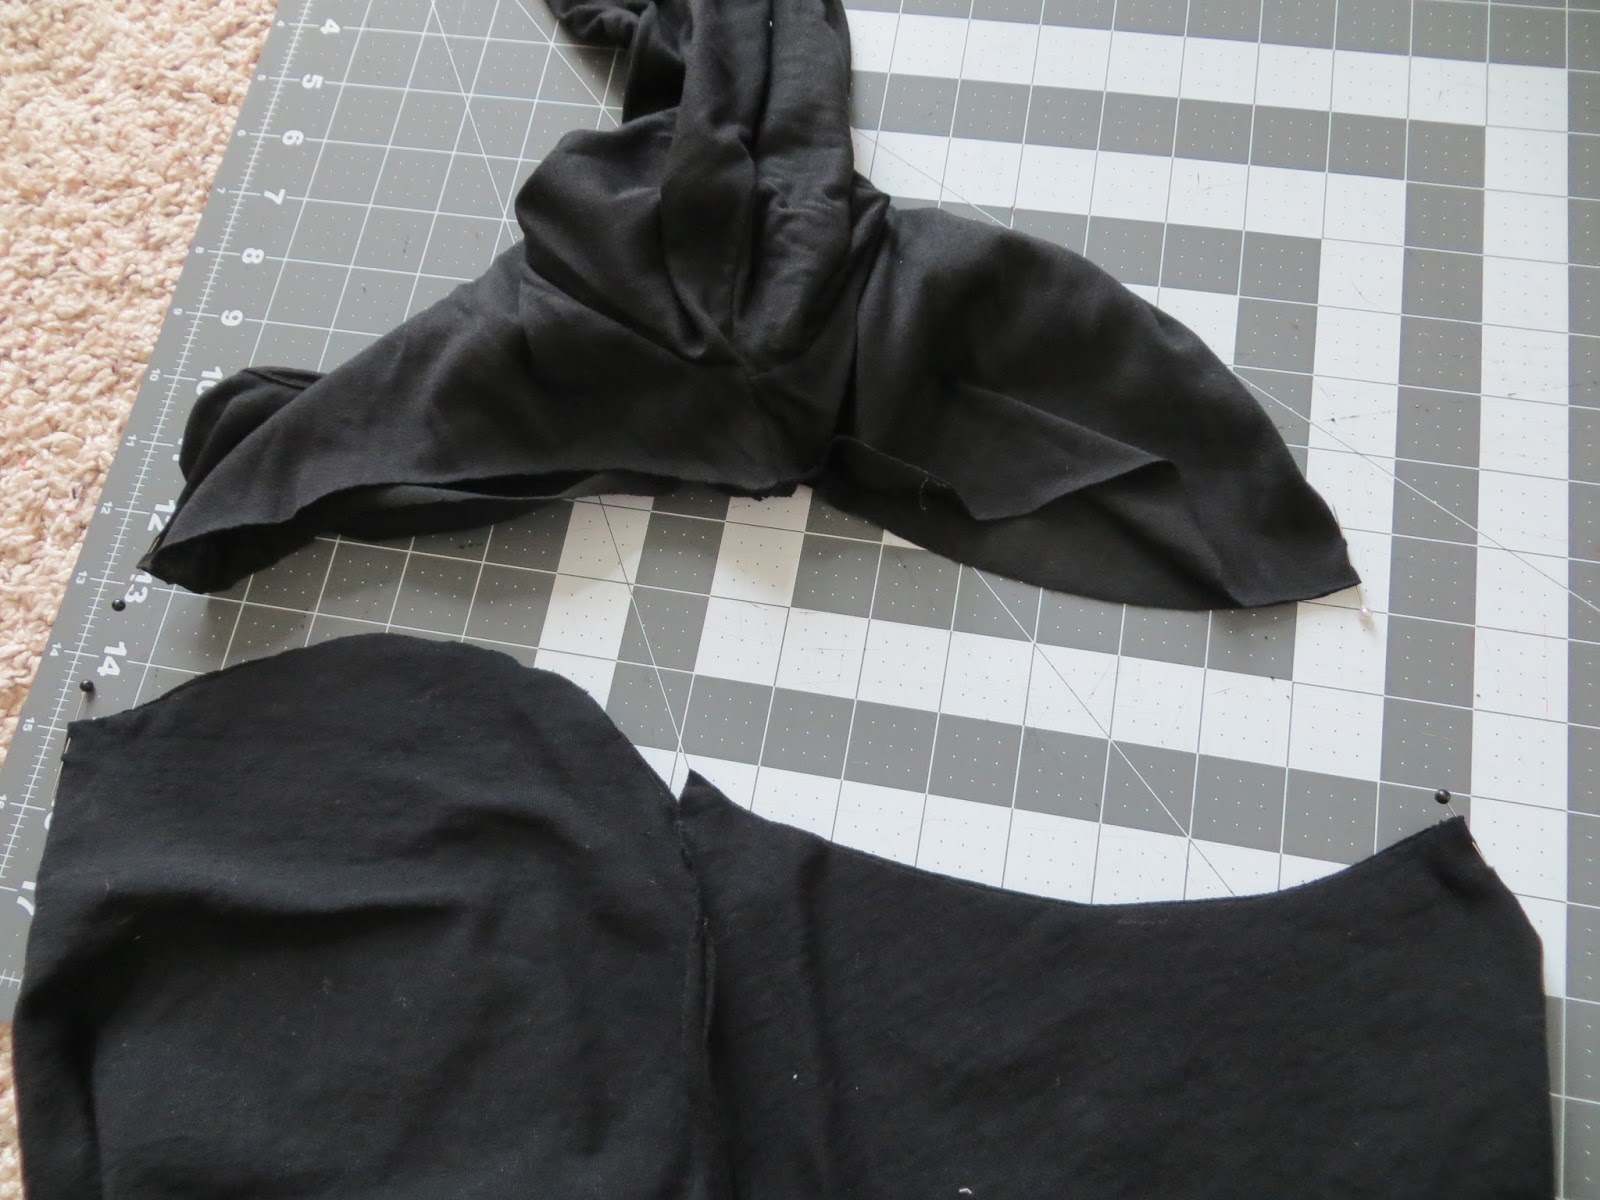


I pinned them both together and sewed them together.


Voila!


Notice how the seams are "sweetheart" in the front and "scoopy" in the back. Hopefully, seeing the finished project makes my confusing directions clearer.
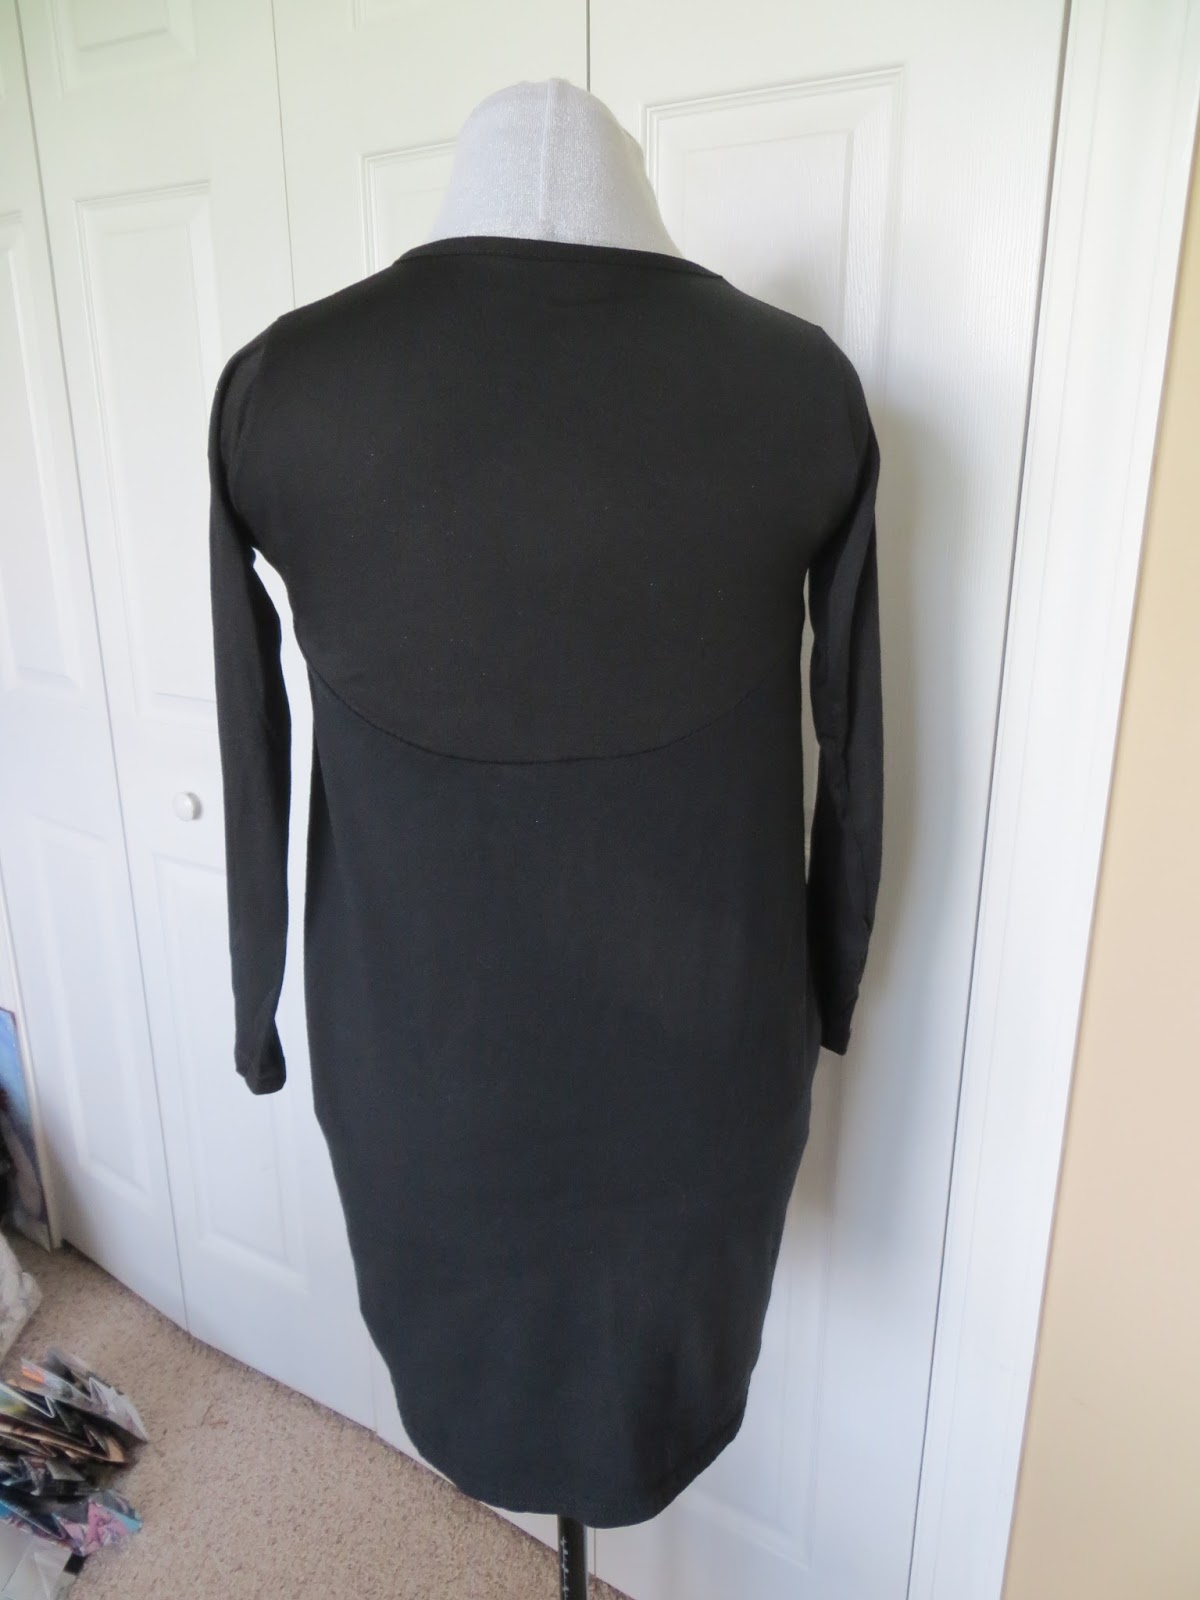

The End!


Saturday, July 25, 2015

Colorblocking - When Shirts are Too Small

When I was in Korea, I used to go shopping in the underground with my friend Holly. She was always on the look out for a black dress with one big peacock feather across the front of it. When I found this sequined shirt on the dollar rack at Goodwill, I bought it because it reminded me of her, even though it's about forty sizes too small. Okay, so I can manage to squeeze it on, but. . .it ain't pretty!


I keep just about all my salvageable scraps from other projects, and below are some sleeves that I cut off another dress in order to make it sleeveless. I decided these would help me to fix my shirt by the method of color blocking. I thought about using another color, but because the peacock feather is such a feature, I decided a monotone blocking would be best.


I laid them on top. You can start to see how I would use them to fill out the sides of my shirt.


I put them behind the shirt to give you a better idea.


First, I cut the side seams almost all the way to the armpits.


Then, I cut the sleeves till they were the right size to sew into the sides of the shirt.


I pinned them all together and sewed them up.


This is the finished shirt.


Well, really this is the finished shirt. I tried on the one above and the hips were way too roomy, so I took them in about an inch.


It's a little dark, but you get the idea. Never let size be an obstacle to buying a shirt you like! You can always color block it!


The End!


Saturday, January 10, 2015

Make a Raglan Sleeve Out of Any Two-Piece Shirt Pattern

Now that the holidays are over, and I'm not directing and writing Christmas plays, I have been getting back into sewing. Actually, I was still sewing during that time, I was just too lazy to post anything. Sorry. Maybe one day I will post the things I did during that phase of my life.

Here is a project I did just yesterday.

If you like raglan sleeves, here is an easy way to turn any two piece shirt pattern into a raglan pattern without cutting your pattern apart.

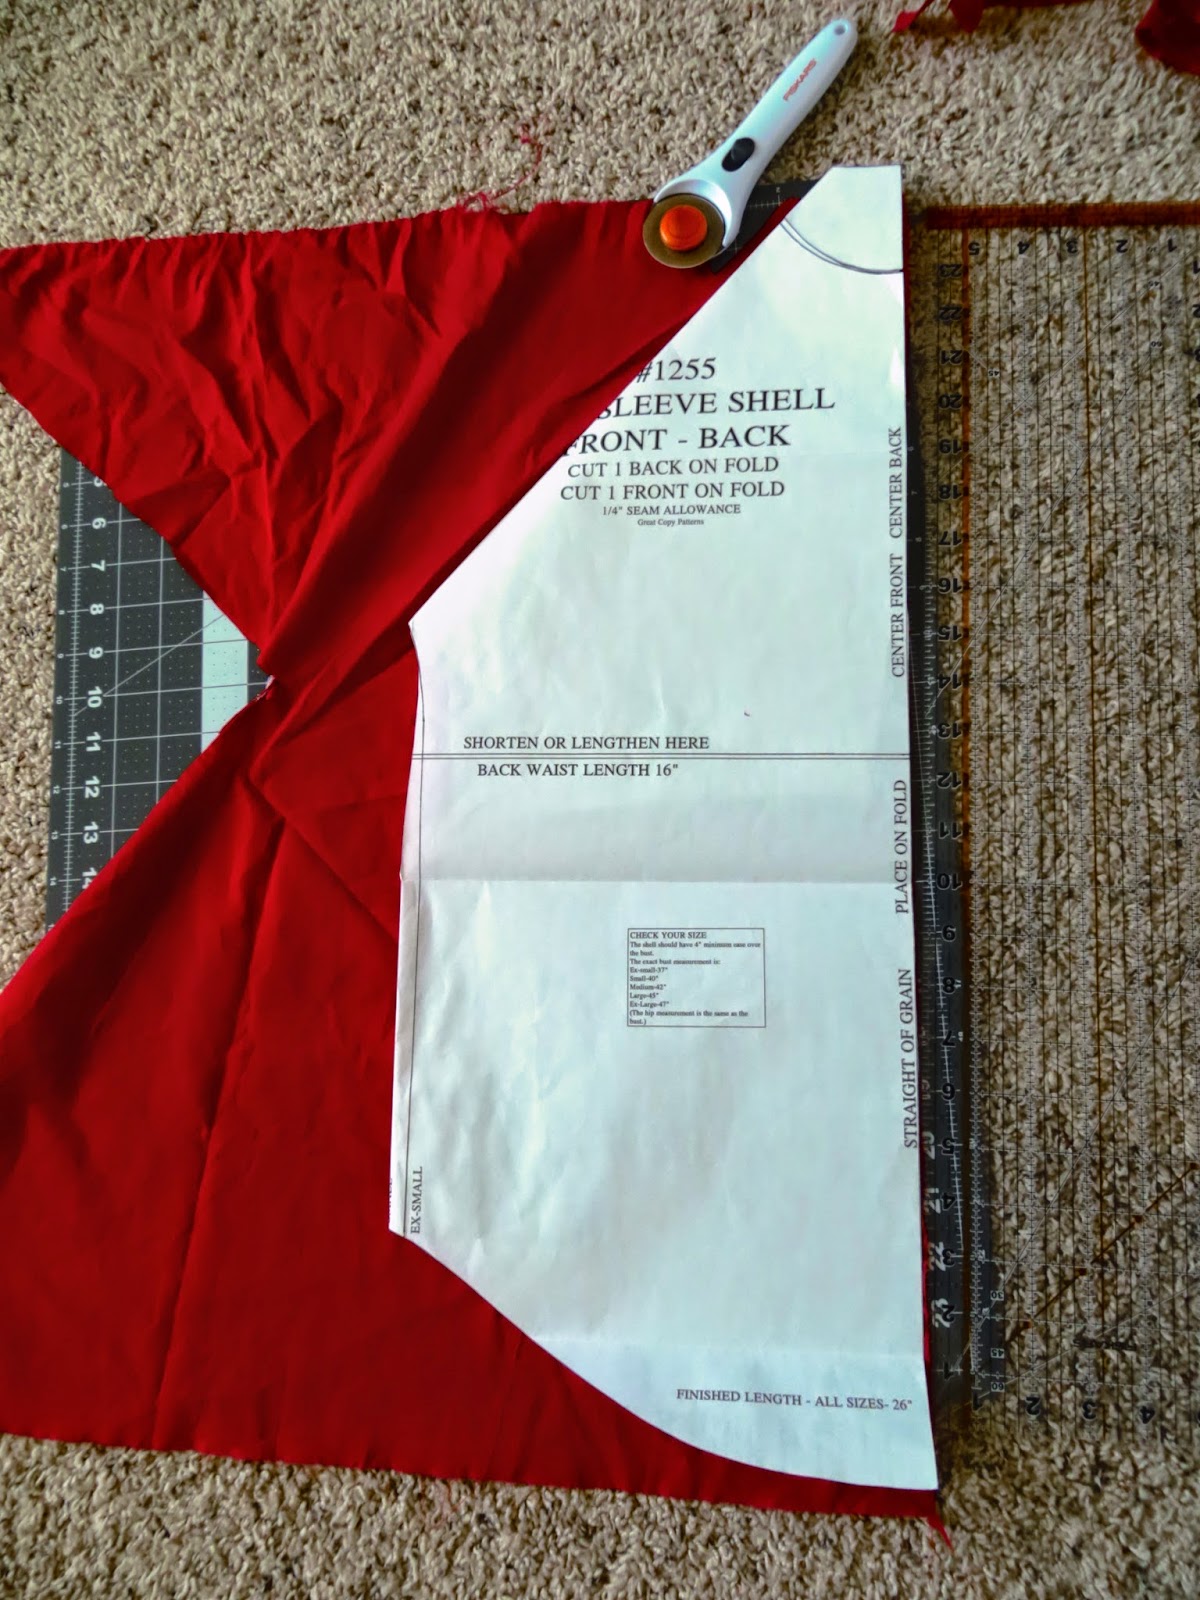
As you can see below, this is what I'm talking about when I say a "two-piece shirt pattern." In other words, a two-piece shirt pattern is one where the bodice and the sleeves are all one piece, so the whole pattern is two pieces: one for the front and one for the back. (Usually the sleeves are a separate piece.) The pattern below is actually a one-piece shirt pattern as the front and back have been combined as you can see from the slit at the neckline.


Okay, to make a raglan sleeve, all you do is make a diagonal fold from the neckline to the arm pit. You then simply cut out both sides of the fold from different fabric, sew them together, and you're done. I chose red for my bodice. (I don't use pins. I just hold the paper down with one hand and rotary cut the fabric with the other. God bless rotary cutters.)


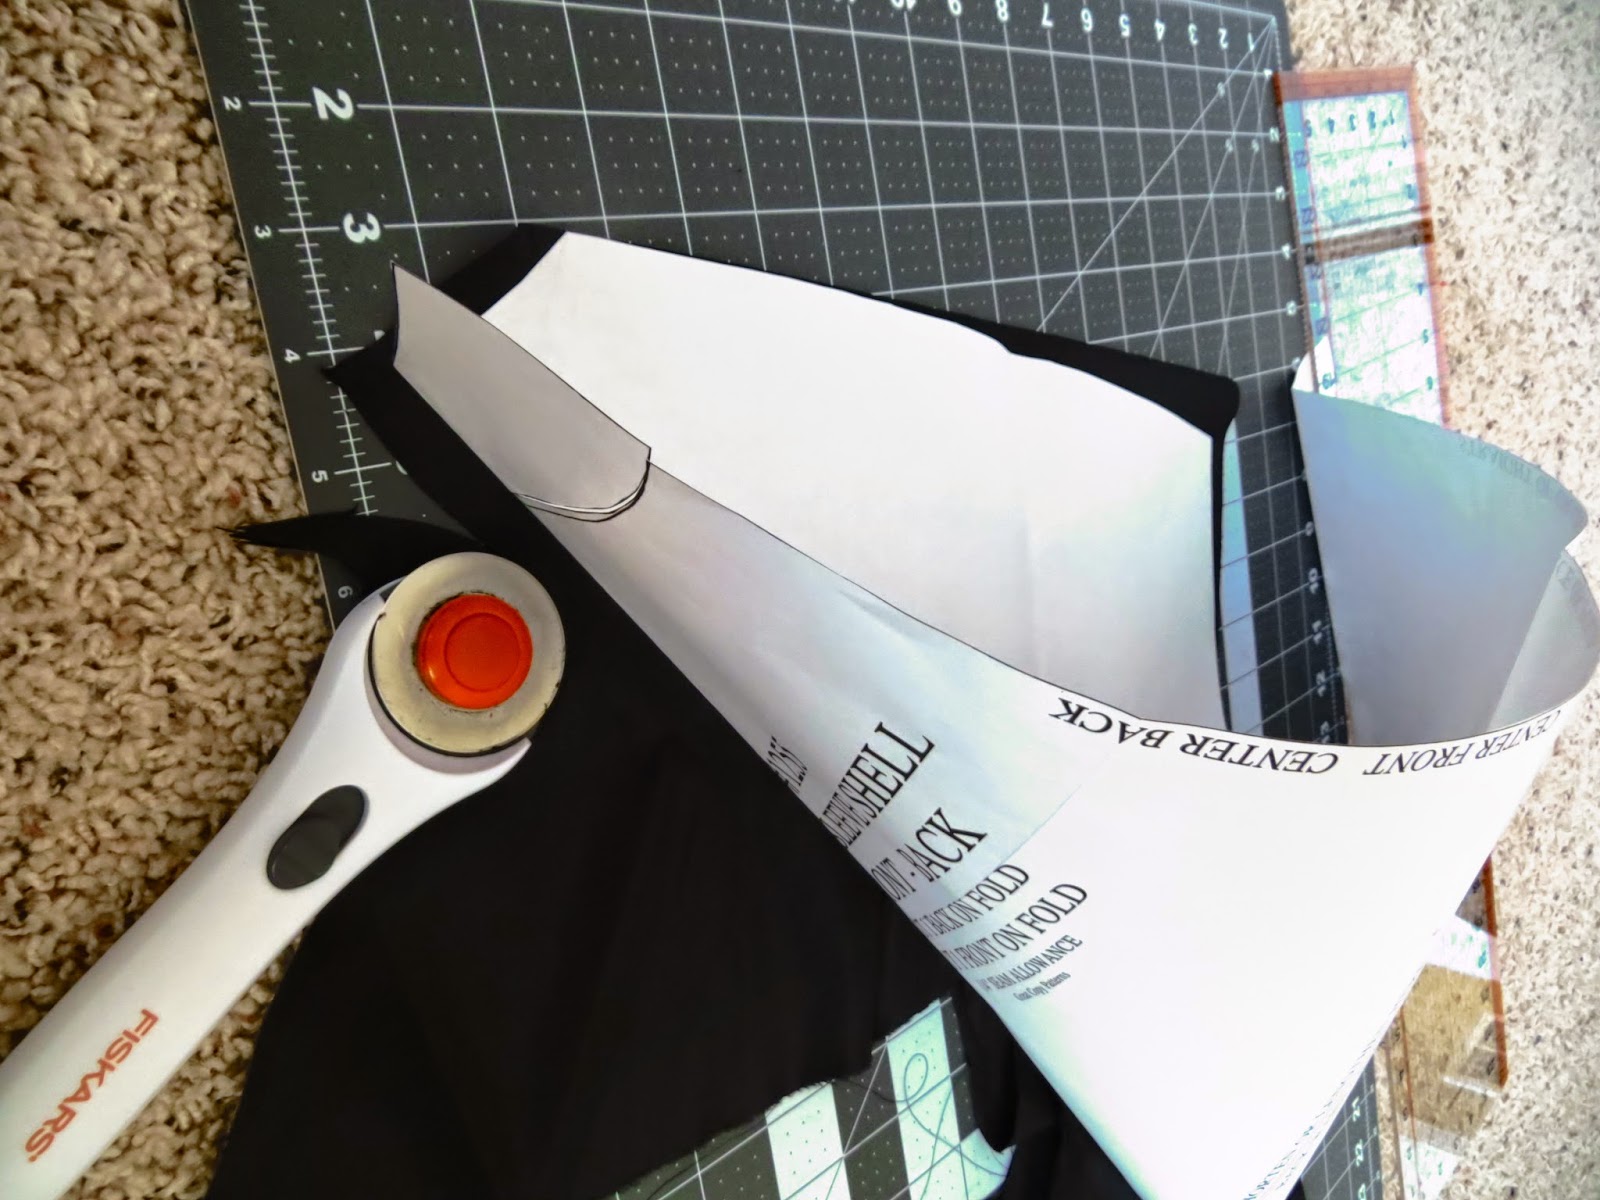
Then, I chose black for the sleeves. I folded black fabric over and made that fold to be the top of the sleeves (where I'm pointing). I held the folded sleeve pattern in place with one hand as I rotary cut around it with the other.


Here is another view:


And another view:


(**One note about this. After you cut out your sleeves, unfold the fabric, lay the sleeves on top of each other, and cut a line from the back neckline to the front neckline. Use the paper pattern as your guide for this. The reason you should do this is because the front neckline is lower than the back, and if you don't make this cut, your red and black fabric won't match up in the front.)


Here are some pictures of the finished shirt. (I had kind of a nineties red and black baseball shirt sort of thing going, hence the make-shift black choker.) This over-sized shirt will go well with skinny jeans and tall boots.


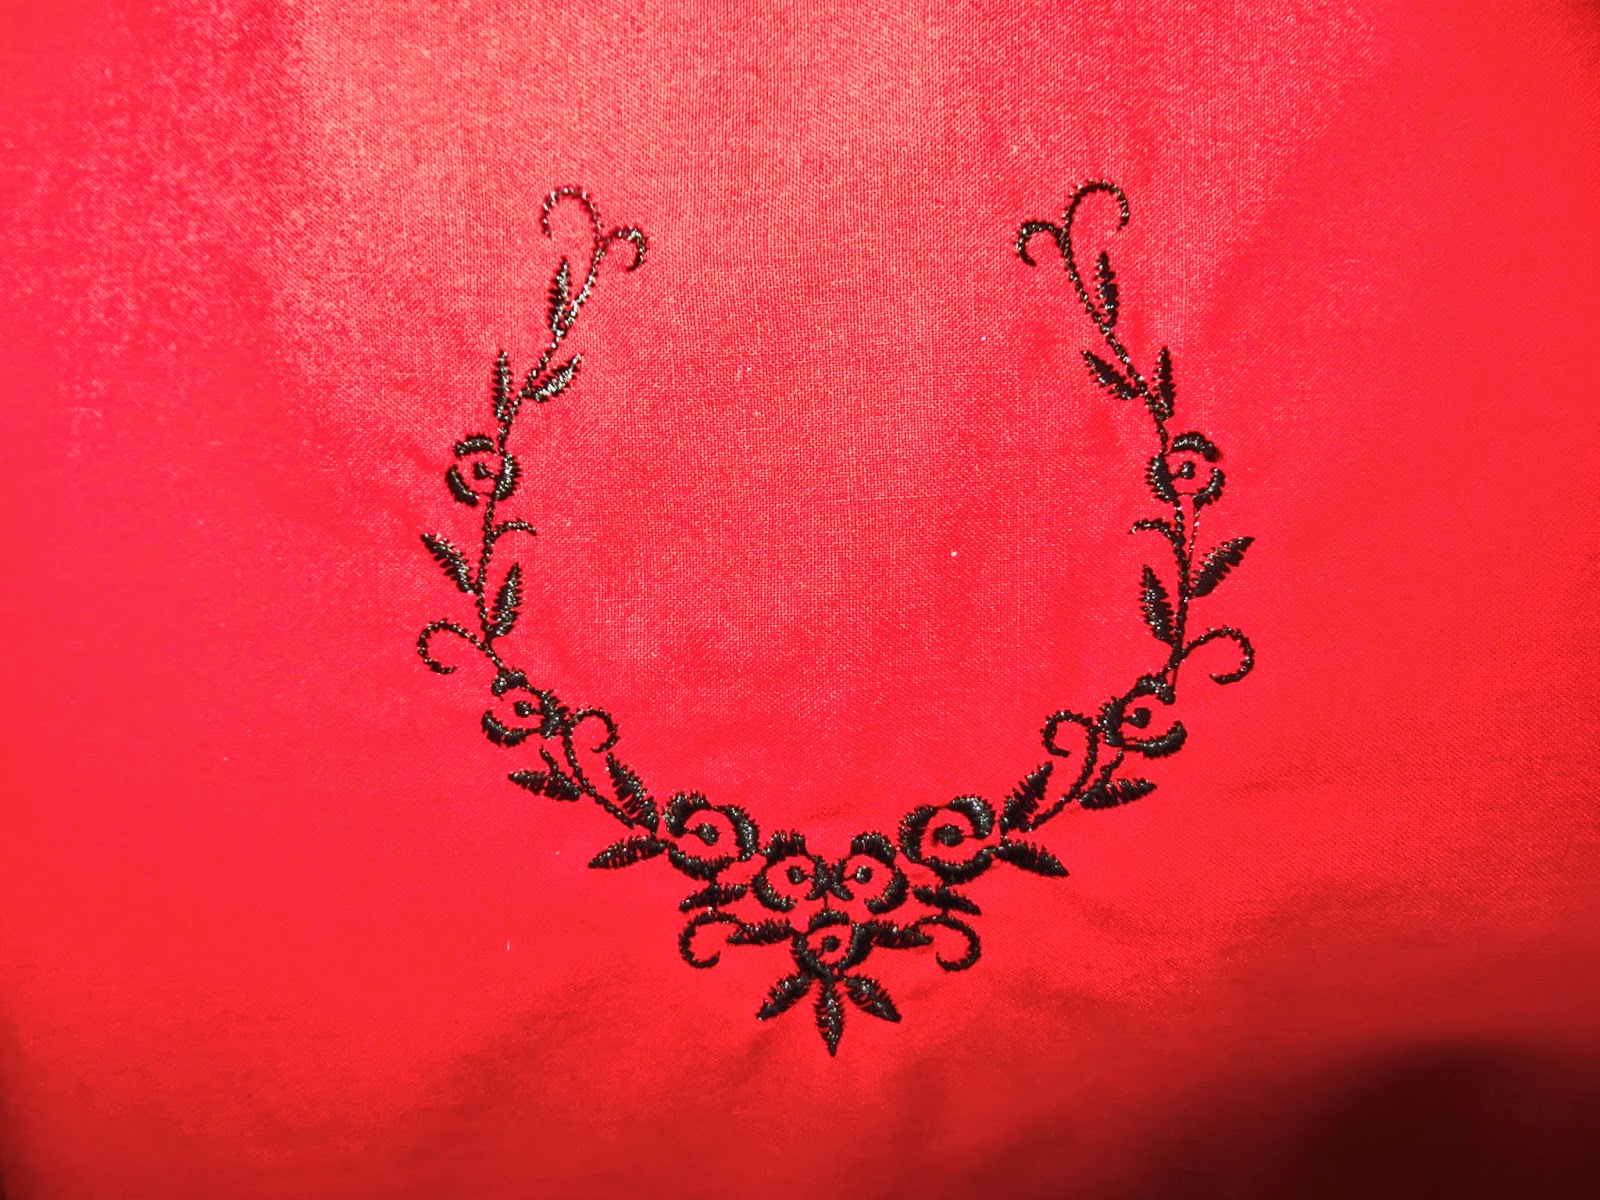
I had some fun with my embroidery machine that my husband bought me two Christmases ago, and I hadn't used until just a few days ago because he was threatening never to buy me any Christmas presents ever again if I never used this one, and I was also feeling tremendously guilty. Just kidding. He didn't really threaten that. I got a bottle of Chanel perfume this year, so all was not lost. :) But I did feel tremendously guilty. . .because it was expensive. . .But I just couldn't think of any good embroidery projects all year, was my problem. Also, I was scared of breaking it by using the wrong stabilizer or like. . .What if I ended up screwing up a project because I put the design on crooked? Stabilizer and embroidery thread ain't cheap, and I didn't want to ruin any of my clothes. Or like. . .what if I messed up the calibration of my machine the first time I used it because I didn't read all the directions? These are the thoughts that went through my head for over a year. Admittedly, that was unbelievably paranoid of me, but still. . .

Anyways, sometimes it takes me awhile before I use things. It took me two months before I opened and started using my new computer that I bought with my own money. I mean...don't take it personally, People, if it takes me awhile to wear/use anything you give me. Also, don't let that stop you from giving me presents, because. . .I like presents. I really do. . .Actually, I love them. . .Anyways, enough of this. . .

Isn't it pretty?


The End!


Friday, February 14, 2014

Christopher Kane Spring 2014 Inspired: Modification: Raglan Floral Shirt from a 70s Shirt and a Mini Dress

Sometimes you find something so gross and tacky at the thrift store that you can't not buy it. Case and point: The butterfly collared floral wonder below. I just couldn't pass it up. That's not just a painted or stamped floral pattern. Rather, it's a compiled photograph of flowers! How cool is that? Also, the shirt itself was handmade, which means not only was someone stylin' like it's 1979, but also she was doing it ON PURPOSE. 

I just felt I needed to buy it, if for no other reason than respect.


A year or so ago, I bought this dress for $6 on eBay. It's actually really well-made and lined. It has this neat little cape-let and epaulet details, and even though it looks repulsive on my body, I just couldn't part with it because of the color.

Do you smell a modification coming together?


Remember that one shoulder cut-out shirt I made here? Well, this new shirt is also an homage to that Christopher Kane Spring 2014 show with the florals and the nudes and the pinks. Skipping ahead a few hours:


I kept the "V" of the neckline as a keyhole detail as you can see above, but did away with the collar. It was a little too groovy for my scrawny neck.


I used some of the lining of the dress as the cuff of the sleeves because it was the same color only shinier. Just a little detail.


The End!


Saturday, September 14, 2013

Prada Inspired: Black Silk and Cream Striped Puffed Wrist Sleeve Blouse

So sometimes when your husband insists on piddling in the yard doing yardwork all Saturday and you've done all your housework, you decide to piddle in the sewing room.

A few nights ago, I watched the Prada Fall/Winter 2013-14 fashion show and was inspired by these sleeves:


Here they are in fur:


Also (and I'm ashamed of this one). but I love these sleeves on this coat of the character "Joyce" on the t.v. show Siberia.


Also, I'd been seeing all these black bodice and light colored puffy sleeved shirts in the New York fashion week show. Of course I can't find any pictures of them now, but most of them would have the bodice in black leather with lighter colored silk sleeves.

My aunt-in-law gave me this polyester silk material and told me she always thought it would make a nice blouse. (I didn't want to make a whole blouse in it because I thought that might look dated, so I updated mine):


I didn't want to make a bodice in leather because I would never wear it because it would need too much maintenance. I did have some silky black shiny polyester, though, so that's what I used. I also wanted to play with a squarish assymetric front/back hem and a bow at the neck. I'm really excited, because this shirt looks exactly how I imagined it!


(The slit in the neck line is also Prada-inspired.)


I'm really proud of how it hangs. It's not feed-sacky, but not clingy either.


I pinned the sleeve back here so you could see the hem better. Also, this is what the front looks like if you just tie the tie once.


I like it tied in a little bow best:


Now some close ups:


The End!