Showing posts with label lightning. Show all posts

Wednesday, September 28, 2016

Sunday School Craft - Jesus Calms the Storm Spinning Wheel

I am particularly proud of this one because, even though I ripped the idea off a Oriental Trading craft. I actually made it all myself by clipping and pasting Google clip art and Pinterest coloring pages all together. I made the wheel myself...Anyways, enough about me!

You will need: cardstock, crayons, brad fasteners, glue sticks, and scissors.

This is what it looks like. The verse about Jesus calming the storm is in the cloud on the back piece. There is a circular wheel with storm clouds on one side and sunny clouds on the other on the middle piece. The front piece is the water and the boat with Jesus and His disciples.


All I did was create, print, and cut out all three templates (at the very end). Then, I took a pen and poked through the designated holes in all three pages like this:


Then, I sandwiched the pieces together connecting them all with a brad fastener.


The back.


Then, I glued the front and back pieces together on either side.

Right side:


Left side:
(Don't glue the wheel!!!)


Here you can see the wheels with the top being calm and the bottom being stormy.


And here are the templates! Have fun!

The front:


The middle:


The back:


The End!


Sunday, September 20, 2015

Refashioning: Three "Meh" Shirts into Two, "Yes, I Will Actually Wear Those" Shirts

Here is a quickie I did in about 15 minutes a few weeks ago.

First of all, the three shirts in question. The one below used to be a big kid's mini dress. I was going to wear it as a tunic, but then realized that that was not going to work. I cut the bottom off as you can see in the picture. (The bottom inches I used to make a headband. . .All the parts of the buffalo, right?)


This second shirt actually became part of the other two shirts. It fits me in the shoulders, but it's too short in the torso. . .amazingly enough.


The third shirt is one that you might just not consider even buying (even if it was on the dollar rack at Goodwill) because it's SUPER REDNECK! But. . .I saw its potential to be a statement piece.


So, I cut the bottom hem off the black shirt.


I folded that black bottom hem over and made it into the bottom hem of the houndstooth shirt.

So that one's done. The next one took a little longer.


So for the redneck shirt, I cut around the eagles in sort of a "sweetheart" neckline sort of way. 


So, here you can kinda see my vision for this shirt/dress. Maybe I just gave away the punch line. Oops.


So the next order of bidness was to fold the black shirt in half and cut a scoopy sort of section through the whole thing. Just so's you know, this will be the back seam line.


The next thing I did was to lay the eagle shirt on top of the opened up black shirt and cut the same "sweetheart" shape out of the front of the black shirt. (Notice how the bottom of the back of the black shirt is still "scoopy.")


This is kinda hard to see, but I pinned the armpits of the eagle shirt (which is inside out in the picture). I sewed up from the sides to the armpits because the eagle shirt was bigger than the black shirt.


Also, hard to see. I'm pointing at the side seams I'd just created to show you what I did.


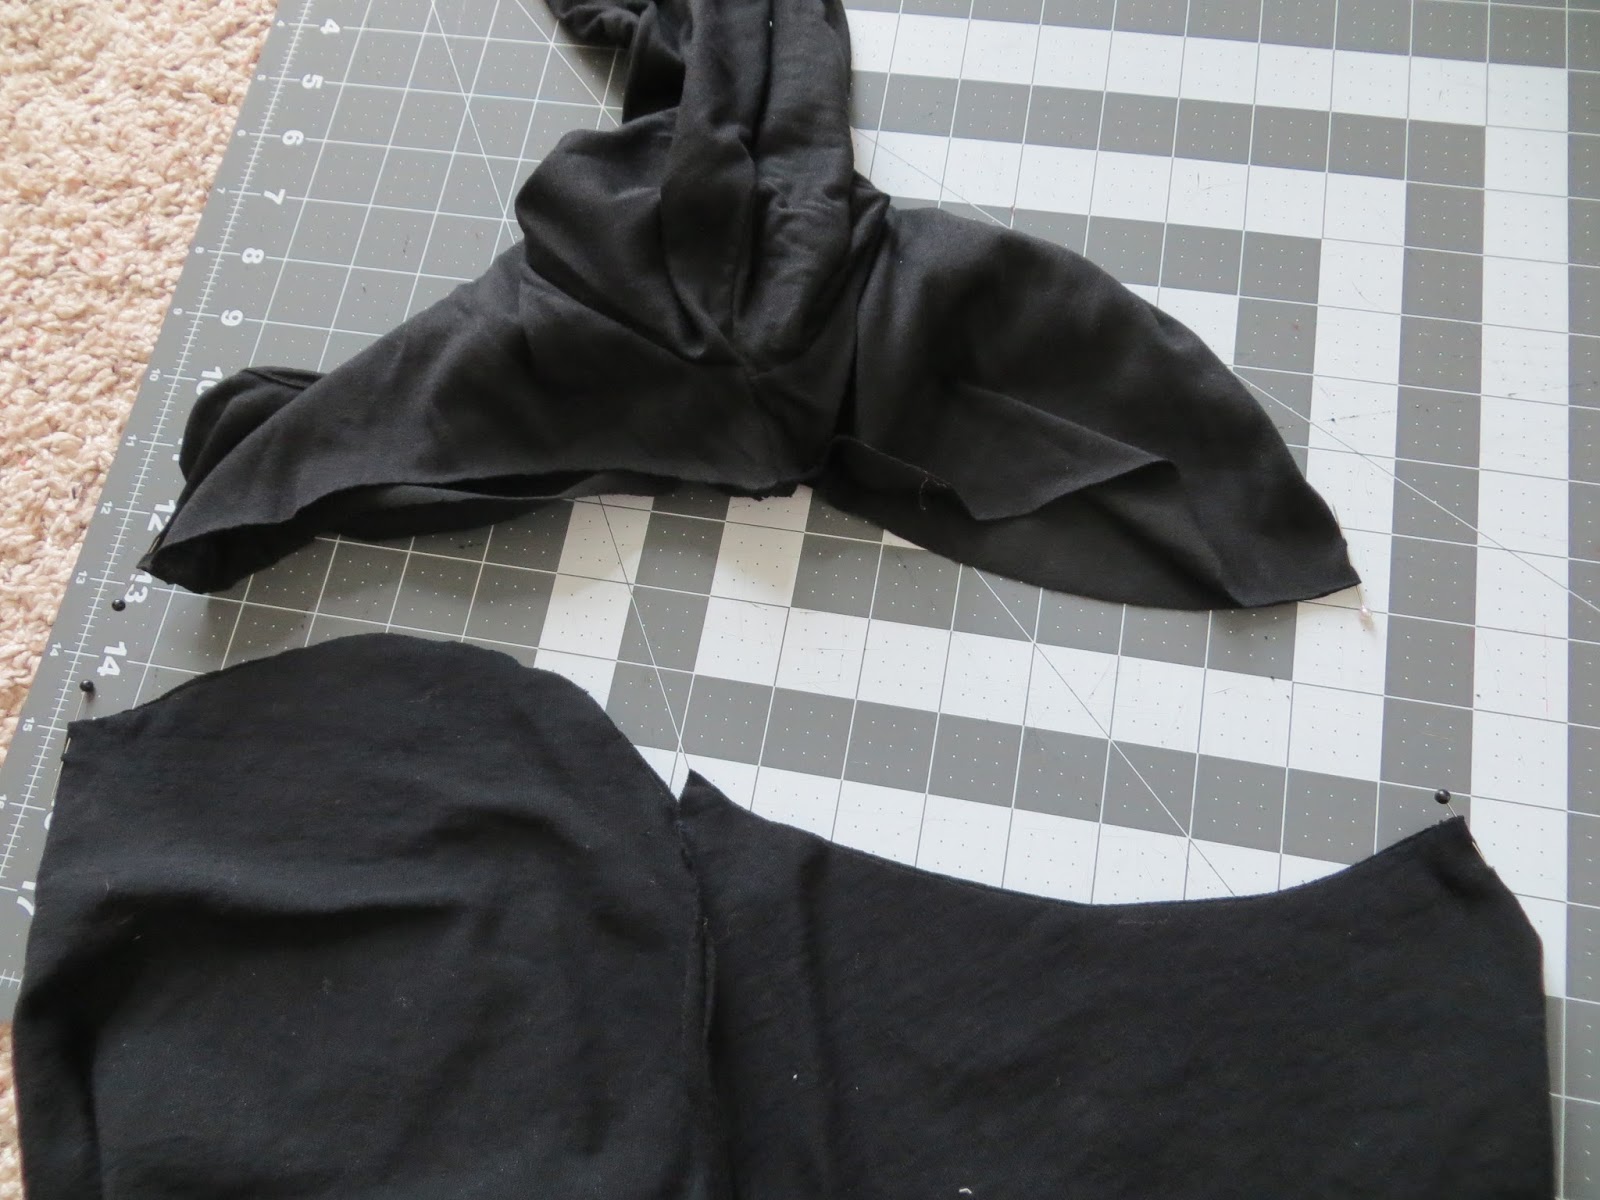
Okay, so remember how the eagle shirt still had "sweetheart" necklines on both the front and back? So, in the picture below, I laid the black shirt on top of the back of the eagle shirt and cut out a "scoopy" seam line for the back.


See?


Okay, so. . .Here you can kinda see where I will join the black shirt and the eagle shirt.


I pinned them both together and sewed them together.


Voila!


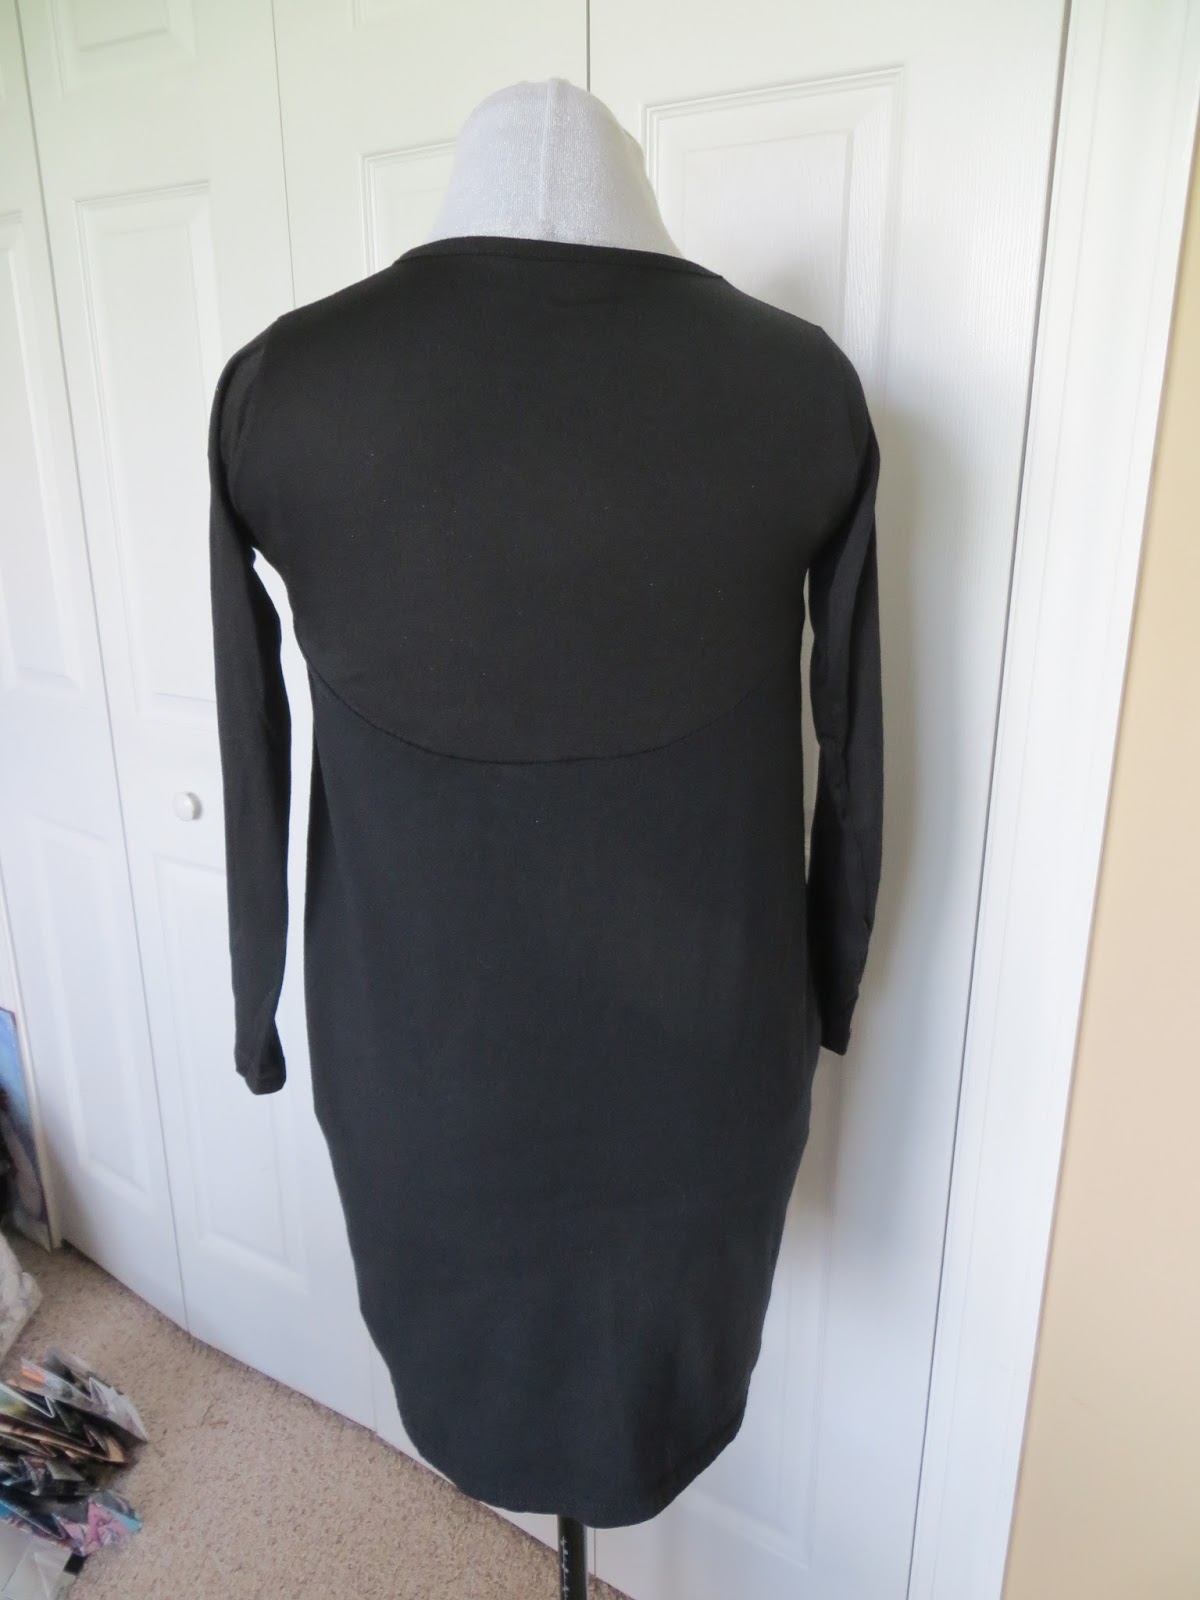
Notice how the seams are "sweetheart" in the front and "scoopy" in the back. Hopefully, seeing the finished project makes my confusing directions clearer.


The End!