Showing posts with label houndstooth. Show all posts

Wednesday, February 10, 2016

Refashioning: Making Clothing More Functional - Two Okay Dresses into One Great One

Okay, so at first glance, you might wonder what is wrong with these two dresses. They are both perfect Type 4s and seem to be exactly my style. Well, honestly, this is just a personal preference thing to me. This is what I find wrong with them: The dress on the left is just boring to me. I have a couple other hounds tooth dresses that I end up wearing when I am in the hounds tooth mood, so this one always gets neglected. The dress on the right is actually a weird tunic thing and while it looks great in the picture right here, scroll down one.


See??? Who designed this? The pleats billow out right at the boobs, making the wearer have absolutely NO SHAPE!


I am actually a fan of a good Korean hanbok, which also cut off at the boobs, but this dress is trying to attempt the same thing but with slinky fabric, so the result is an epic fail. However, I LOVE the red polka dots, so let the harvesting begin!


So, if you remember my blog post about turning dresses into skirts, you will remember that the placement of your zipper is very important before you start cutting. In this case, I was harvesting the top of the hounds tooth dress, so I made sure that the zipper was zipped all the way up.


Also really important: I cut below the bodice and left about 1/2 an inch of the skirt part. This is to allow for seam allowance.


To free the polka dots, I cut the skirt off the. . .can I even call it a bodice? Anyways, you will notice the skirt part has those pleats and if I had cut into the skirt, I would have had to re-pleat them, so I cut into the "bodice" part up 1/2 an inch to allow for seam allowance and also to save having to re-pleat the skirt.


See the line of black at the top? That's the seam allowance I'm talking about.


Then, I pinned the first bodice to the second skirt.


I used my quilt seam allowance measurement thingie (I don't know technical terms sometimes. . .It's that metal arm thing next to the outside of the fabric) to keep a steady measurement of an inch seam allowance.


The finished dress.


Okay, so the belly is still a little pouchy, but at least the skirt starts well under the chest, so you can see that the wearer has a shape! I will definitely wear this dress more often! 


                           It may not be your cup of tea, but hopefully you got an idea from it!


                                                                             The End!


Sunday, September 20, 2015

Refashioning: Three "Meh" Shirts into Two, "Yes, I Will Actually Wear Those" Shirts

Here is a quickie I did in about 15 minutes a few weeks ago.

First of all, the three shirts in question. The one below used to be a big kid's mini dress. I was going to wear it as a tunic, but then realized that that was not going to work. I cut the bottom off as you can see in the picture. (The bottom inches I used to make a headband. . .All the parts of the buffalo, right?)


This second shirt actually became part of the other two shirts. It fits me in the shoulders, but it's too short in the torso. . .amazingly enough.


The third shirt is one that you might just not consider even buying (even if it was on the dollar rack at Goodwill) because it's SUPER REDNECK! But. . .I saw its potential to be a statement piece.


So, I cut the bottom hem off the black shirt.


I folded that black bottom hem over and made it into the bottom hem of the houndstooth shirt.

So that one's done. The next one took a little longer.


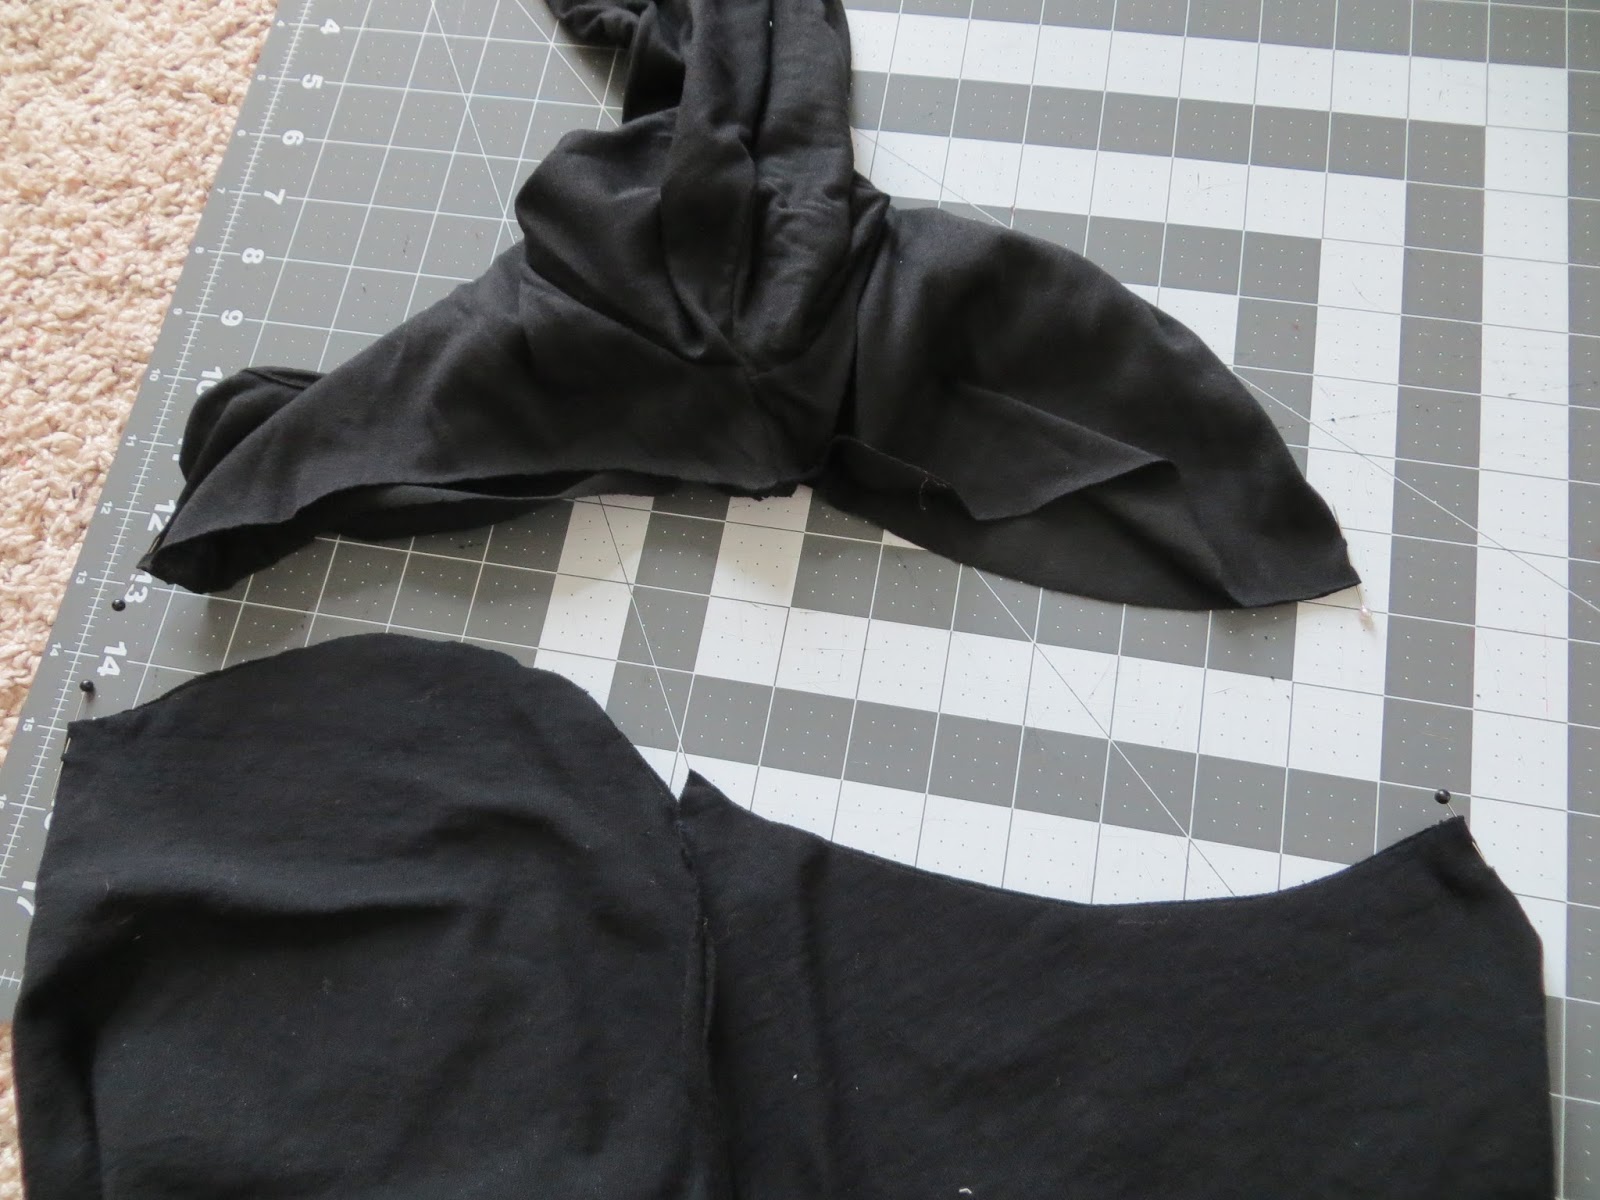
So for the redneck shirt, I cut around the eagles in sort of a "sweetheart" neckline sort of way. 


So, here you can kinda see my vision for this shirt/dress. Maybe I just gave away the punch line. Oops.


So the next order of bidness was to fold the black shirt in half and cut a scoopy sort of section through the whole thing. Just so's you know, this will be the back seam line.


The next thing I did was to lay the eagle shirt on top of the opened up black shirt and cut the same "sweetheart" shape out of the front of the black shirt. (Notice how the bottom of the back of the black shirt is still "scoopy.")


This is kinda hard to see, but I pinned the armpits of the eagle shirt (which is inside out in the picture). I sewed up from the sides to the armpits because the eagle shirt was bigger than the black shirt.


Also, hard to see. I'm pointing at the side seams I'd just created to show you what I did.


Okay, so remember how the eagle shirt still had "sweetheart" necklines on both the front and back? So, in the picture below, I laid the black shirt on top of the back of the eagle shirt and cut out a "scoopy" seam line for the back.


See?


Okay, so. . .Here you can kinda see where I will join the black shirt and the eagle shirt.


I pinned them both together and sewed them together.


Voila!


Notice how the seams are "sweetheart" in the front and "scoopy" in the back. Hopefully, seeing the finished project makes my confusing directions clearer.


The End!


Friday, May 23, 2014

Refashioning: Transforming an Old Lady Jacket

I bought this old lady jacket at the thrift store yesterday. I really hate the style, but I really love the size of the houndstooth.


Look how baggy it is!


I love the fit of this Banana Republic jacket, but I hate the color.


So I laid the first jacket on the floor.


And laid the BR jacket on top.


Then, I just cut around it. I also cut the ends of the sleeves to make short sleeves.


When I take away the extra, you can start to see how the new jacket will look. Then, I just sewed on the sleeves and sewed the sides up!


Done!


The End!


Thursday, September 5, 2013

Dolce and Gabbana Inspired: Red Lace and Tweed Romper

So this post is a little window into the creative process. I was stumped on what to do next after the Red Lace Dress I made a few days ago. I knew I wanted to incorporate some tweed into the next look not only because there was tweed in the D&G runway show, but also I liked how the red lace looked when placed over some houndstooth pants that I bought at a thrift store.


Most of the time when I get an idea for a project, I get a pretty clear picture of what I want in my head. Sometimes, I have to draw it out on paper. However, this time, neither of those processes was helping, so I actually draped my dress form with material to try to figure out what I was doing. I'd never done that before. 

Okay so here is the first pair of pants that I used to make a quick bodice. (I used another dress I own to make the pattern for the bodice.)


See, in my head, the bodice would be houndstooth and the skirt would be red, but I didn't love them together in real life when I draped them. I was afraid of that--hence the draping process.


So, I'm not sure if you have seen the Louis Vuitton show for fall/winter, but it has a couple tweed dresses with nude colored lace creeping around the hems, and I thought I might incorporate that look into my dress, but when I draped them (below), I couldn't get over how my dress was beginning to look more like the icky checkered/daisy "Sunday Meetin'" dress of the 90s.


I wasn't in love with covering the whole thing in lace either. It worked so much better when the dress was all red underneath. But I just really like the lace over houndstooth look, so I wasn't going to give up!


That was when I remembered I'd bought another grey tweed pair of fat man's pants at the thrift store too. I cut the legs apart at the crotch, cut the waist and pockets off, cut each leg apart down the inside seam, turned them upside down, sewed them together, cut the cuffs off, and made a skirt!


This was me trying the Louis Vuitton thing again. It was soooo not working! It's kind of an interesting idea, but when the lace is red, the hem-creeping thing looks clowny and dated. . .to me, at least. This one actually reminds me of Professor Umbridge from Harry Potter.


This was me seeing how it would look if both the greys showed through the red. Not digging it. Something about it, I kinda liked, but I couldn't figure out what.


For about 5 minutes, I gave up on the grey and tried this beige dress that I have that's too tight, but I don't want to pitch just yet. I dunno. I don't hate this look, but it wasn't what I was wanting to do. I wanted the houndstooth! 

I decided to sleep on it.


(Okay so in the next pictures, I skipped ahead to the very end product because once I figured out where I was going, I was too "in the zone" to take pictures! Also, I'm sure you are bored of looking at these so. . .)

I ended up not making a dress at all! I made a romper instead. Actually, I was completely done with the sleeves, bodice, and skirt and was about to hem the bottom when I realized that the skirt (having been made by two pant legs turned upside down) flaired out weirdly in the middle of the bottom hem, so I just cut it a little more, and sewed up the crotch into shorts. Then, I realized that I had no way to get into it, and I had to cut the back bodice down the middle and install a zipper! After that, I realized that I wanted pockets, so I copied the cuffing of the sleeves and sewed two cuffed pockets to the outside of the legs. I did this stupidly AFTER sewing the crotch up, so I had to finagle the machine through each pant leg! (I could have just taken the crotch seam out, but I have no idea where I put my seam ripper, and I was too lazy to do it properly.)

The last step was pegging the hem of the pant legs.


Now for some details. 

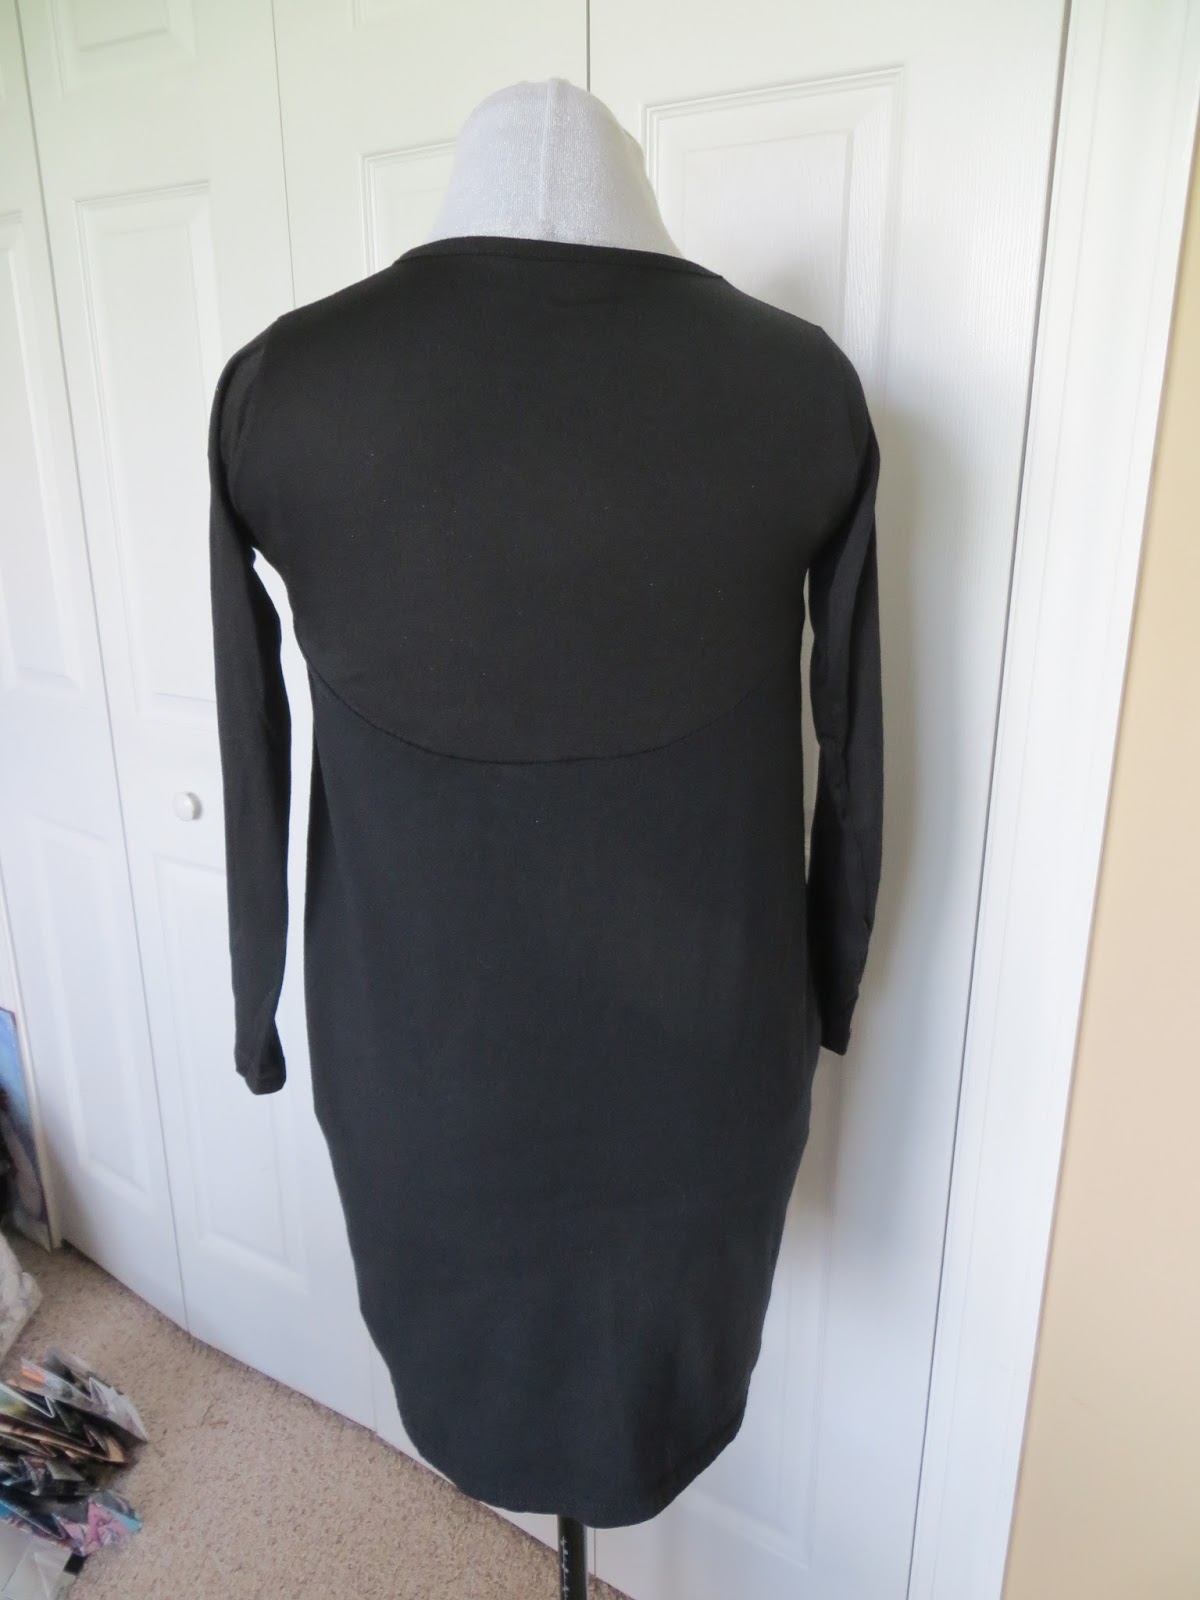
Here is the zipper in the back. I left it exposed because it was grey and I liked the look of it. Also, notice the symmetry of the flowers, especially the one in the middle that is bisected by the zipper. I was proud of that. I didn't do symmetrical flowers on the front, because the bodice is so short and the neckline is too scooped. There was no good place to put two symmetrical flowers, if you catch my meaning.


The back "skirt" has a pleat. This helps with range of motion and allows for easy on-and-off, but isn't bulky.


Blogger puts my pictures in sideways sometimes, for some reason. Anyways, this is a sideways view of the pegging of a pants leg. It needs to be ironed! I always forget these things when I'm taking pictures. . .


Okay, so I actually cheated on the cuff of this pocket. It is actually made from the bottom cuff of the original pants' leg. That was just one step that was already done for me, so I decided to use it!


On a dress form.


I cheated on the cuffs of the sleeves the same way! They are actually the cuffs of the original pants!


The End!