Showing posts with label into. Show all posts

Friday, November 18, 2016

Upcycled Christmas Decoration: Clear Industrial Tube Light...Thing

All right, Guys...This one isn't necessary a DIY for the masses, but maybe it'll give you an idea!

So, remember when I got those awesome tables and cabinet for my craft room? (Click here if you need a refresher.) Well, I didn't tell you at the time, but I also grabbed this weird, clear industrial cylindrical thing off the trailer as well. It is from Duke Power, so who knows what it is actually used for! (If Shirley Coley reads this, maybe she can ask Eddy what it is actually for!)

Anyways, as soon as I saw it, I knew I could turn it into a Christmas decoration!


The first step was to remove the paper.


Then, I wiped it down to get all the dust off.


Okay, so basically, I was just going to stick Christmas lights into it and call it a day. You really don't have to read any more, because that's exactly what I did! 

Anyways, there is one important step that you shouldn't miss in the off chance you find one of these cylinders and are dying to make one yourself!

So, first of all, I looked at both ends and found that there was a little broken notch on one end. That was perfect. That was where the electrical chord would come out at the bottom.


Then, took a piece of brown foam and put the tube upright onto it. The cylinder's weight created a circular depression, so I put glue just inside that line. Notice, that I didn't glue all the way around. This is because I would need to fish the wall plug through this opening. 

(This foam was to protect the floor from scratches when I put it onto the hardwood in the living room.
Precautions like this one help a person stay married.)


Here you can see that I put the notch in the center of the un-glued part.


Then, I stood it up on a flat surface and let it dry for a few minutes.


Then, I fed the light strand down into the tube, laid the tube on its side and fished the plug out the opening in the circle. When I sat it back upright, I made sure that the chord was resting in the notch. (Incidentally, they are LED lights.)


So then, I carried it to its destination (the living room, beside the fire place) and plugged it in. I fed a few more lights into the tube but kept about 1/3 of the lights hanging out.


With 1/3 of the lights still hanging out, I got a plastic butter knife and hung the remaining 1/3 over it. Then, I fed the 1/3 into the tube. (The butter knife kept the lights from falling all the way into the tube.)


The finished project. Pretty unique and minimalist, wouldn't you say?


Do you like our Charlie Brown tree? This is about as Christmas-y as I get!


What weird household items do you have laying around that you can repurpose?


The End!!!


Sunday, August 7, 2016

Refashioning: A Girl's Formal Dress into a Box Pleat Cupcake Skirt

I found this dress....guess where...Yep! The dollar rack.

It is a little girl's size 12/14 ball gown kinda dress. It was too small to fit me (and I don't like strapless), but the fabric on the bottom was enough to make a cute skirt from. It is silver and black brocade, but it looks like that high end designer embroidery that is always all over Dolce & Gabbana and Valentino and stuff...


I cut it apart. I'll probably use that bow for something later.


Okay, so once again, if you do something like this, make sure you zip the zipper pull down past where you want to harvest fabric, otherwise you will have to put in another zipper. (Side note, I did this right and then two minutes after I cut the bodice from the skirt, I wasn't thinking and zipped the skirt up...and pulled the zipper pull right the heck off! So. . .I had to install another zipper. . .so what I'm saying is: PAY ATTENTION!) :)


The fabric was all crinkly from being gathered.


So I had to iron it.


After ironing, I measured myself and put in box pleats that would fit my waist. Then, I remembered I had an old college choir skirt that I never wear, but it had a really nice waistband, so I cut it from that skirt and pinned and sewed it to this new skirt.


The finished skirt!


The End!


Friday, February 12, 2016

Refashioning: Making Clothing More Functional - Star Wars Bodycon Dress into a Shirt

My baby sister, Tabitha, got me this AWESOME Star Wars bodycon dress for Christmas! I wore it once with pink tights, but felt really uncomfortable all day. I'm not really a bodycon kind of girl. However, I LOVE Star Wars and this dress really is killer.


See? Awesome! And the printing is all in a high shine silver! The fabric is that scuba style jersey that is popular right now and I love because of its structure. It's like. . .wins all over the place. . .the only "lose" is in the fact that it's just too long. Time to fix it!


Using a shirt with a nice length, I placed said shirt over the dress and made my first incision. . .


The relief was almost palpable at this point. . .


I cut a strip from the bottom fabric to use as the hem of the shirt.


I pinned it marking the band in equal fourths. Then, I attached the band to the shirt in equal fourths and sewed it on.


That's all it took!


Here it is with my new skirt I made on a previous blog post.


The End!


Wednesday, February 10, 2016

Refashioning: Making Clothing More Functional - Two Okay Dresses into One Great One

Okay, so at first glance, you might wonder what is wrong with these two dresses. They are both perfect Type 4s and seem to be exactly my style. Well, honestly, this is just a personal preference thing to me. This is what I find wrong with them: The dress on the left is just boring to me. I have a couple other hounds tooth dresses that I end up wearing when I am in the hounds tooth mood, so this one always gets neglected. The dress on the right is actually a weird tunic thing and while it looks great in the picture right here, scroll down one.


See??? Who designed this? The pleats billow out right at the boobs, making the wearer have absolutely NO SHAPE!


I am actually a fan of a good Korean hanbok, which also cut off at the boobs, but this dress is trying to attempt the same thing but with slinky fabric, so the result is an epic fail. However, I LOVE the red polka dots, so let the harvesting begin!


So, if you remember my blog post about turning dresses into skirts, you will remember that the placement of your zipper is very important before you start cutting. In this case, I was harvesting the top of the hounds tooth dress, so I made sure that the zipper was zipped all the way up.


Also really important: I cut below the bodice and left about 1/2 an inch of the skirt part. This is to allow for seam allowance.


To free the polka dots, I cut the skirt off the. . .can I even call it a bodice? Anyways, you will notice the skirt part has those pleats and if I had cut into the skirt, I would have had to re-pleat them, so I cut into the "bodice" part up 1/2 an inch to allow for seam allowance and also to save having to re-pleat the skirt.


See the line of black at the top? That's the seam allowance I'm talking about.


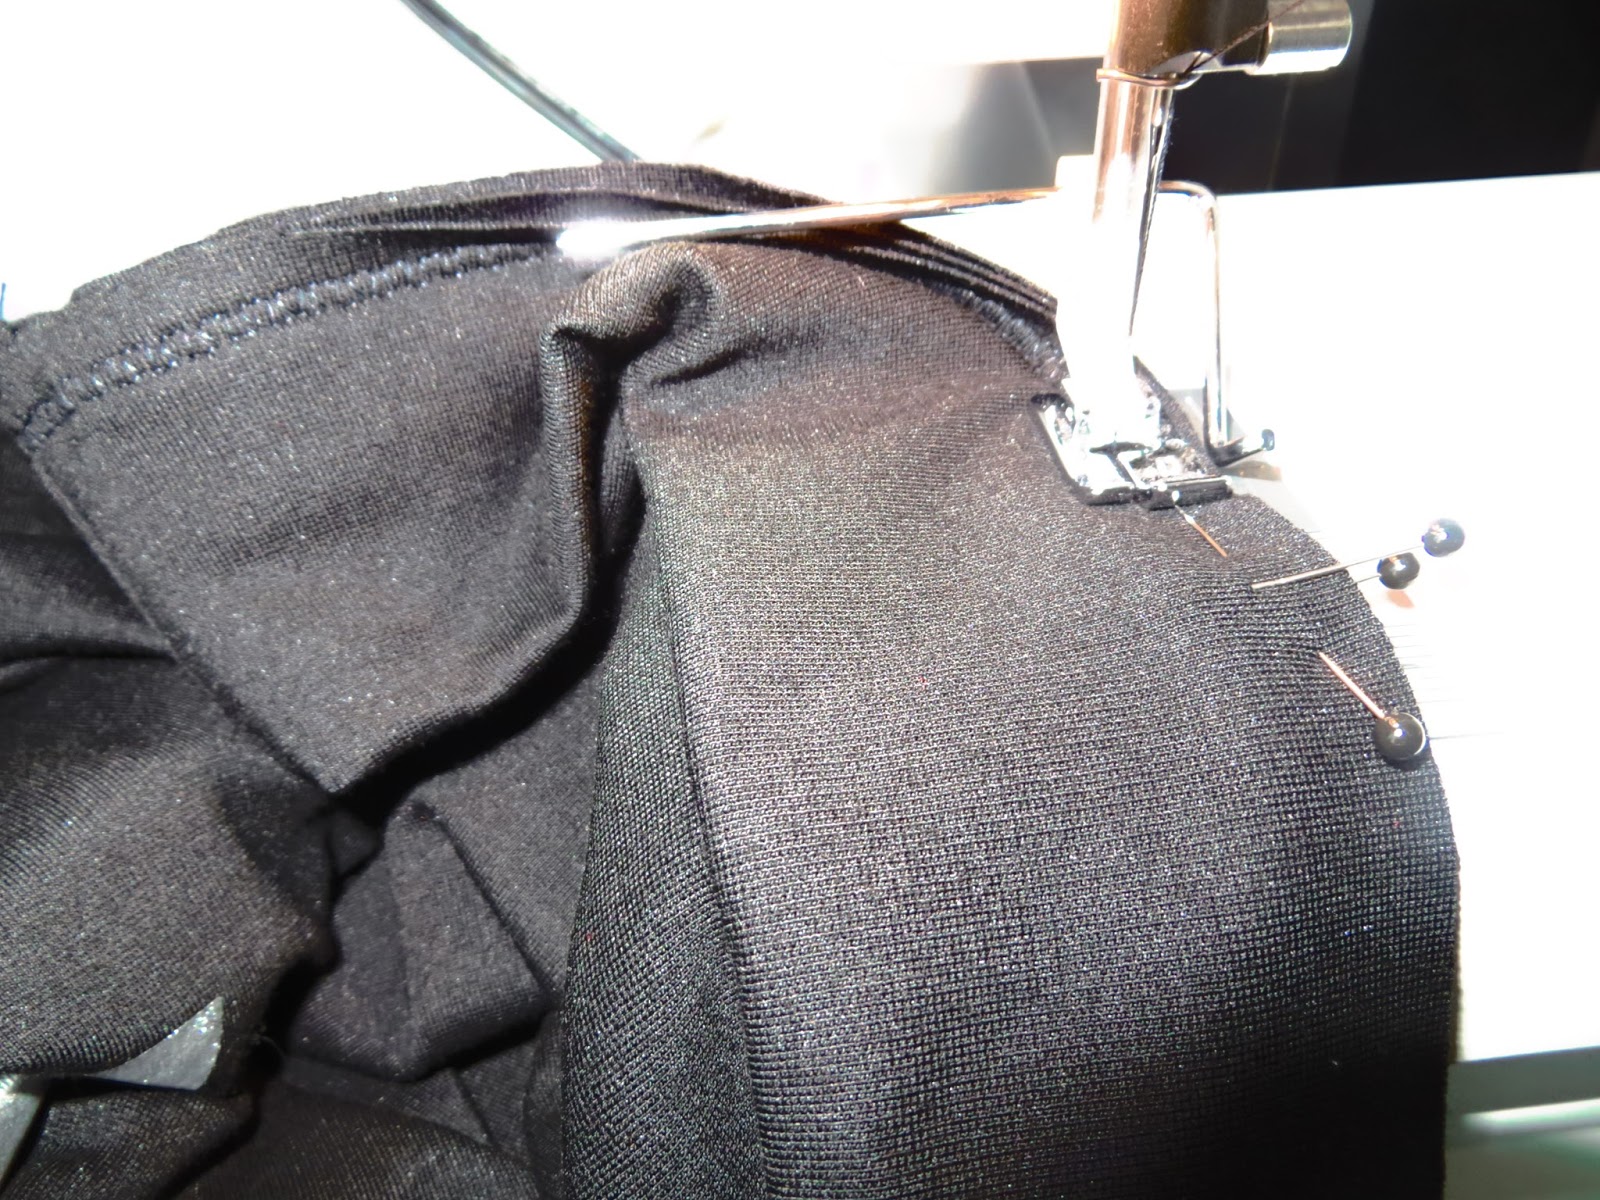
Then, I pinned the first bodice to the second skirt.


I used my quilt seam allowance measurement thingie (I don't know technical terms sometimes. . .It's that metal arm thing next to the outside of the fabric) to keep a steady measurement of an inch seam allowance.


The finished dress.


Okay, so the belly is still a little pouchy, but at least the skirt starts well under the chest, so you can see that the wearer has a shape! I will definitely wear this dress more often! 


                           It may not be your cup of tea, but hopefully you got an idea from it!


                                                                             The End!


Saturday, February 6, 2016

Refashioning: NO SEW! Making Clothing More Functional - Dress into Skirt

Here is a "no sew" version of my last blog post about turning hard-to-wear clothing into more functional pieces. 

(Before I begin, I need to mention that you can do the same method as the aforementioned post if you peel off one side of iron-on adhesive tape and--after cutting the bodice off--iron the tape onto the inside of the top of your waist hem. Then, remove rest of the backing off the tape, fold the hem down once, and then iron the fold. The only problem will be around the zipper if your dress has one, you may have to take the old sewing needle and thread to that part to tack it down.)


Here is a second method and it requires no tool skills except cutting with scissors! The only thing is that it can only be done on dresses with elastic waist bands and no zippers.


For this type of dress, the waist band is not only already cinched in with elastic, but also, the band has been finished on both sides, so all we need to do to turn it into a skirt is to cut the bodice away from the skirt. Cut as closely to the waist band as you can with out cutting into the waist band.


Hopefully this picture is clearer.


A close up of the waist band. You can barely tell that anything was cut because the waist band is already finished!


Finished skirt! It took less than five minutes!


The End!