Sometimes, you find really great clothing items at the thrift store, and the reason they are there is because the zippers are broken. Here is one method of fixing that issue.
So I found this black sleeveless skater dress, but the zipper had missing teeth at the very bottom. The dress was only a dollar, and I figured if nothing else, I could easily turn it into a skirt, or if I wanted to work a little harder, I could replace the zipper.
I kinda didn't want to do either option. I kinda just wanted to fix the current zipper. Work smarter, not harder! I didn't know that I even could, but when I realized I could, I thought. . ."I bet other people might want to know this too."

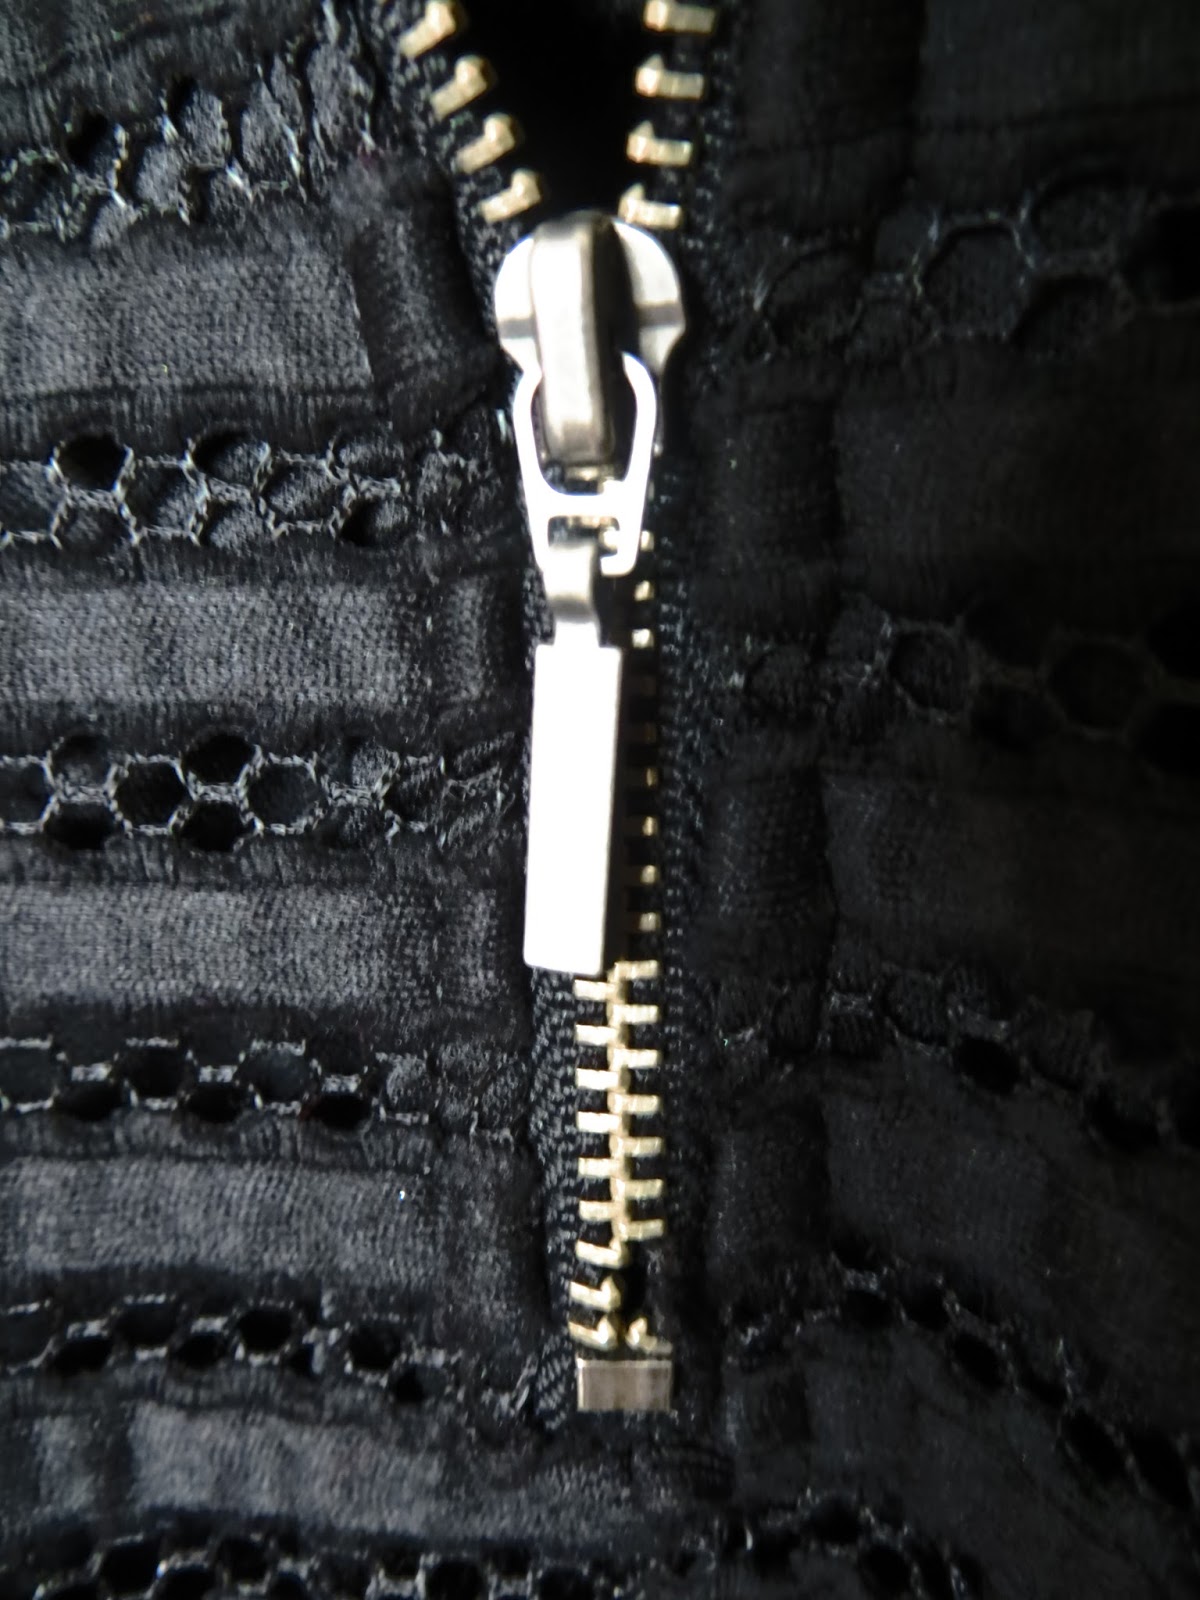
So here's the deal. It wasn't easy. Actually, I wanted to give up after about ten minutes of constant failure. But finally, I persevered and overcame! What I did was to push the zipper tag down as far as it could go, and then I pushed the broken teeth side into the other side of the tag until it finally caught.
There is no easy way to explain how to do this. You just have to keep trying. The only way to describe what you have to do is to pretend you are zipping up the front of a coat or jacket. If you aren't good with your hands, this may be height of frustration. . .so find someone who is! Maybe they can help you! It doesn't seem possible when you are in the midst of it, but. . .if the zipper ever aligned once, it can and will do it again! (I actually did it twice myself. Once as soon as I got the dress home. . .and then I realized that I needed to take a picture of the zipper broken, so I re-broke it--which is the picture you see above. That's how much I love you guys! I'm willing to go through frustration twice!) :)

Okay, so if this post seems like a cop-out so far (i.e. "The way to fix a broken zipper is to. . .uh. . .fix it!" Not helpful.), let me finish the post by telling you what to do once you re-align the zipper to assure that it doesn't break again. First of all, zip it up!
Next, thread a needle. The focus is really bad in this picture, but if you look just above the missing zipper teeth on the right side, you will see a needle poking through. Do this. (It's really important that your first stitch go above the missing teeth.)

Then, push the needle back through on the direct left side of the zipper. Continue those two steps until you have several stitches. Then, make a knot on the back side and cut your thread.

This is the back side of the zipper. See my several stitches?

From far away, you can hardly tell. . .and if someone CAN tell, then tell them to stop staring at your butt! How rude!


Fixed! The zipper won't go down any further than those stitches!

(Those other clothes are my "to do" list. . .a.k.a. "future blog posts.")


The End!


