Showing posts with label dresses. Show all posts

Wednesday, June 14, 2017

Refashioning: Moschino Inspired - Easy DIY Designer Dress Merger

I am a long-time fan of the Italian luxury fashion house, Moschino. I love it because of the fanciful ideas, graphic prints, and bold colors.

Here is a dress from the Spring/Summer 2017 Ready-to-Wear "Love Moschino" line.
It retails for $495.

It doesn't matter if you agree with that price or not. It just is.

So. . .let's see if we can make one for $2.00!

(This one is super easy.)


Here is a Donna Ricco black dress I found on the Goodwill dollar rack.


And here is an Aeropostale cropped blouse I found also on the Goodwill dollar rack.


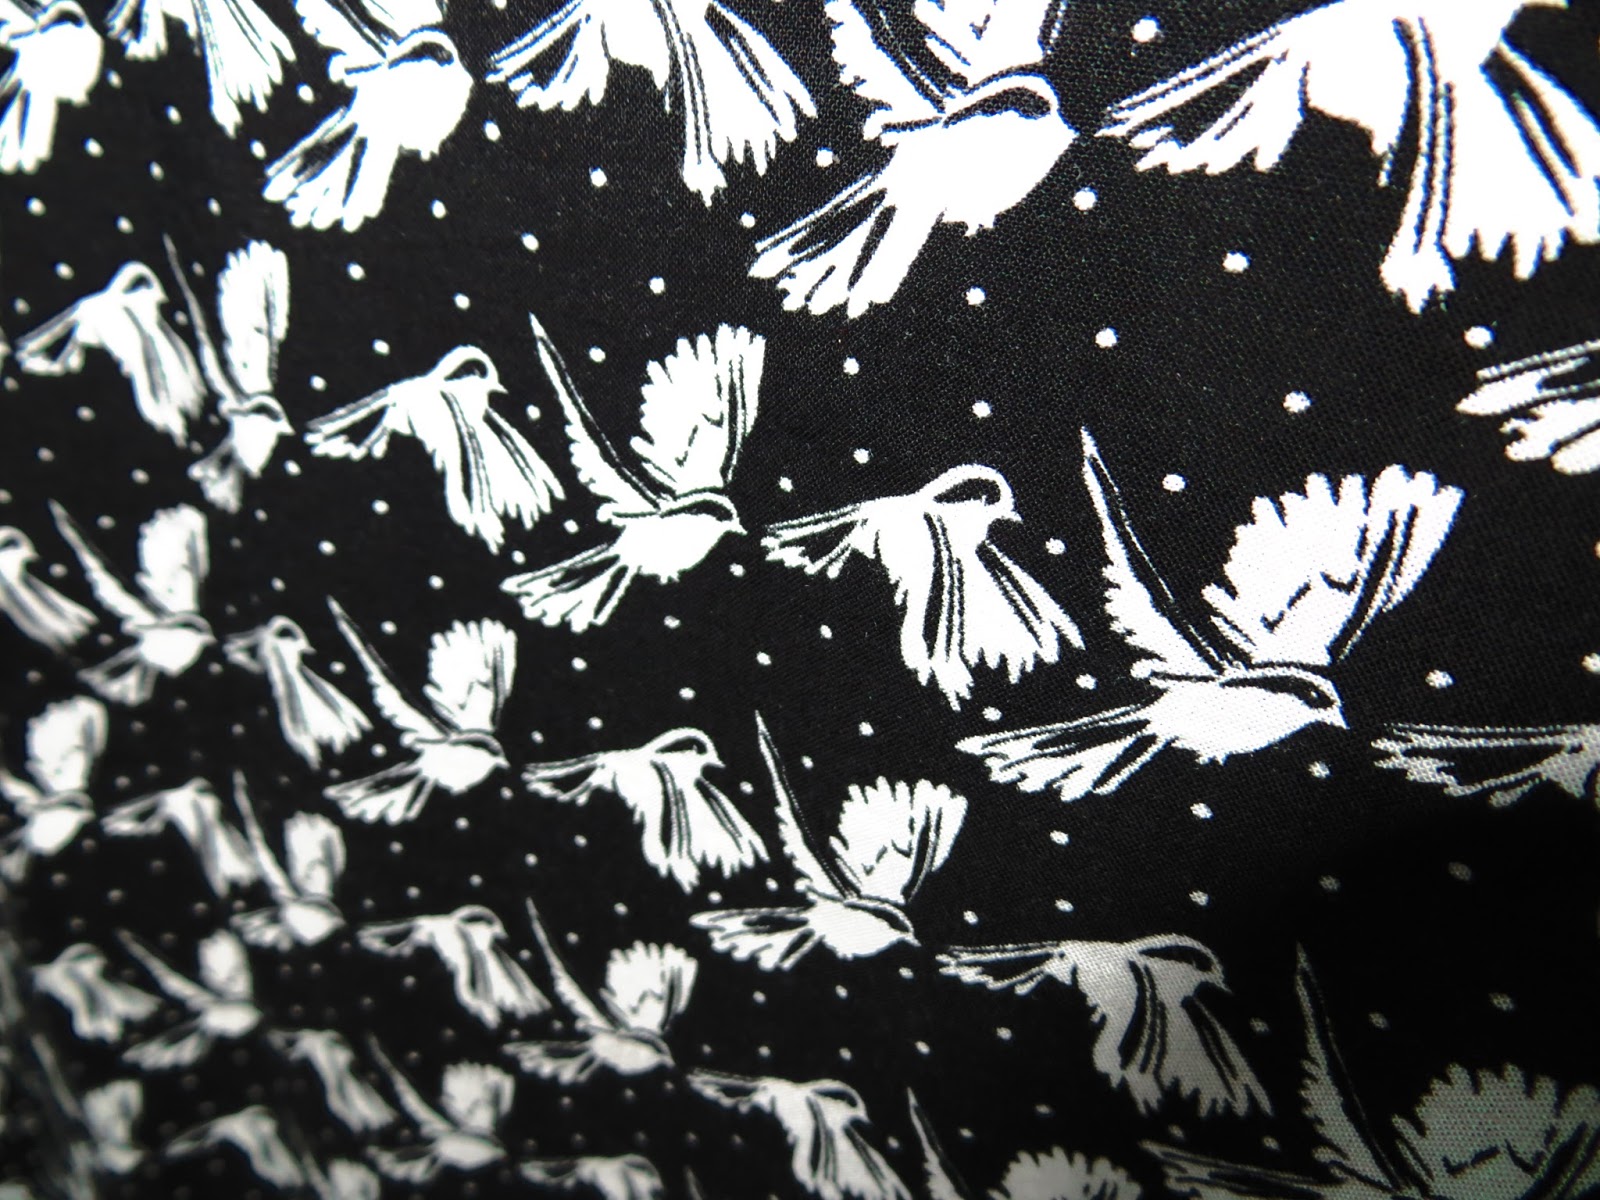
Look how cute the print is! It's little birds!


First, I cut out the shoulder pads.


Then, I cut off the sleeves.


When you cut the shoulder pads out of a dress or shirt, this is what happens at the shoulders. See this gap?


So, I pinned the shoulders appropriately, and sewed them down.


Then, I cut the sleeves off the other shirt. (Hint, it helps if you pin the right sleeve. This helps you to tell the two apart when you reattach them to the other garment.)


Then, I simply sewed the sleeve to the dress. No-brainer.


So, here is my Moschino inspired dress for $2.00!


(Another plus: combining the two freed up a hanger. This is important in my world, where I never seem to have enough hangers...)


The End!


Saturday, February 6, 2016

Refashioning: NO SEW! Making Clothing More Functional - Dress into Skirt

Here is a "no sew" version of my last blog post about turning hard-to-wear clothing into more functional pieces. 

(Before I begin, I need to mention that you can do the same method as the aforementioned post if you peel off one side of iron-on adhesive tape and--after cutting the bodice off--iron the tape onto the inside of the top of your waist hem. Then, remove rest of the backing off the tape, fold the hem down once, and then iron the fold. The only problem will be around the zipper if your dress has one, you may have to take the old sewing needle and thread to that part to tack it down.)


Here is a second method and it requires no tool skills except cutting with scissors! The only thing is that it can only be done on dresses with elastic waist bands and no zippers.


For this type of dress, the waist band is not only already cinched in with elastic, but also, the band has been finished on both sides, so all we need to do to turn it into a skirt is to cut the bodice away from the skirt. Cut as closely to the waist band as you can with out cutting into the waist band.


Hopefully this picture is clearer.


A close up of the waist band. You can barely tell that anything was cut because the waist band is already finished!


Finished skirt! It took less than five minutes!


The End!