Showing posts with label summer. Show all posts

Wednesday, June 14, 2017

Refashioning: Moschino Inspired - Easy DIY Designer Dress Merger

I am a long-time fan of the Italian luxury fashion house, Moschino. I love it because of the fanciful ideas, graphic prints, and bold colors.

Here is a dress from the Spring/Summer 2017 Ready-to-Wear "Love Moschino" line.
It retails for $495.

It doesn't matter if you agree with that price or not. It just is.

So. . .let's see if we can make one for $2.00!

(This one is super easy.)


Here is a Donna Ricco black dress I found on the Goodwill dollar rack.


And here is an Aeropostale cropped blouse I found also on the Goodwill dollar rack.


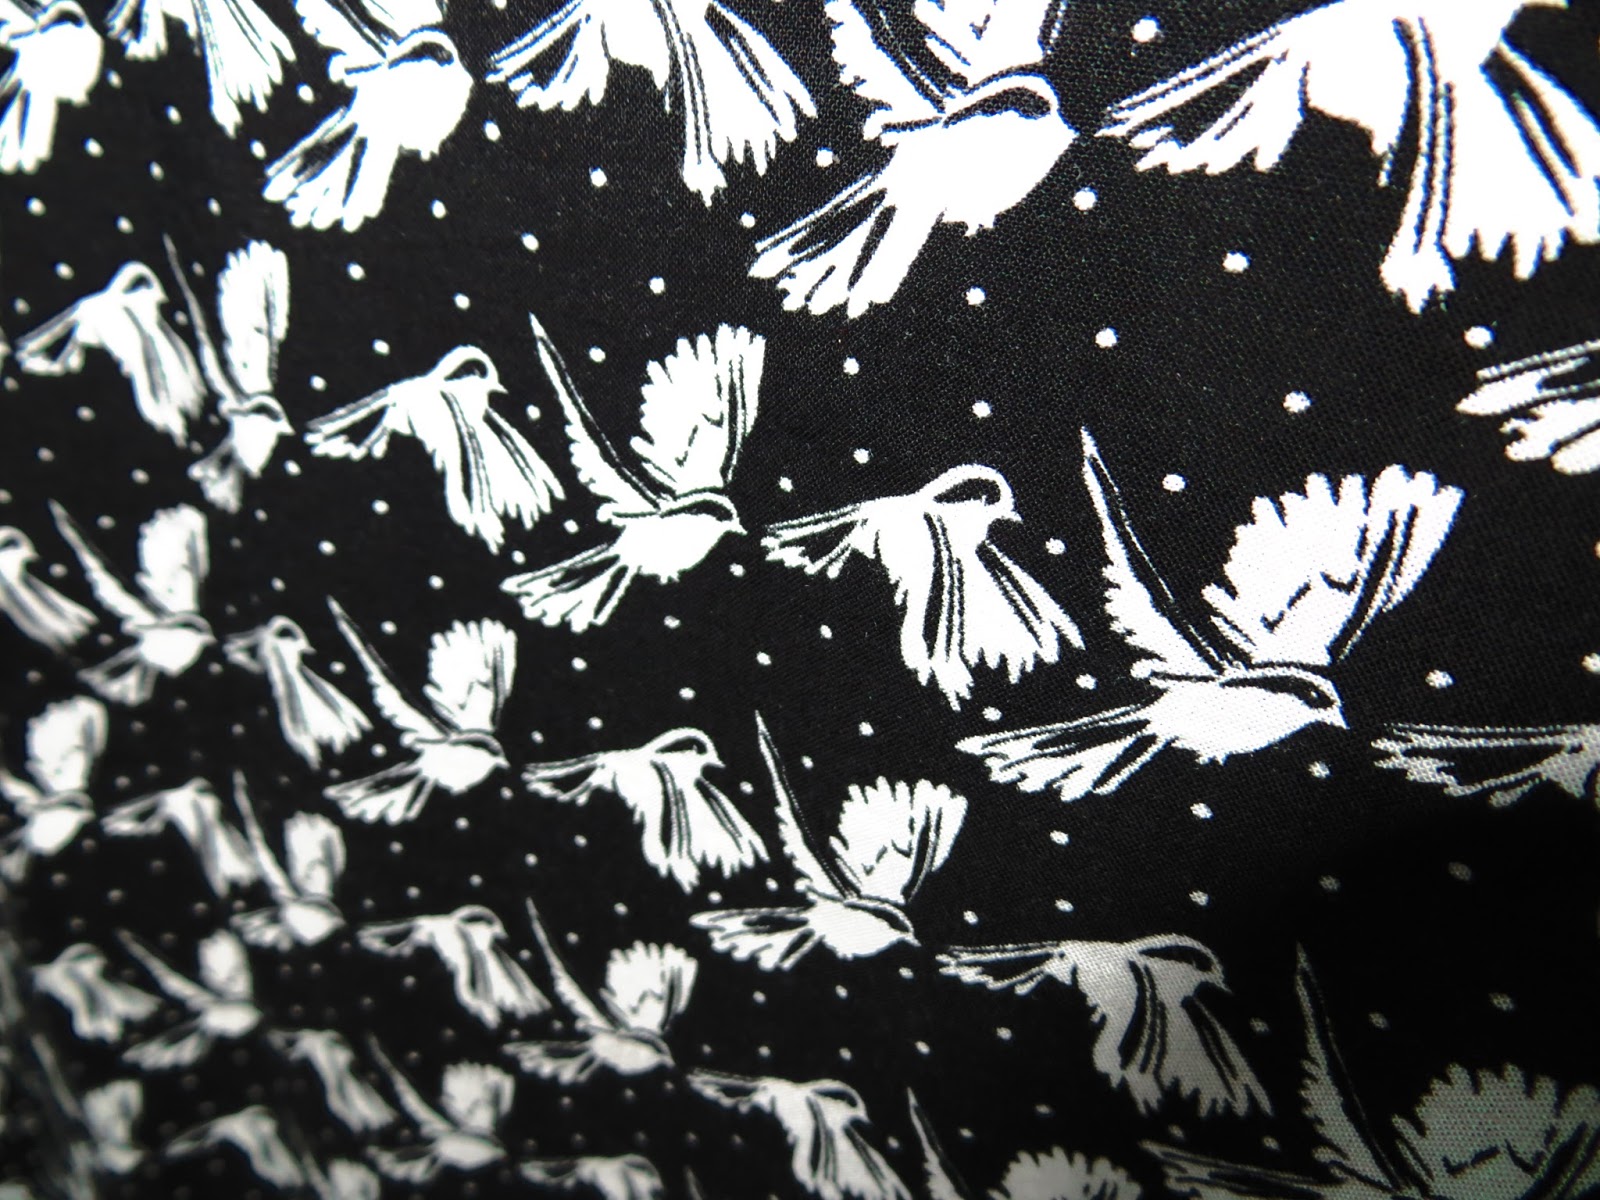
Look how cute the print is! It's little birds!


First, I cut out the shoulder pads.


Then, I cut off the sleeves.


When you cut the shoulder pads out of a dress or shirt, this is what happens at the shoulders. See this gap?


So, I pinned the shoulders appropriately, and sewed them down.


Then, I cut the sleeves off the other shirt. (Hint, it helps if you pin the right sleeve. This helps you to tell the two apart when you reattach them to the other garment.)


Then, I simply sewed the sleeve to the dress. No-brainer.


So, here is my Moschino inspired dress for $2.00!


(Another plus: combining the two freed up a hanger. This is important in my world, where I never seem to have enough hangers...)


The End!


Saturday, June 13, 2015

Summer-izing a Blazer Jacket

I love blazers. I love them so much that I wear them with things you might not expect...like baby doll dresses. (I learned to do that in South Korea.) However, blazers are really best worn in cold weather. (Or when your office cranks the a.c. in the summer!) Anyways, I already have a black blazer that I love, but I found the Merona jacket below at Goodwill for a dollar and couldn't pass it up because I'd been wanting to make a warm weather blazer option.


First, cut the sleeves off wherever you want. (Make sure to add about an inch for seam allowance.)


Turn it inside out, and fold the outer part in about an inch.


Fold the lining in toward the part you just folded. (In other words, the raw edges are now inside the two pieces of fabric.)


Pin it down, but make sure your pins are about 1/4" from the edge of the lining.


All right....now look at the next three pictures in sequence. (You are folding the black part down, holding it with your left hand, and with your right hand taking the pin out and re-pinning it.)


This is what it should look like when you are done with that step.


Turn the sleeves right side out. Fold the cuff part back so you can see the pins. Then set your machine to it's blind stitch setting. (I accidentally went ahead and sewed it, and then forgot that I hadn't taken a picture...so that's why the seam is already sewn! Sorry!) 


This is what it looks like when you are done. I'ts kinda messy, but that's okay because it's inside the sleeve. The main thing is for the raw edges to be hidden.


You can wear it like this.


Or if you kept enough length in the sleeves, you can fold them up.


The End!


Thursday, May 7, 2015

Turning a Prom Dress into a Maxi Skirt

I bought this dress at a Goodwill. It's 100% silk, so I couldn't pass it up! I got it home and the top of it was too tight and the bow on the back was OBNOXIOUS, so I decided to make it into a maxi skirt. If you want to do this project, all I added was a piece of medium weight stretchy jersey that was an inch or two smaller than my waist but could stretch over my hips. I didn't even add elastic!

Wednesday, March 6, 2013

Chanel Inspired: The Split Sleeve Shirt/Dress

I used the shirts below (and Chanel's Spring/Summer 2013 RTW fashion show, of course) as my inspiration.


I bought the striped shirt from South Korea years ago and the pink shirt from a Chinese website. The pink shirt looks horrible on me, but I love the split sleeve idea, so I fused that idea together with the balloon bottom and full long sleeves of the striped shirt. When I get frustrated because I can't find an article of clothing in stores or online that I want, I start thinking of how to make it!


This is what I came up with. Originally, I wanted to make the entire thing out of the fuzzy grey jersey, but there wasn't enough material left (I had used some of it to make the top part of The Flashdance Dress), so I used the black jersey from The Coco Dress to make the arms and the band along the bottom. I think this shirt looks a little more Fendi than Chanel with the color blocking.


I actually used the striped shirt sleeves as the pattern for these sleeves, but wanted the shirt to look more cohesive, so I ballooned the bottoms of the sleeves to match the bottom of the dress.


I had a few tiny scraps of metallic from The Nude Shimmer Dress, so I put that along the capped part of the sleeve to draw attention to the shoulders.


Here's my "Cheap Walmart Knockoff" short cut to my earlier dresses: Instead of piecing the collar together the way I did for The Flashdance Dress, I just sewed a line through the top layer and inner facing to look like a mock collar. I think it looks just as good and helps with cohesion to the "Chanel Inspired" collection with less work. 


The back.


When you wear the shirt, it's not as obnoxiously split at the sleeves as when it's on a hangar or dress form.


Being silly.


The End.